How validation rules work
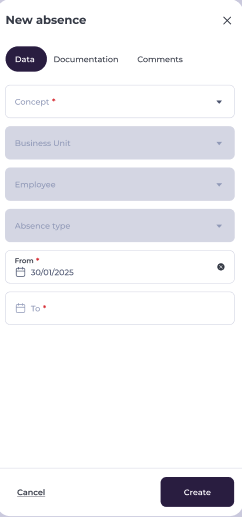
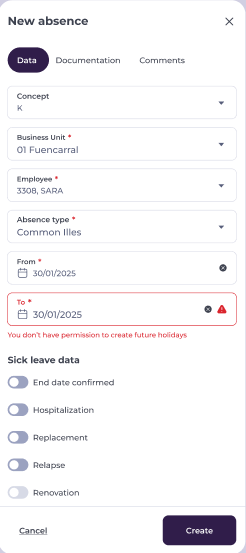
The system runs validation checks at three points during incident creation or editing: when the user selects the absence type, when the user chooses the start and end dates, and when the user attempts to save the incident. Rules are configured per absence type and can take into account employee profile, category, and gender. When a rule is not met, the system blocks the save and displays a message explaining why.
Contact your Customer Succes Manager to enable or adjust the rules described below.
Validation rules
The following rules can be enabled and configured individually for each absence type.
Rule 1: Limit incidents of the same type within a period
Prevents employees from exceeding a maximum number of incidents of the same type within a configured time window.
What you configure:
- Maximum allowed (n): the number of incidents permitted.
- Time period: the window in which the limit applies (for example, 30 days).
Example: "Personal leave" is limited to a maximum of 1 every 90 days.
Rule 2: Permitted days of the week
Restricts which days of the week can be selected when choosing dates for the incident.
What you configure:
- Permitted days: select from Mon, Tue, Wed, Thu, Fri, Sat, Sun.
Example: "Training" can only be requested from Monday to Friday.
Rule 3: Consecutive incident restrictions (compatibility)
Controls whether a new incident can be created immediately before or after the employee's most recent incident, based on compatibility between absence types.
What you configure:
- Compatibility rules between types: set each pair as permitted or not permitted.
Example: "Holiday" is not permitted immediately after "Sick leave type X".
Rule 4: Incident must be consecutive to a rest day
Requires that an incident can only be created immediately before or after a rest day period, with no gap in between.
What you configure:
- Requires consecutive rest day: mark the absence type as requiring an adjacent rest day.
- Permitted direction: before, after, or both.
Example: "Special absence" can only be created next to a rest day.
Rule 5: Minimum and/or maximum days per incident
Validates that the selected date range falls within the configured minimum and maximum number of days.
What you configure:
- Minimum days.
- Maximum days.
Example: "Moving leave" requires a minimum of 1 day and a maximum of 2 days.
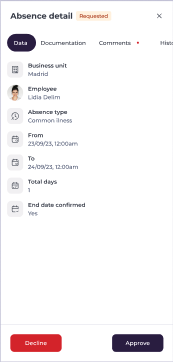
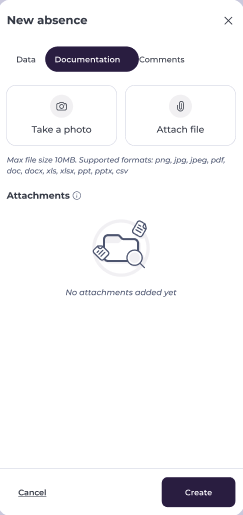
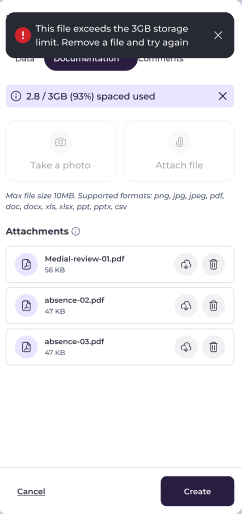
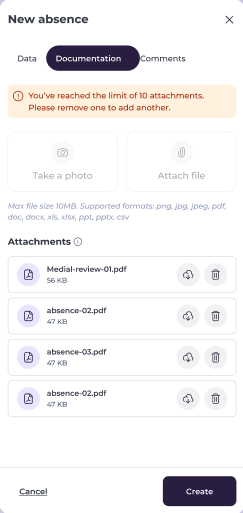
Rule 6: Mandatory document (attachment)
Requires the user to upload at least one document before saving the incident.
What you configure:
- Requires attachment: Yes or No.
Example: "Sick leave" requires a medical certificate to be attached.
Rule 7: Mandatory code with pattern
Requires the user to enter a code that follows a specific format (regex pattern).
What you configure:
- Mandatory code: enable or disable.
- Permitted pattern (regex): define the required format.
Example: A code such as "rt897654" must follow the pattern: 2 letters + 6 digits.
Rule 8: Minimum seniority restriction
Prevents incident creation if the employee does not meet a minimum seniority requirement, calculated from their most recent employment start date.
What you configure:
- Minimum seniority: value in days or months.
- Date source: start of the employee's most recent employment period.
Note: This rule does not restrict which dates can be selected in the calendar. It blocks the creation of the incident entirely if the seniority requirement is not met.
Example: "Leave type X" is only available to employees with at least 90 days of seniority.
Rule 9: Gender restriction
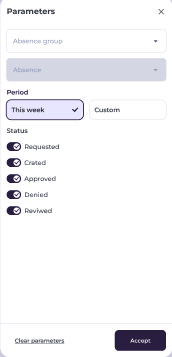
Filters the absence type dropdown so that employees only see absence types that apply to their gender, along with any absence types that are not restricted by gender.
What you configure:
- Applicable gender(s) per absence type.
Example: "Maternity leave" is available only to gender A; "Paternity leave" only to gender B; "Holiday" is available to all.
Rule 10: Block creation on public holidays
Validates whether the selected dates fall on configured public holidays and blocks the incident if they do.
What you configure:
- Holiday calendar: by country, region, or business unit.
- Validation method: start/end dates only, or any day within the range.
Example: Absence incidents cannot be registered on national or regional public holidays.
Rule 11: Restriction by employee field value
Allows incident creation only during a period that matches a specific field on the employee's profile.
What you configure:
- Employee record field to use (for example, date of birth).
- Condition (for example, "same month").
- Affected absence type (for example, "Birthday day off").
Example: "Birthday day off" can only be created during the month of the employee's birthday.
Rule 12: Restrict selection to a specific date range
Limits the dates available for selection to a configured range.
What you configure:
- Minimum permitted date.
- Maximum permitted date.
Example: "Christmas campaign" can only be selected between 1 and 31 December.
Rule 13: Limit incidents of the same type per calendar month
Validates how many incidents of the same type exist in a given calendar month (January, February, etc.) and blocks creation if the limit is exceeded.
What you configure:
- Monthly maximum: the number of incidents allowed per calendar month.
The calendar month is always based on the standard calendar.
Example: "Personal leave" is limited to a maximum of 1 per month.
Rule 14: Incidents by employee category
Filters the absence type dropdown so that only absence types associated with the selected employee's category are displayed.
What you configure:
- Available categories (for example, Operator, Supervisor, Manager).
- Permitted categories per absence type: define which categories can use each absence type.
Example: Certain absence types are only available to employees in the "Operator" or "Supervisor" category.
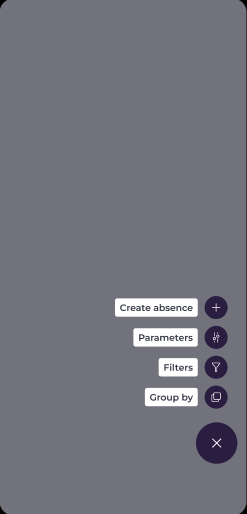
How validation is applied
The system runs validation checks at three points during incident creation or editing:
- Select the absence type.
- Choose the start and end dates.
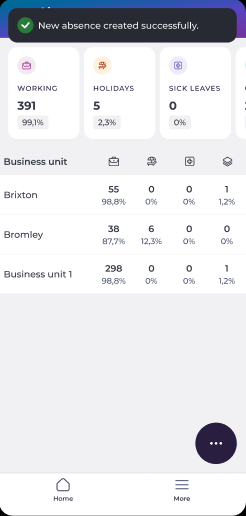
- When you attempt to save the incident, if any rule is not met, the system blocks the save and displays a message indicating the reason.