Create themes for Evolve modules

Start from: any existing course in Evolve.

Note: you can view your themes on the main page of Evolve. How, you can only make updates within a course.


Duplicating a theme.

  • Select the Theme icon.
  • Select Create Theme.
  • Select the theme you want to duplicate.
  • Select Create.

Your theme is ready to update.

Note: it's always best to duplicate a theme to ensure you keep the version we created as an original.


Apply a different theme to a course

  • Select the Theme icon.
  • Select Select Theme.
  • Choose your new theme from the existing list.
  • Select Select Theme.

Note: Evolve themes are very adaptable and have been created so you can easily switch them over. However, always make sure that your theme is working as expected with all components on your course. For that, review your new theme in Live Preview.


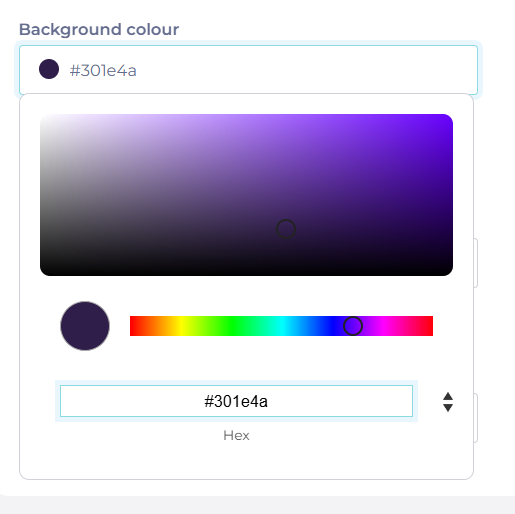
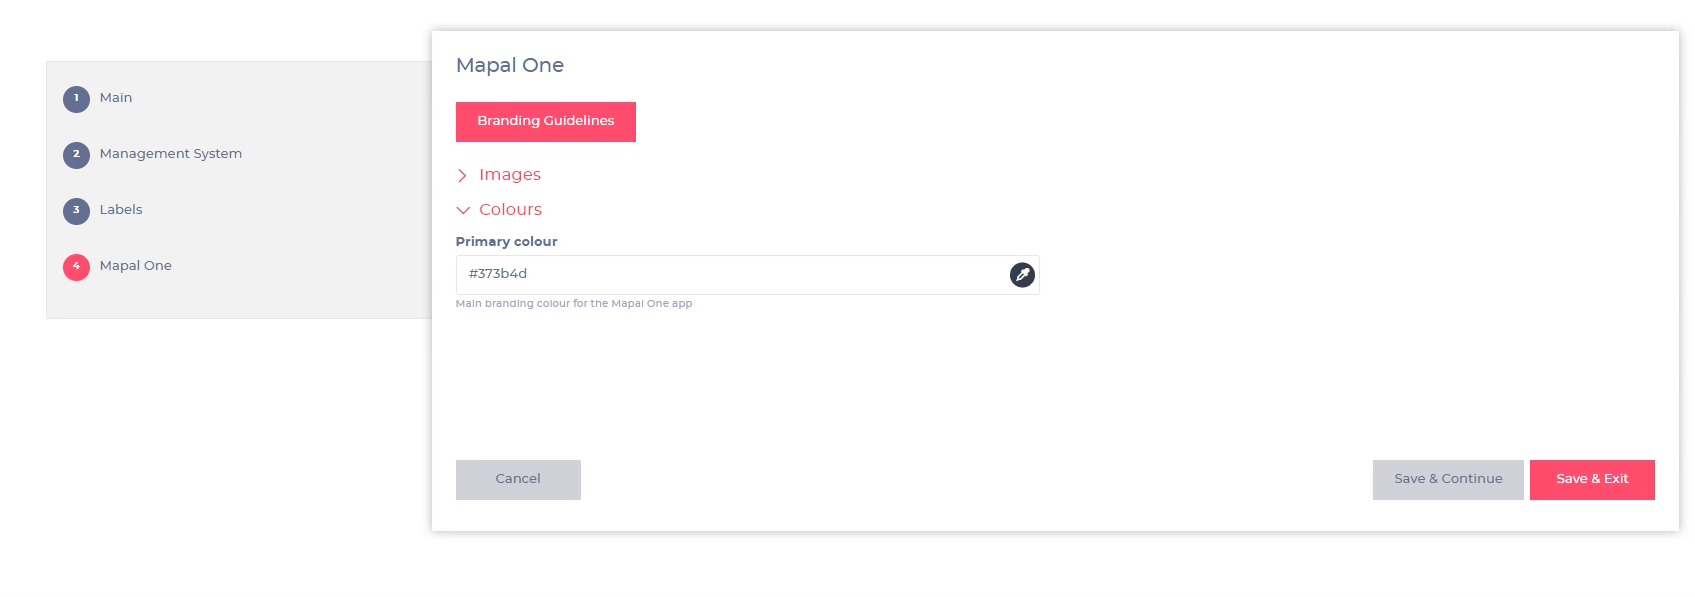
Change de colour palette

  • Select the Theme icon.
  • Select Default colours.

Note: if you need to make an update to one colour, it will update across the whole theme. You can update one or all the colours: however, please make sure to use the same brightness when swapping colours. For example, if you are changing a dark colour, make sure your new colour is just as dark, this will ensure good contrast and legibility.


Change fonts

Evolve is synced with Google Fonts, therefore we can use font in the library.

  • Select the Theme icon.
  • Select your new font from the drop-down menu.

Note: in general, Font 1 has been used for Headers, Font 2 for Body text and Font 3 for introduction text. Replacing any of these three will update across the course. You can add up to 7 fonts and cans elect them within the Article Style.
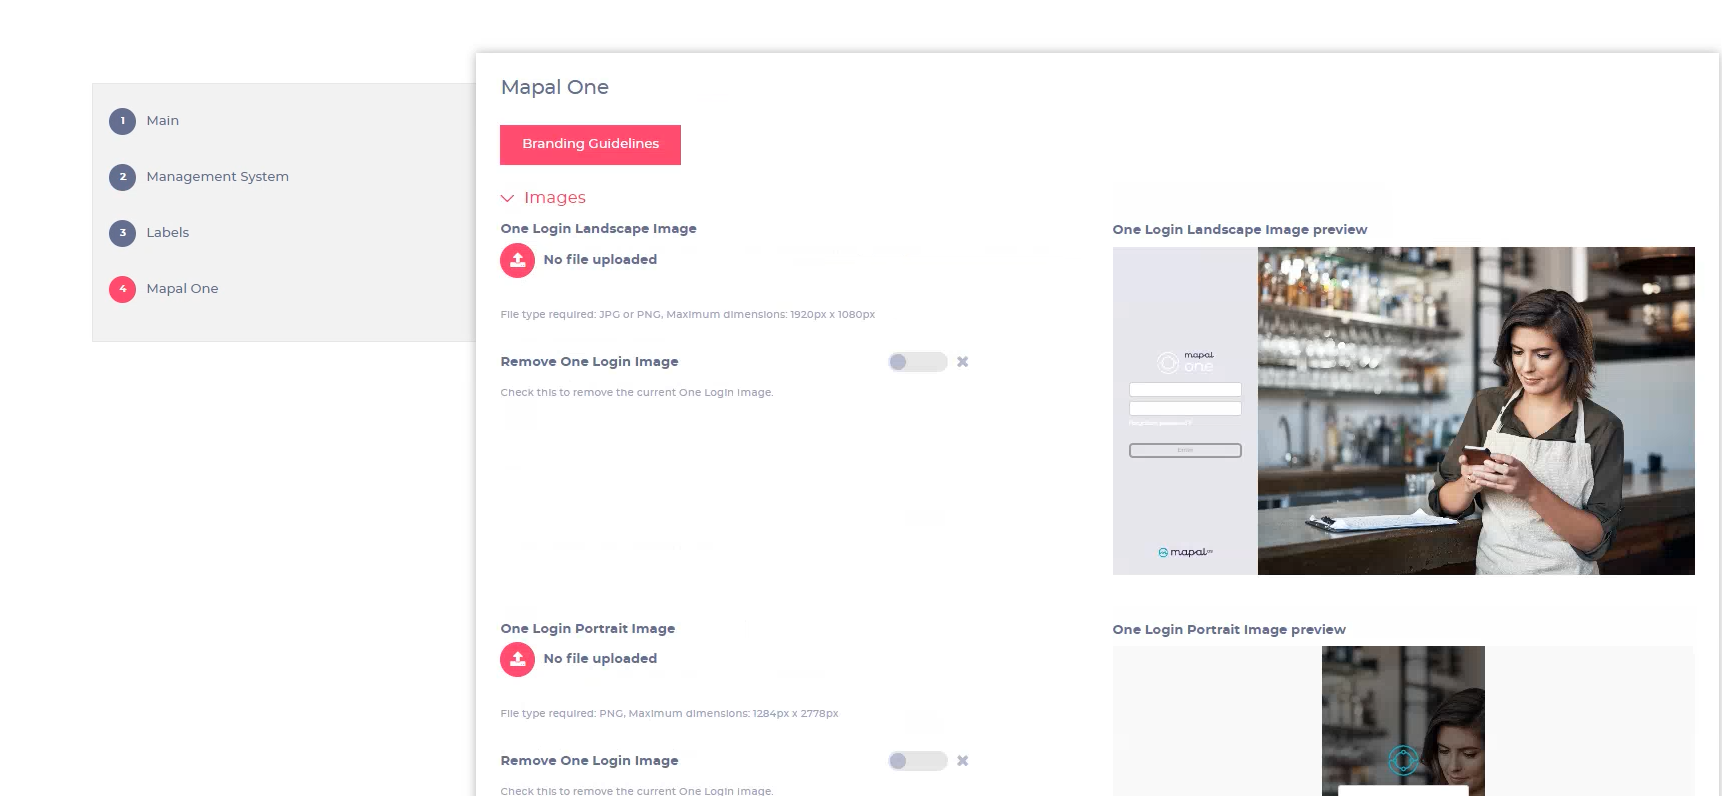
 

Change logo

Note: to add a new logo to your navigation bar, you must add it to the asset library first.

From the main Evolve page:

  • Select your logo.
  • Upload Asset.

Then, navigate to your course:

  • Select Theme > Images > Add theme image.
  • Select your logo.
  • Select Add.

Finally, you can add this to your Navigation.

In your theme:

  • Select Navigation > Navigation logo.
  • Toggle on Navigation logo.
  • Add your logo to Navigation Logo Large Image and Navigation Logo Small Image.

You can then change the size of the logo and colour of the navigation bat in the settings.


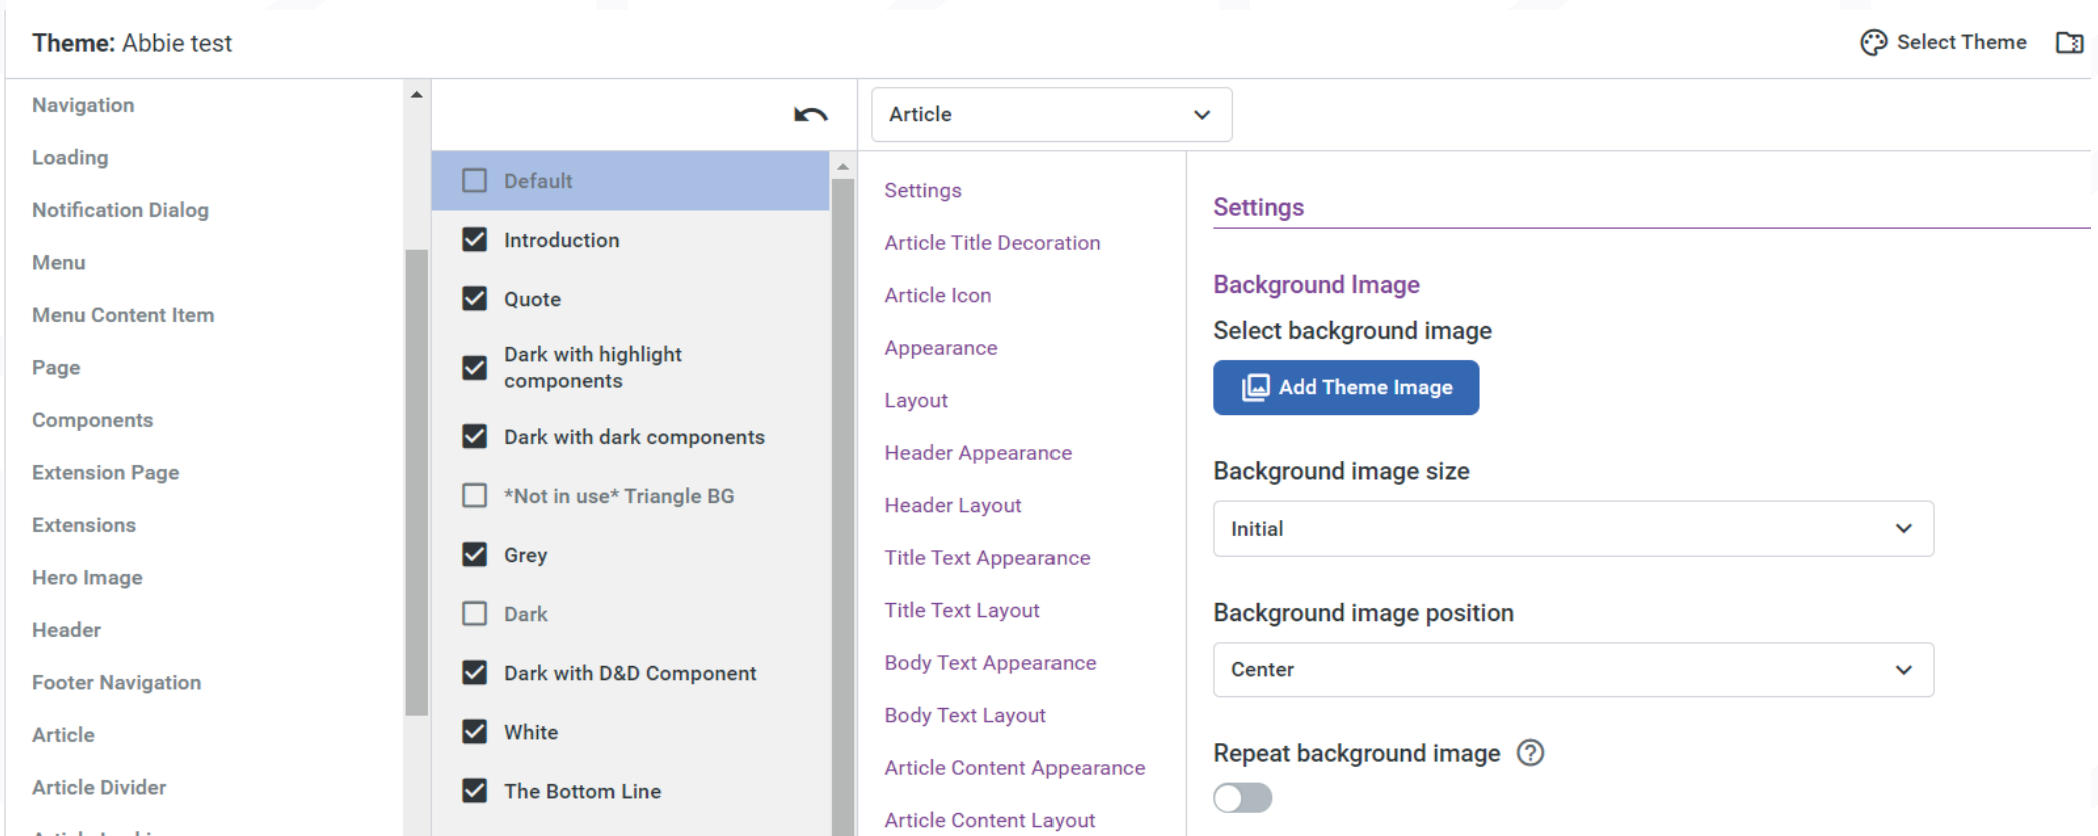
Updating an article style

Note: within a theme, there are multiple article styles so you can vary the design of your course, but also because styles can work better with some components than others. For instance, we have created a Quote and Introduction styles that have been created to display text in different ways. There are a maximum of 20 article styles you can create. You can make specific changes to every element within an article style by following the steps below. However, thus is quite advanced, so please, reach out if you need help.


Within your theme:

  • Select Article Styles.
  • Select the article style you want to update.

At first, you will see the settings for Article:

  • You can change the style of anything you add to an Article.
  • By using the dropdown, you can select further into the style layers to update and change any article.

For example, if you want to change the button style, you select Button from the drop-down, you will then see all the styles for the buttons within this article. You can change anything from colour, font, hover colour, border colour etc.

Note: We recommend when changing a theme you also have a preview screen up of what you are changing and do one thing at a time. If you change multiple elements and something doesn't look right, you will have to manually fix it, since there is no undo button.


Manage branding settings within Mapal OS

IMPORTANT: Branding settings cannot be updated directly by customers. At present, only the Mapal team can apply changes. If you need to update your branding, please contact your Customer Success Manager (CSM) for assistance.

Start from: The Configuration app.

Set up Branding

In the Brand Configuration screen, you can set up your branding in a four-step process:

Brand colour

In this section, you can set the colours to be shown on the apps.

Logo

Notes: We recommend using a white horizontal version of your logo, as it will be displayed over the primary colour on the side navigation menu when it’s opened.

If you can’t use a white logo, you can use the button Set the navigation menu colour to white. This will set the menu colour to white but buttons, links, and active states will remain in the primary colour.

Symbol

Notes: We recommend using a white horizontal version of your symbol, as it will be displayed over the primary colour on the side navigation menu when it’s opened.

If you can’t use a white symbol, you can use the button Set the navigation menu colour to white. This will set the menu colour to white but buttons, links, and active states will remain in the primary colour.

Banner

Notes: This logo will be displayed as the header on the Mapal-OS dashboard. Take into account that the logo will be displayed over the banner and the primary colour, so we recommend using a colour that will contrast with the logo.

Welcome to Mapal-OS 

The home of best in class hospitality management technology 

After completing these four steps, select Save to store your branding setting.

Application of the branding settings

Custom branding is currently only available for Mapal OS and Mapal One. These are the specific applications for each setting in those platforms:

Branding settingProductApplication
Brand colourMapal OSLog in: Primary colour and banner image. Dashboard: Will be applied to the side navigation bar's background with menu items in white. Will be applied as a gradient over the hero banner.
Mapal OneWill be applied to the side navigation bar's background with menu items in white. Set as the primary colour for the app.
Brand logo & SymbolMapal OSLog in: Primary colour. Dashboard: Will appear on the hero banner.
Mapal OneWill appear on the side navigation bar's top square When collapsed: It will show the thumbnail version. If the client hasn't set a thumbnail logo it will display the app logo in white. When expanded: It will display the client's full logo. If the client hasn't set a logo it will display the app logo in white.
Status coloursMapal OSWill only apply to links, active states, and buttons.
Mapal OneWill only apply to links, active states, and buttons.
Main text & Sub textMapal OSWill appear on the hero banner.
Email brandingEngagementDynamic logo, colour scheme, and language now used in all outgoing emails based on brand settings in Mapal OS.

Customise company branding

Start from: The Flow Learning Dashboard.

Create new branding

  • Select Company > Brandings from the main menu.
  • The following screen will display a list of existing brandings. Click the Add+ button to add a new branding.

  • In the Main tab, fill in the following fields:
    • Name: Assign a name to your new branding.
    • Mm slug: Write the slug you want to assign. Once the slug is assigned, toggle on Default for MM and MS.
    • Upload navigation icon: Upload a PNG file, max 70px x 70px.

  • Select Save & Continue to save your changes and move to the next tab.
  • In the Management system tab, set up the following elements:
    • Logo: Upload a PNG file, max 500px x 100px.
    • Large logo: Upload a PNG file, max 800px x 250px.
    • Email banner: Upload a PNG file, max 600px x 150px.
    • MS login backgrounds: Upload a JPG file for each of the different backgrounds.

  • Scroll down to Colours and set them up according to the brand’s guidelines. You can set the primary and secondary colors for the brand, as well as colors for notifications of Success, Concern, Warning, Danger, or In Progress.

  • Select Save & Continue to save your changes and move to the next tab.

Note: The Labels tab configuration should preferably be managed by a Customer Success expert. To continue with the branding presets, it is recommended to move directly to the Mapal One tab.

  • In the Mapal One tab, upload the image resources for the login page. Include all the different sizes and formats required, as they are necessary to ensure optimum adaptability to different types of screens.

Note: The preview options shown in this tab do not match exactly how the page looks live.

  • Scroll down to Colours and set one primary color according to the brand’s guidelines.

  • Select Save & Continue if you want to go back and review all the progress OR Save & Exit to ultimately finalize the process.

Assign existing branding

  • Select Company > Company Structure > Branches from the main menu.

  • Choose a specific branch from the list.
  • In the Brand Information popup window, scroll down to Branding and select the specific branding to assign from the dropdown menu.

  • Select Save to complete the process or Close to dismiss the changes.