View ROTA status across your Business Units
Start from: the Mapal Manager dashboard.
- Select ROTAs from the menu.
The ROTAs screen displays the current week's date range and a summary of ROTA progress at the top, showing the total number of Pending, Finished, and Reviewed ROTAs with their respective percentages.
Below the summary, a list of Business Units shows each unit's current ROTA status:
- Finished
- Pending
- Closed

Filter the list
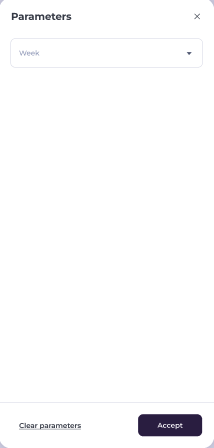
- Select the floating action button (...) to access Parameters and Filters.

- Use Parameters to select a different Week to view.
- Use Filters to narrow the list by Business unit, Brand, Company, Country, Region, Ownership, or Status.
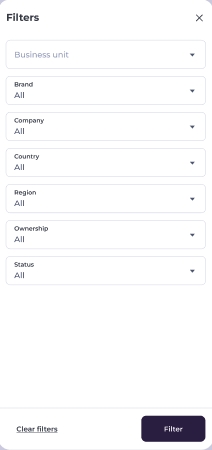
- Select Filter to apply, or Clear filters to reset.
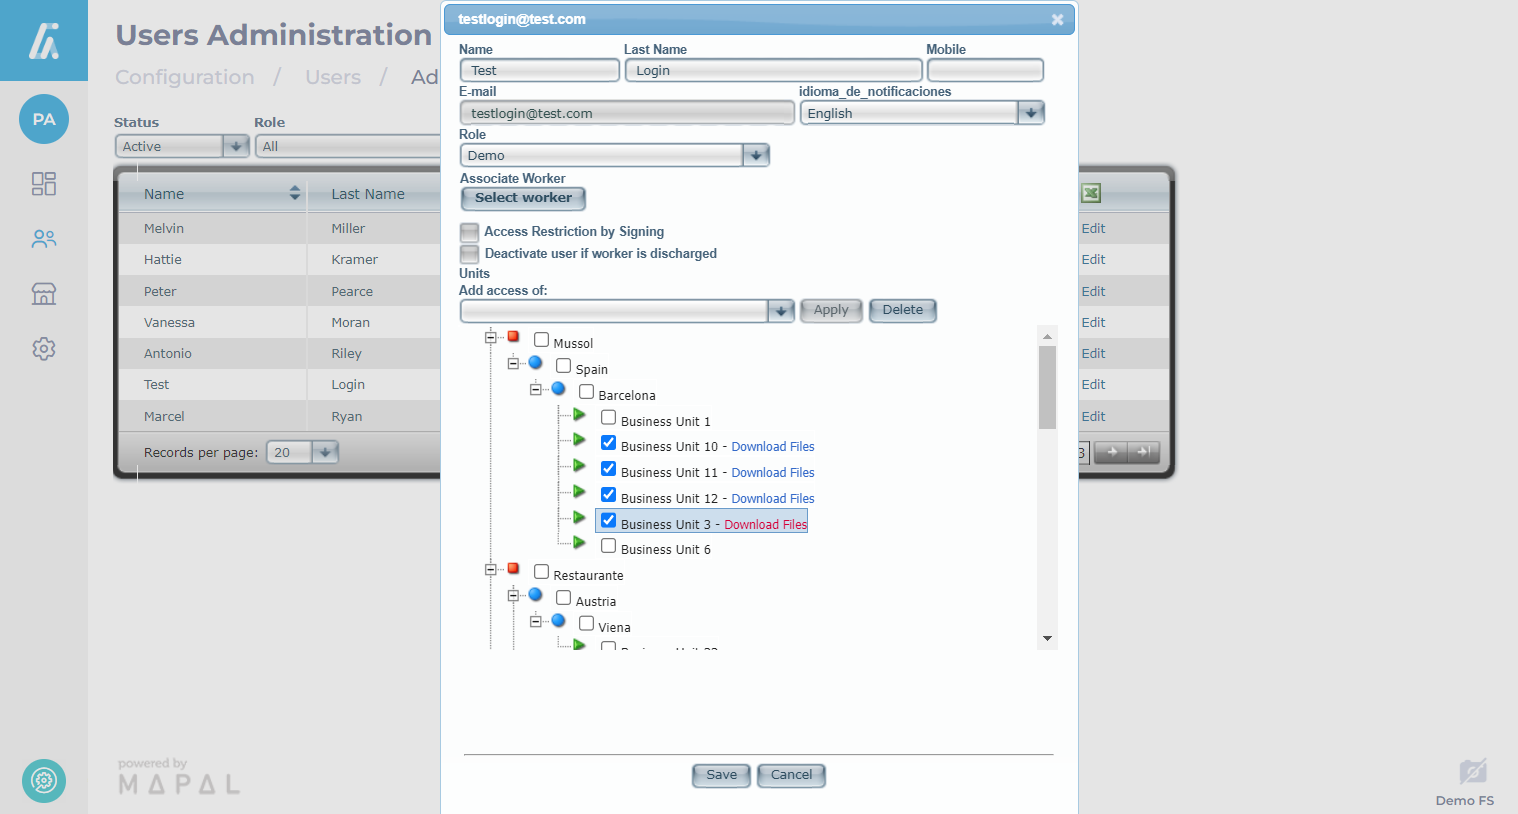
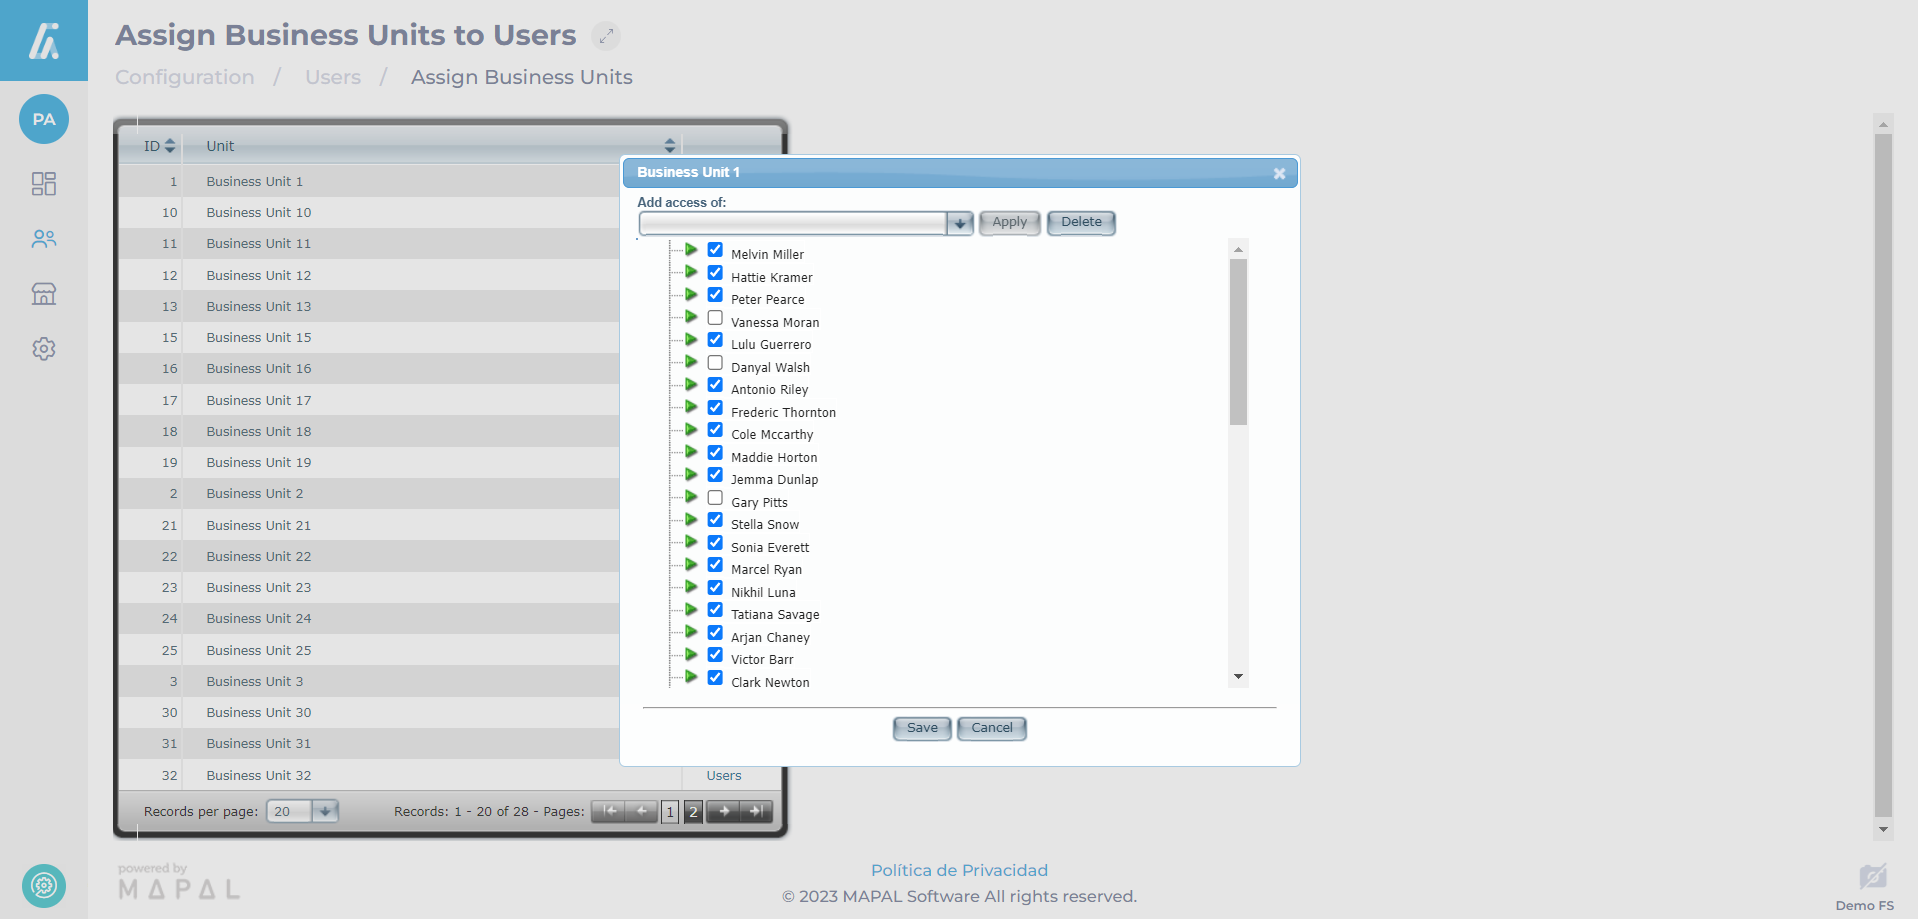
Open a business unit
- Select a Business Unit from the list to open its ROTA and review daily staffing details for a selected day.
For more information on reviewing daily staffing, see View daily ROTA details for a Business Unit.