Apply a department to a module

Start from: The Compliance overview.

  • Navigate to Tasks > Setup.

  • Locate and select the specific Module to which you want to apply a department.

  • In the module, scroll down to Department restrictions.  

  • Choose the relevant department(s) from the dropdown list.

  • Select Save to apply the changes.

Note: If no department is assigned, the module remains visible to all users with access permissions.

Set up appraisal reviewers by branch and department

Start from: The Flow Learning dashboard.

Automatic reviewer unassignment when permissions change

If a reviewer’s permissions or branch access are modified so that they no longer meet the criteria to review appraisals, Flow will automatically unassign them from any incomplete appraisals.

When this happens:

This automatic process ensures that only valid reviewers remain assigned, reducing administrative work and maintaining visibility of appraisals that still require attention.

Use the Business Unit Tree Selector

Start from: The Analytics module.  

The business unit tree selector tool appears recurrently in Analytics, as it is available in all data analysis modules (Sales, Product Mix, Cashrec, Workforce, etc.) to help the user facilitate data filtering.    

To find the tree:  

  • Select Filter by Center


  • In Filter by Center, the tree selector will open, which has two tabs: 

Selection of Units  

In this tab, you can select business units one by one or use the levels to group them under specific parameters.  


  • Use the levels to narrow down the search to specific criteria. The parameters that you will be able to use will be: 

    • Opening 

    • Concept 

    • Postcode 

    • Company 

    • Status 

    • Structure 

    • City 

    • Currency 

    • Business 

    • Country 

    • Ownership 

    • Region 

    • Pre-created filters or custom groups 

Notes: By default, you will find three levels. However, you can add or remove levels depending on the number of criteria you require to classify a group of business units.  

  • Mark one by one the boxes of the units to be displayed OR press Mark all to mass select the group of units you have filtered by levels.  


  • Once you have selected the business units, click on Filter to see the result of your selection on the screen. 

Notes: You can use the Save As button to assign a name and save the business unit filter you have created so that you can use it later.  


Advanced Filter 

The Advanced Filter option allows you to make a more exhaustive grouping based on particular conditions that a business unit must or must not meet to be shown in the selection.  


  • Select Add condition to add as many conditions as necessary.  

  • In Field, select the parameter by which you want to filter. In this dropdown, you will see the same options as in the Level dropdown, in the Selection of Units screen.  

  • Select the Condition you will use. The conditions may be:  

    • Equals 

    • Does not equal 

    • Begins with 

    • Does not begin with 

    • Ends with 

    • Does not end with 

    • Contains 

    • Does not contain 

  • In the Value field, specify the specific value to be searched for by the condition you have set.  

  • You can group or ungroup conditions by selecting their checkboxes and pressing Group or Ungroup, as appropriate.  


  • You can reset the conditions to zero by pressing Restore Filter.  

  • To delete one of the conditions you have set, select Delete next to each condition OR you can use the Reset Filter button to delete them all. 


  • Once you have set all the conditions, select Filter and return to the main screen to see the result of the selection. 

Notes: You can use the Save As button to assign a name and save the business unit filter you have created so that you can use it later.  

Manage credit requests after reception sign-off

Note: each action performed on the application is subject to a fee. If you are unable to carry out the recommended actions in the articles you are viewing, this may mean that the necessary rights have not been enabled for your user profile. Contact the Support team, or your Admin, to find out more.

Start from: The Easilys menu.

A credit note request is always generated from a reception. It can be created manually or automatically by Easilys if it becomes aware of an anomaly between the order and delivery or between delivery and Receptions.

When you validate the receipt of credit note requests, you can retrieve these requests in a dedicated screen to monitor them and carry out the various actions described below:

  • Select the Supplier orders > Credit note requests tabs.
  • You'll find all the credit note requests generated. (1)
  • Filter by status and/or by supplier to find the required credit note request more easily. (2)
  • Select the credit note you wish to view the details of and/or send to the supplier, if this has not been done automatically when validating the reception.

Details are viewed on the screen.

Note: Automatic dispatch of claims can be set in the supplier master record. To find out more, see Create a new supplier record.

Une image contenant texte, logiciel, Icône d’ordinateur, Logiciel multimédia<br><br>Description générée automatiquement


  • Add comments, if required, by selecting the orange pencil. (3)
  • Download or print the credit note, if required, by selecting Reports. (4)
  • Send the credit note request, if necessary, choosing the delivery method if several are available. (5)

Une image contenant texte, logiciel, Icône d’ordinateur, Page web<br><br>Description générée automatiquement


  • Once sent, the credit note request status changes to “Sent”. (6)

Une image contenant texte, logiciel, Icône d’ordinateur, Page web<br><br>Description générée automatiquement


  • For follow-up, it is possible to select “Accepted” or “Refused” at the bottom right of the claim form when the claim matches the one processed by the supplier. The credit note request then changes status to “Finished” or “Refused”.

Une image contenant texte, logiciel, Page web, Icône d’ordinateur<br><br>Description générée automatiquement

 
By default, a credit note request is always considered paid, even if you do not select “Accepted”.

The most important thing to remember is to select “Refused” when a credit note request is not paid by the supplier, or the food cost price calculation may be distorted.

Note: If you wish to manage the amounts of credit notes received in greater detail, you will need to manage your credit notes from the SUPPLIER INVOICES screen, rather than simply setting them to paid status as described in this article. Please refer to the article “Following up a credit note” if you would like to find out more about managing credit note invoices.

Why does the detail of the food cost price by service not appear

Note: each action performed on the application is subject to a fee. If you are unable to carry out the recommended actions in the articles you are viewing, this may mean that the necessary rights have not been enabled for your user profile. Contact the Support team, or your Admin, to find out more.

Start from: The Easilys menu.

“When I ask for the food cost price, I don't get a breakdown by department. Is this normal?”

 To obtain the breakdown by service of your food cost price, it is necessary to carry out the daily stock outflows, specifying the type of meal, the service, to which each outflow is attached.

To find out more about managing stock removals, see Manage stock withdrawals.

If you need to take out the same product for lunch and dinner, then you can make two outings to specify each time the quantity taken out for which service.

Une image contenant texte, logiciel, Icône d’ordinateur, Système d’exploitation<br><br>Description générée automatiquement


Note: If you are making your stock withdrawals using withdrawal slips on the “withdrawal slips” screen, check that the meal/service type was correct. If not, please contact us.
 

Manage departments in Mapal OS

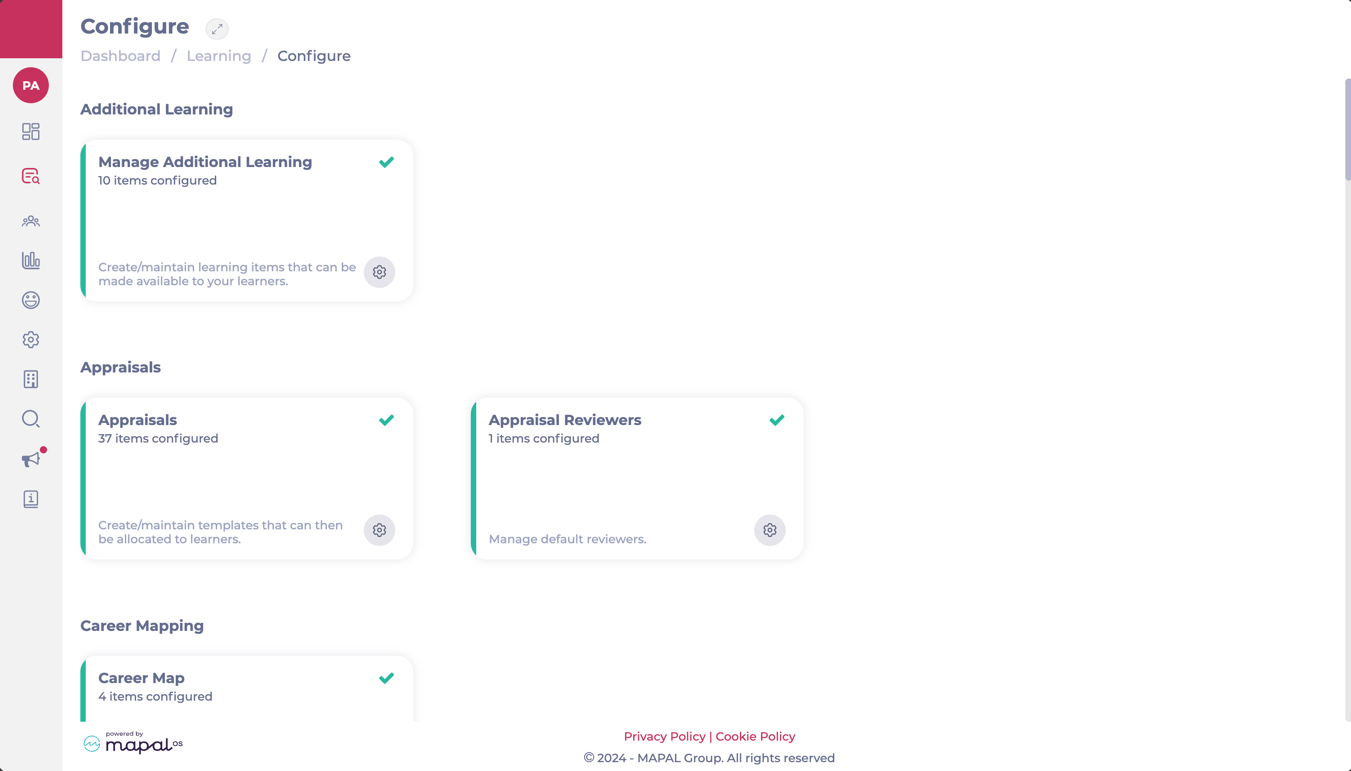
  • Select the Open button on the Configuration tile.
  • Select Business Management > Departments on the main menu.

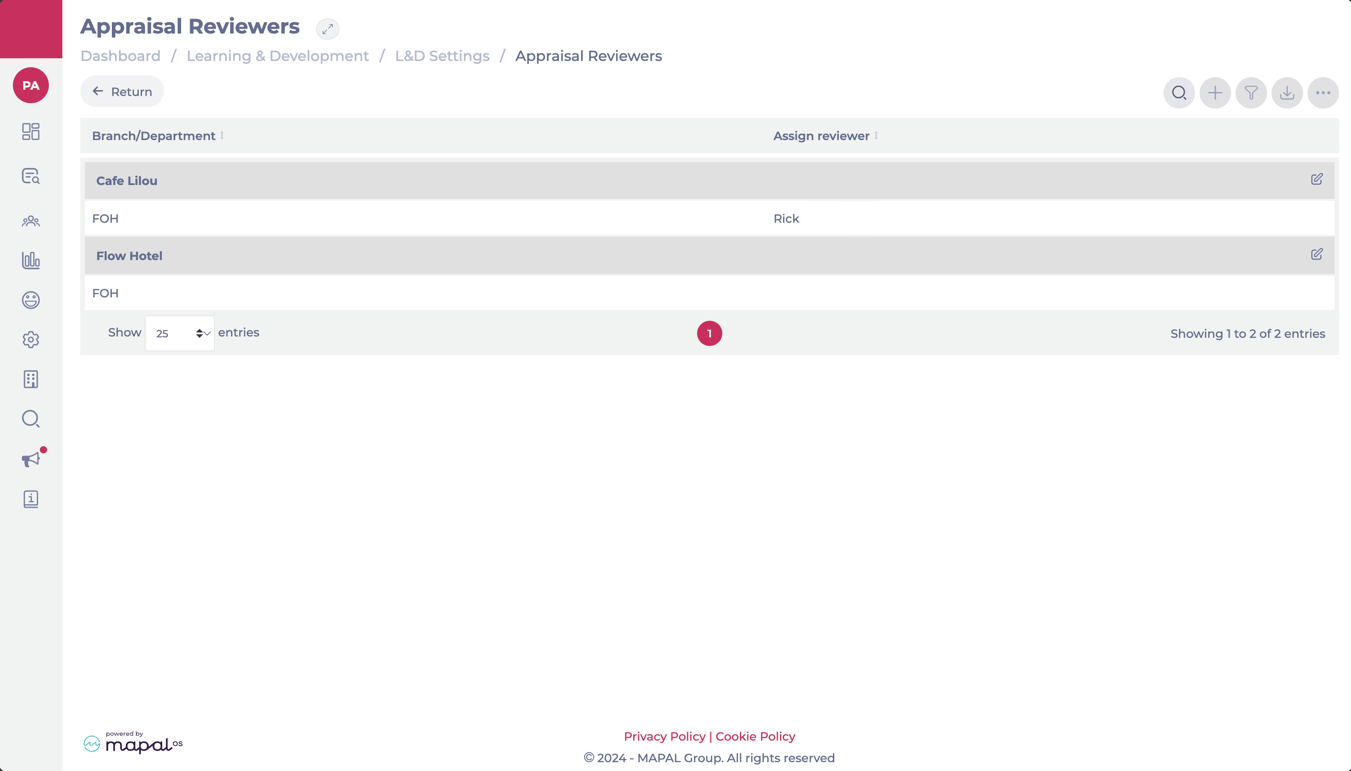
You should now be able to view your departments here. You can search for specific departments by clicking on the Search icon.

Note: your level of access will determine whether you can Maintain or View departments. Users with no access to departments will not be able to do either of the latter. Please check with your support team for any issues or if you have any questions. 

Adding departments

  • Select the + Add Department(s) button

You can either add individual departments or add multiple departments at once by uploading a CSV file.

To add individual departments:

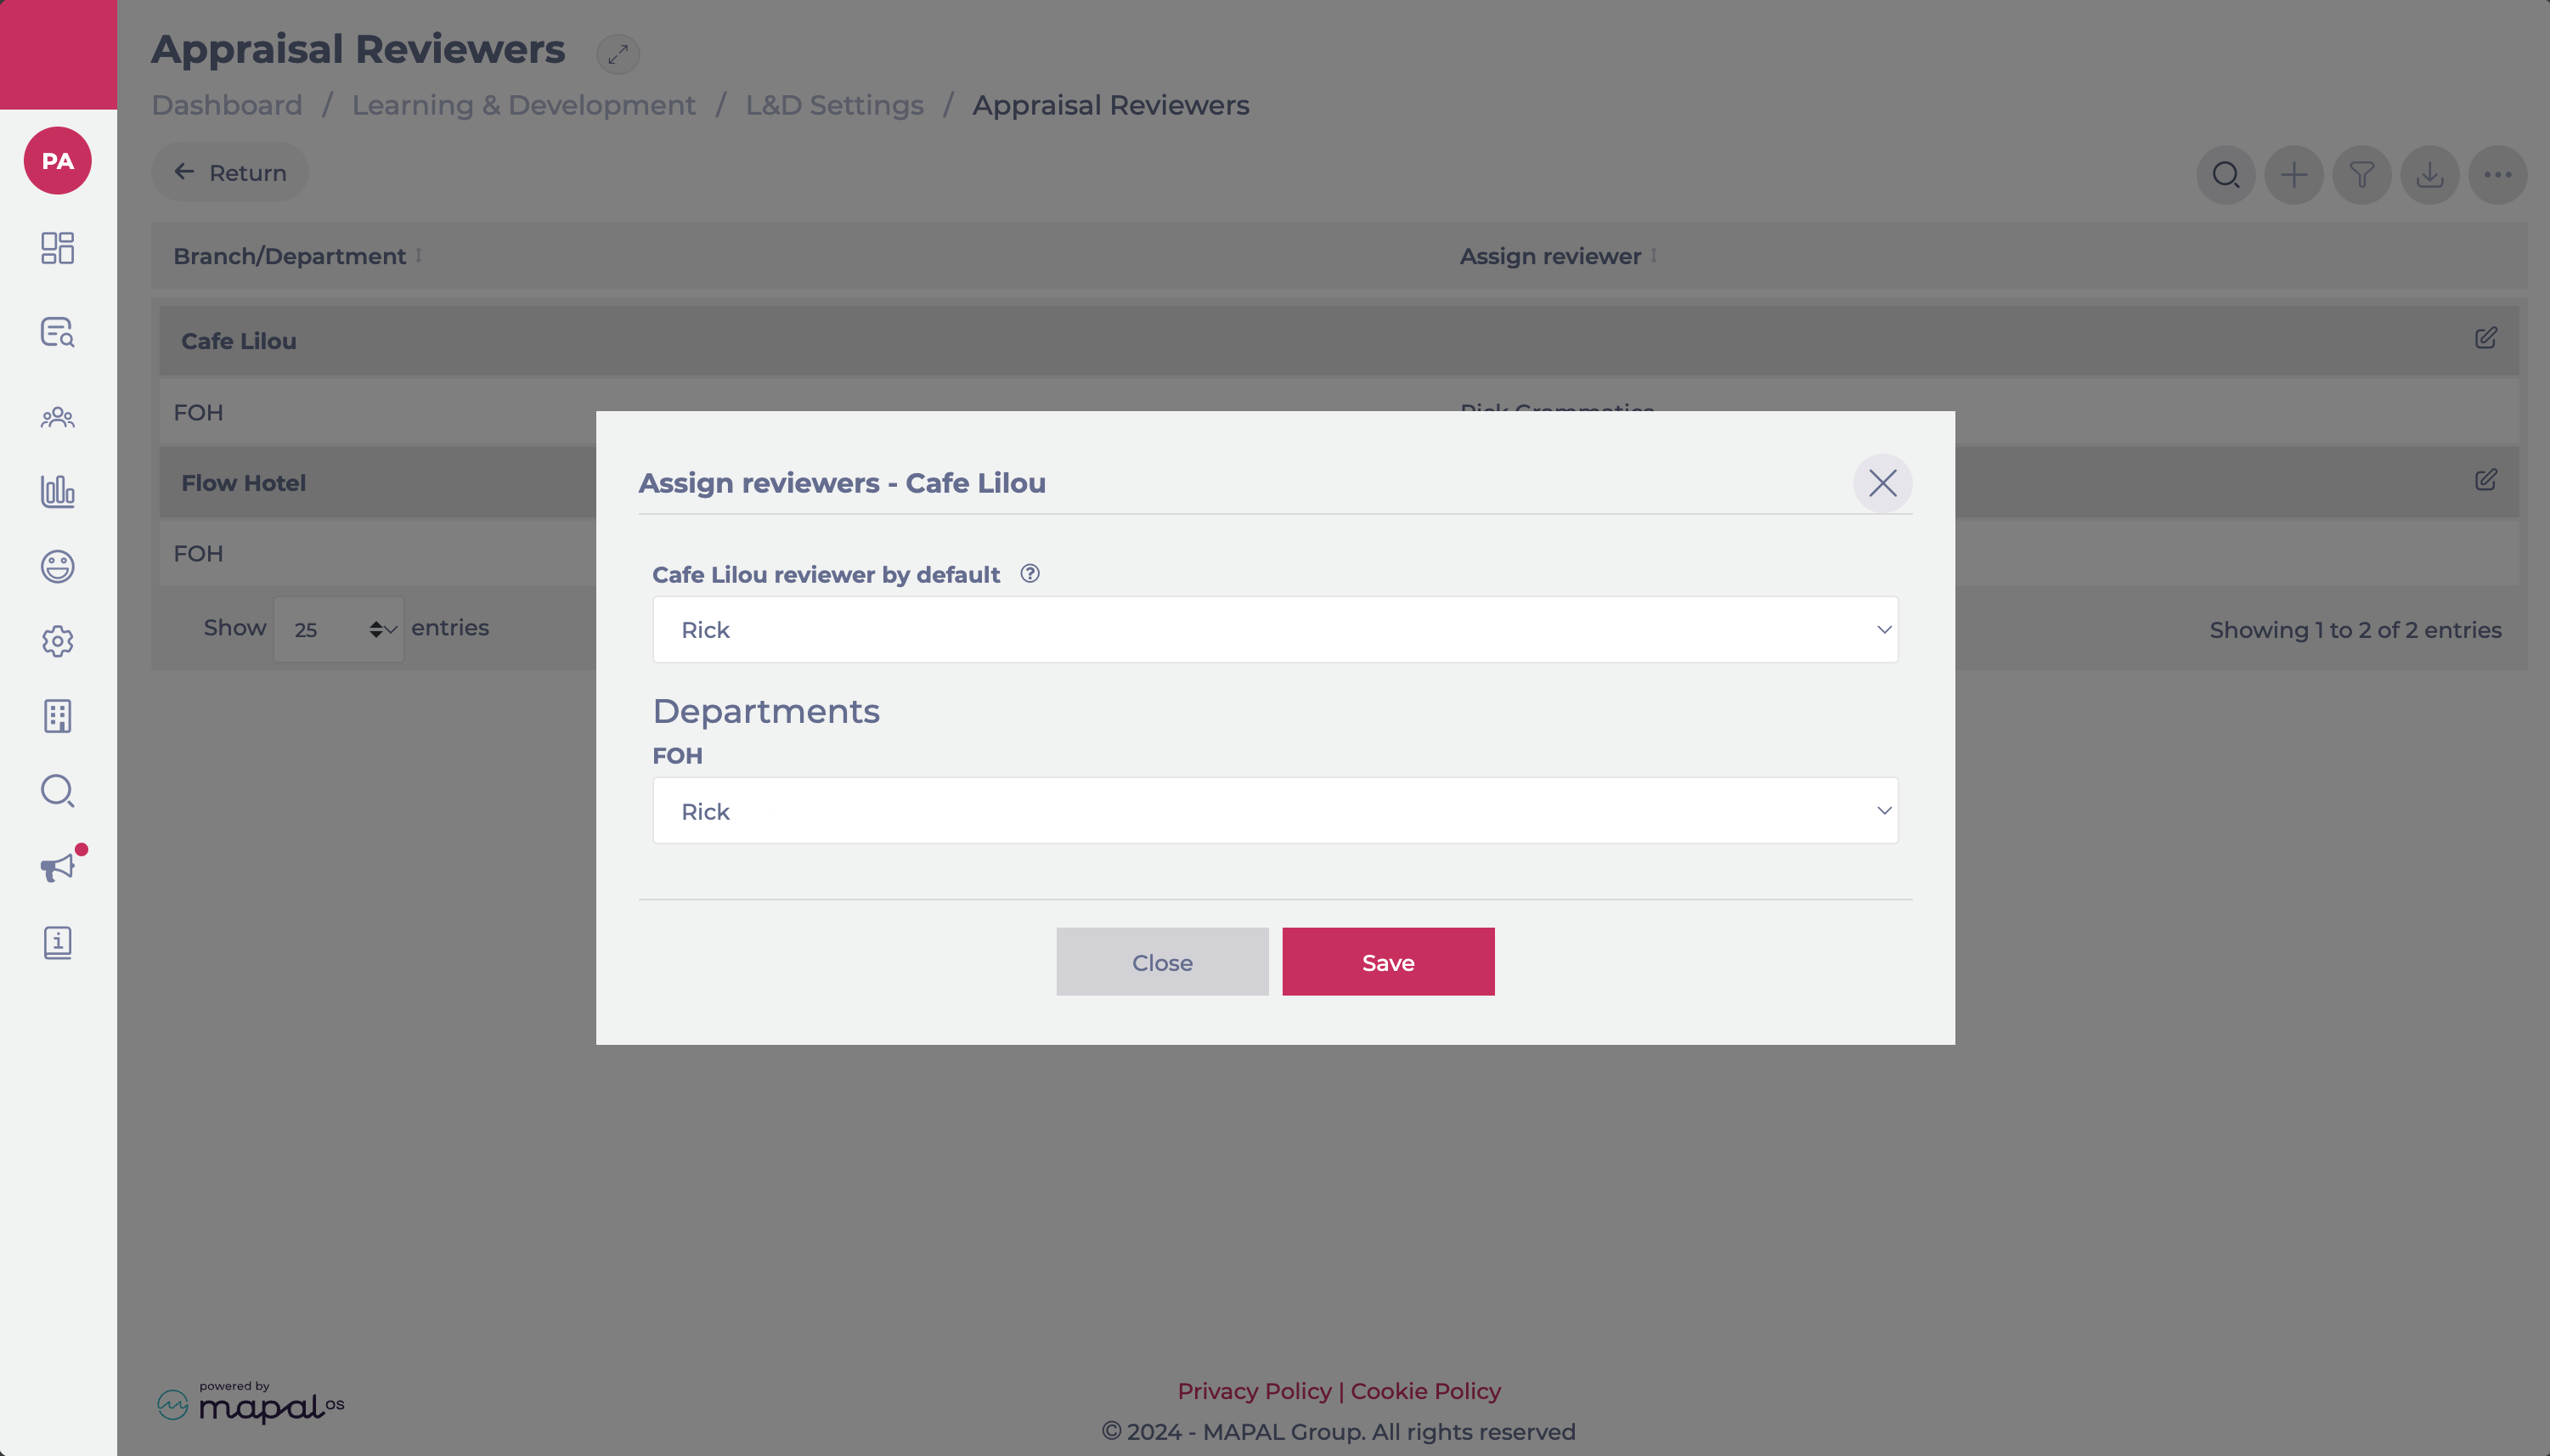
  • Select Add department.
  • Enter a name and select Create department.

Note: the new department will be added to the OS and will sync into Flow too.

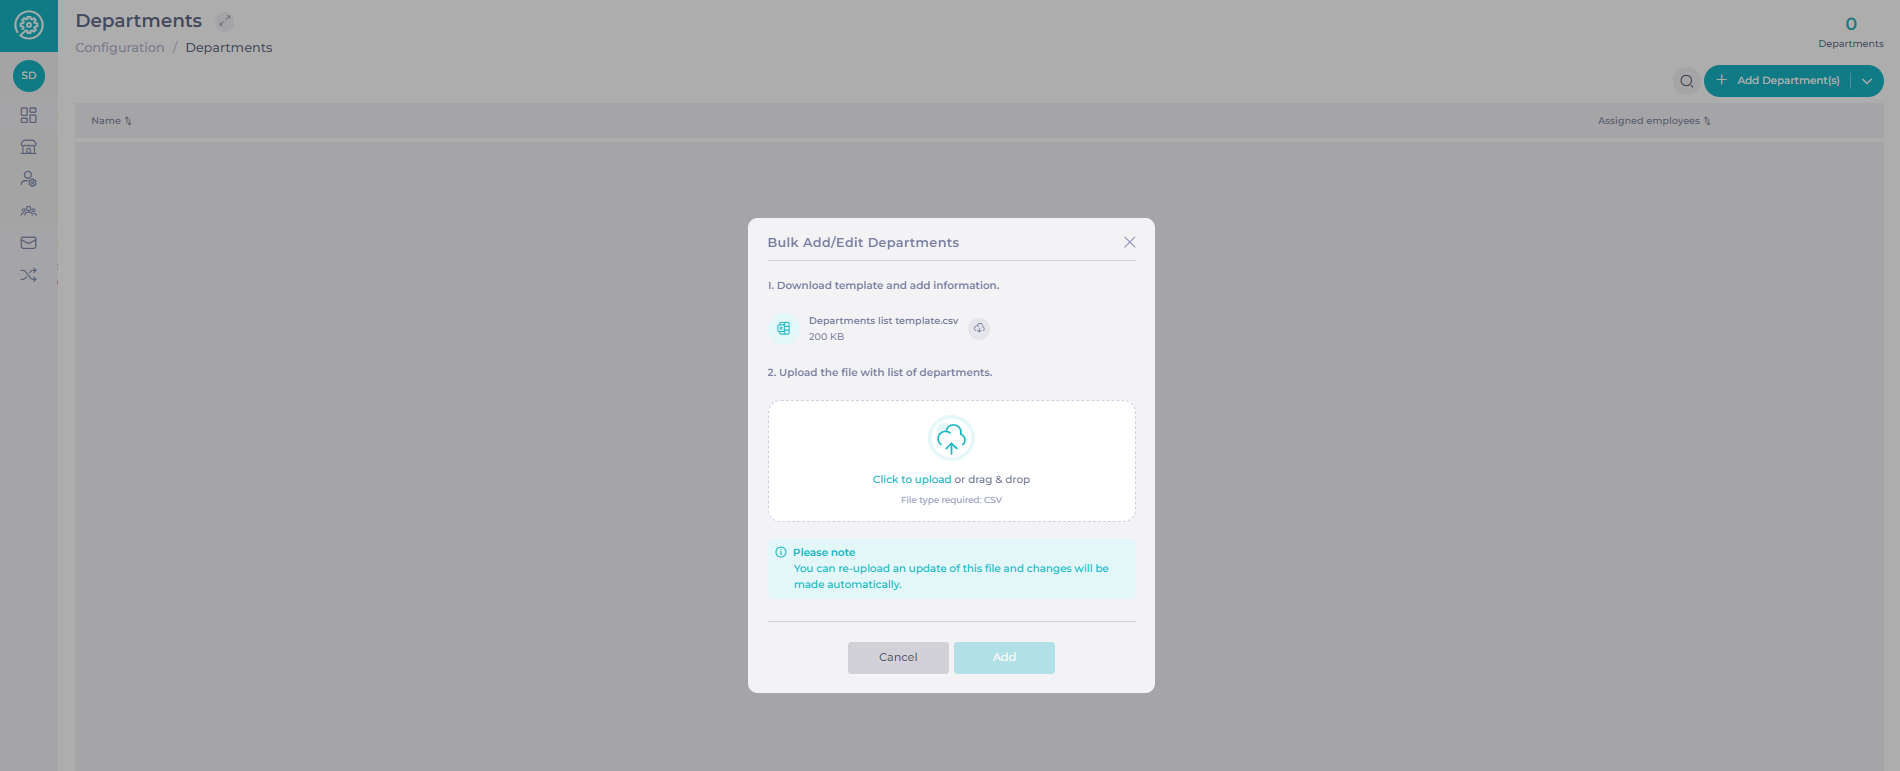
To add multiple departments at once:

  • Select Add list of departments.
  • Download the template list by selecting the download button next to the file name: Departments list template.CSV.
  • Enter the information required on the CSV file downloaded.
  • Upload your departments list file by selecting Click to upload and searching for the file in your documents, or by dragging and dropping the file into the box.
  • Select Add.

The new departments will now be added to the OS and will sync into Flow too.

Editing departments

  • Select the three dots next to the department name you wish to edit.

  • Edit the department name and select Save.

The change will be applied immediately, and will also sync to Flow, so learners in Flow will be assigned to the new department name.

Deleting departments

  • Select the three dots next to the department name you wish to edit.
  • Select Delete.

Note: it's not possible to delete a department if there are active users or employees assigned to it.

Access to departments

Permission levels

  • Users with “View” access can view and search for departments but cannot add or edit departments.
  • Users with no access cannot view, maintain, or assign departments. They will see an access restriction message when attempting to open the Departments page.

Automatic access for new departments

Users who already have access to all departments will now automatically gain access to any new departments created.

No manual updates are required to grant access to newly added departments. If you're unsure about your access level, please contact your Customer Success Manager.

Departments in Workforce

Departments are not supported in Workforce. While departments can be used in most of the Mapal OS ecosystem to categorise and group employees effectively, this functionality does not extend to Workforce. For managing employee groups in Workforce, you will need to use alternative organisational features specific to that platform.

If you have any questions about Workforce or need assistance with employee categorisation, please contact your Customer Success manager.