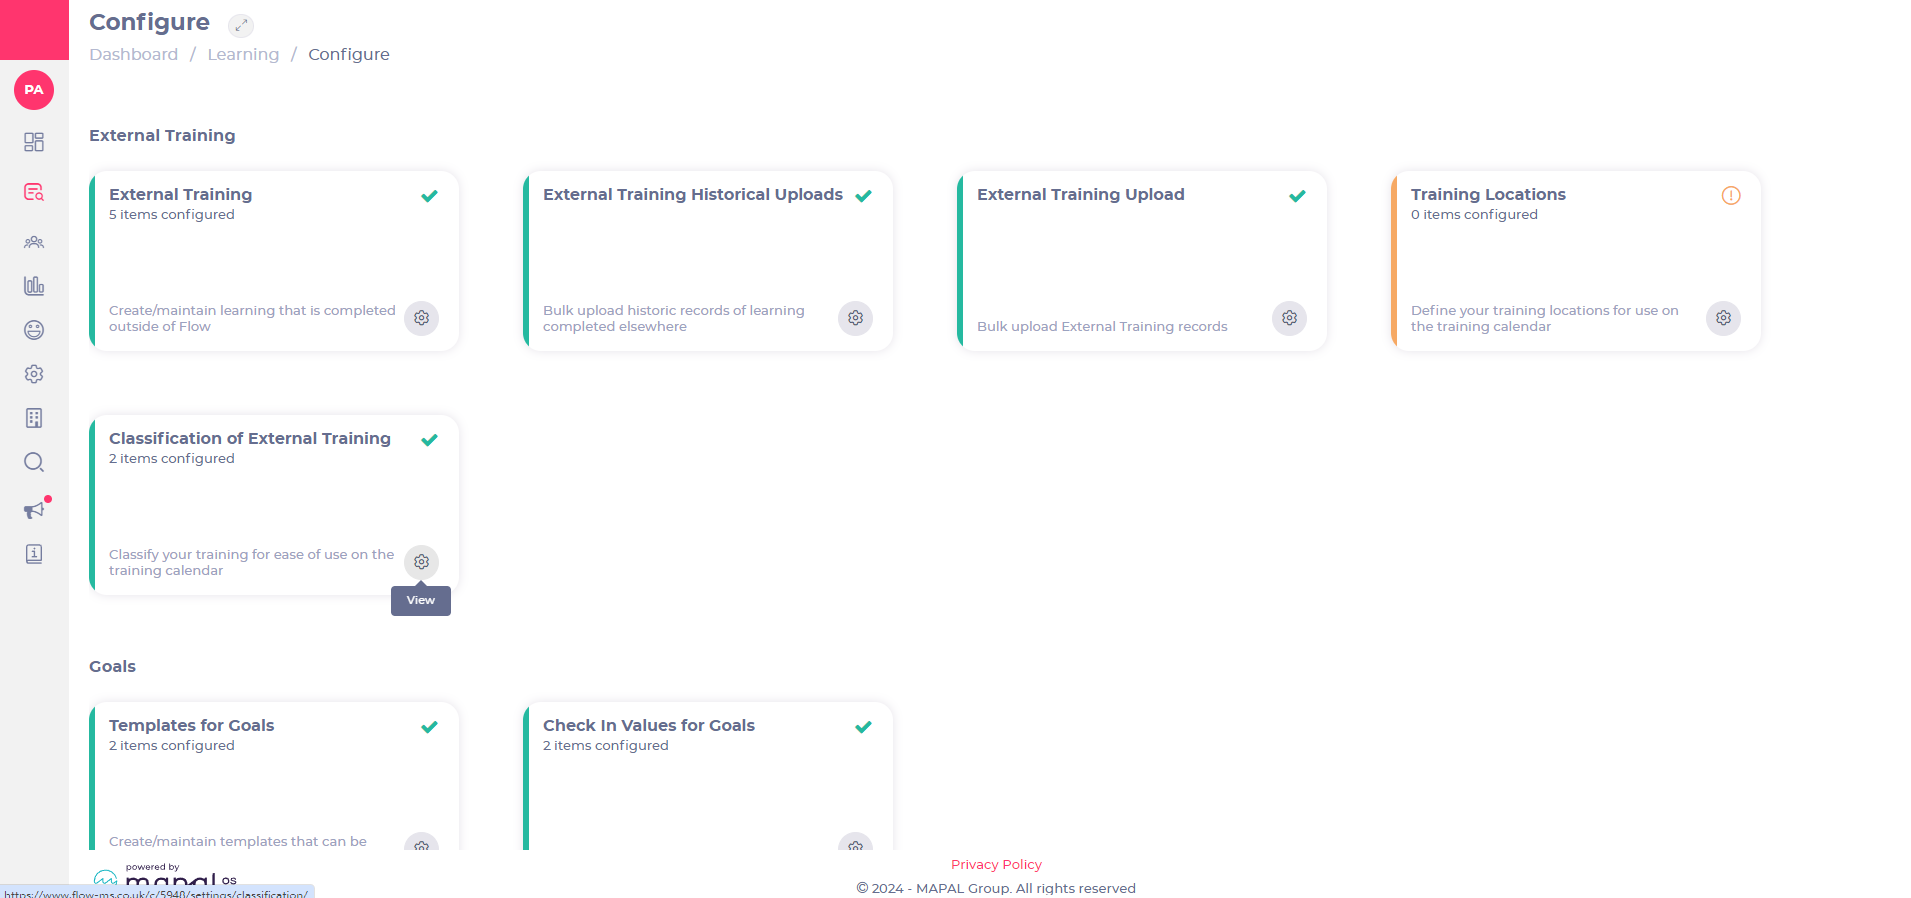
Select View on the Classification of External Training tile.
Select Add (+) to create a new classification for external training.
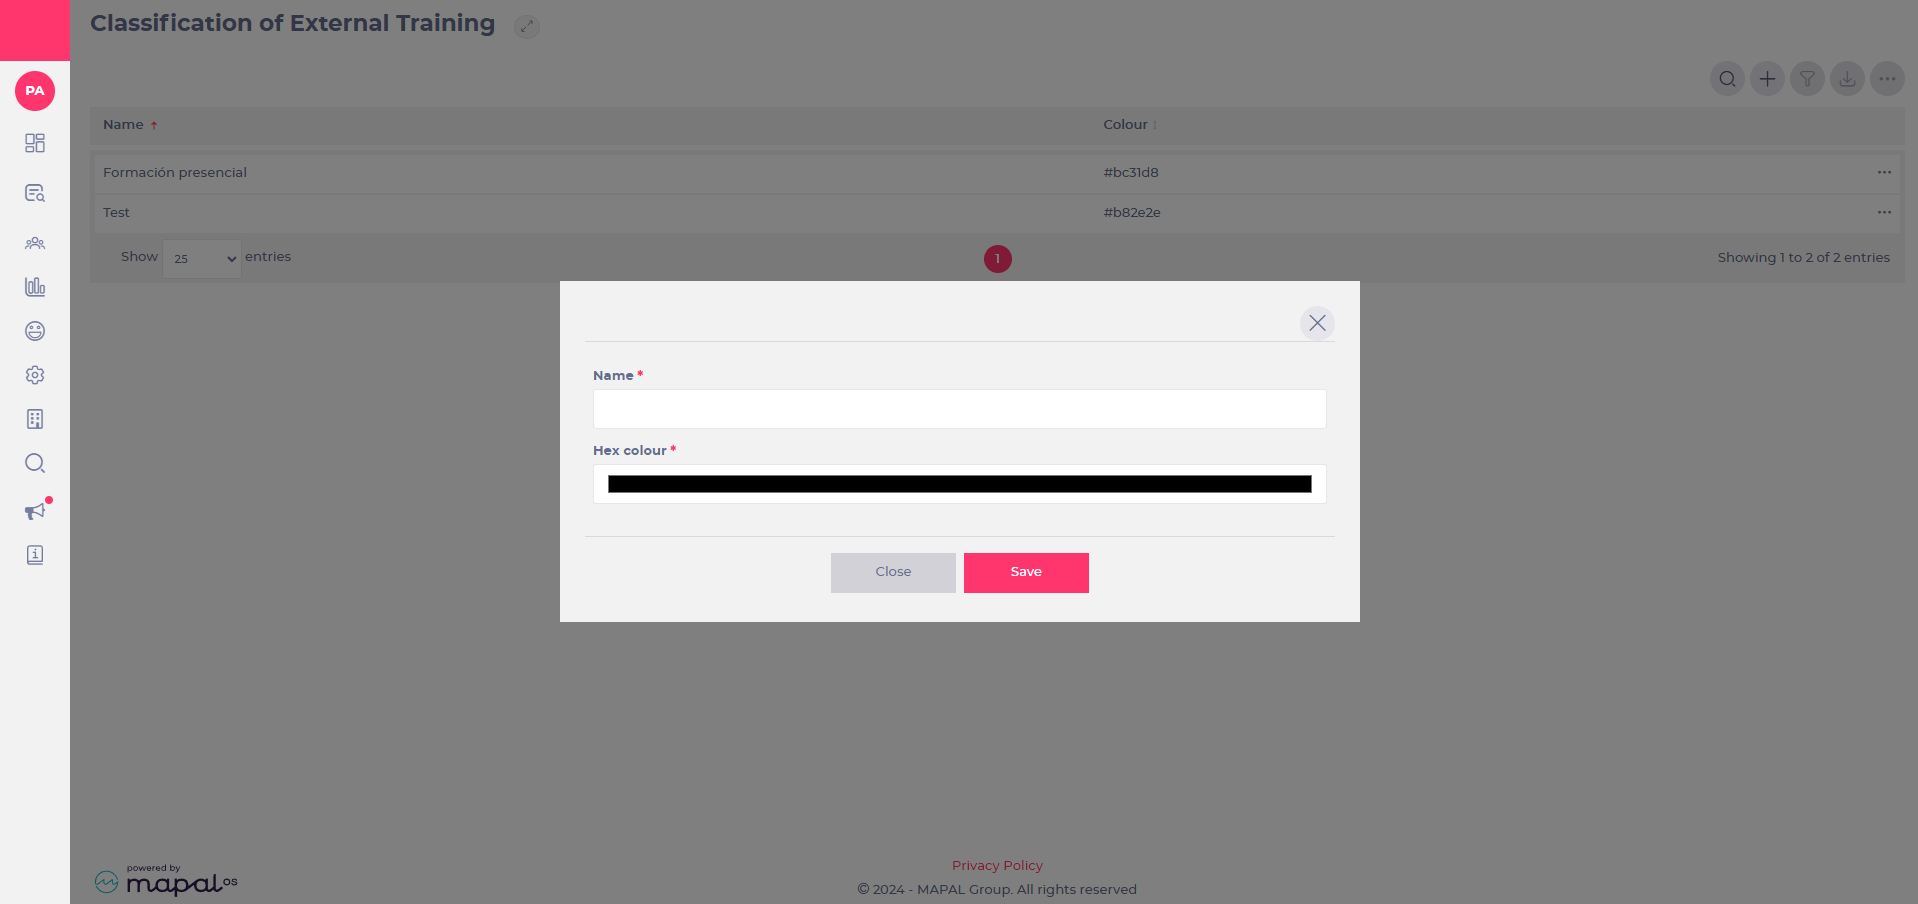
Enter a Name for your classification.
Choose a HEX colour or enter the HEX code, if you know it.
Note: mandatory fields are marked with an asterisk (*).
Select Save when you finish.
Use external resources to continue learning
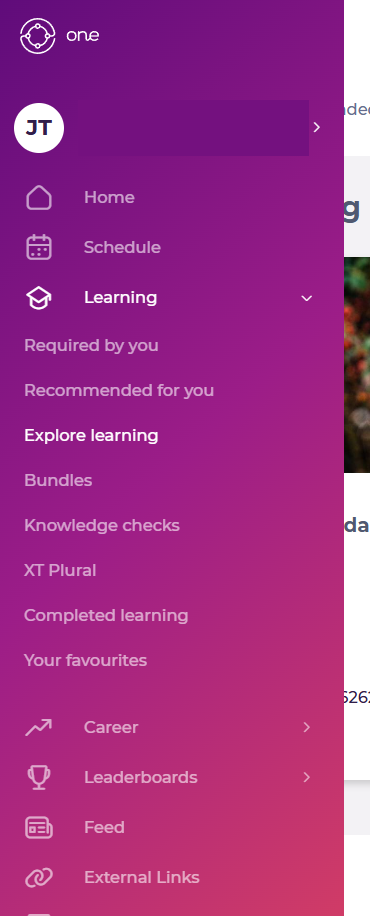
Start from: The Mapal One dashboard.
Select Learning > Explore Learning from the main menu.
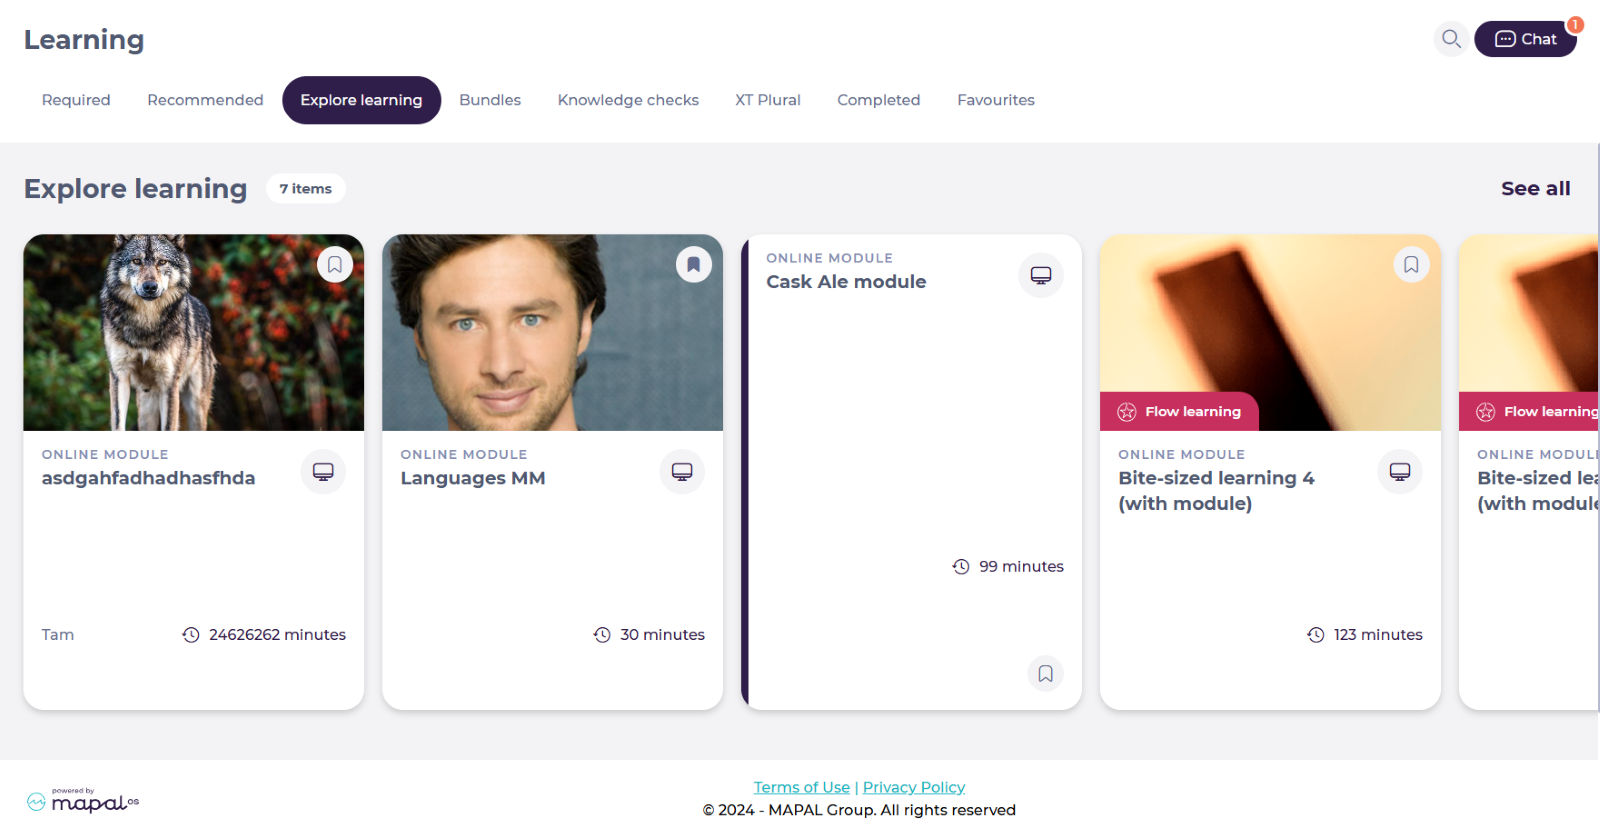
The Explore learning screen allows employees to access a variety of additional learning resources such as modules, external links, PDFs, audio files, and images.
You can find specific external links by using the Filters in See all.
The resources are ordered by tiles. Select the specific tile of the external link you want to consult.
The details of the external resource will be displayed on screen. Select the specific Link.
Notes: The target location opens in a new tab, ensuring you don’t lose your place in Mapal One.
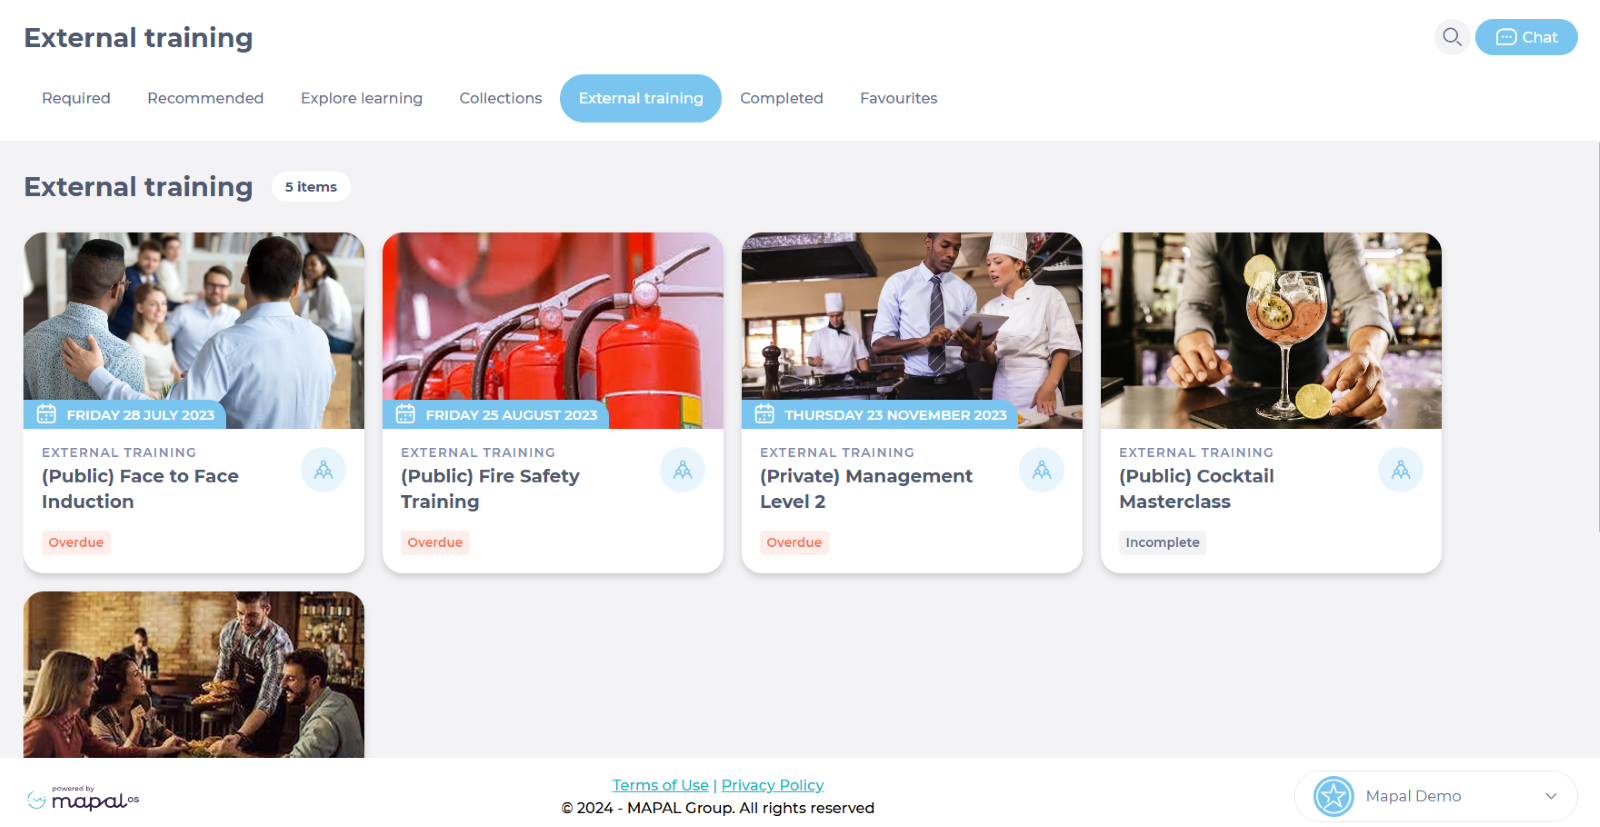
View your External Training
Start from: The Mapal One dashboard.
Select Learning > External Training from the main menu.
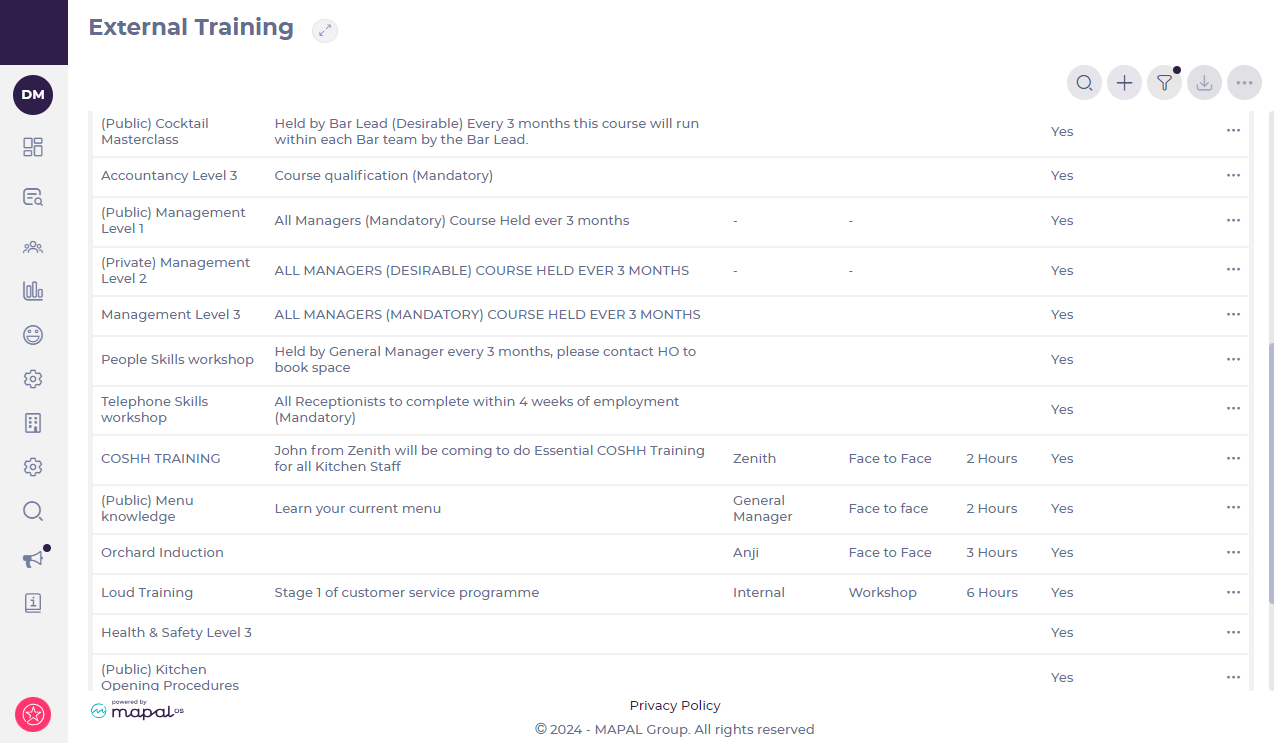
Once on the External Training page, you will be able to see a series of tiles showing all of the available items for this type of learning. Note that each tile shows you the due date (if assigned) and status of the external training.
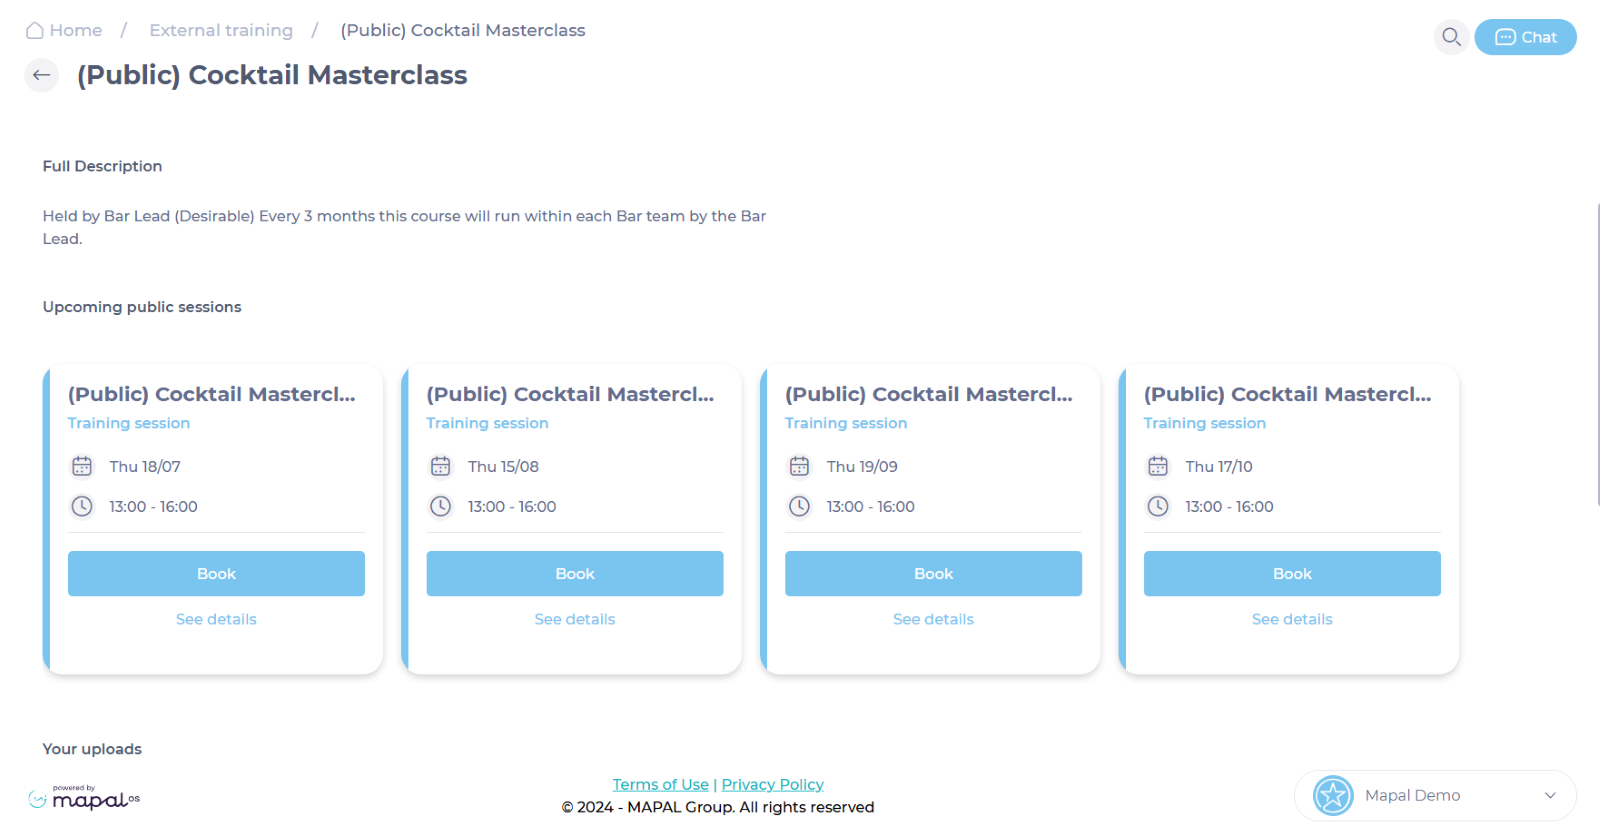
Select the tile corresponding to the item you want to open. You’ll now be able to see the details for that specific external training.
Note: you may be able to upload documents to this tile, depending on how the external training session has been set up. The upload limit is 100MB.
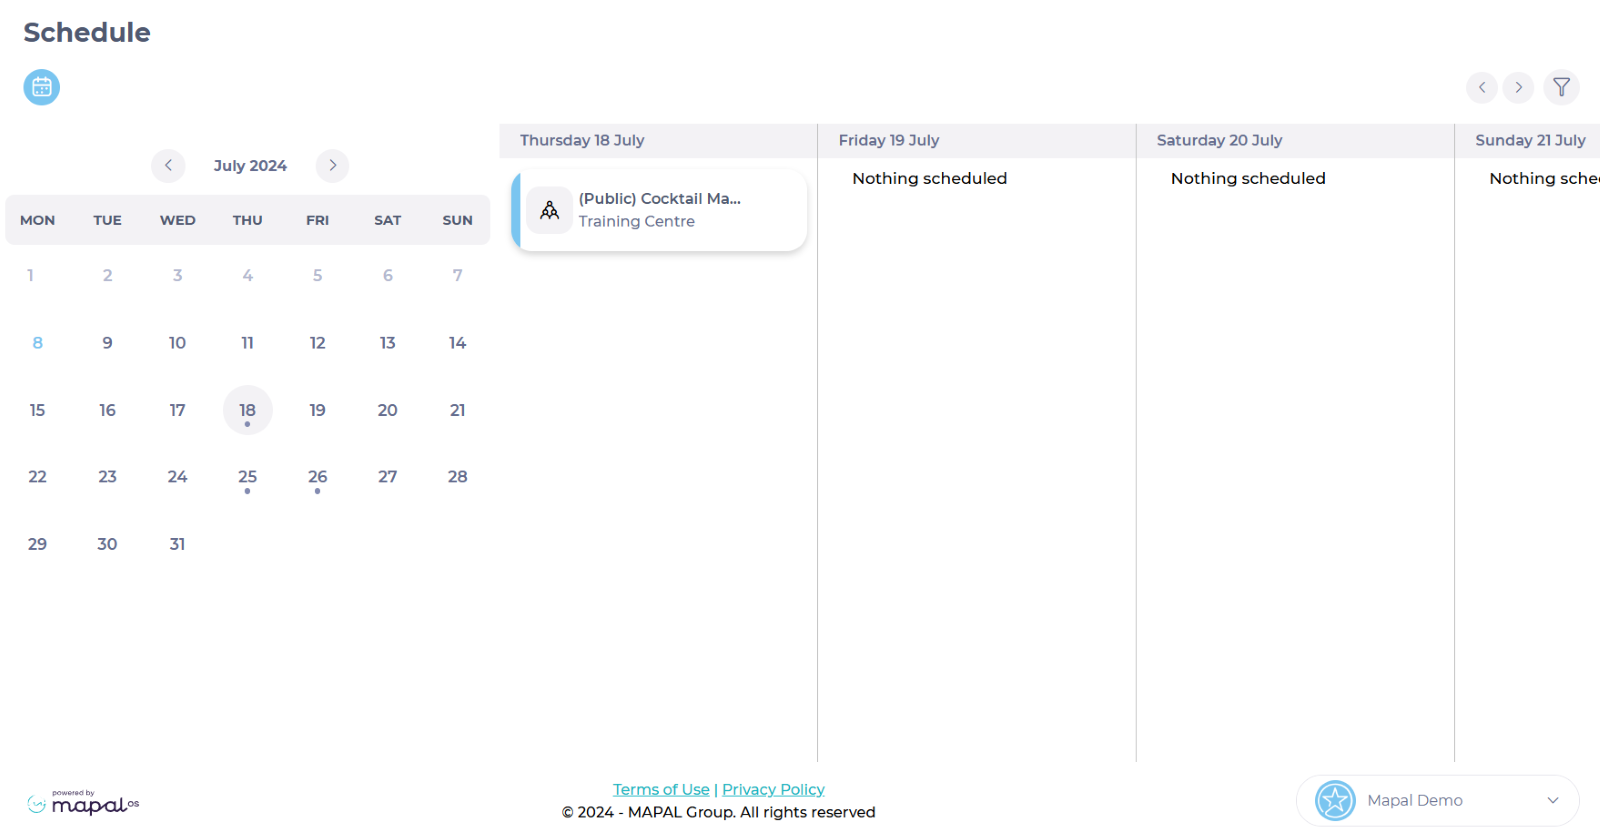
You can also see your pending External Training items by accessing the Schedule on the main menu.
Assign External Training
Start from: The Flow Dashboard.
Assign external training through a learners’ training journey
Select Company >Training Structures.
Note: Training structures are only available to Flow account managers.
Select the training structure you want to change OR
Select the external training that you have previously added. See Build external trainingfor more information (or if the external training doesn't appear in this menu).
Drag and drop the necessary external training from the Available column into the Selected column, an option to add due days will appear.
Add the number of days until the training should be completed. Note: This is optional.
Select from the dropdown menu labelled Available to if you would like the external training you are adding to be visible to all learners, new learners only, or existing learners only.
Select to open the Restrictions panel.
Note: You can use restrictions to allow items to be included or excluded from the training structure depending on a learner’s branding or jurisdiction.
Setting a restriction
Select the Add Another button to add a restriction. You can add as many as necessary.
Tick the box in the Exclude column to exclude the item when a learner’s if Condition column parameter matches the Value column OR untick the box to only include the item when their if Condition column parameter matches the Value column.
Select the item to be restricted using the dropdown list in the Available column.
Select either a branding or jurisdiction from the if Condition column to test that parameter for the restriction.
Check the box in the Matches column to restrict the item if the branding or jurisdiction matches the selection in the Value column OR uncheck the box to restrict the item if the selection does not match.
Use to remove the restriction.
Select Previous to return to the previous section.
Select Next to navigate through the other menu items. Note: You can edit/add other items to your training structure such as Appraisals, Workbooks, Competencies and Collections. See Setting up new training structuresfor more information.
Select Save & Review to review your choices, select a training structure order, select a branch, and ensure everything is correct.
Select Save&Close.
Note: This will automatically assign the training to the learner when they are added to the system or when their job title changes.
Assign external training individually through Assign learning
Select Learning & Development>Assign Learning.
From the pop-up that appears:
Select that you would like to assign learning items Individually.
Select the External Training tab from the menu.
Select the external training item you wish to assign using the dropdown. See Build external trainingfor more information (or if the external training doesn't appear in this dropdown).
Add a due date. Note: Due dates are optional.
Select Add Another to add further external training items.
When you have added all the external training items you need:
Select the Learners tab from the menu.
Use the search functions or the page tabs to find the learner(s) you want to assign the external training to and tick the box next to their name(s).
Note: You can assign in bulk by selecting Filter to create a group of learners based on categories such as Branch or Job Title.
SelectNext>Review your options>Review Learning>Confirm and Assign. SeeAssign Learningfor more detailed instructions if required.
The training will be sent out to your selected learners and they will receive an email informing them of this within 30 minutes (if this option has been selected).
src="src="src="
Upload historical External Training
Start from: the Flow Learning dashboard.
Select Learning & Development > L&D settings from the main menu.
Scroll down to External Training Historical Uploads and select View.
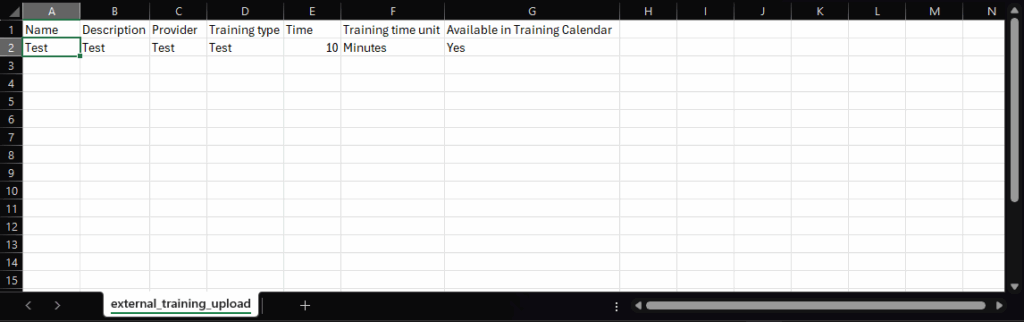
Preparing the CSV for upload
You can download a CSV file template to populate the correct external training records.
Under Download an existing template, select download.
Ask your Customer Success Manager for more information if you are struggling with the CSV template.
Testing the CSV file
Once you have your CSV ready, you can test the file before upload.
Use Choose file to locate the CSV file from your desktop.
Check the Test upload checkbox to test the validity of the data in the CSV file before importing. This is important to make sure the file will work on the system.
Select Upload.
If the test upload is successful, you’ll receive a notification to confirm this. However, If the test is unsuccessful you will have to remove the uploaded CSV, fix the errors, re-upload the amended file and run the test again.
Importing data from the CSV
When the CSV file has been tested and validated, you're ready to import the data.
Untick the Test upload checkbox.
Choose whether to Match trainees by email.
Note: This checkbox enables the use of trainee email addresses to identify them in the system. Use this field if you don't have external ID's set for all your trainees. Note that all emails must be unique.
Select the Remove completed training checkbox if you want incomplete training removed and overwritten.
Note: If this is checked, any incomplete version of the external training will be removed and overwritten with the completed version (from the Historical upload). For example, if a Fire Safety course was outstanding on a learner's profile and a Historical upload was done for the same course with this option toggled off, the learner would have two versions of this course on their profile: a completed and an incomplete one.
Complete the process by selecting Upload.
Your Historical Training data will be uploaded and available to use on the system.
Note: To upload historical documents, the training manager must have the permission Can upload historical training?. For details on how to assign this permission, see Set permissions for training managers.
Upload External Training as a batch
Start from: the Flow Learning dashboard
Select Learning & Development > L&D settings from the main menu.
Scroll down to External Training Upload.
Select View (the cog icon).
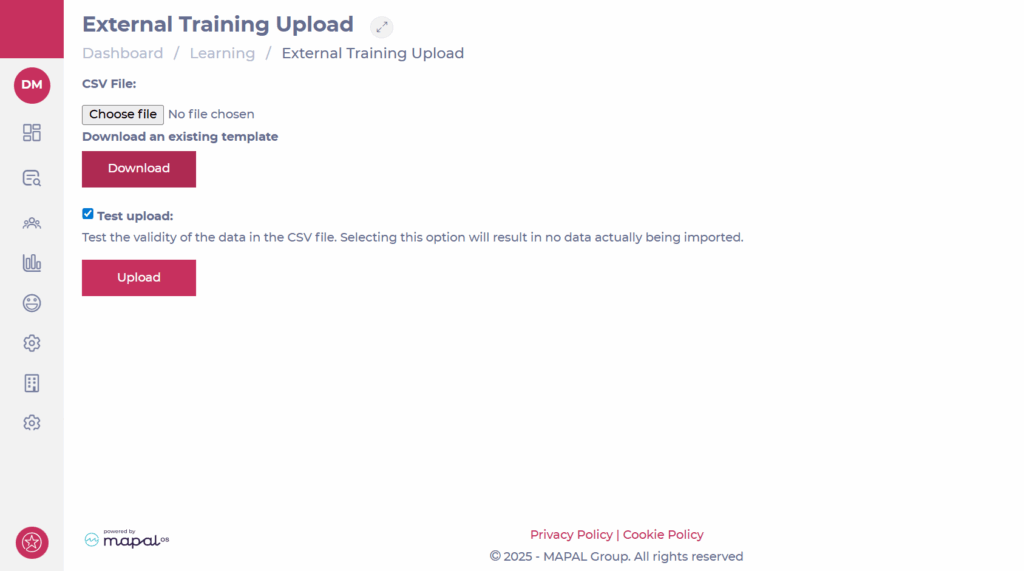
Once on the External Training Upload page, you can download a CSV file template to populate with information on the external training you wish to upload in bulk.
Under "CSV file", select Download to save your CSV template.
Save the file to a safe place on your device.
Uploading your CSV file
Once you have your CSV file ready to upload:
Select Choose File to locate the CSV file from your device.
Once you have uploaded it successfully, you must run a test upload to make sure the file will work.
Select the Test upload checkbox then select Upload. This will test the validity of the data in the CSV file without importing anything.
Note: when uploading External Training as a batch, the ‘Available in the Training Calendar’ field will default to ‘no’ if there is no set value in the field.
If the test upload is successful, you’ll receive a notification to confirm this. However, If the test is unsuccessful you will have to remove the uploaded CSV, fix the errors, re-upload the amended file and run the test again. Only when the CSV file is correct:
Untick the Test upload checkbox.
Select the Choose file button again and upload your CSV file.
A pop-up upload confirmation message will appear.
Your External training is now uploaded and is available on the External Training page at Learning & Development > L&D Settings > External Training.
Upload supporting documents for an External Training
Start from: The Flow Learning platform.
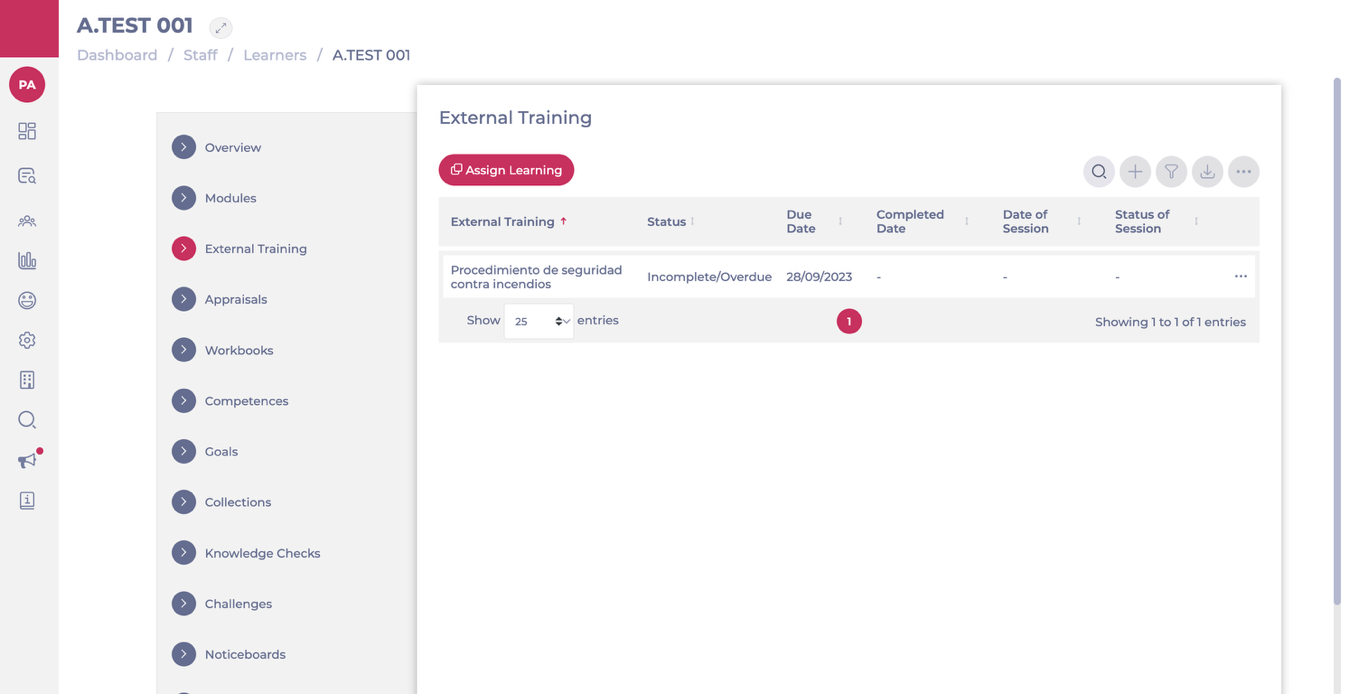
Navigate to Company > Learners.
Select the relevant learner from the list.
From the side panel, select External Training.
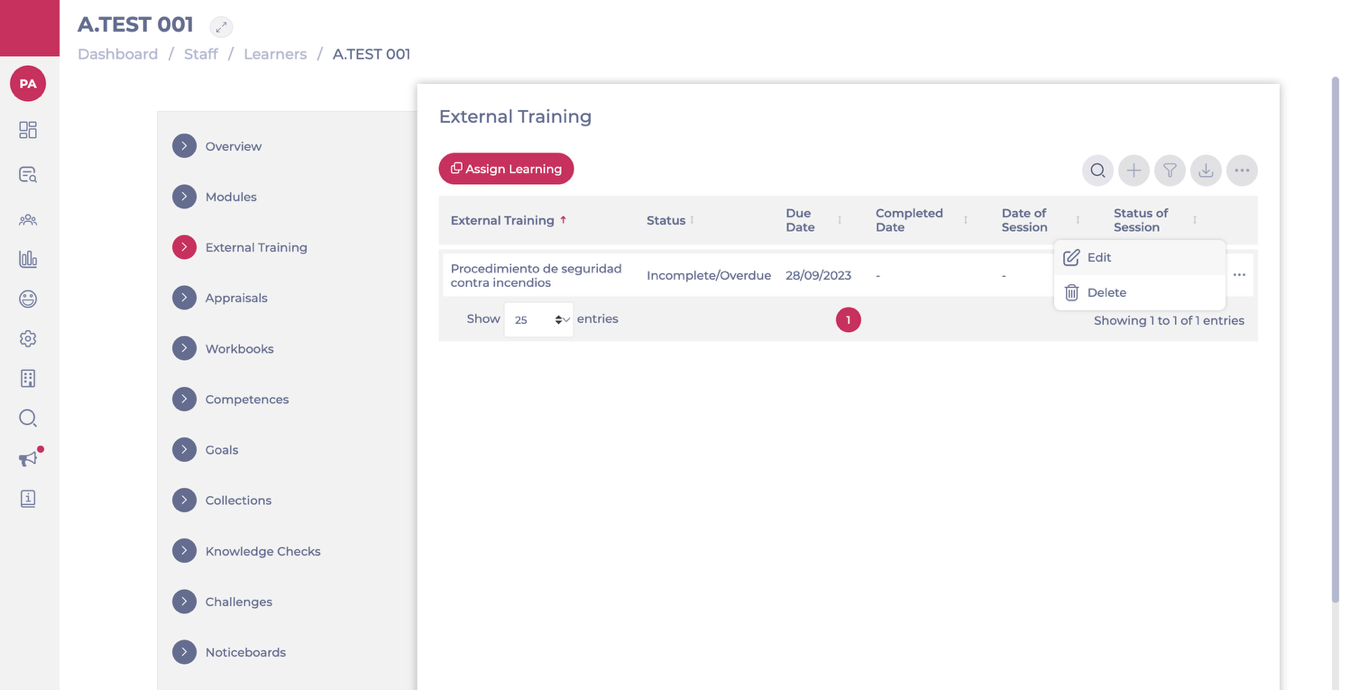
Click the action menu (…) next to the training record and choose Edit.
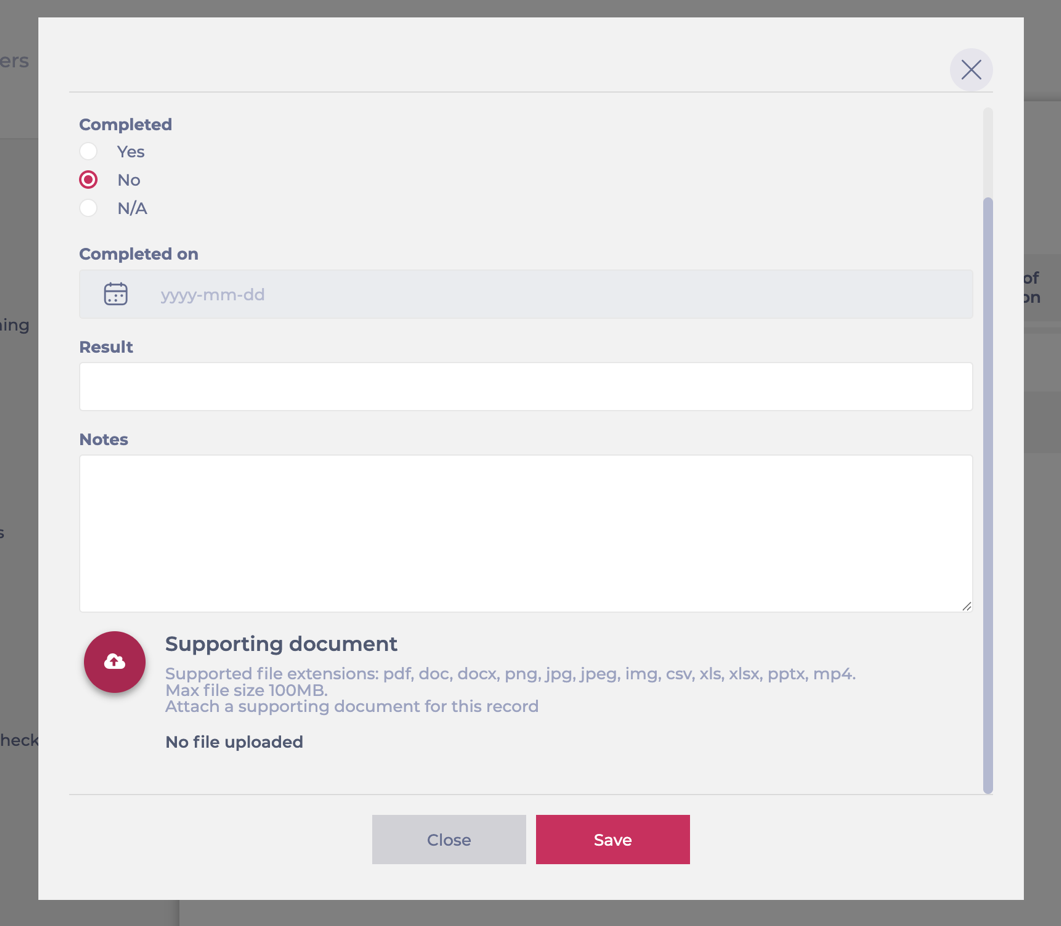
In the pop-up window, scroll down to Supporting document.
Upload the relevant file.
Select Save to attach the document to the training record.
A typical use case is uploading a training certificate after a learner has attended an external workshop.
For example, if an employee attends a Food Safety Level 2 course, the manager can upload the certificate of completion as a supporting document. This ensures the training record is fully documented and provides proof of successful completion, which can then be used for compliance and audit purposes.
Note: To upload supporting documents (including certificates for historical training records), the training manager must have the permission Can upload historical training?. For details on how to assign this permission, see Set permissions for training managers.
Introduction to External Training
What is External Training?
External Training in Flow Learning is a feature that allows you to record and manage training sessions conducted outside the Flow Learning environment. This can include online courses, face-to-face training, workshops, and other learning activities provided by external organisations. By integrating these sessions into Flow Learning, you can maintain a complete record of all training activities, apply the same refresher rules as internal training, and track learner progress across all training formats.
Key Features and Benefits of External Training
Comprehensive Record-Keeping: External training functionality allows you to maintain records of all training activities, including those conducted outside the Flow Learning platform. This ensures that all learner progress is tracked and documented in one place.
Integration with Training Structures: External training can be integrated into training structures, allowing you to include these sessions as part of a learner’s broader training journey. This seamless integration helps create a unified learning experience.
Customisation and Flexibility: You can customise external training records with details such as training type, provider, and instructions, ensuring that each training session is well-documented and easy to manage.
Bulk Uploads and Archiving: The ability to upload historical external training records in bulk makes it easy to transition from other systems and keep your records up to date. Additionally, you can archive external training that is no longer needed, keeping your training catalogue relevant and organised.
Scheduling and Management: External training can be scheduled using the Training Calendar within Flow Learning, allowing you to manage and track upcoming sessions, send reminders, and monitor attendance.
Why Use External Training?
Incorporating external training into your Flow Learning programmes provides a more comprehensive approach to employee development. By integrating third-party training resources, you can offer a wider range of learning opportunities, ensuring that all training—whether internal or external—is accounted for and accessible within the same platform. This holistic approach to training management supports continuous learning and development across your organisation.
Select Learning & Development > L&D settings from the main menu.
Select View (the cog icon) on the External training tile.
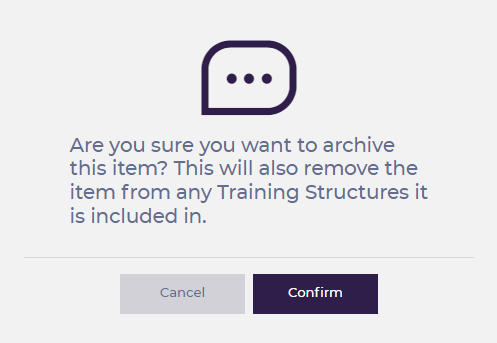
Select > Archive
The pop-up below should appear - select Confirm to complete the process
Note: archiving this item of external training will automatically remove it from any Training Structures.
External Training and training calendar FAQs
Note: the invitation email will not contain any attachments - the learner can find these within their Mapal One external training area.
Will learners receive a notification if details of the training session change?
Yes, trainees will get notifications when date / time / location changes and if the session gets cancelled.
Can I have waiting lists if the maximum capacity is reached?
Yes, check with your account manager if you have waiting lists enabled. If not, you can request this feature to be enabled.
What happens if the maximum capacity is reached?
Once the maximum capacity is reached, learners won't be able to book onto this session (this depends if the company has the waiting list functionality enabled). Capacity is measured by booked learners, as waiting list are for public sessions only. If a session if fully booked, the learner will see 0 available spaces. The learner will need to click the Join the waitlist button > confirm. They will then get a position on the waiting list and will automatically get notifications when slots become available.
Can I send reminders to learners regarding a certain training session?
Yes, reminders can be sent regarding a certain session.
Navigate to Learning & Development > Training Calendar.
Select the relevant session and then, More details.
Select the Send Notification button.
Notifications can be sent to attending learners, all learners and/or invited learners.
Select the appropriate audience from the dropdown list (under To):
Do session administrators get notified when a learner confirms, declines or cancels a session?
Yes, session administrators will get an email notification in these cases.
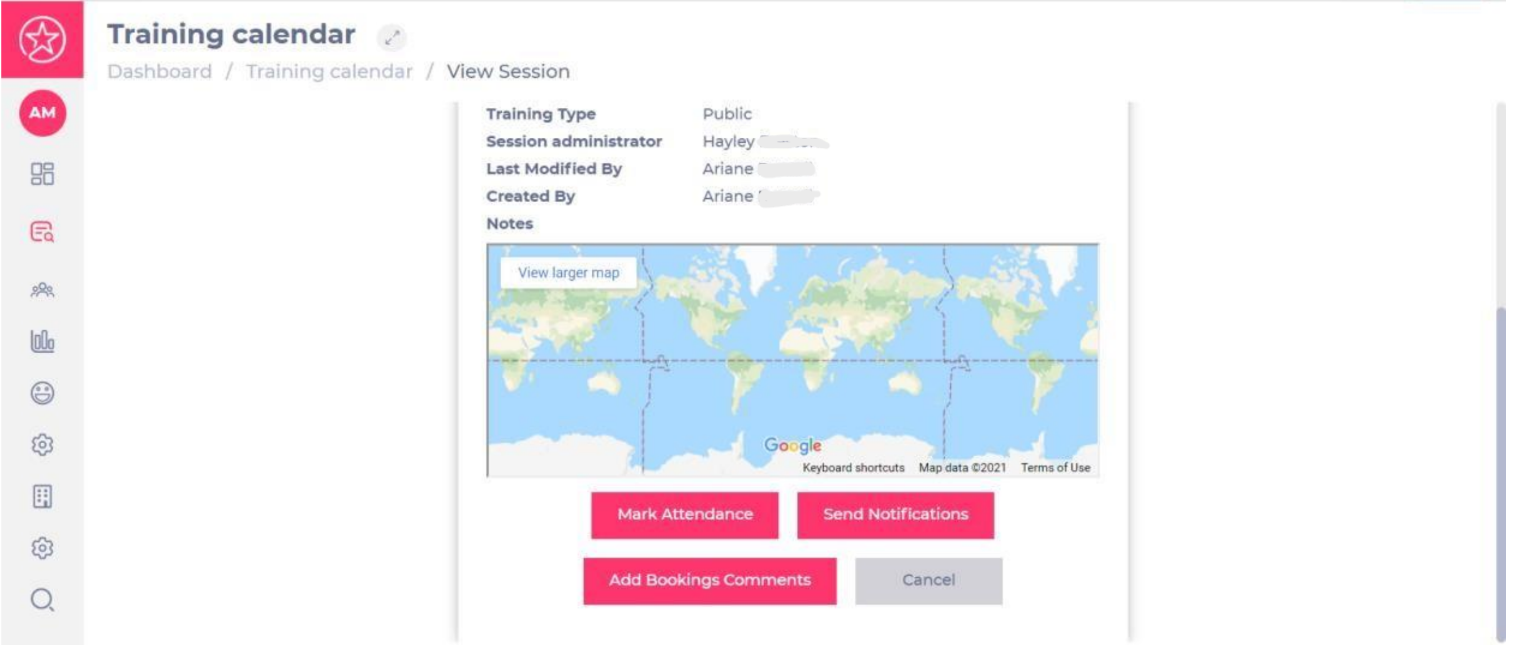
How can I mark attendance?
As a session administrator, you can mark attendance by following this process:
Navigate to Learning & Development > Training Calendar.
Select the relevant session and then, More details.


 to remove the restriction.