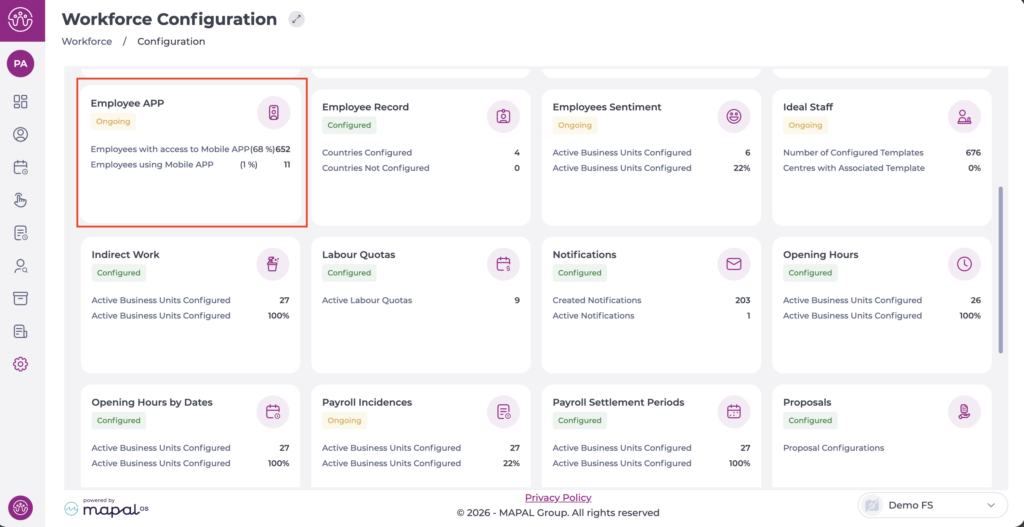
Select Configuration > Employee App from the main menu.
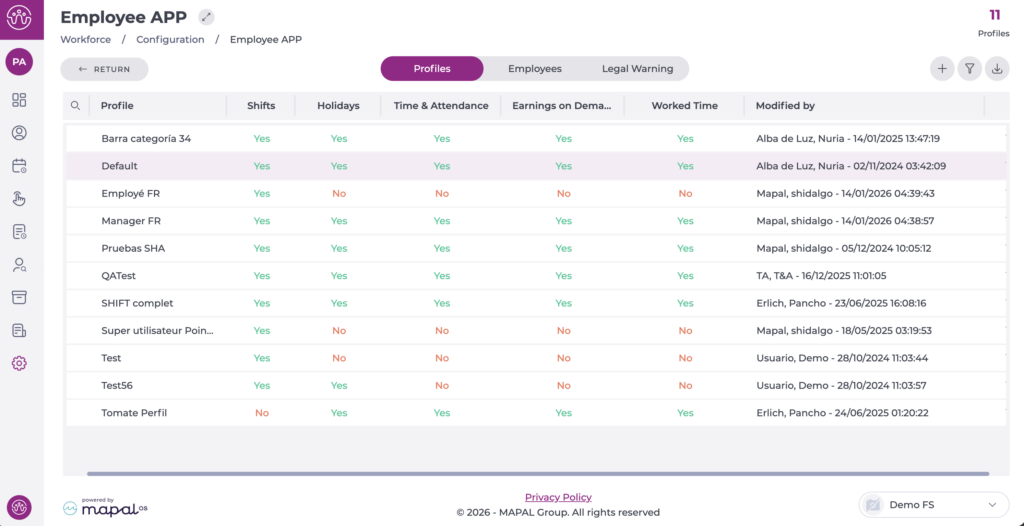
On the Profiles tab, you can see the list of profiles already created.
Select the profile you want to edit.
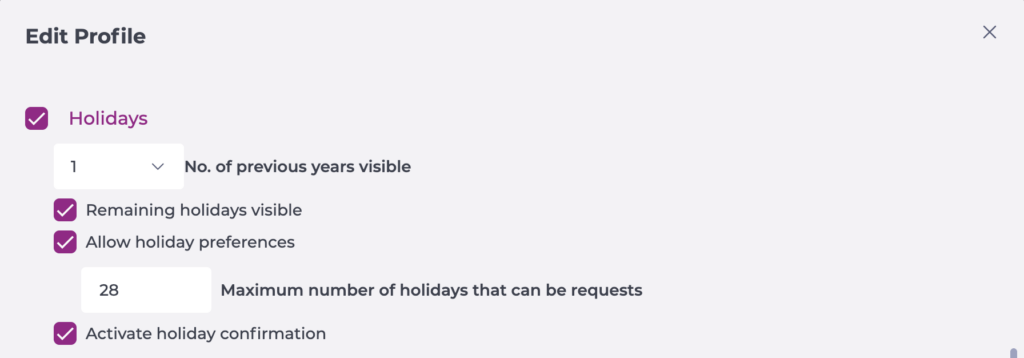
In the pop-up window, begin editing the Holidays section by enabling the corresponding checkbox.
Set the number of previous years you want to be visible.
Select Remaining holidays visible if you want employees to see their remaining days.
Select Allow holiday preferences and then configure the maximum number of days they can request.
Select Activate holiday confirmation if you want the employee to receive an update once their holidays are confirmed.
Select Accept to save the configuration you have defined OR Cancel to discard the changes.
Permissions and actions: Holidays
Start from: The Workforce module.
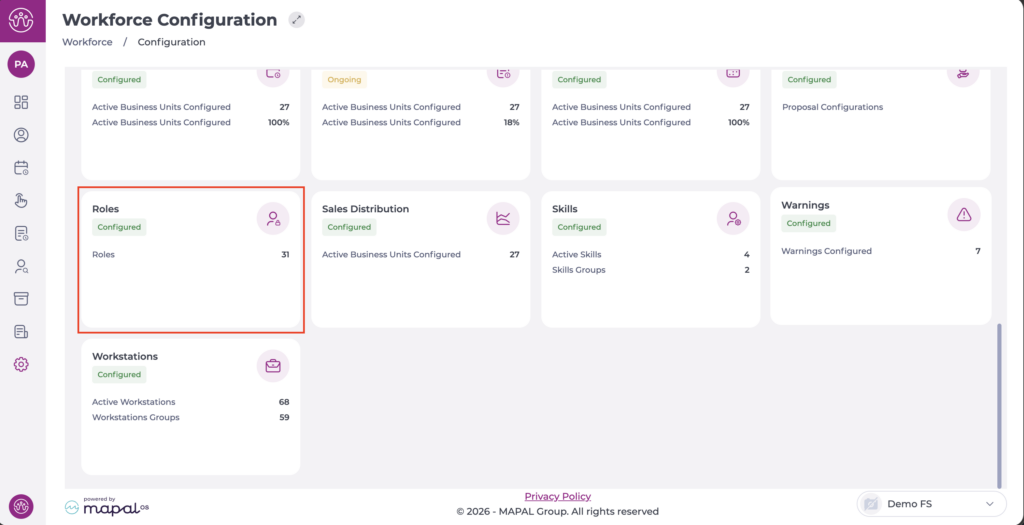
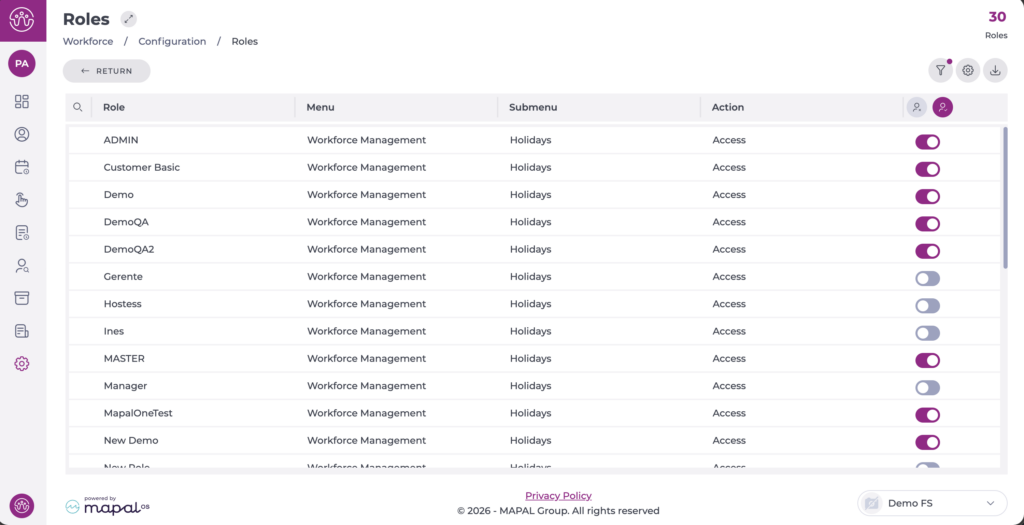
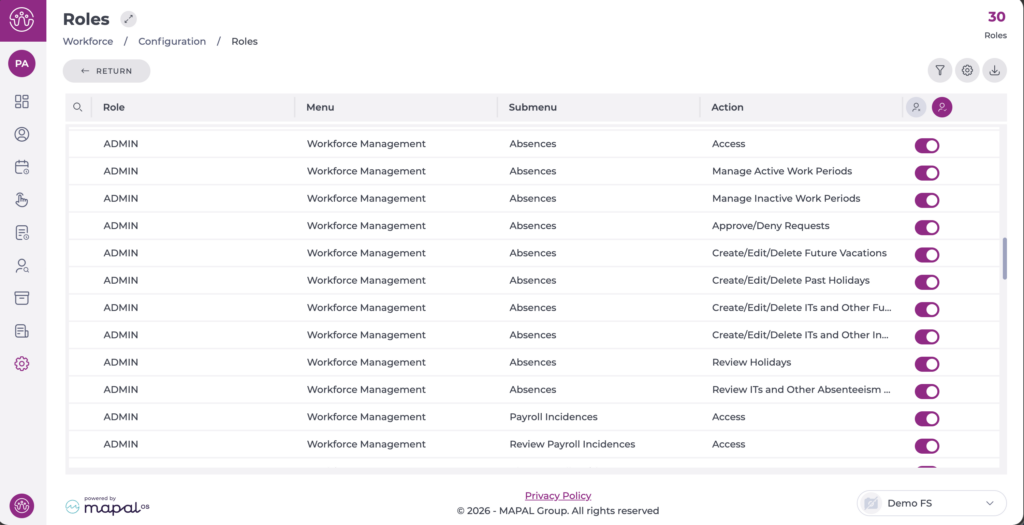
Navigate to Settings > Roles.
The Holidays screen has only one available permission: Access.
This means that if the role has this permission enabled, users will be able to perform all available actions on the screen:
View holiday balances for the selected period and business unit.
Add future holidays.
Edit or delete holidays that have not yet been reviewed.
Filter and sort employees for holiday review or assignment.
Print the holiday plan.
Add holidays retroactively
Start from: The Workforce module.
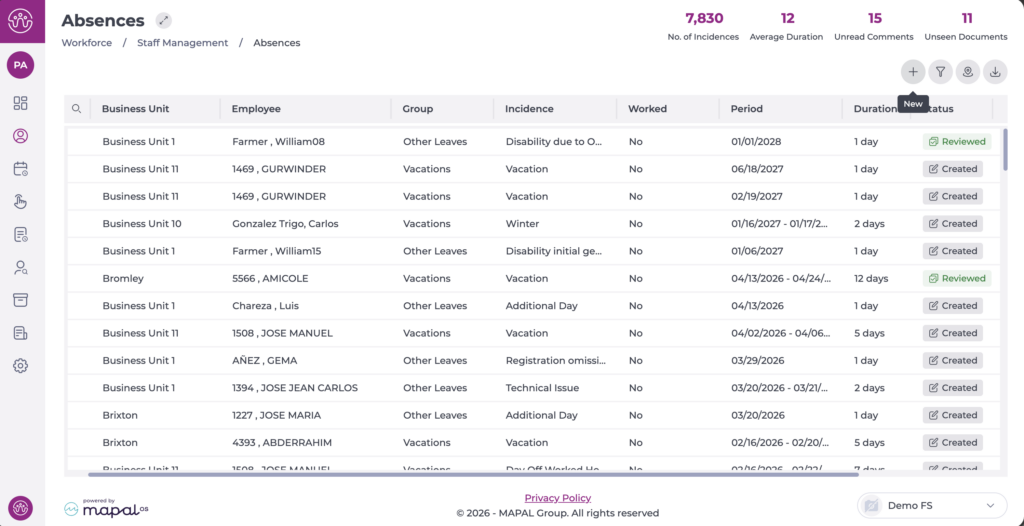
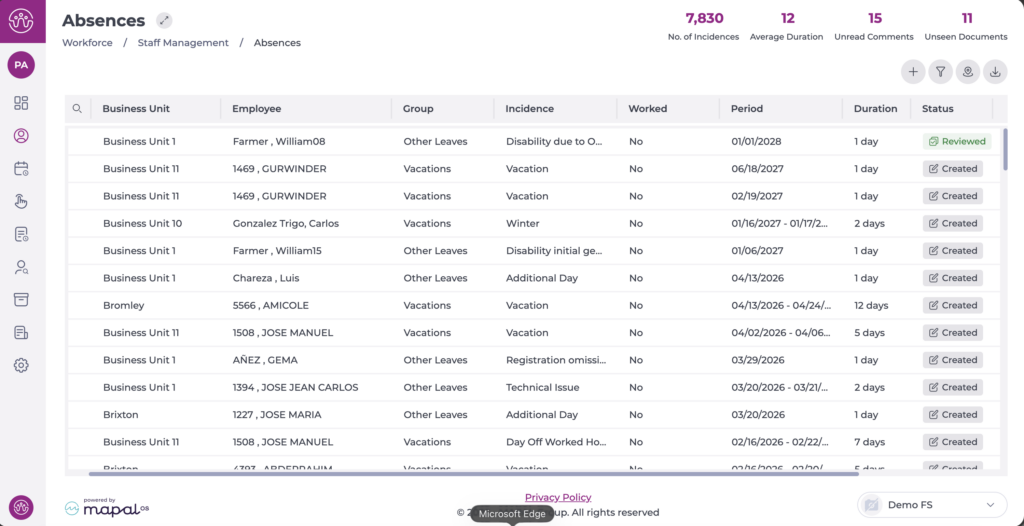
Select Workforce Management > Absences from the main menu.
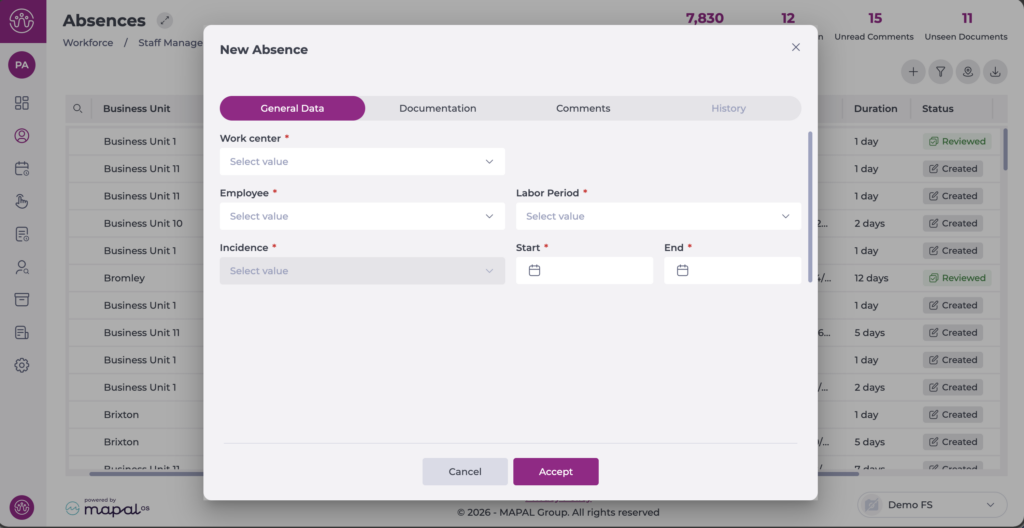
Select the New + icon to create a new absence or leave incident.
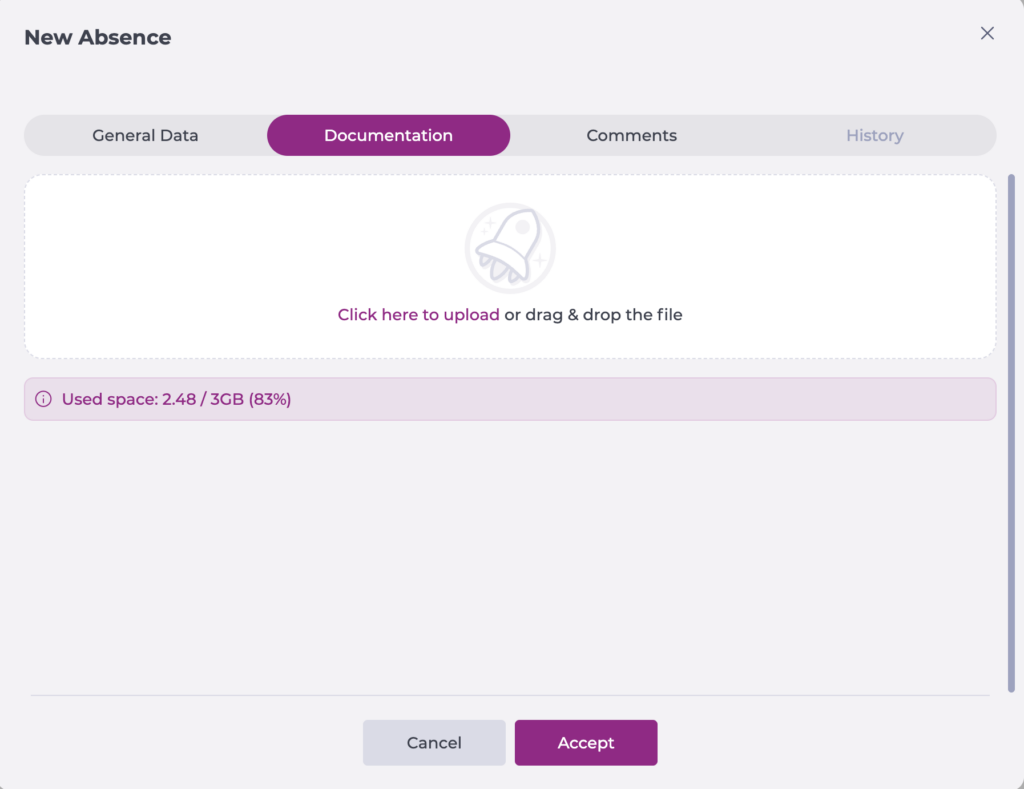
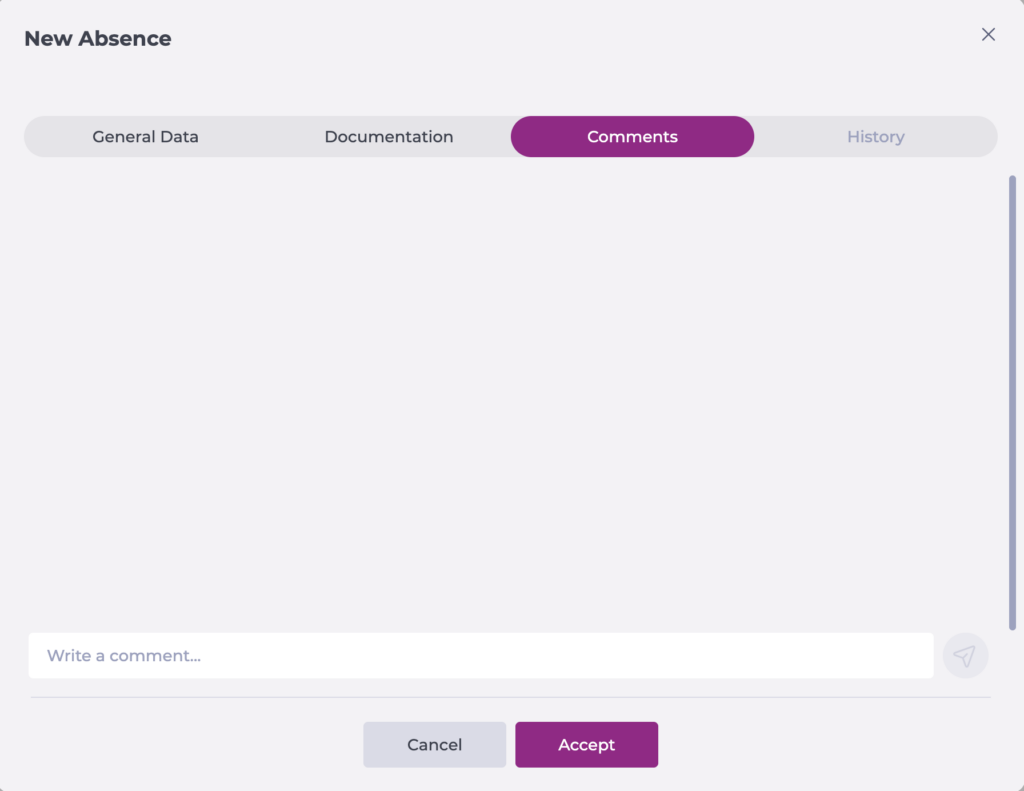
A pop-up will appear with four tabs: General Data, Documentation, Comments and History.
General Data:
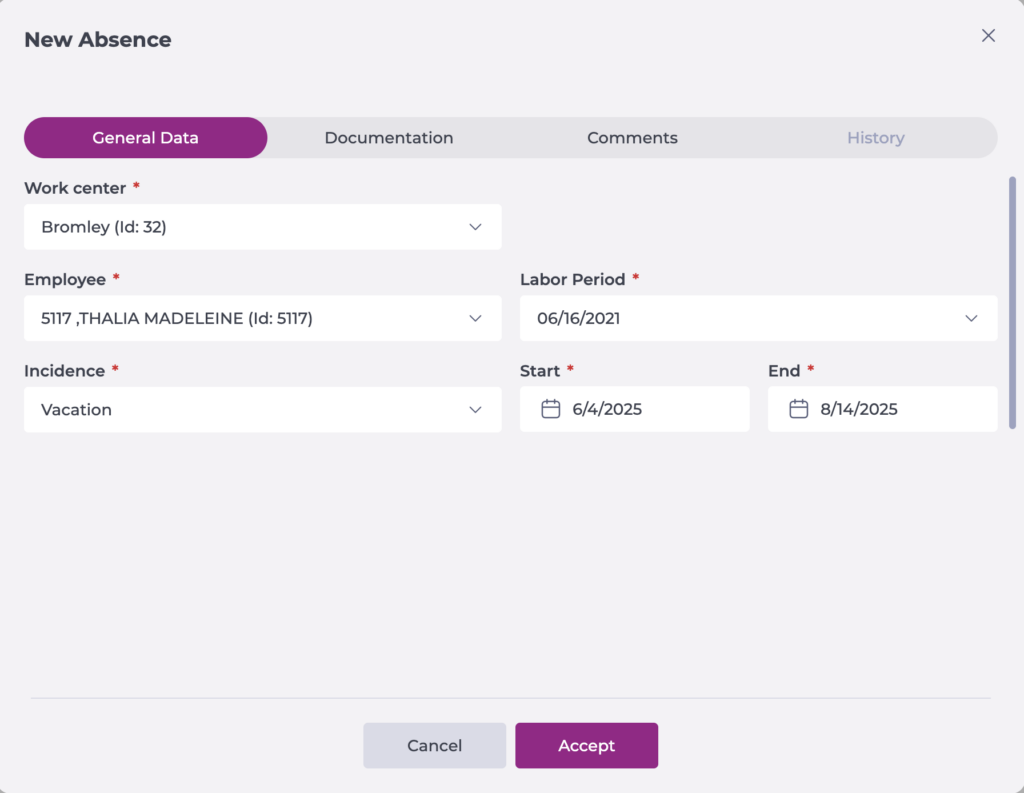
Select the business unit where the Employee to whom the holidays will be assigned is located.
Select from the dropdown the specific Employee to whom the holiday period will be assigned.
Choose the corresponding Work Period.
Choose Holidays as the incident type.
Indicate the start and end dates of the holidays to be assigned.
Documentation: add the files related to the incident if applicable.
Comments: add any annotations related to the incident as needed.
Note: Comments once added cannot be deleted.
History: you can track the modifications made to the request since its creation.
Select Accept to save the event or Cancel to exit without saving.
Please note that from this screen it is possible to add holidays or incidents with a future or past date. The ability to do so is defined by the active permissions in the user's role.
Review holidays
Start from: The Workforce module.
Select Workforce Management > Absence Incidents from the main menu.
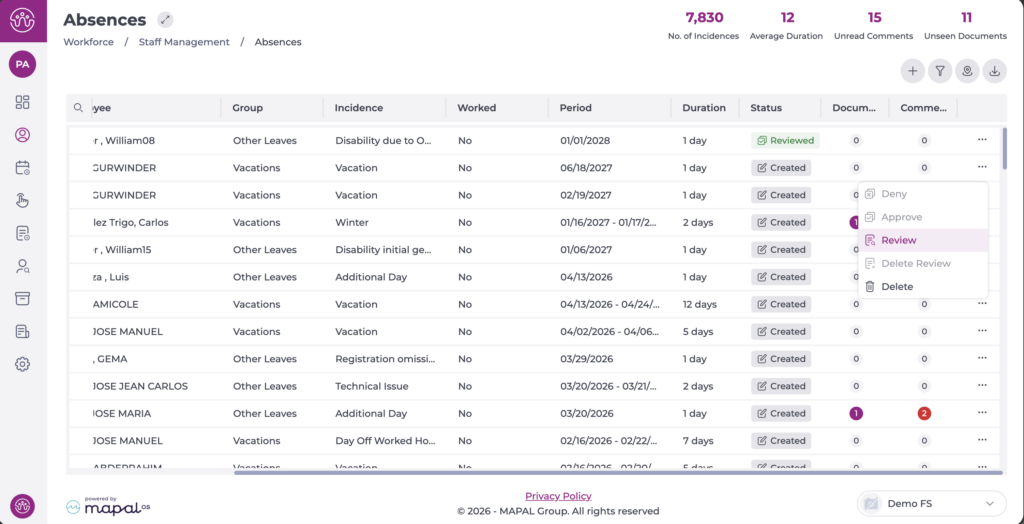
Select the action menu(...) at the end of the holiday you want to review, then select Review.
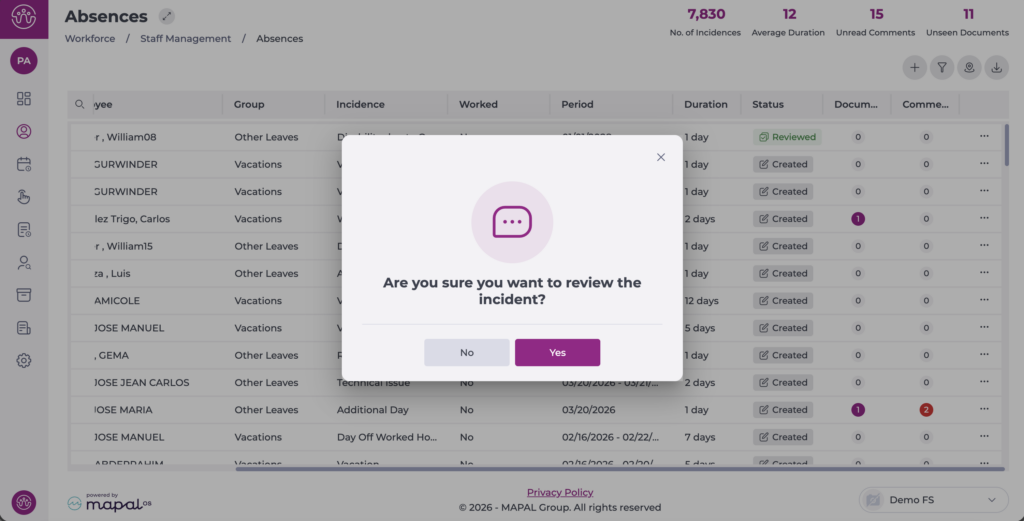
A confirmation window appears. Select Yes to complete the review or No to cancel.
The incident will automatically change from Created to Reviewed status.
Note: Use the filter or the magnifying glass icon to make it easier to find the period.
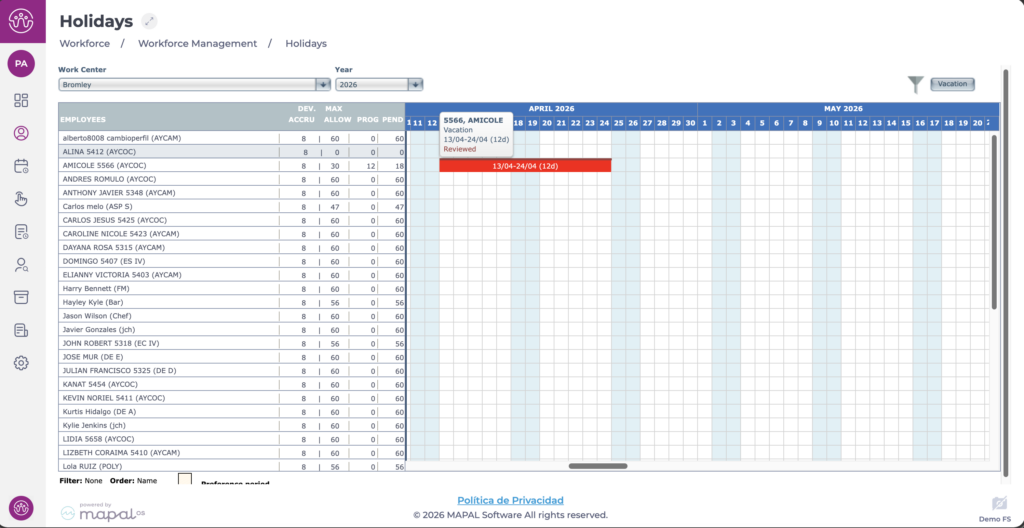
Once the holiday period has been reviewed, it will no longer be editable on the Holidays Screen and will display the label "Reviewed".
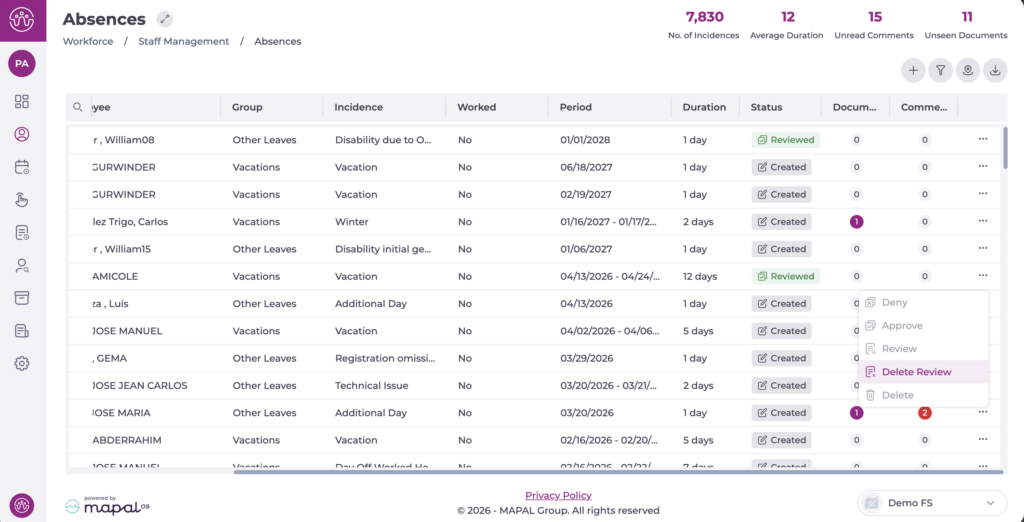
If after reviewing you want to edit the period, select the action menu (...), then select Remove Review from the dropdown menu.
A confirmation window appears. Select Yes to complete the action or No to cancel.