Organise my Compliance locations with categories
Start from: The Compliance overview.
Categories
The Categories feature in Compliance provides an enhanced level of organisation, allowing you to classify locations beyond location groups. This functionality enables you to categorise locations by specific concepts, attributes, or operational needs unique to their chain. By defining custom categories and sub-items, you can tailor the system to better reflect your organisational structure and priorities.
Examples of Categories and Items
- Risk Groups: Elderly, infirm, pregnant women, special diets
- Licenses: Food Premise Registration, sale of alcohol/liquor licenses, sale of tobacco products
- Certifications: ISO, MSG, ECO
- Concepts: Sushi, meze, font of house, kitchen
- Facilities Services: Reception services, post room, cleaning services, security services, accommodation booking.
Create a category
- Navigate to Chain management > Categories.
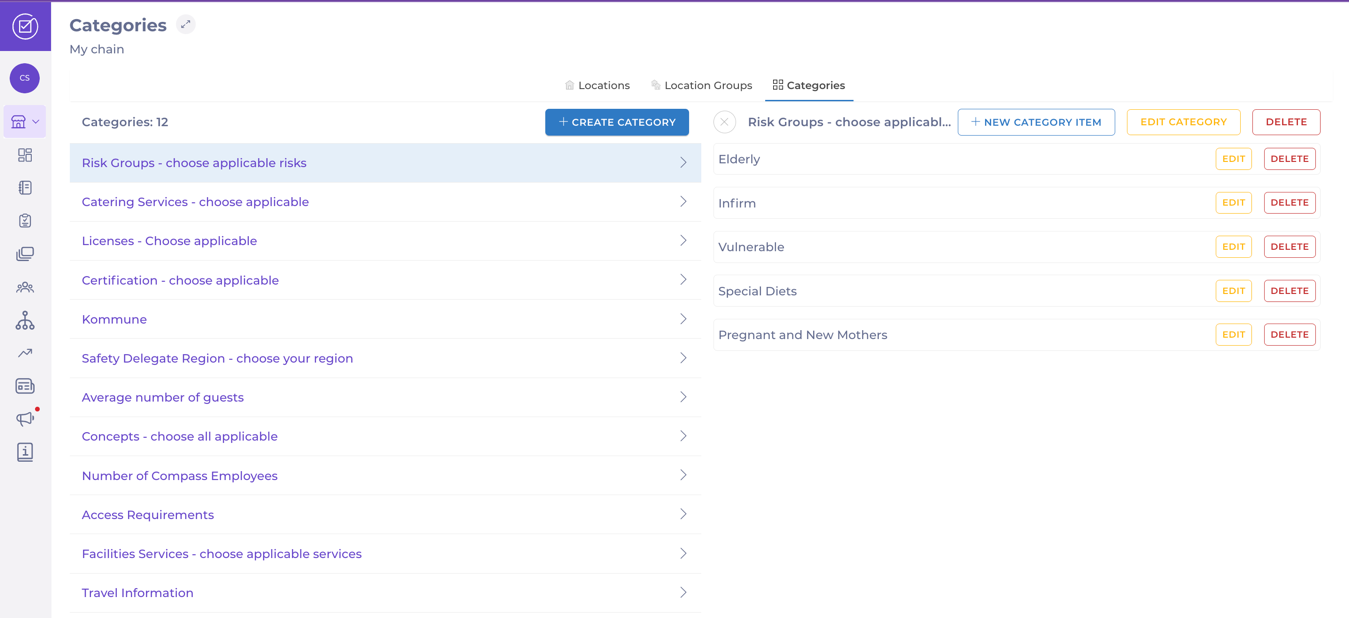
- Select + Create Category.
- Enter the Name of the category. Add translations for the category name in multiple languages if required.
- Select Create. The category will now appear on the list.
Manage an existing category
Add a Category Item
- Select a specific category from the list.
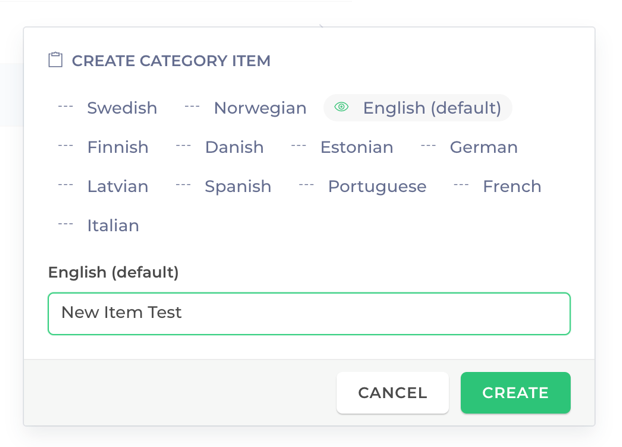
- Select + New Category Item in the right panel.
- Enter the Name of the category item. Add translations for the category item name in multiple languages if required.
- Select Create. The category item will now appear on the list of items for that category.
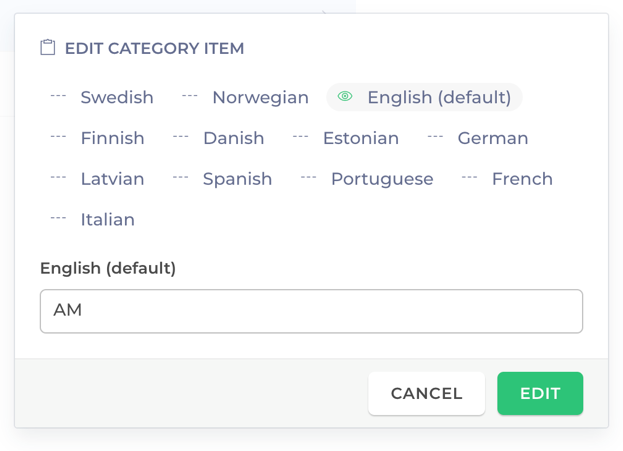
Edit
- Select a specific category from the list.
- Select Edit Category in the right panel.
- Update the Name in all available languages.
- Select Edit. The category will now appear with the new name.
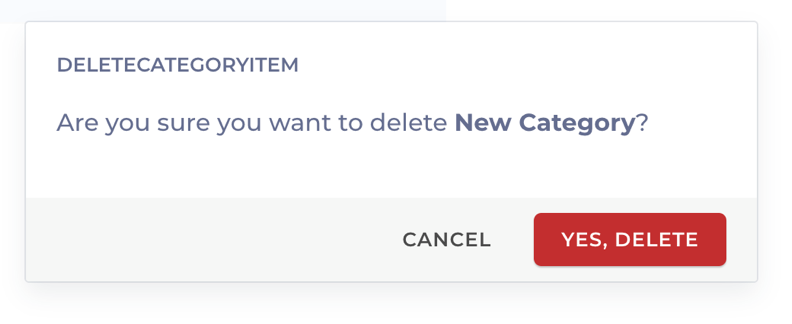
Delete
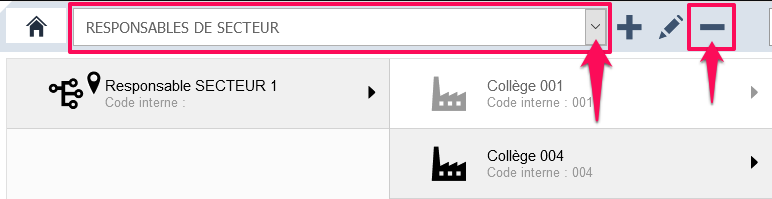
- Select a specific category from the list.
- Select Delete in the right panel.
- A confirmation pop-up will appear. Select Yes, Delete to complete the removal OR Cancel to go back.
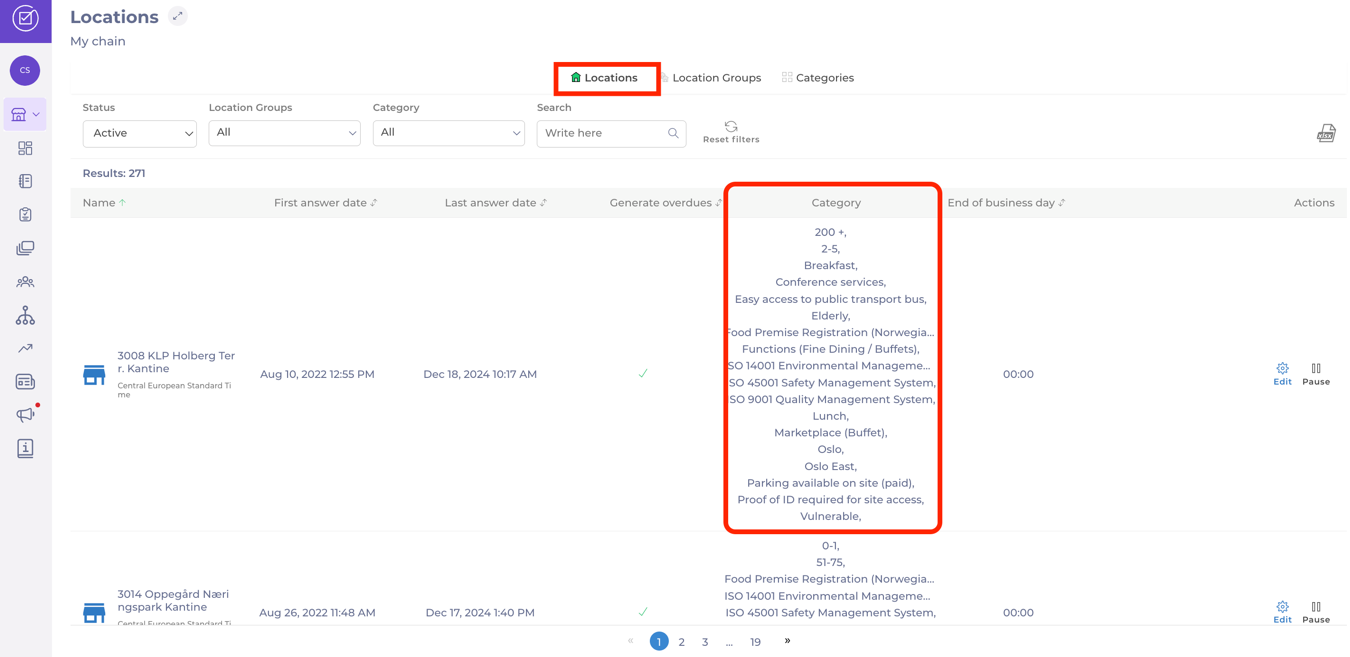
View location categories
- Navigate to Chain management > Locations.
- The grid displays the categories assigned to each location.
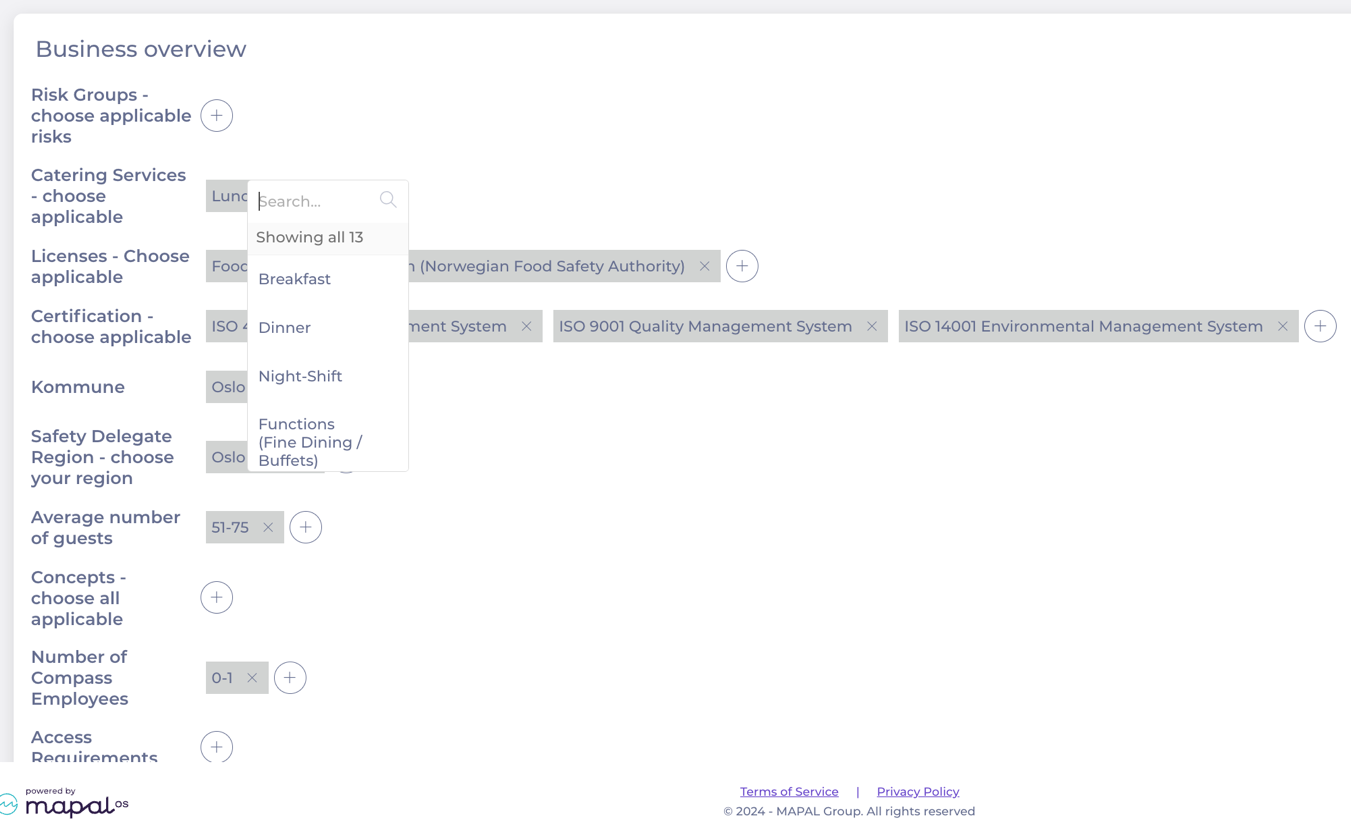
Assign or unassign categories to a location
- Navigate to My Location > Business Details within the location's settings.
- Select the plus (+) sign to add a category or the X to remove one.


 ?
?