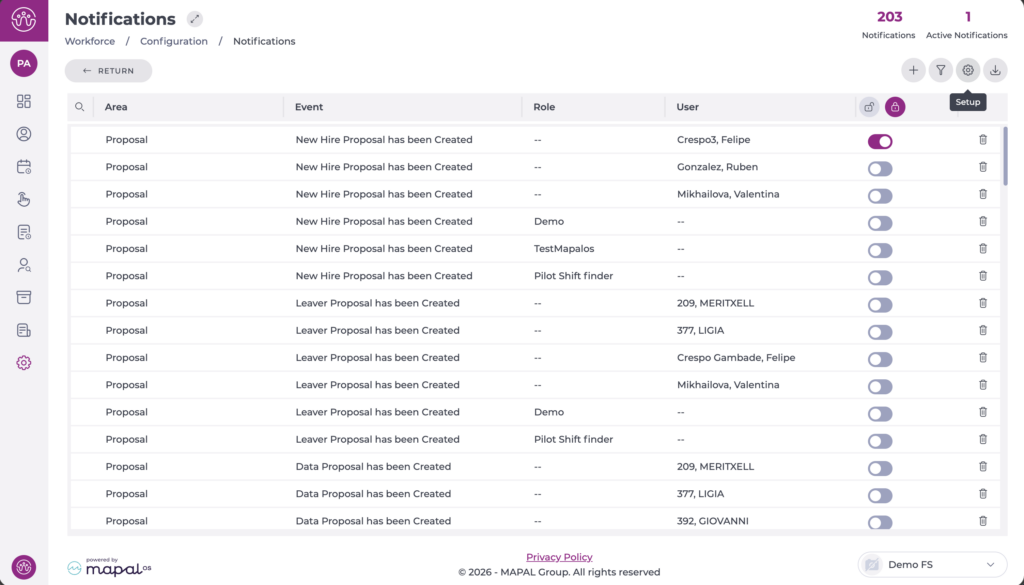
Configure advance notice notifications
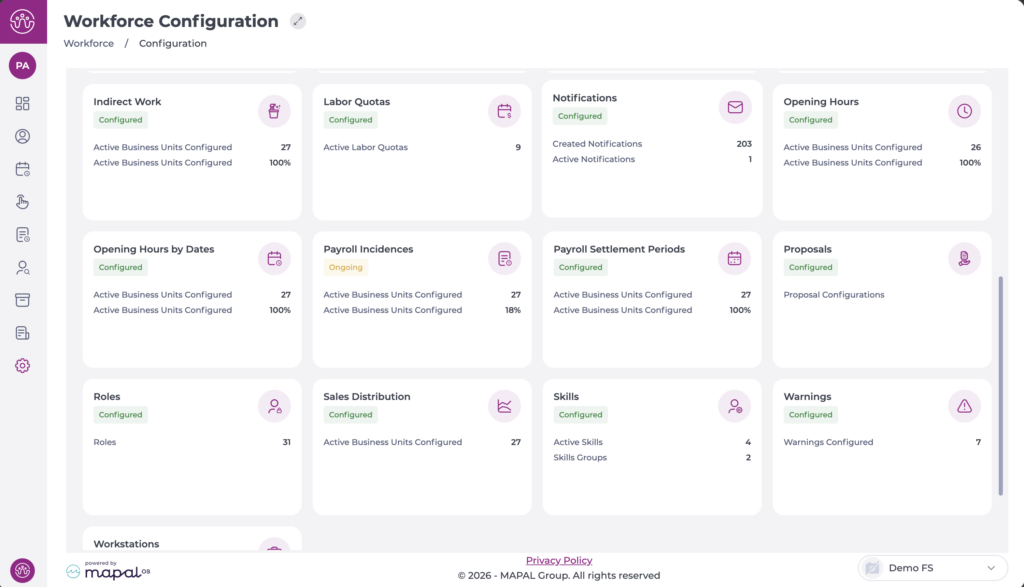
Start from: the Workforce module.
- Select Configuration > Notifications from the main menu.
The process for creating advance notice notifications is the same as for other notifications. See Configure notifications for more information.
To set the number of advance notice days for each case:
- From the Notifications screen, select the Configuration button.
- A pop-up window appears on the right where you can specify the number of advance notice days for each case.
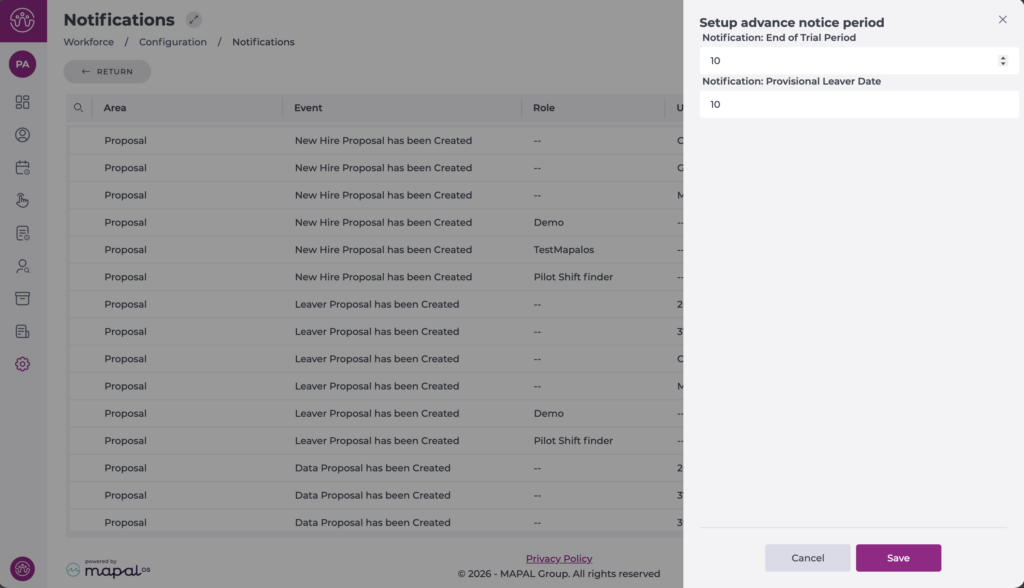
- Select Save to apply your changes or Cancel to discard them.
Note: From this point on, notifications for these events will be sent according to the number of advance notice days specified, with a maximum of 99 days in advance.