Create and manage an employee data proposal
Start from: The Workforce module.
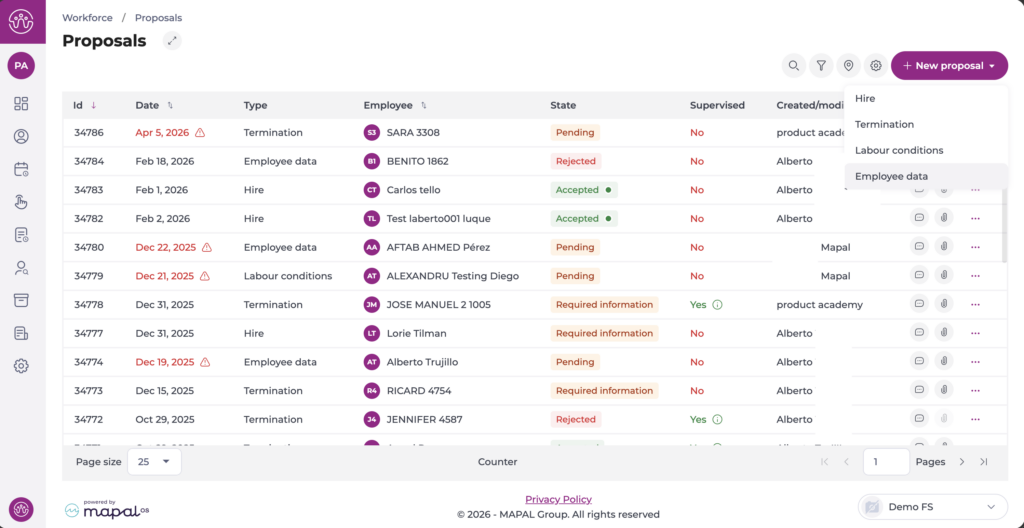
Navigate to Workforce management > Proposals 2.0.
Create an employee data proposal
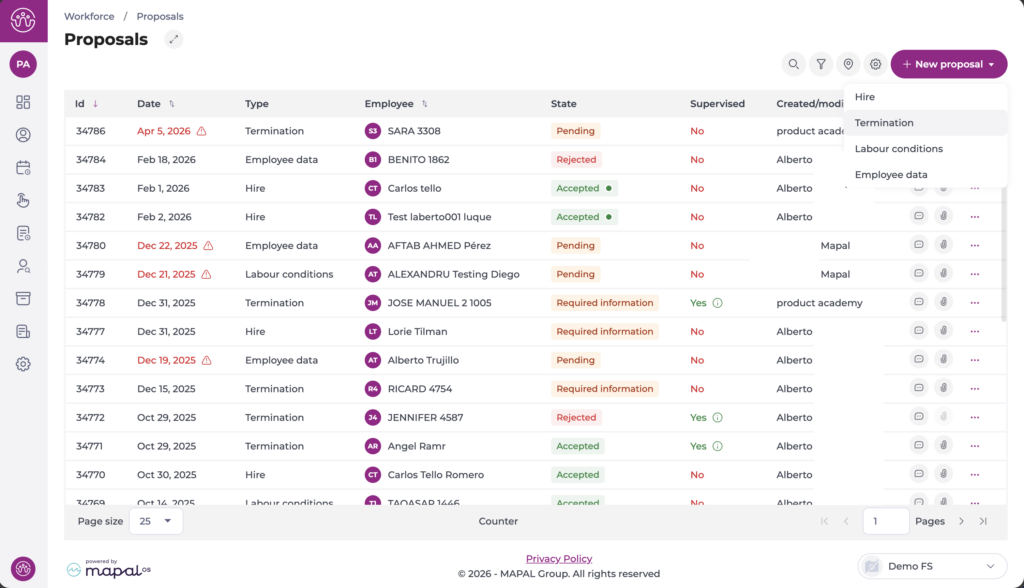
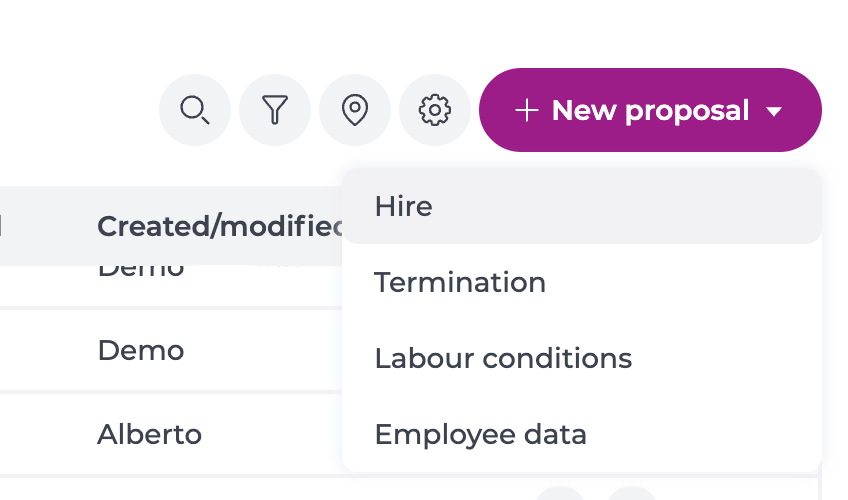
- Select + New proposal.
- Select Employee data from the dropdown.
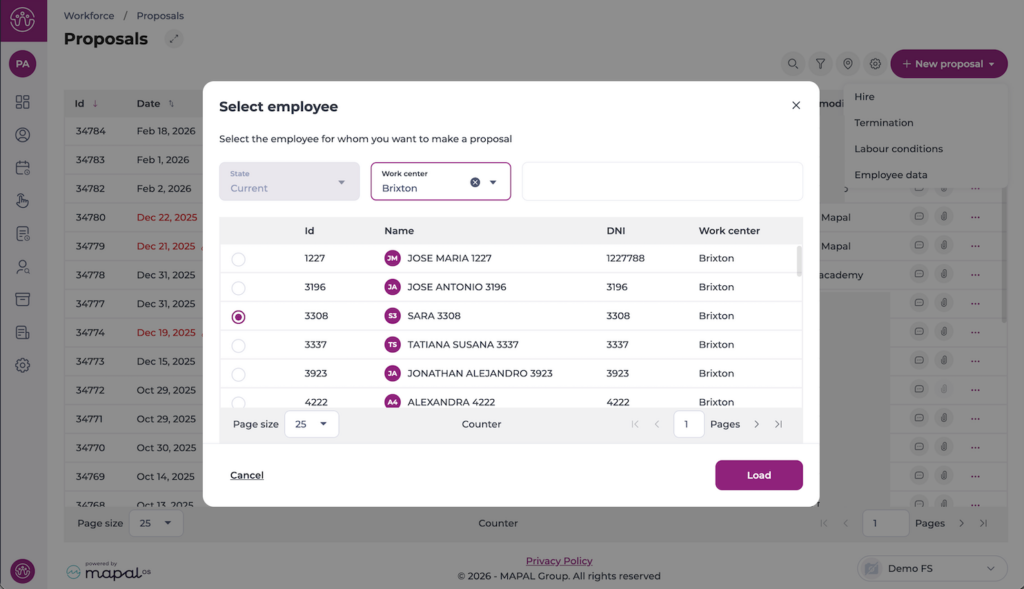
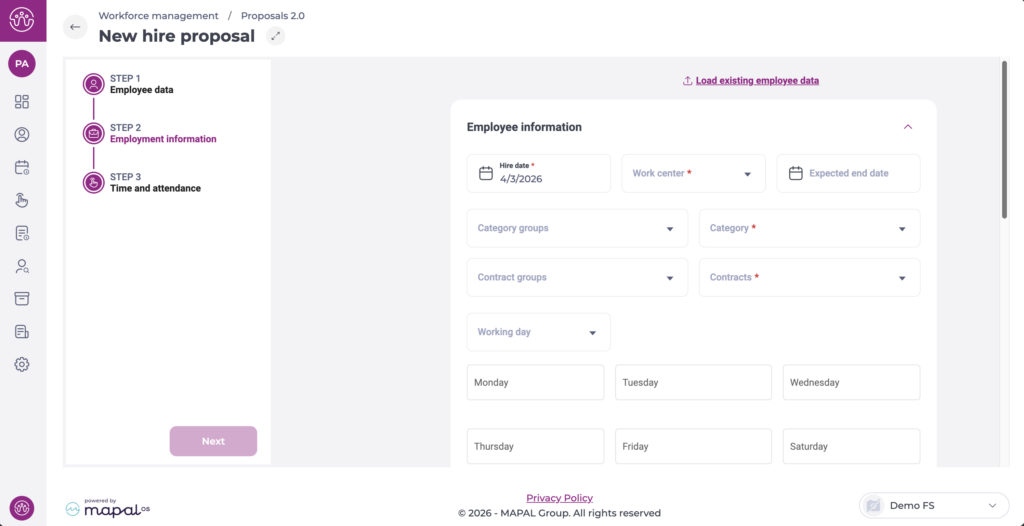
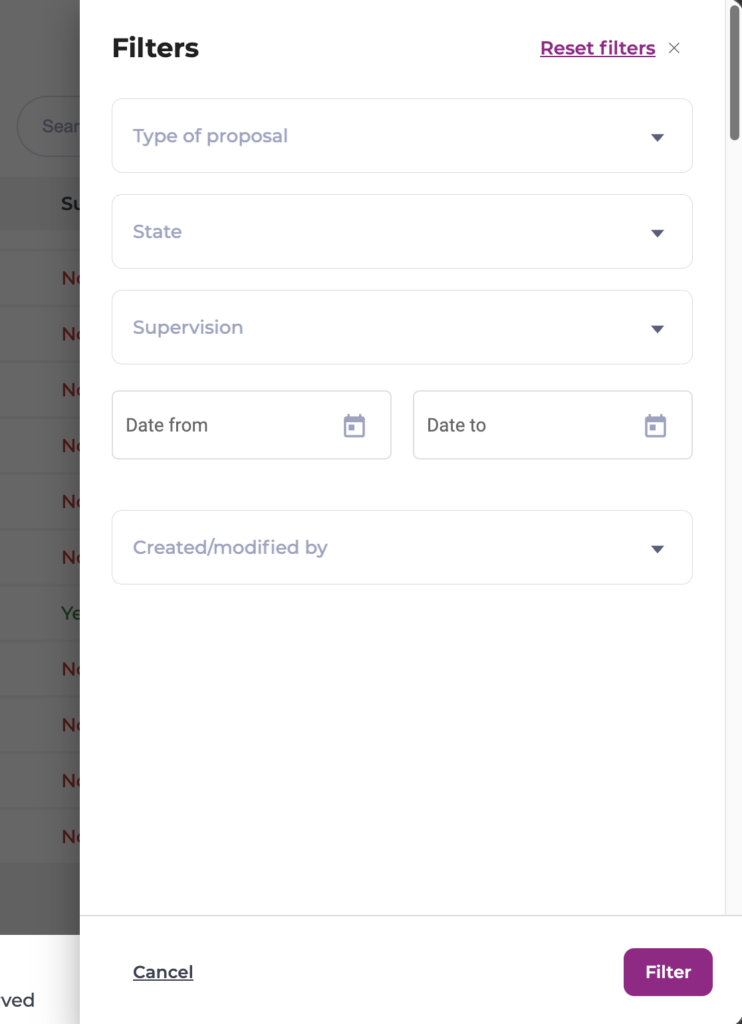
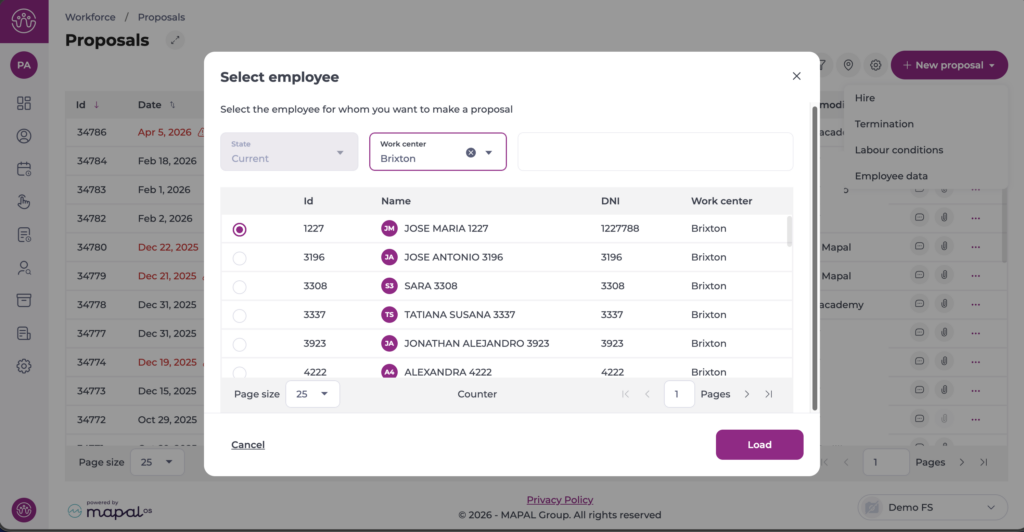
A Select employee dialogue appears. This displays a list of current employees. You can filter the list by State and Work centre to narrow down the results. Select the employee whose data you want to update, then select Load.
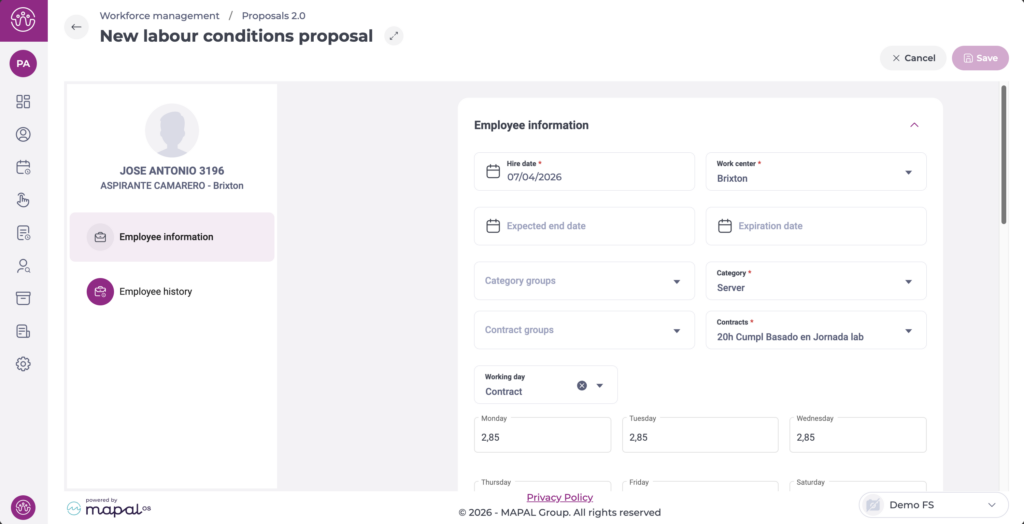
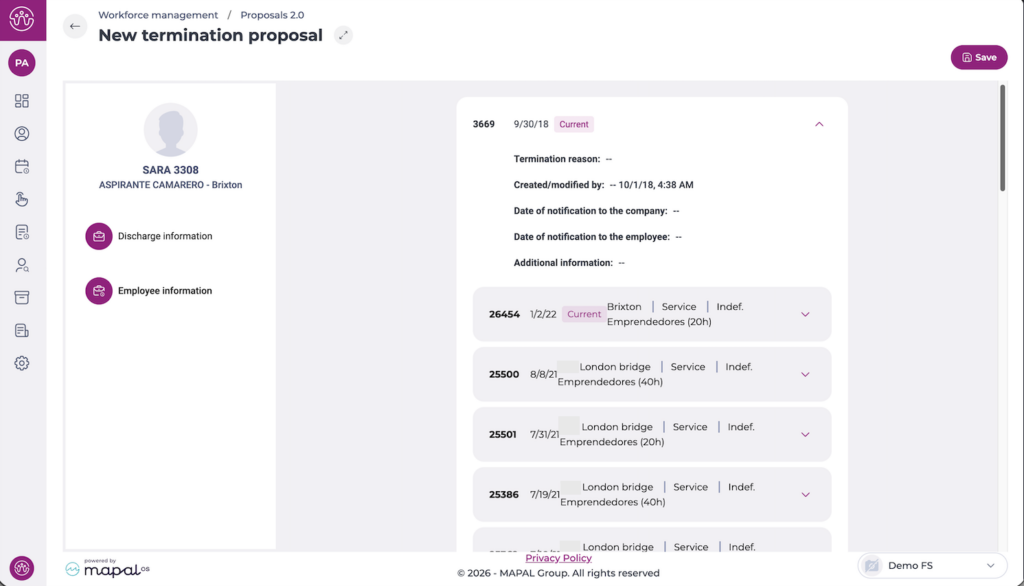
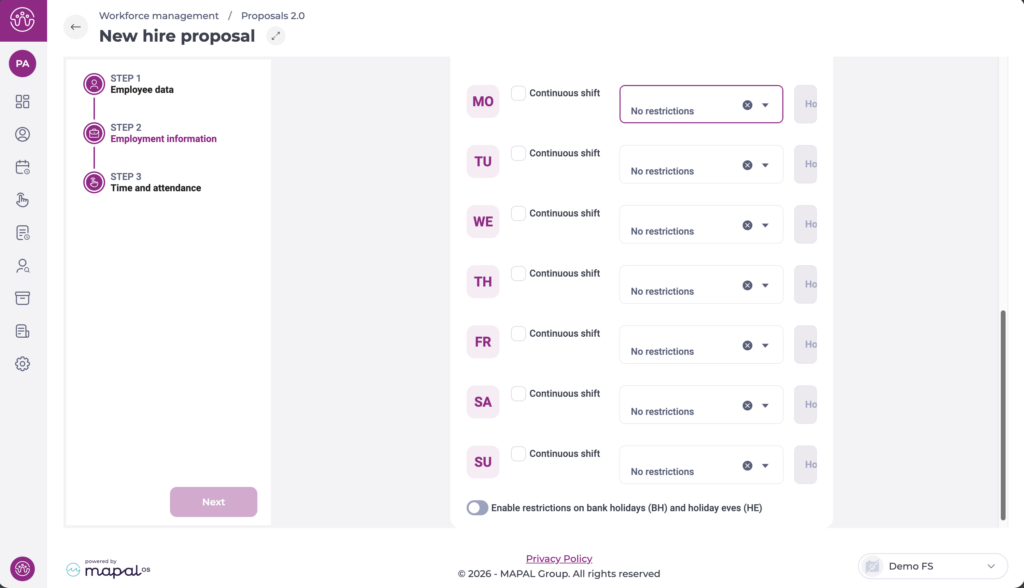
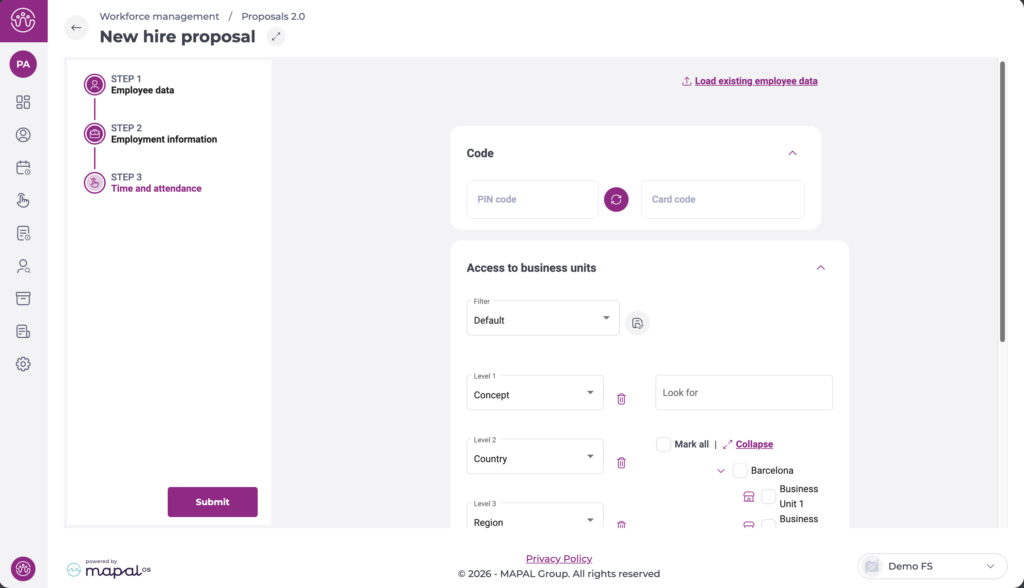
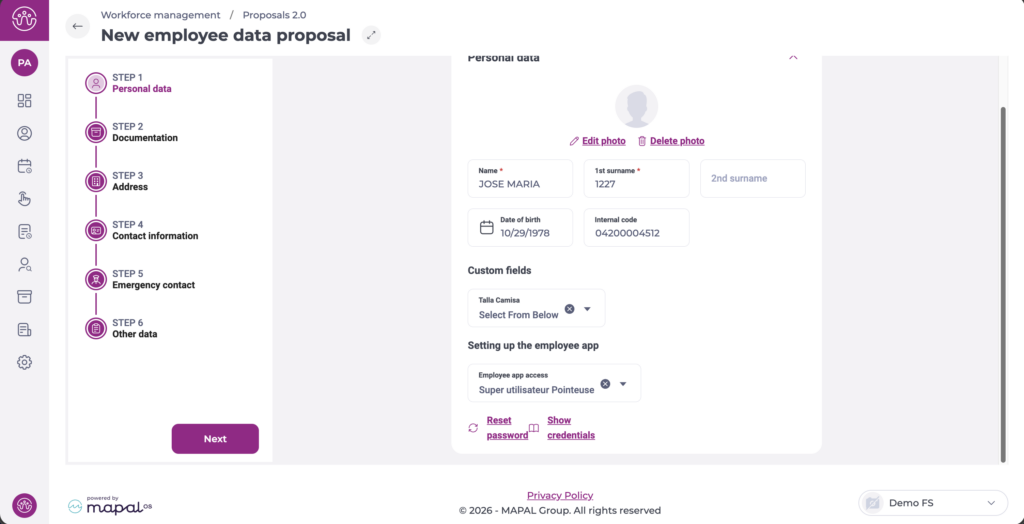
The form pre-fills with the employee's current values. You can select any step directly from the left-hand panel to update only the sections that need changes, there is no need to follow the steps sequentially. Required fields are marked with an asterisk (*). Once you have made your changes, select Submit on the final step.
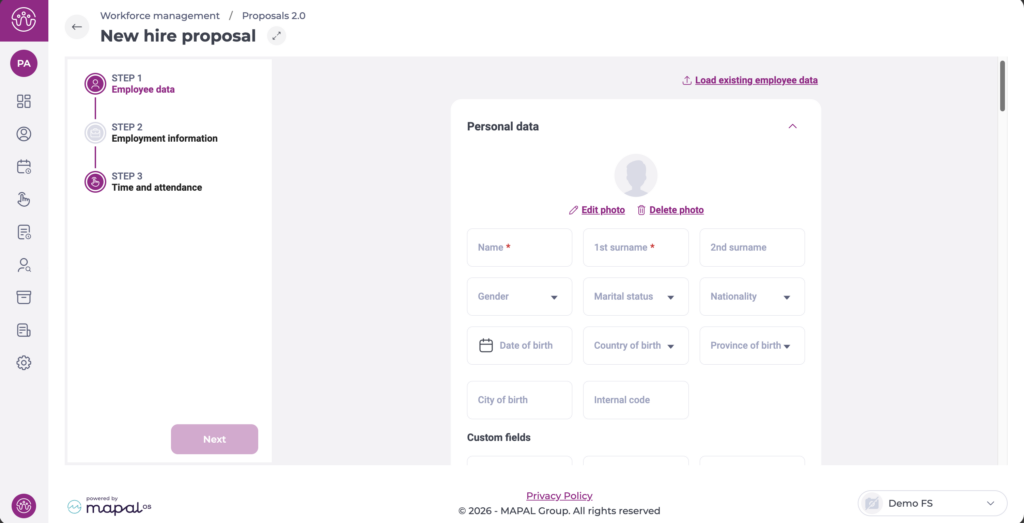
Step 1: Personal data
- Update the employee's Name *, 1st surname *, and 2nd surname as needed.
- Update the Date of birth and Internal code if applicable.
- Select Edit photo or Delete photo to manage the employee's profile image.
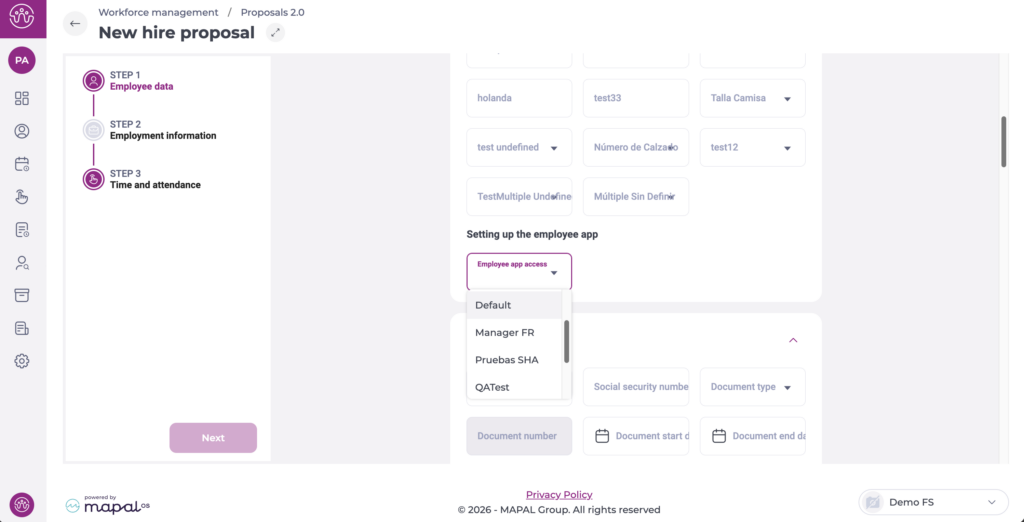
In the Setting up the employee app section, update the Employee app access role if needed. You can also select Reset password to generate a new password or Show credentials to view the employee's current login details.
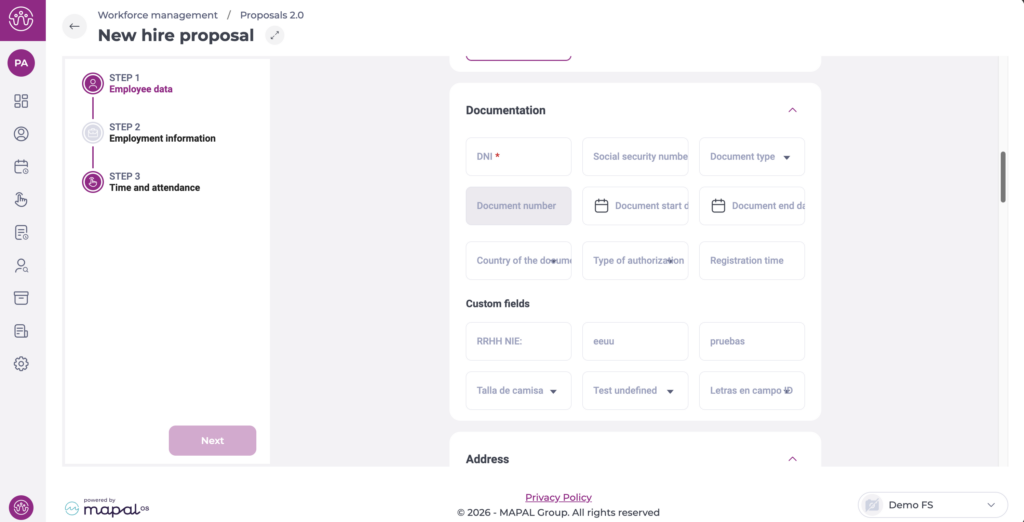
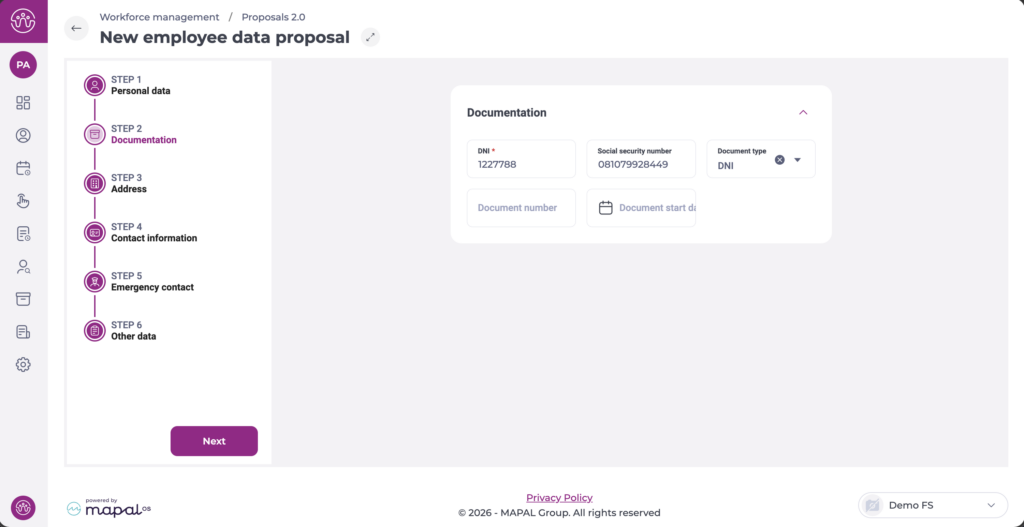
Step 2: Documentation
- Update the DNI *. This field is required.
- Update the Social security number if available.
- Select the Document type from the dropdown.
- Update the Document number and Document start date as applicable.
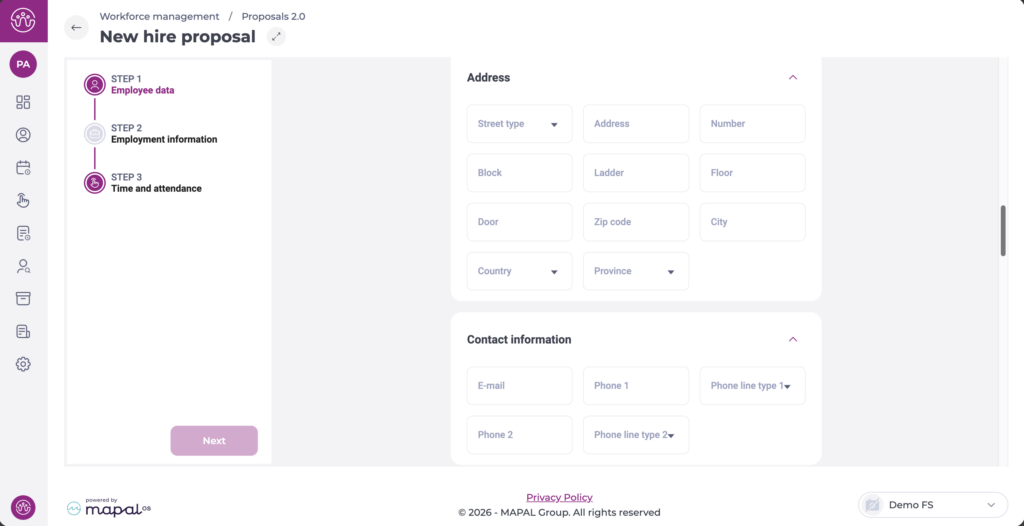
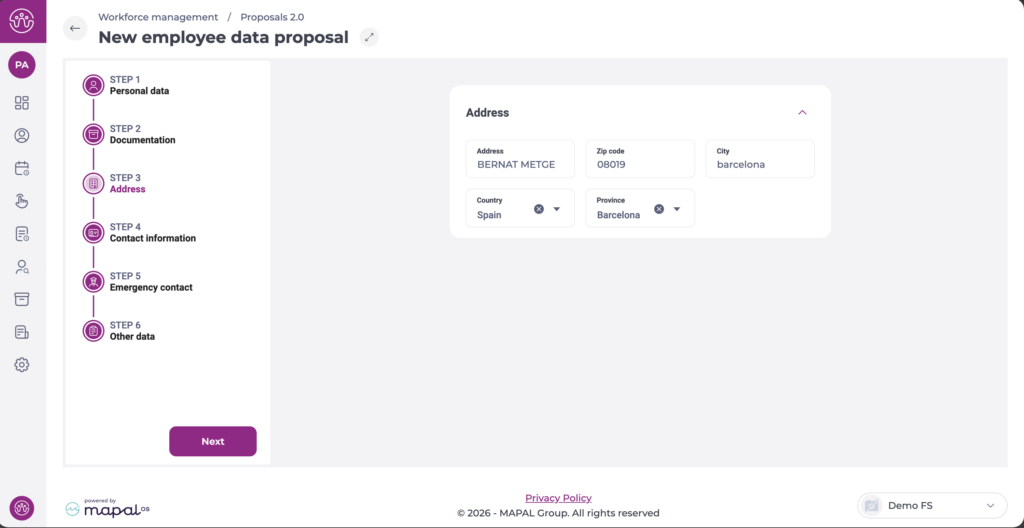
Step 3: Address
- Update the Address, Zip code, and City.
- Select the Country and Province from the dropdowns.
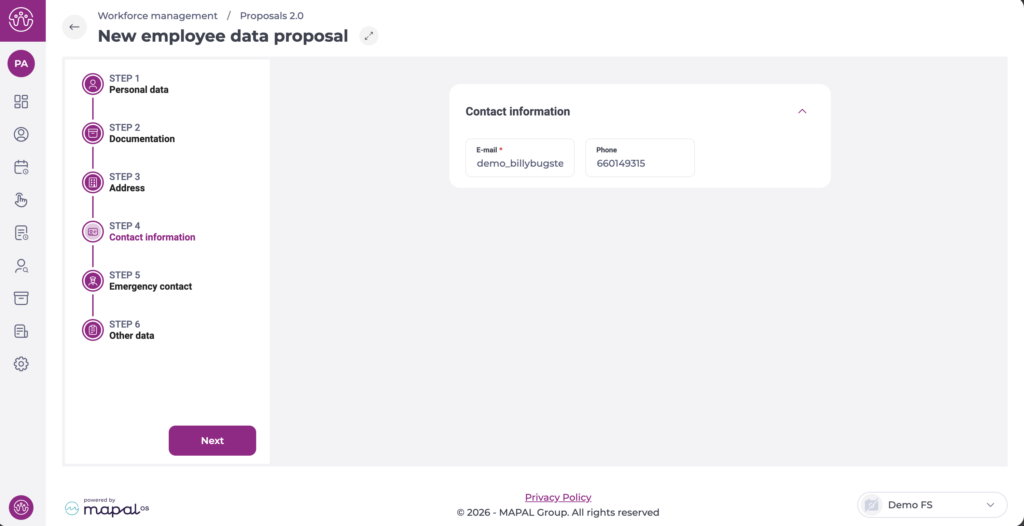
Step 4: Contact information
- Update the employee's E-mail * address.
- Update the Phone number.
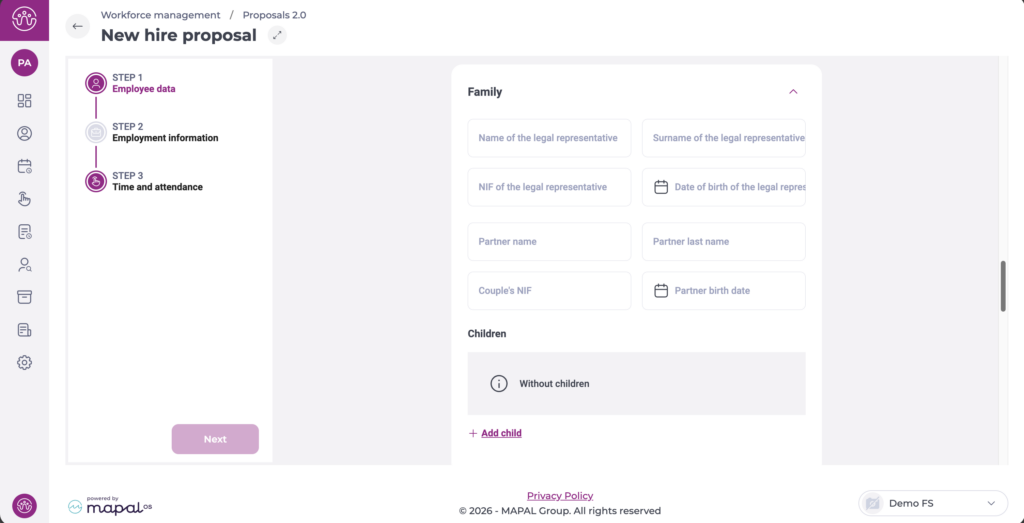
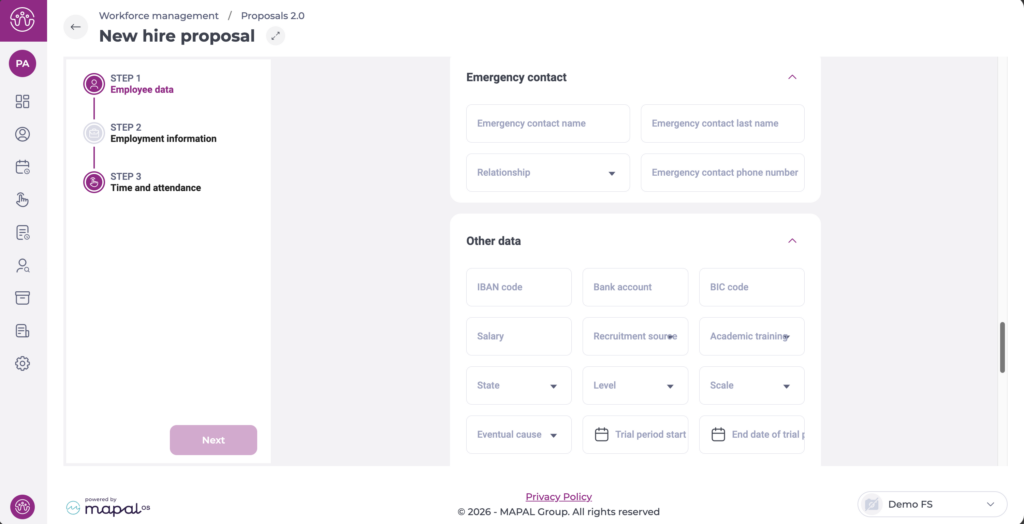
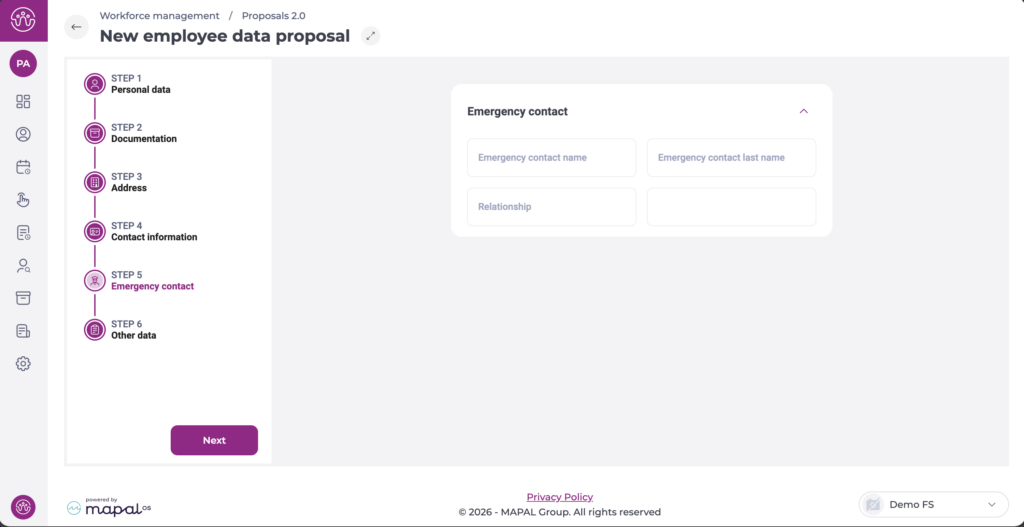
Step 5: Emergency contact
- Update the Emergency contact name and Emergency contact last name.
- Select the Relationship from the dropdown.
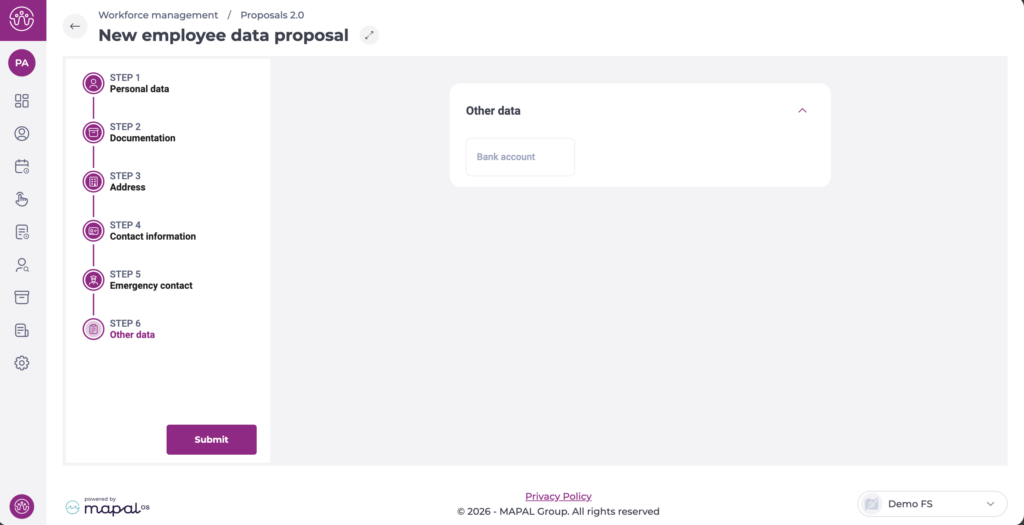
Step 6: Other data
- Update the Bank account if applicable.
Once you have reviewed all steps, select Submit to send the proposal.
Note: If your organisation has configured custom fields, they appear in the section they belong to. Update any relevant values as needed.
Manage an employee data proposal
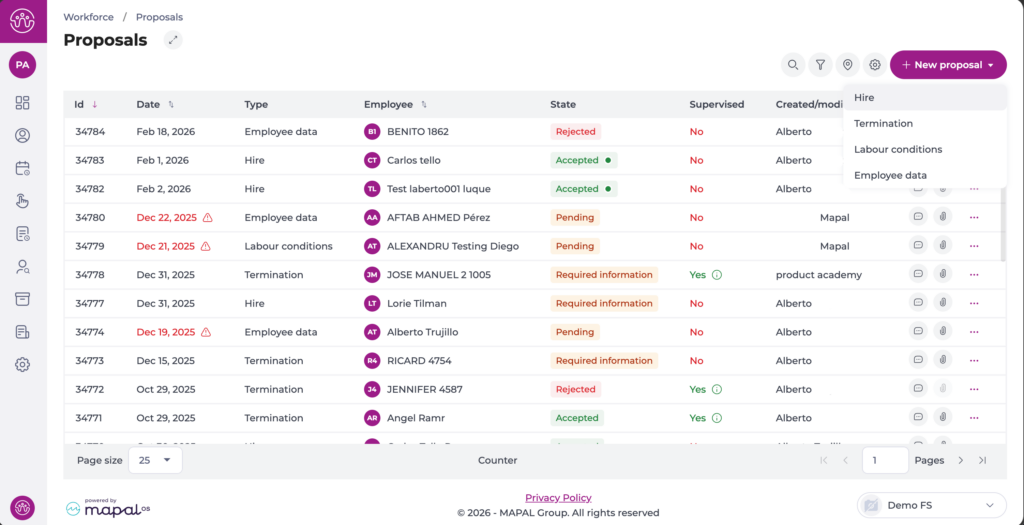
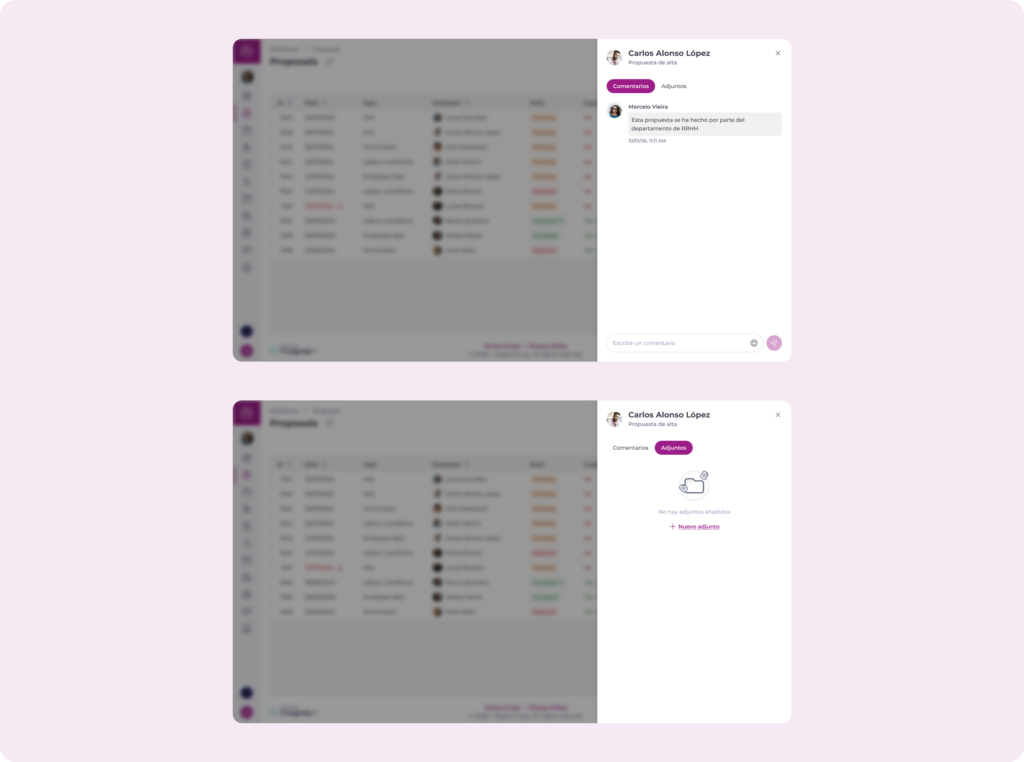
Once submitted, the proposal appears in the Proposals list with the type Employee data and the status Pending.
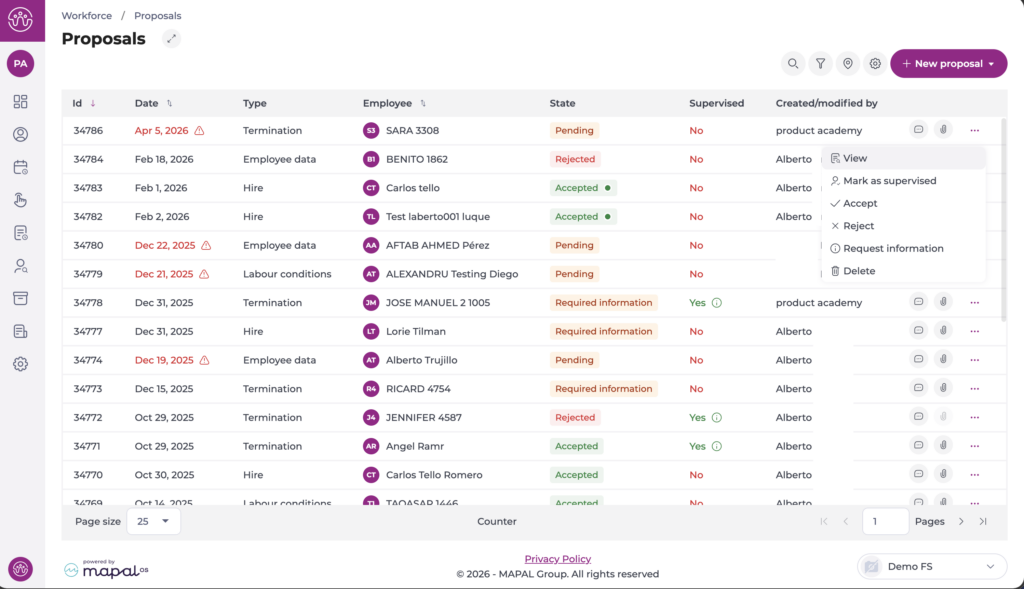
Actions menu
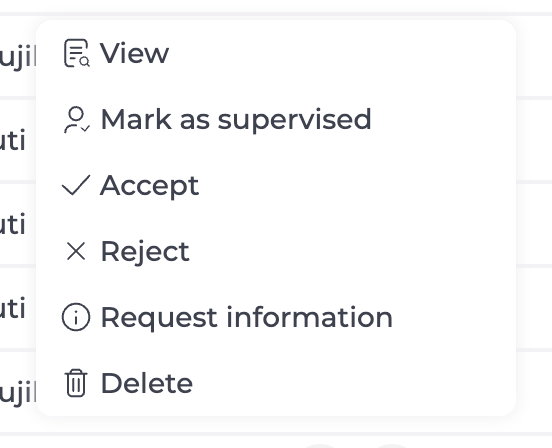
Select the three-dot icon (...) on the proposal row to open the actions menu. The options available depend on the proposal's current status and your permissions:
- View: Opens the proposal in read-only mode.
- Mark/Unmark as supervised: Flags the proposal as reviewed.
- Accept: Approves the data change. A confirmation dialogue warns that this action is final and cannot be reversed. Select Accept to confirm.
- Reject: Declines the data change. A confirmation dialogue warns that this action is final and cannot be reversed. Select Reject to confirm.
- Request information: Returns the proposal to the creator for additional data or corrections. The status changes to Required information.
- Delete: Permanently removes the proposal from the system.
Note: Accepting or rejecting a proposal is irreversible. Review the proposal details carefully before confirming either action.
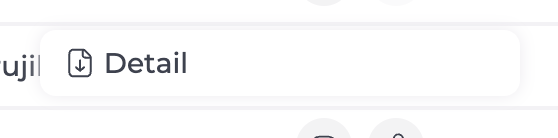
More actions on the proposal
To know more aboutgeneral navigation and actions in the proposals grid, see Get familiar with the Proposals screen.
Note: The actions available depend on your role and permissions. If you cannot see a specific action, contact your administrator to review your role configuration under Workforce > Configuration > Roles. For more information on role management, see Configure permissions for workforce management.