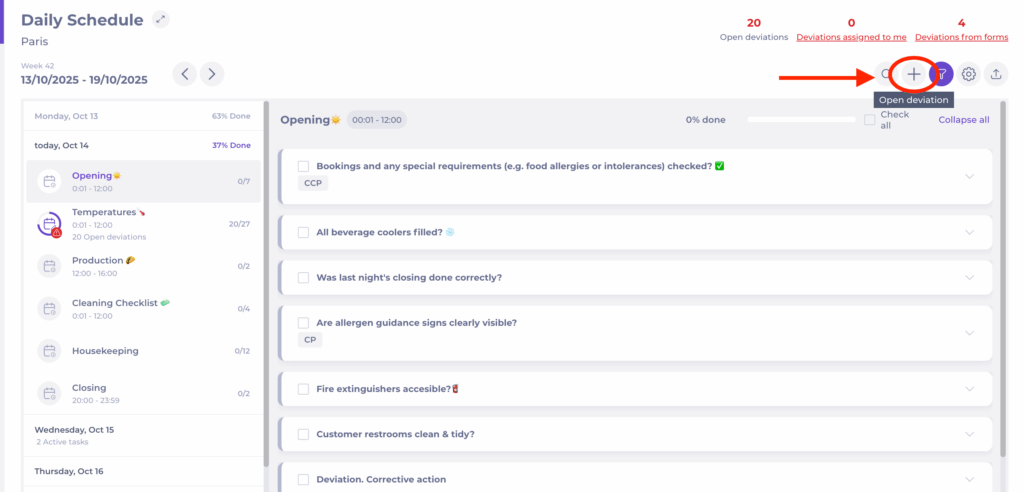
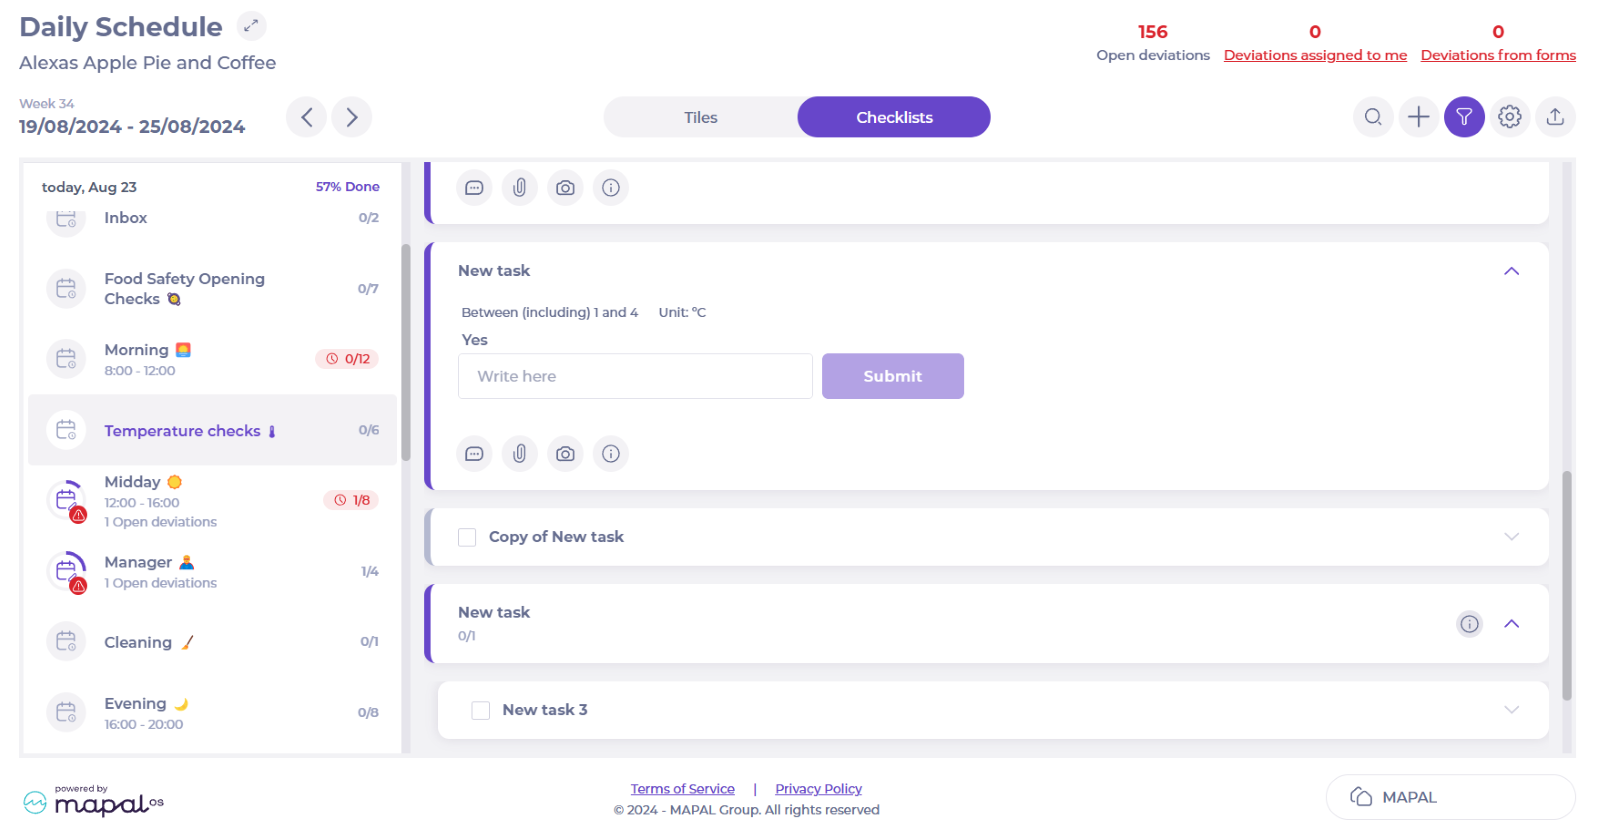
Select the Checklists view at the top of the screen.
Select the +Open deviation button.
On desktop, the button appears at the top of the checklist.
On mobile, the option is available from the checklist action menu (three dots).
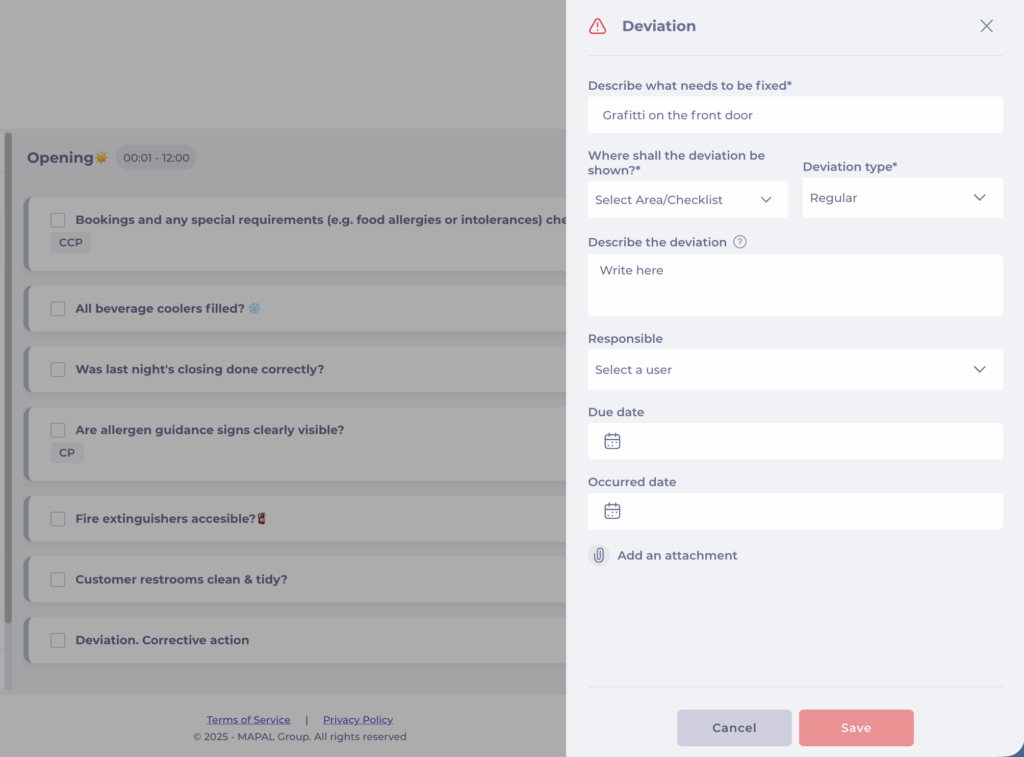
Complete the required fields to describe the deviation:
Describe what needs to be fixed*: give a short, clear name for the issue.
Where shall the deviation be shown?*: Select the Area/Checklist where you want the deviation to appear.
Deviation type*: Describe what type of deviation is this.
Describe the deviation: explain what happened and how it was identified.
Responsible user: assign who will handle the deviation.
Due date: specify when the corrective action should be completed.
Occurred date: specify when the deviation happened.
Add an attachment: upload a file or picture to add more relevant information to the reported deviation.
Select Save to create and publish the deviation.
The deviation will now appear in the selected checklist and can be managed like any other compliance deviation; tracked, resolved, and closed once the corrective action has been completed. To know more about how to respond to deviations, see Respond to deviation reports.
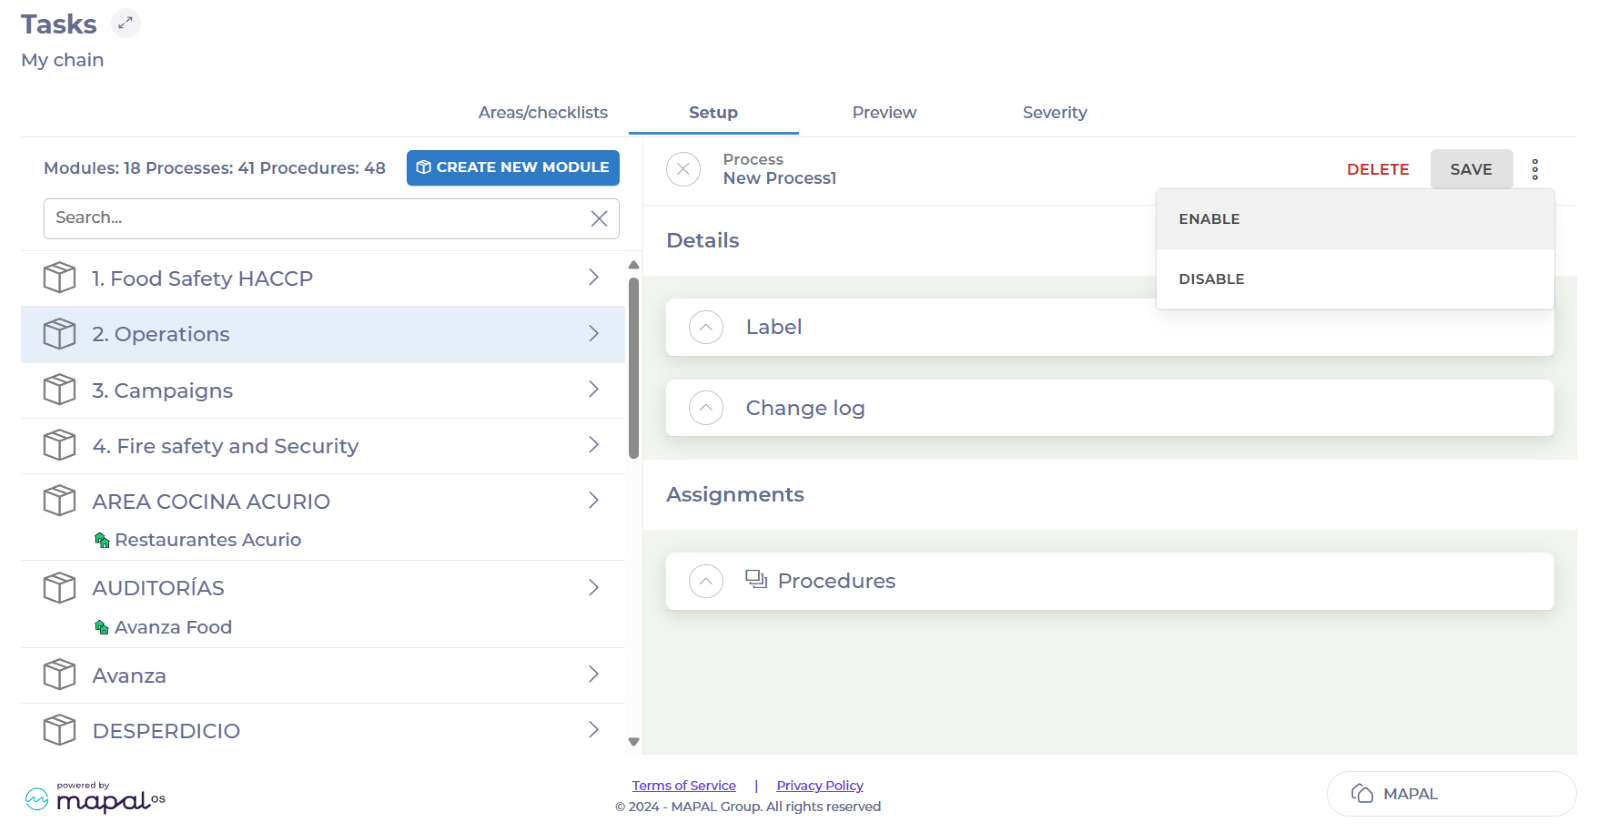
Sort and move tasks at a local level
Start from: The Compliance local overview.
Sort tasks
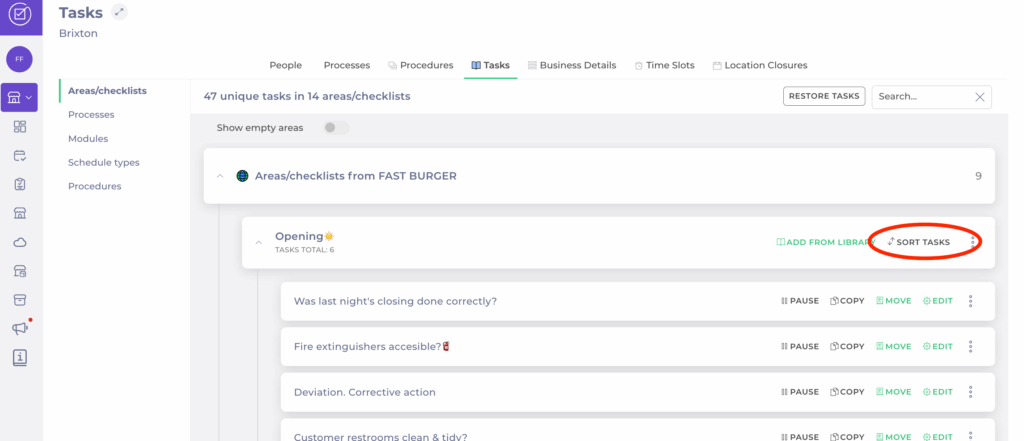
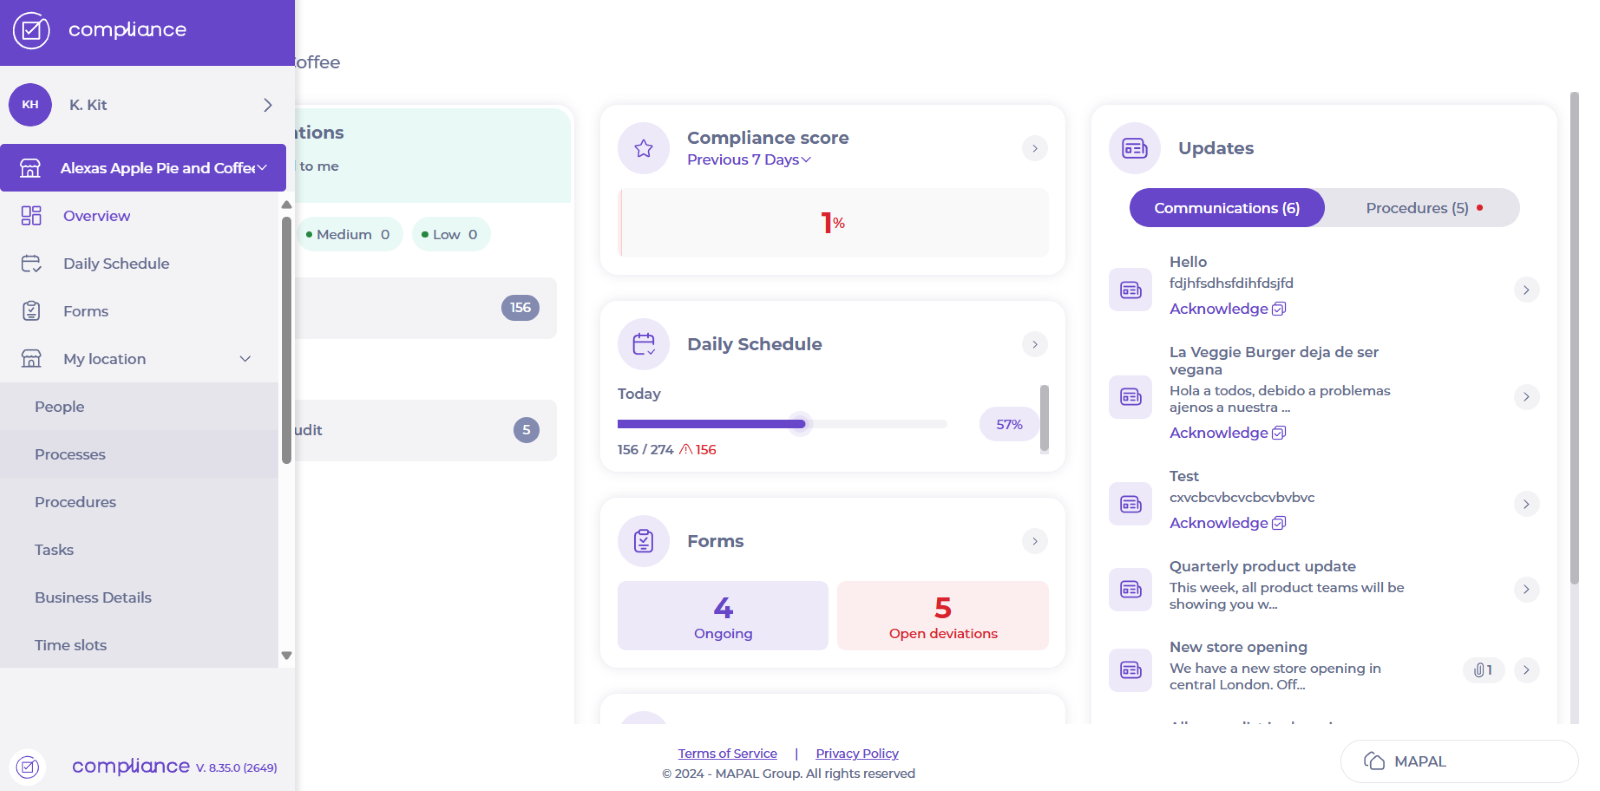
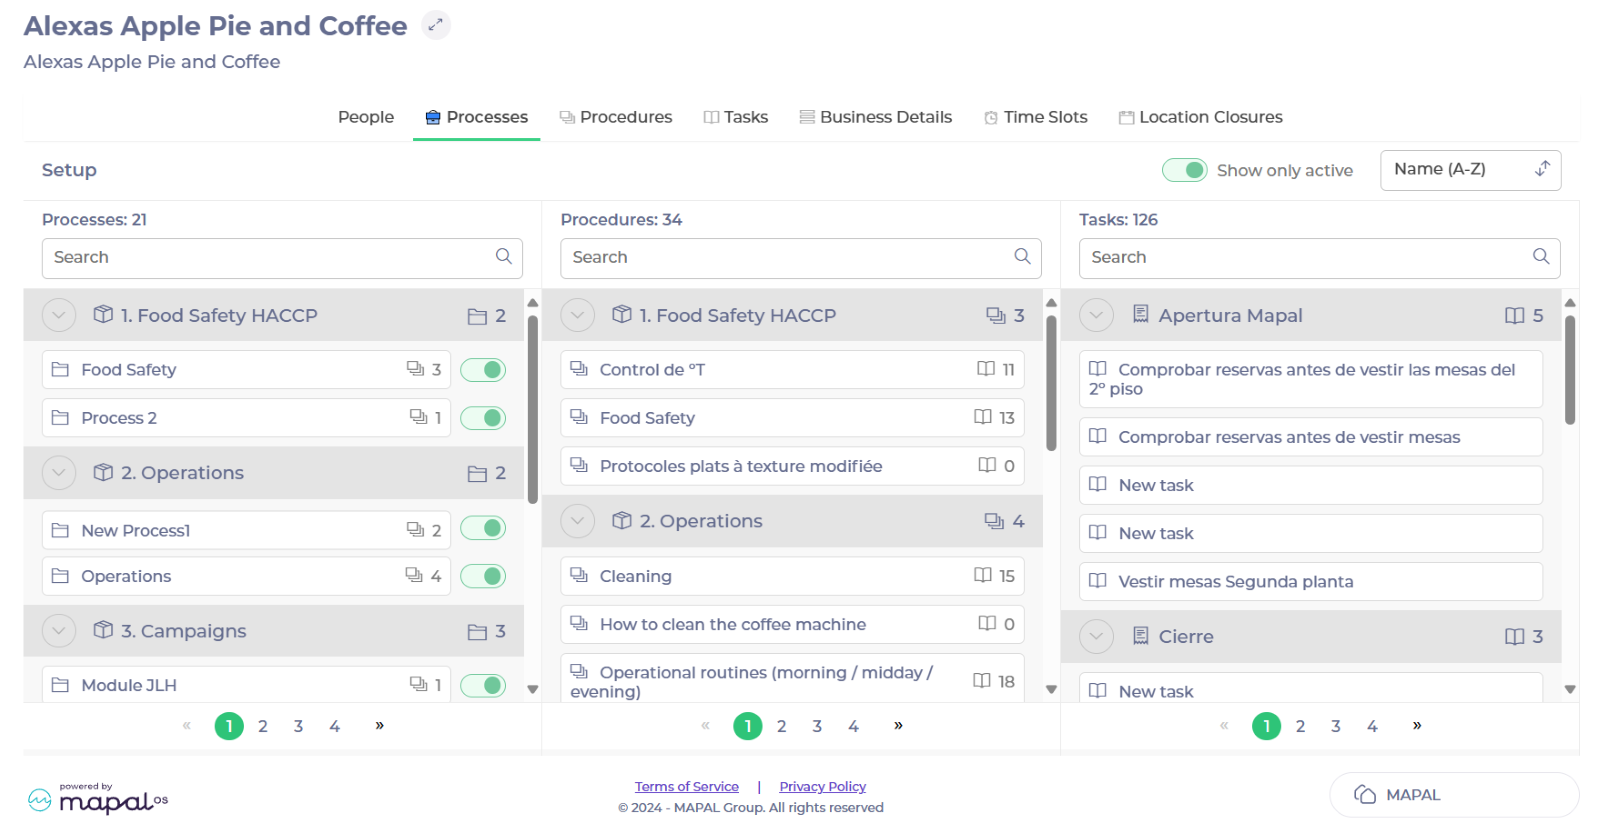
Navigate to My Location > Tasks.
Open the specificarea you wish to edit.
In the checklist, select Sort Tasks.
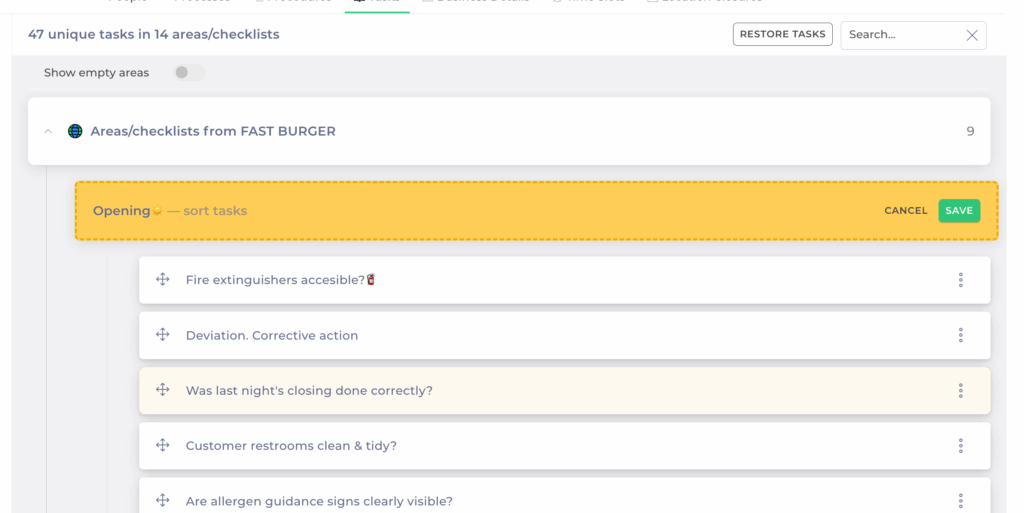
In the task list, drag and drop to change the order of tasks.
Once you have reordered, select Save to register the changes.
Notes: Changes take effect immediately for your site. Central templates remain unchanged.
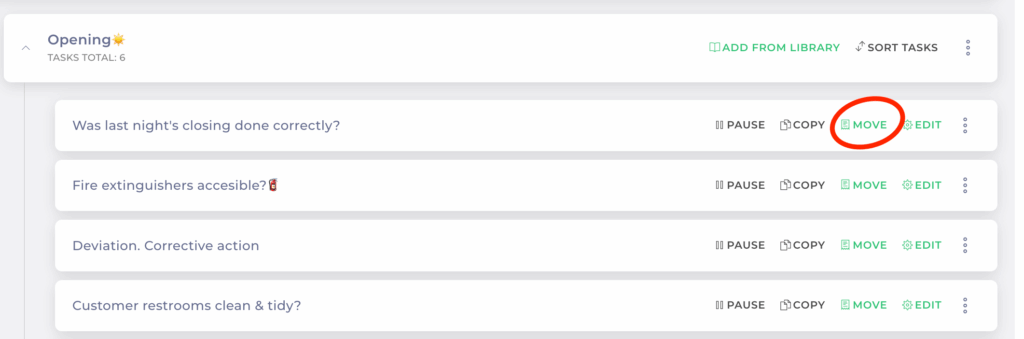
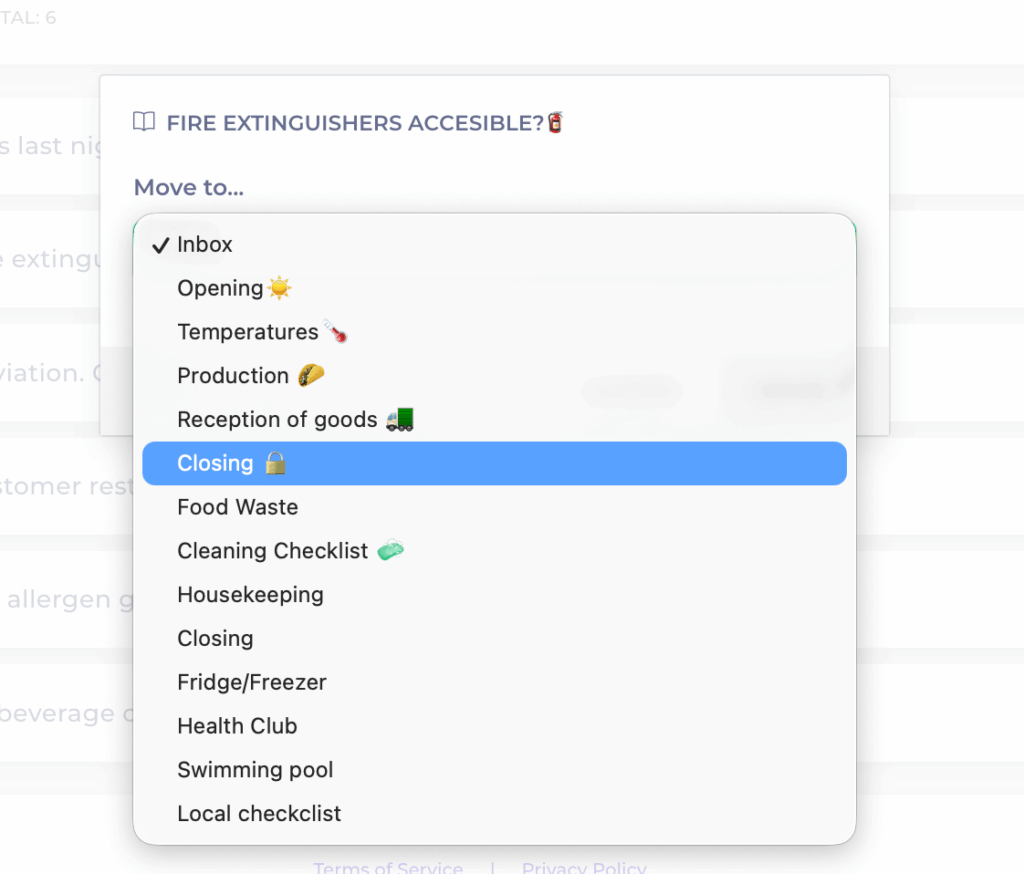
Move tasks between checklists
You can also move tasks between checklists at the local level:
Locate the task you want to move.
Use the Move option.
Choose the destination checklist from the dropdown.
Select Move.
Manage time slots at a local level
Start from: The Compliance local overview.
What are time slots?
Time slots define specific periods during the day (for example, Morning, Afternoon, Evening) and determine when checklist tasks should be completed.
While tasks can still be answered at any time, those completed after their assigned time slot will be marked as late. Only tasks completed within their designated time slot are counted as Answered in time in the central overview tile.
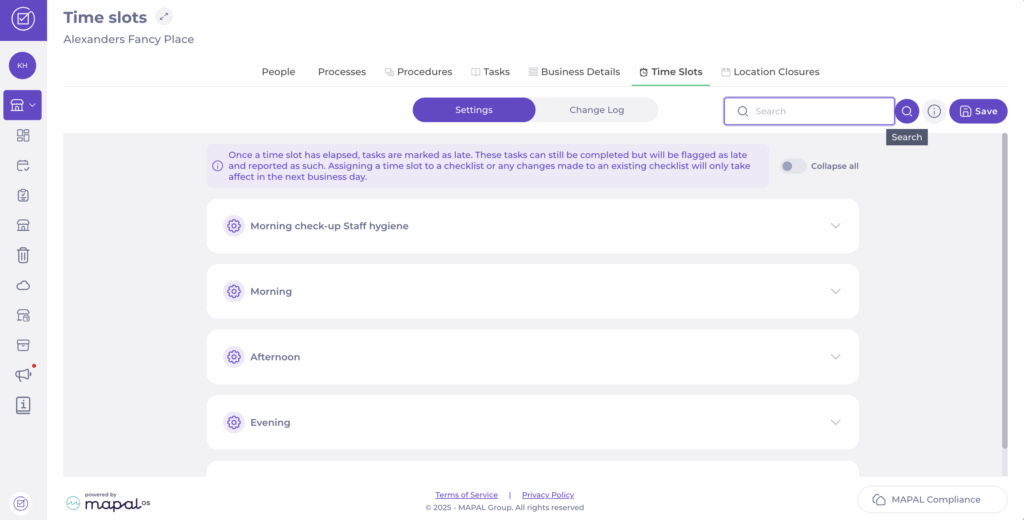
Adjust time slots
Navigate to My Location > Time slots.
Use the Search button to find a specific time slot from the list; for example, Evening.
Once you find the time slot, set the start (From) and end (To) time for it.
Select Save to register the changes.
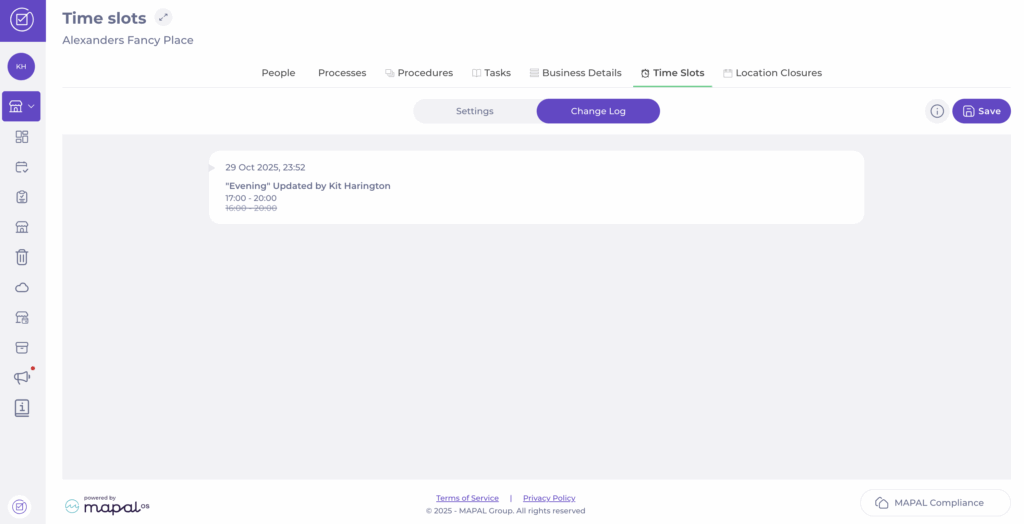
Track changes in time slots
Select the Change Log tab in the Time slots screen.
A list with all changes made to your time slots will appear. Here, you will be able to see:
Date and time the change was made.
Name of the time slot modified.
Name of the user who modified it.
Create a downcooling form
Start from: The Compliance central overview.
Create a downcooling form
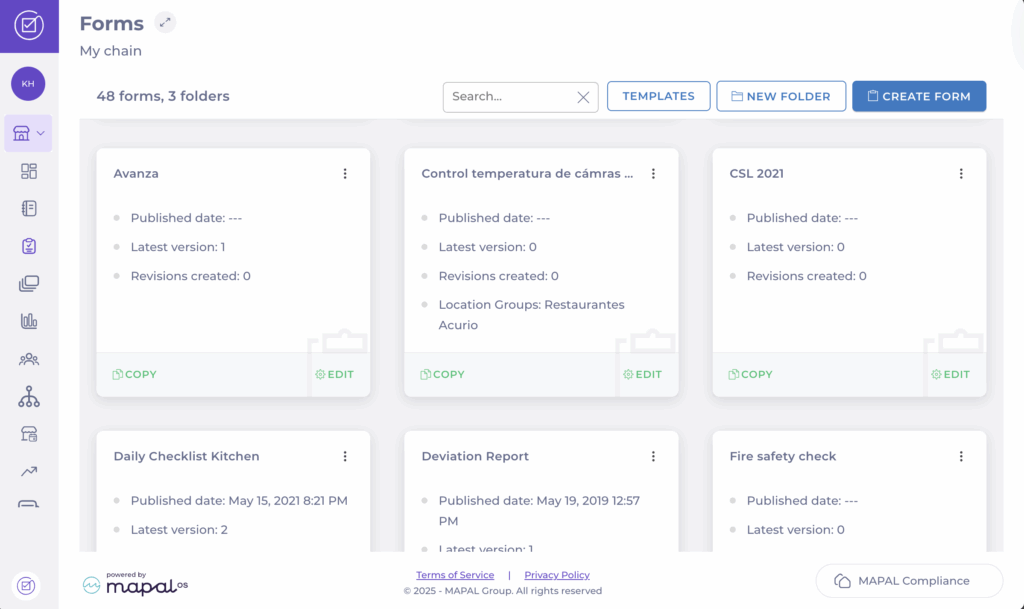
Navigate to Forms.
Select Create Form. Follow the standard procedure in Create a form.
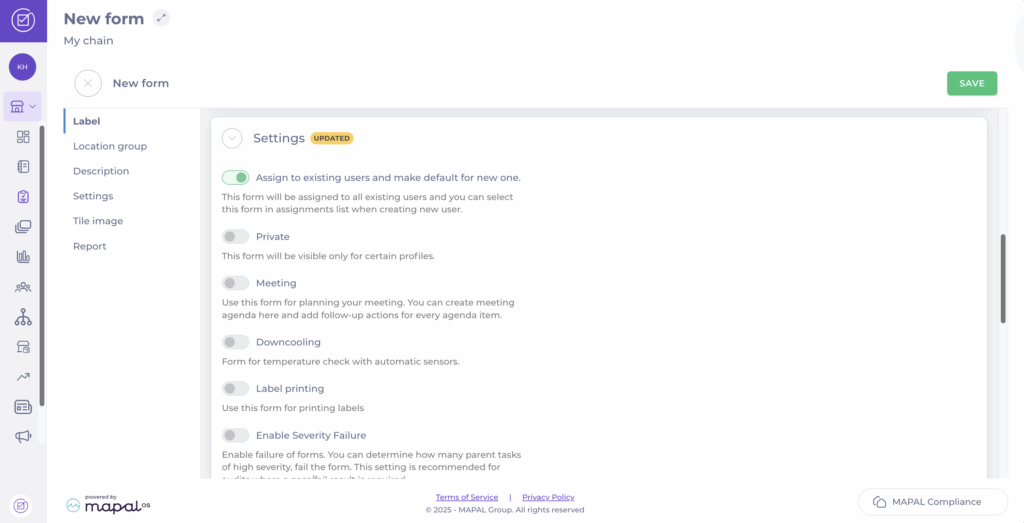
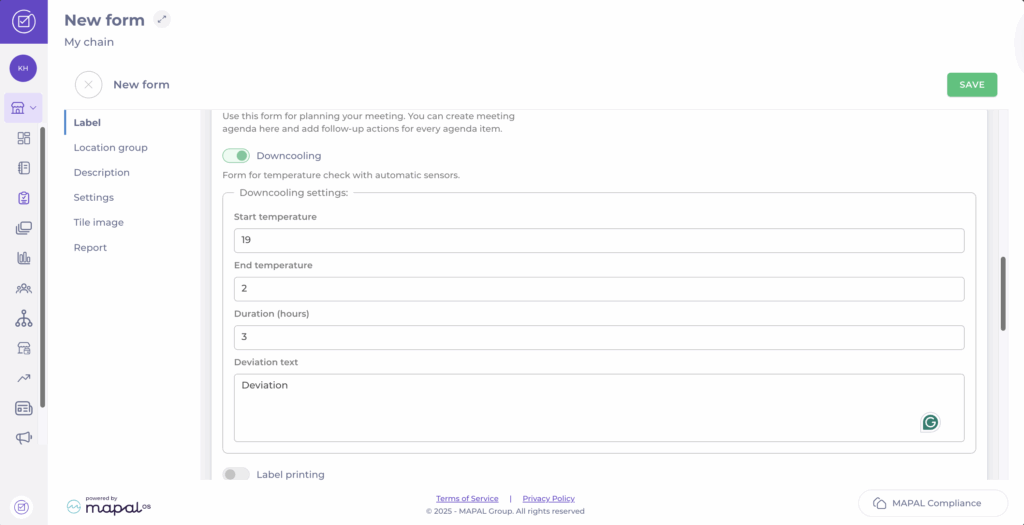
In the Settings section, activate the Downcooling toggle.
Register a Start temperature.
Register an End temperature.
Set a Duration (hours).
Set a Deviation text. This will appear when a deviation is registered.
Select Save.
Create a downcooling task
Once the form is created, select + Empty draft inside of it.
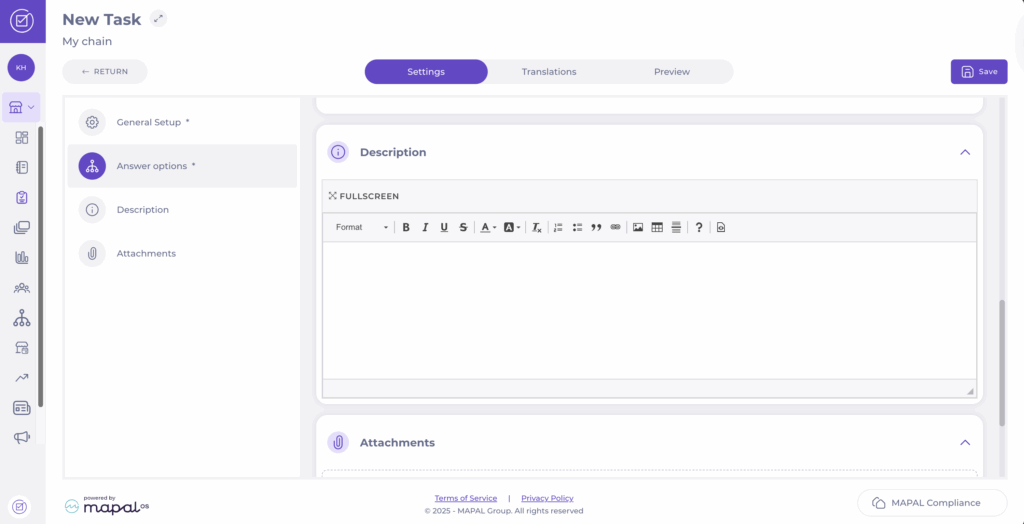
Open the new empty draft, and select + New task.
Fill in the name of the task and set the Severity.
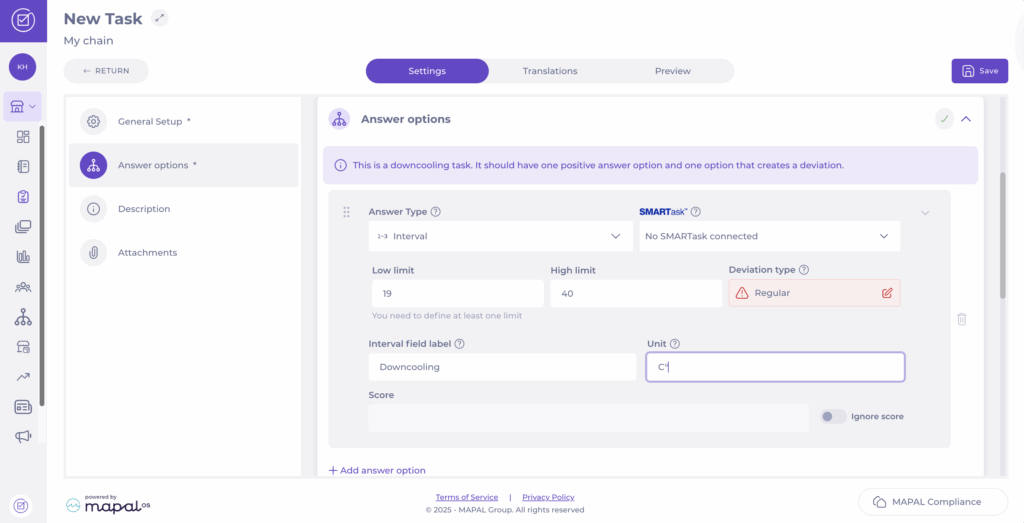
Scroll down to Answer options and select Interval in the Answer type dropdown.
In the High limit field, fill in the highest temperature allowed. For example, in a specific product, start temperature must be above 40 °C.
In the Low limit field, fill in the lowest temperature allowed. For that same product, temperature must fall below 19 °C within one hour.
Set a label for the task, for example, Downcooling.
Select the Unit field and fill in the unit, for example, °C.
Add any wanted Description, for example, how they can measure temperature and how to handle any deviations.
Add an Attachment if needed, for example, a guide or an informative document related with the task.
Define which tasks should be visible on which sites
Start from: The Easilys menu.
1. CREATE THE TAGS
Select the tabs Sites > Administration of tags.
Select Add a tag in the "PMS Task" section.
Create the tags you need.
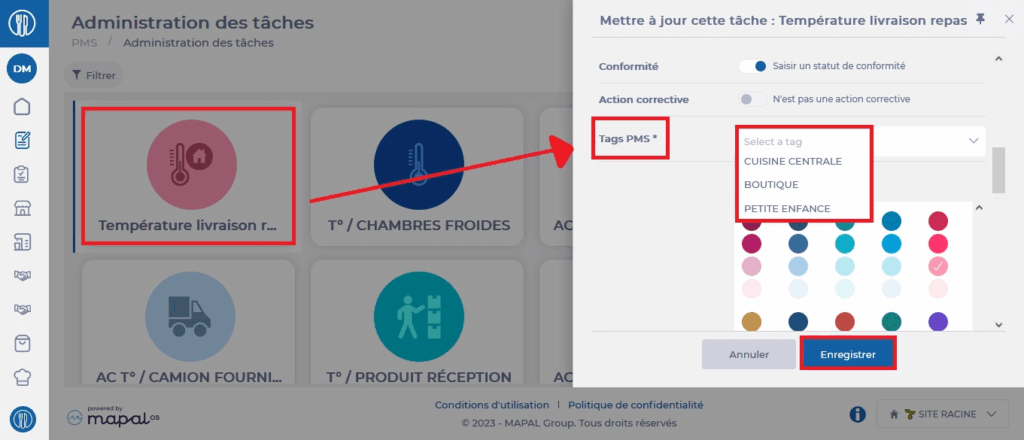
2. ADD THE TAGS TO TASKS
Go to the site where all tasks are administered.
Select the tabs PMS > Tasks administration.
Select a task. The task details are displayed on the right side of the screen.
Select Edit.
Add the tag(s) to the "PMS Tags" line.
Select Save.
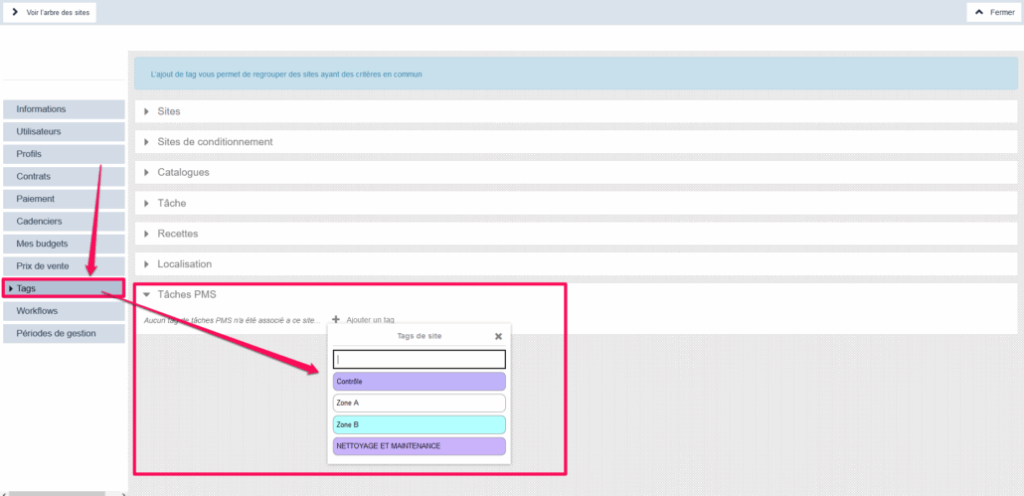
3. ADD THE TAGS ON THE SITES
Go to the site settings on which you want to add a "PMS Task" tag.
Select the "Tags" tab.
Add the "PMS Task" tag(s) that the site needs to see the PMS tasks that concern it.
Create premises to use them for PMS tasks
Start from: The Easilys menu.
It is possible to create PMS tasks based on premises criteria. For example, you can create a task for cleaning premises and, when entering the task, specify the premises that was cleaned.
Let's now examine how to create your different premises.
Select the Equipment items > Equipment items tabs.
Select + Create at the top right of the screen.
The "Create equipment" window appears on the screen.
Scroll to the bottom of the window to see the "Premises" field.
Select the gear wheel visible to the right of the "Premises" field.
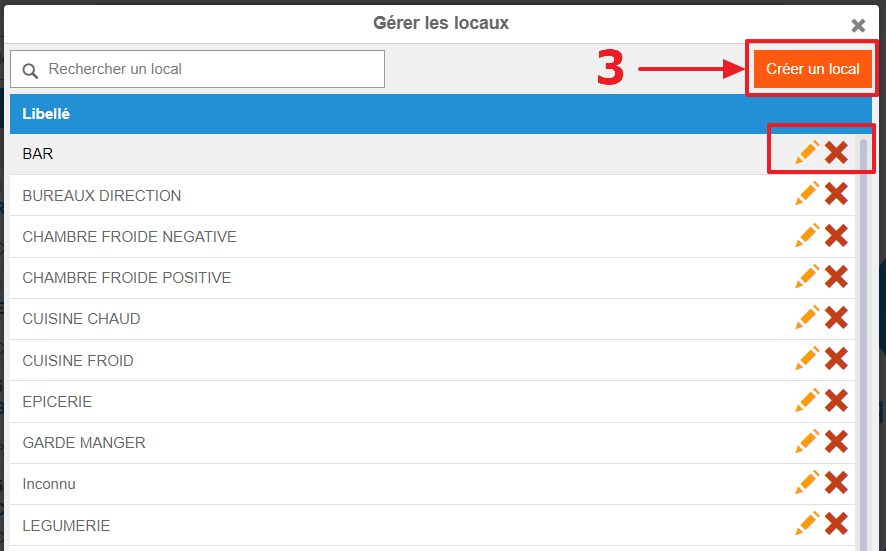
The "Manage premises" window appears on the screen.
Select Create premises.
To modify or delete existing premises, select the pencil or the cross.Once the premises list is ready, you will be able to use it in connection with PMS tasks linked to the "Premises" criteria.
Delete a task
Start from: The Easilys menu.
Select Health and Safety plan > Task administration.
Select an existing task in the task administration screen display table.
The task details will appear on the right side of the screen.
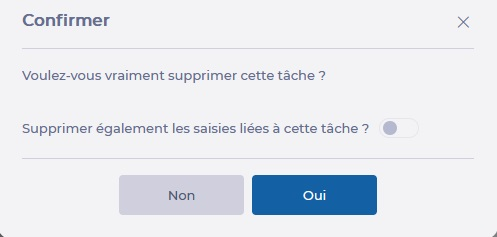
At the bottom right of the details, select Delete.
You can check the box to delete all entries linked to the task if needed. However, this is not recommended if you want to keep an accurate history.
Edit a task
Start from: The Easilys menu.
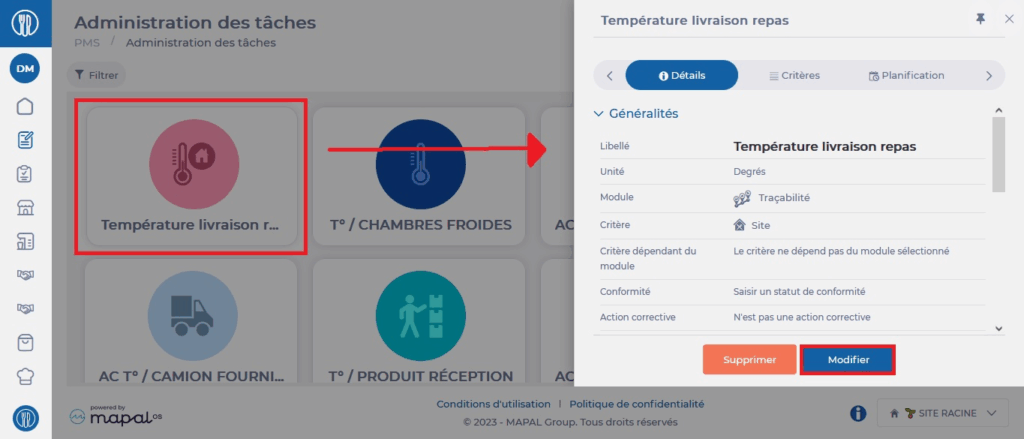
Select the PMS > Task administration tabs.
Select an existing task in the display table on the Tasks administration screen.
The task sheet appears on the right side of the screen.
At the bottom right of the sheet, select Edit.
Make your changes then select Save at the bottom right.
Organise my Compliance locations with categories
Start from: The Compliance overview.
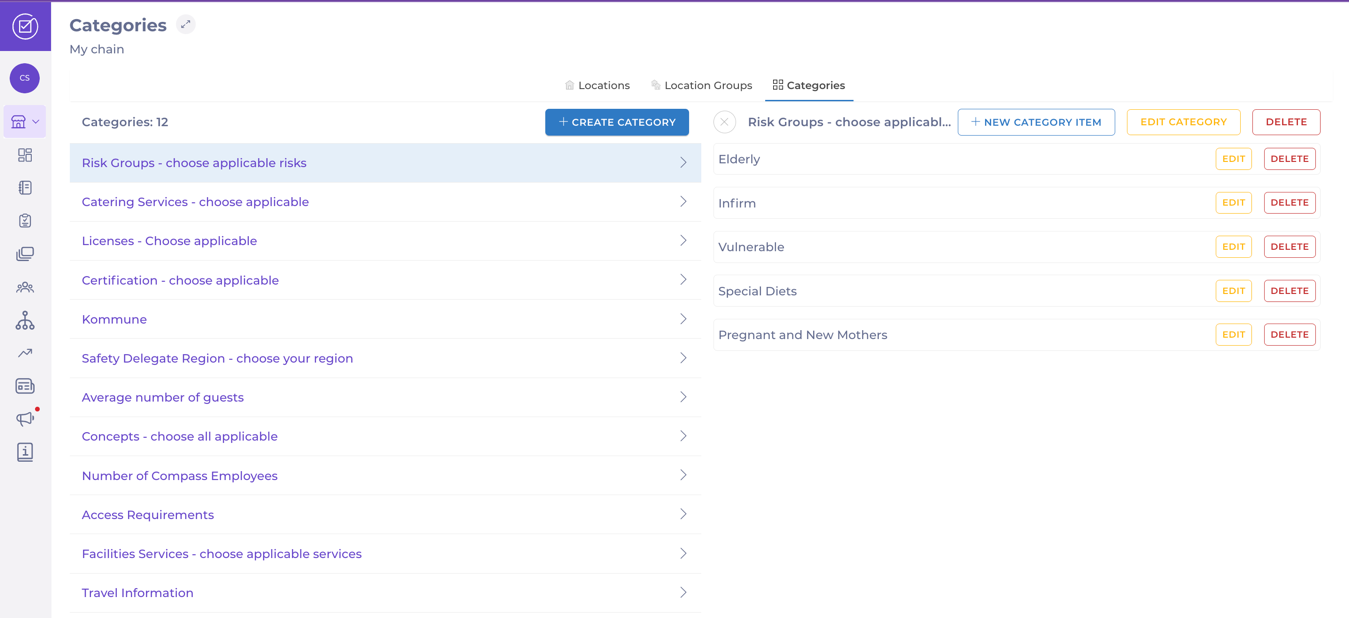
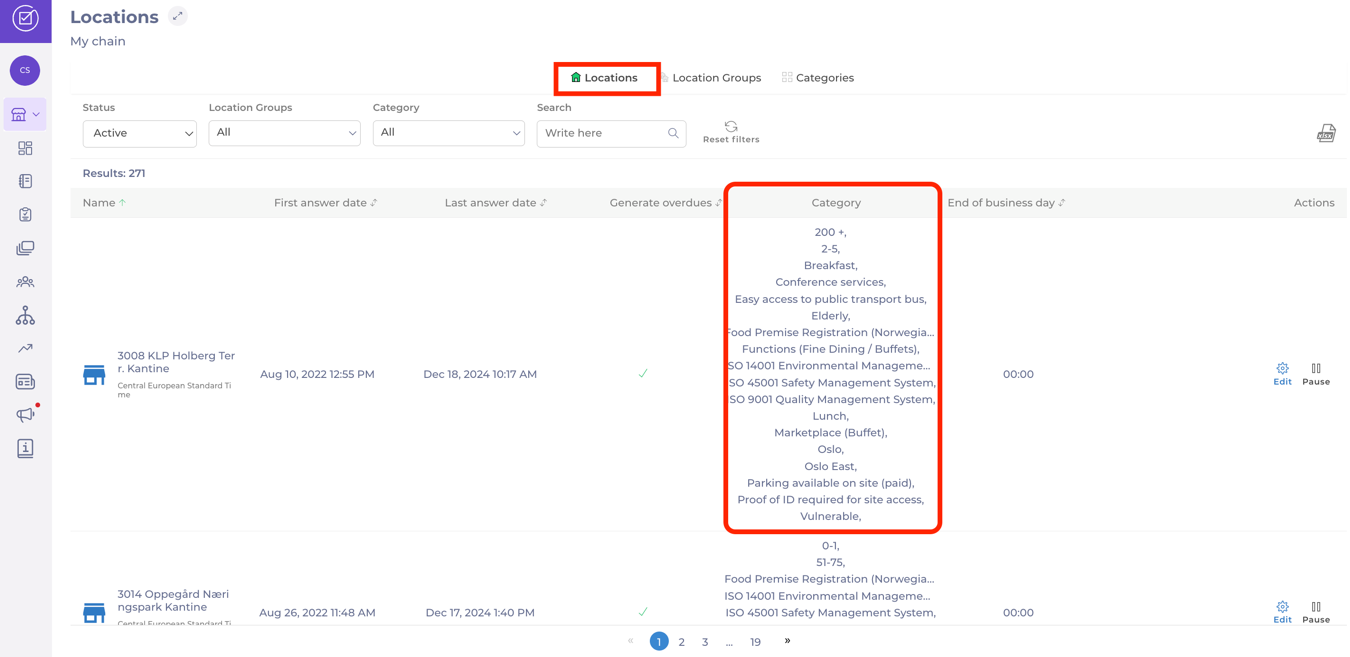
Categories
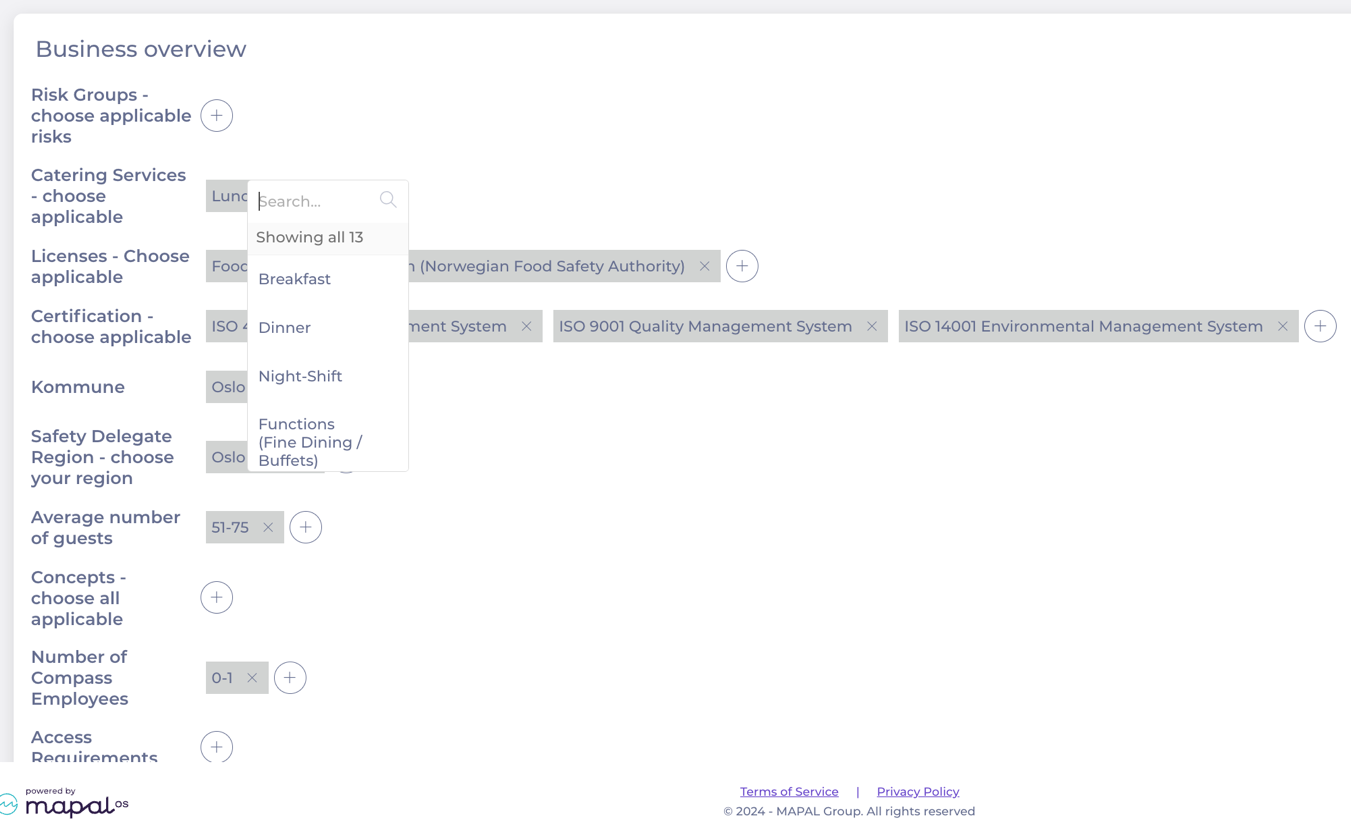
The Categories feature in Compliance provides an enhanced level of organisation, allowing you to classify locations beyond location groups. This functionality enables you to categorise locations by specific concepts, attributes, or operational needs unique to their chain. By defining custom categories and sub-items, you can tailor the system to better reflect your organisational structure and priorities.
Examples of Categories and Items
Risk Groups: Elderly, infirm, pregnant women, special diets
Licenses: Food Premise Registration, sale of alcohol/liquor licenses, sale of tobacco products