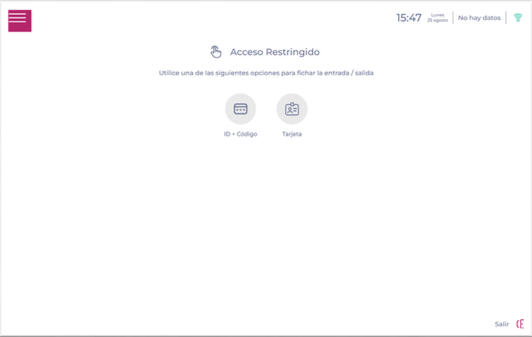
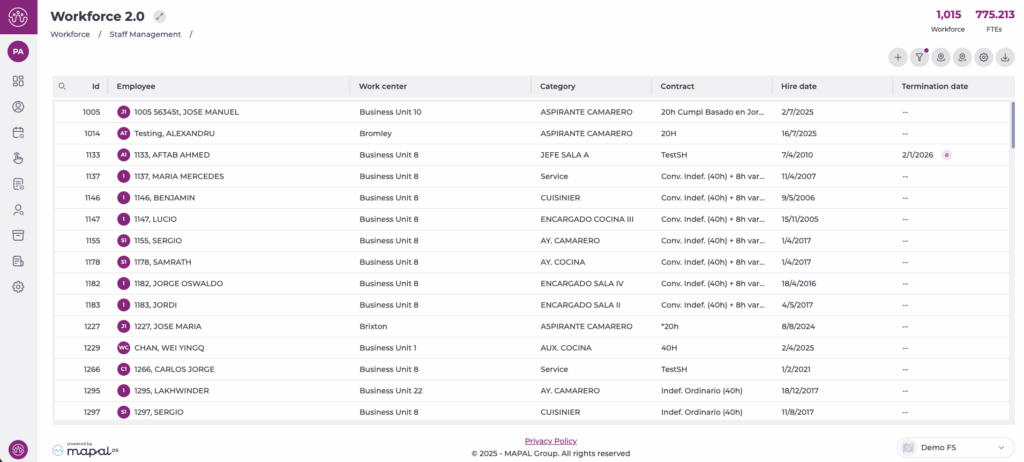
Start From: The Workforce Module


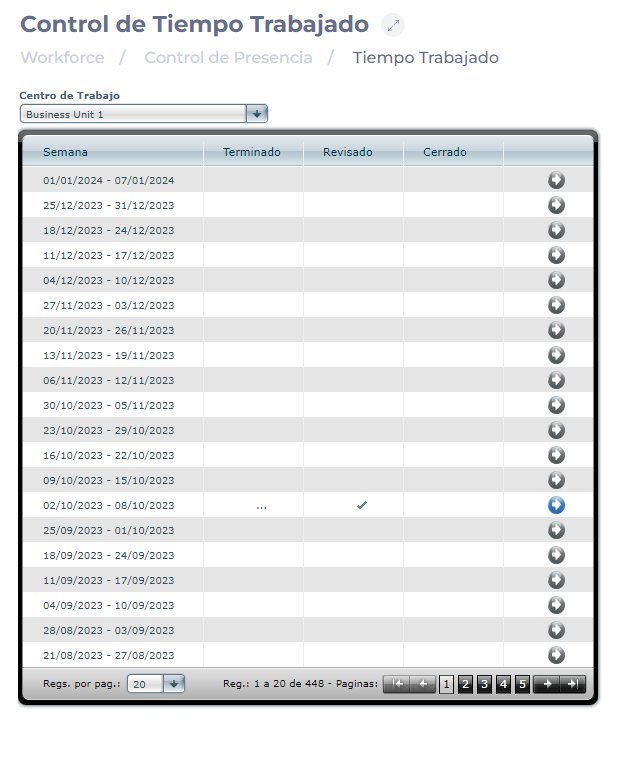
Note: The screen displays different records for each week, from Monday to Sunday, throughout the year. The three statuses in which worked time activities can be found are Finished, Reviewed, and Closed.
Note: If the record for this week has already been processed, a blue arrow will be visible. This helps distinguish a managed week from an unmanaged one.


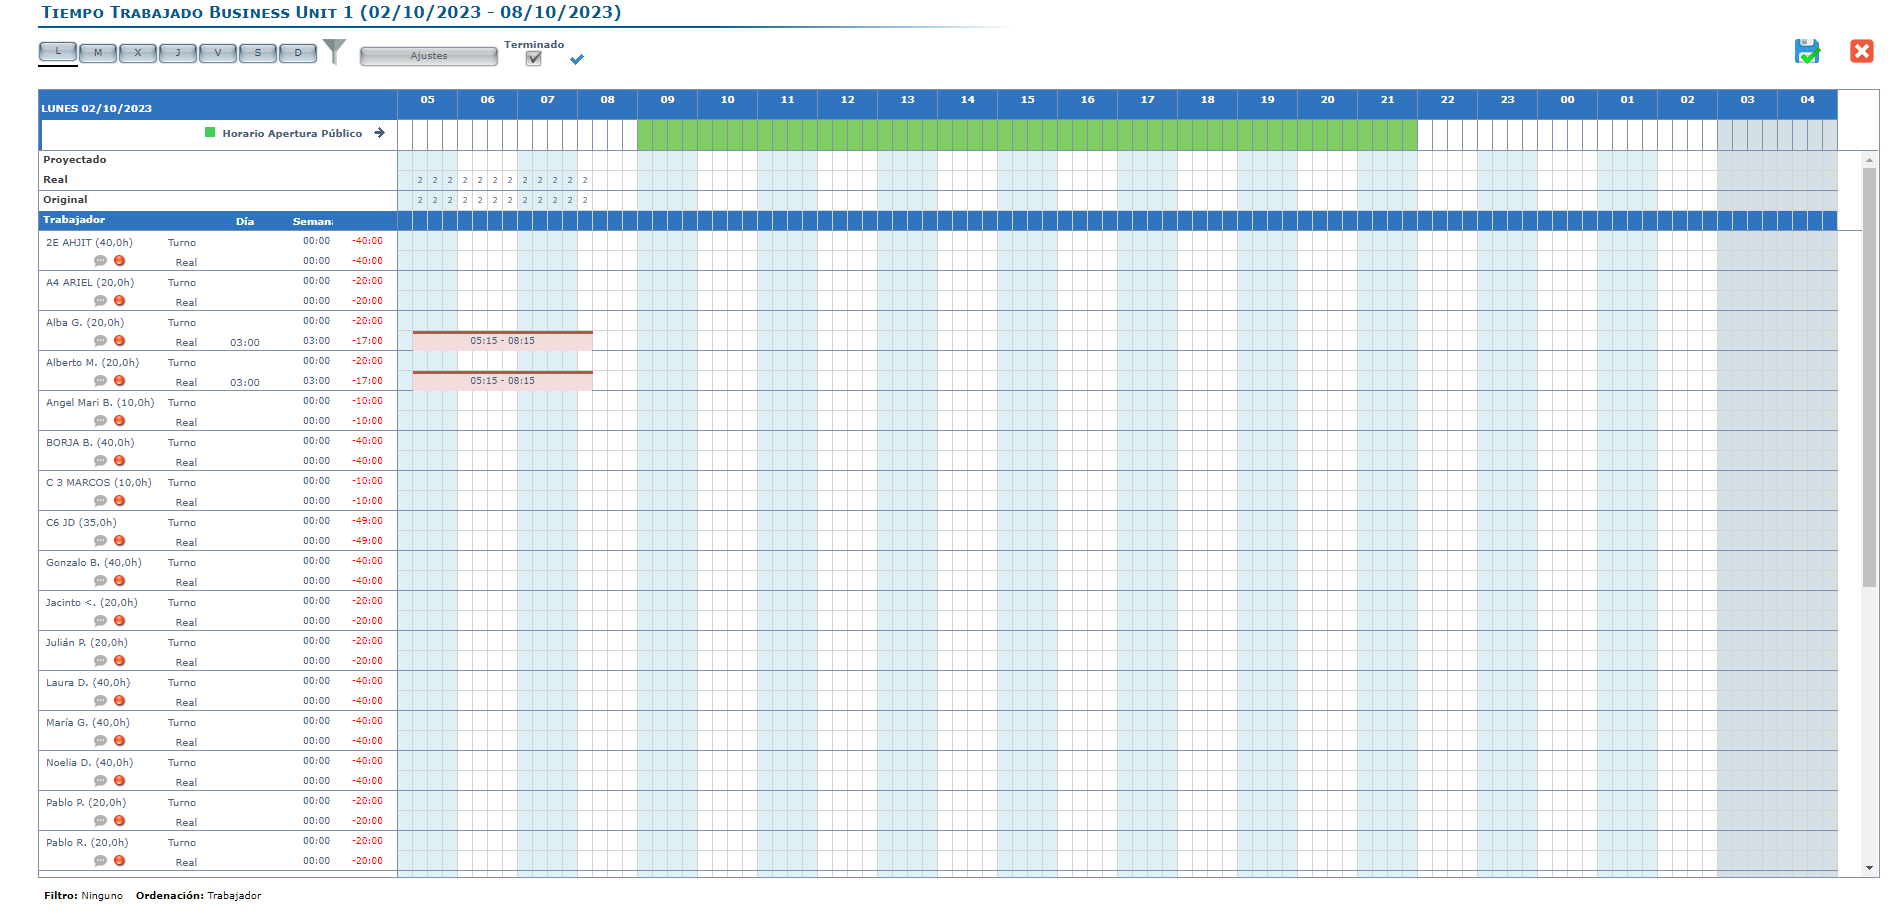
Note: The projected shift appears in blue. Once the employee has clocked in, the real will be displayed in gray.
When a shift is striped, it means that the employee has clocked in at another workplace, specified within the clock-in bar. This applies to both projected and real shifts.
Adjustment Methods
The management of worked time can be handled in two ways: Individual and Collective.
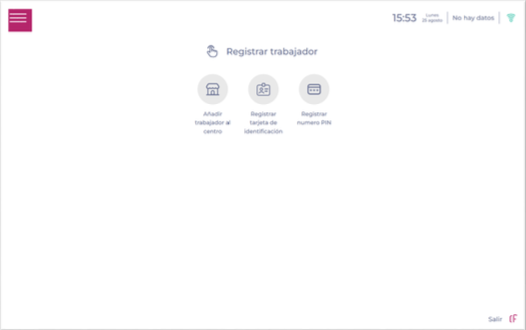
Start From: The Workforce Module
- Select Time & Attendance > Timesheets from the main menu
- Choose the week you want to work on.
- Click on the gray arrow to access the timesheet template.
Individual Adjustment

Collective Adjustment


Adjustment Types
Match T&A with Shifts
The system will calculate worked time exactly according to the projected shift, whether there are clock-ins or not.
Adjust T&A with Shifts
The system will calculate worked time according to the projected shift only if there is a clock-in during the shift and will also calculate worked time for a non-projected shift. For example, if a worker had the morning shift from 10:00 to 16:00, clocked in at 9:45, and then clocked out at 16:10, but also returned to cover the night shift, in which there was no projected shift, clocking in again at 20:05 and out at 22:45. Using this option, the system will calculate 6 hours from the morning shift (according to Projected) and an additional 2:40 hours from the night shift (not projected).
Adjust Early Entries
This applies to all clock-ins made before the projected shift, ensuring the system calculates worked time from the start of the person's shift. It is common for staff to clock in a few minutes before their shift, and this adjustment prevents those minutes from turning into hours at the end of the month.
Courtesy Adjustment (In and Out)
This adjustment allows us to provide courtesy in clock-ins and outs for workers who arrive or leave a few minutes late from their shift. We must define how many minutes of courtesy we want to apply so that all workers who, even arriving late, have clocked in within that courtesy time, the system will calculate the time from the start of their projected shift.
Adjust Late Exits
This adjustment applies to all clock-outs made after the projected shift ends, ensuring the system calculates worked time until the shift's end time. It is common for staff to clock out a few minutes after their shift, and this adjustment prevents those minutes from turning into hours at the end of the month.
Manual Adjustments on the Lines
If any worker cannot clock in due to a justified reason, you can adjust the hours by clicking and dragging the line.

You can also adjust the clock-ins and outs of the staff's shift by dragging the clock-in lines to the left or right, always trying to avoid overlapping shifts. When there is an overlap of shifts, the following message will appear, notifying that it was not possible to make the changes:

Adjustments to clock-ins can be made on the current day, up to the closest past quarter-hour segment or you can also adjust the exact minutes by using the right click and selecting Modify.