Start from: The Configuration module.
Manage users through Mapal OS
For Companies in Mapal OS, you must manage users in the Mapal OS Settings module.
Note: if you're not sure whether you are on Mapal OS, contact your customer success manager.
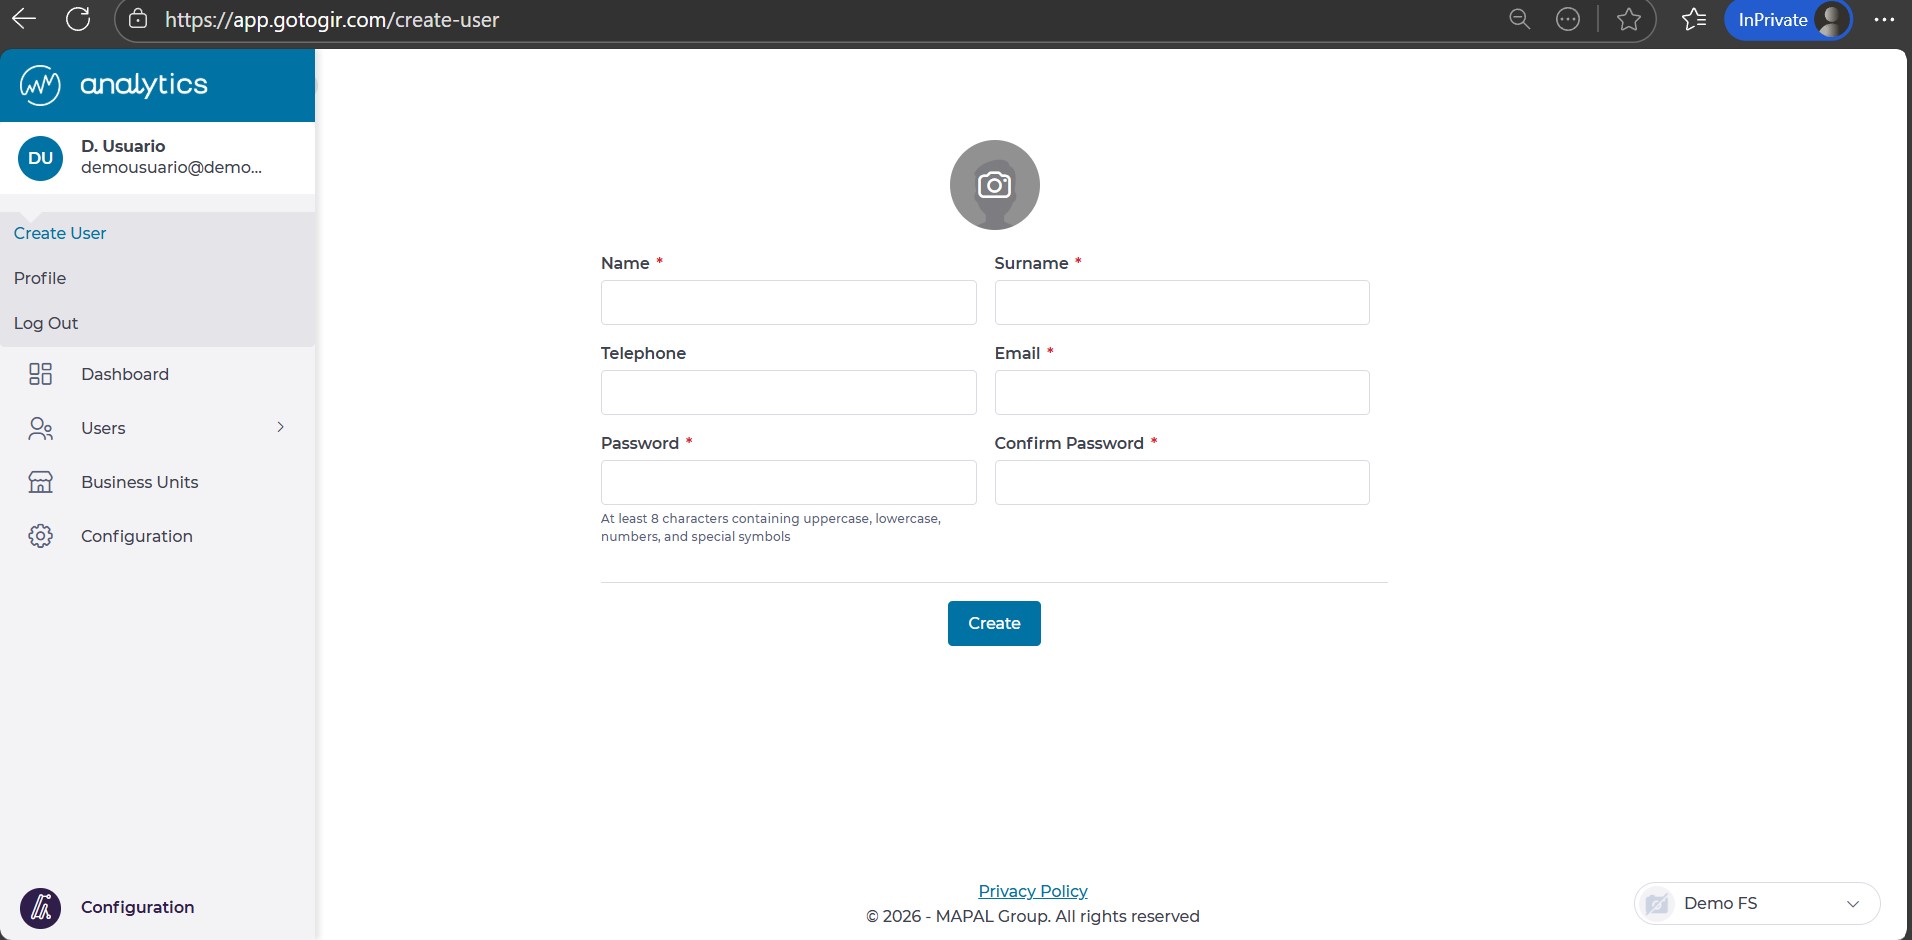
Manage users through GIR
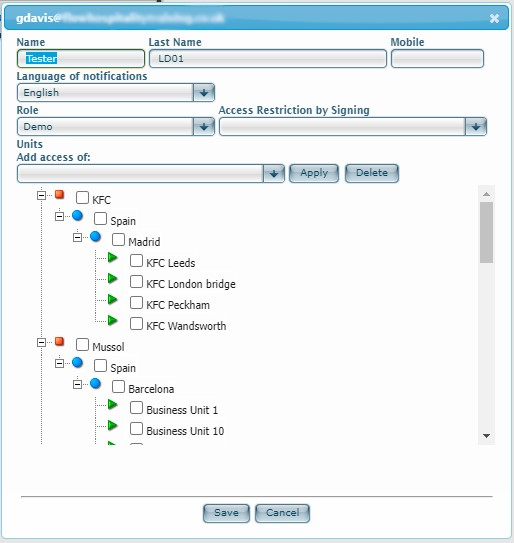
a. Full name (mandatory)
b. Phone number (optional)
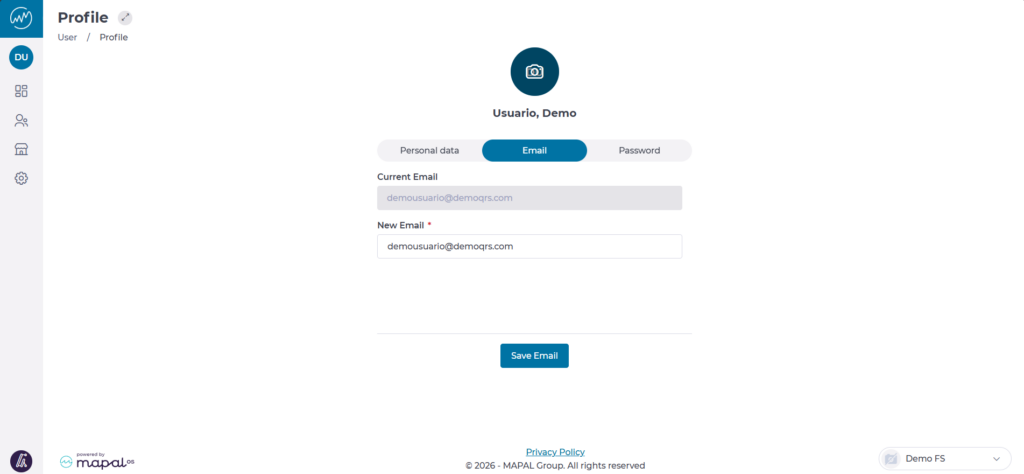
c. Email: This will serve as our username for accessing GIR and for password recovery in case it is forgotten. Additionally, it will function as the user login for the mobile application Workforce App.
d. Password: It must have at least 8 characters, including uppercase and lowercase letters, and special characters.
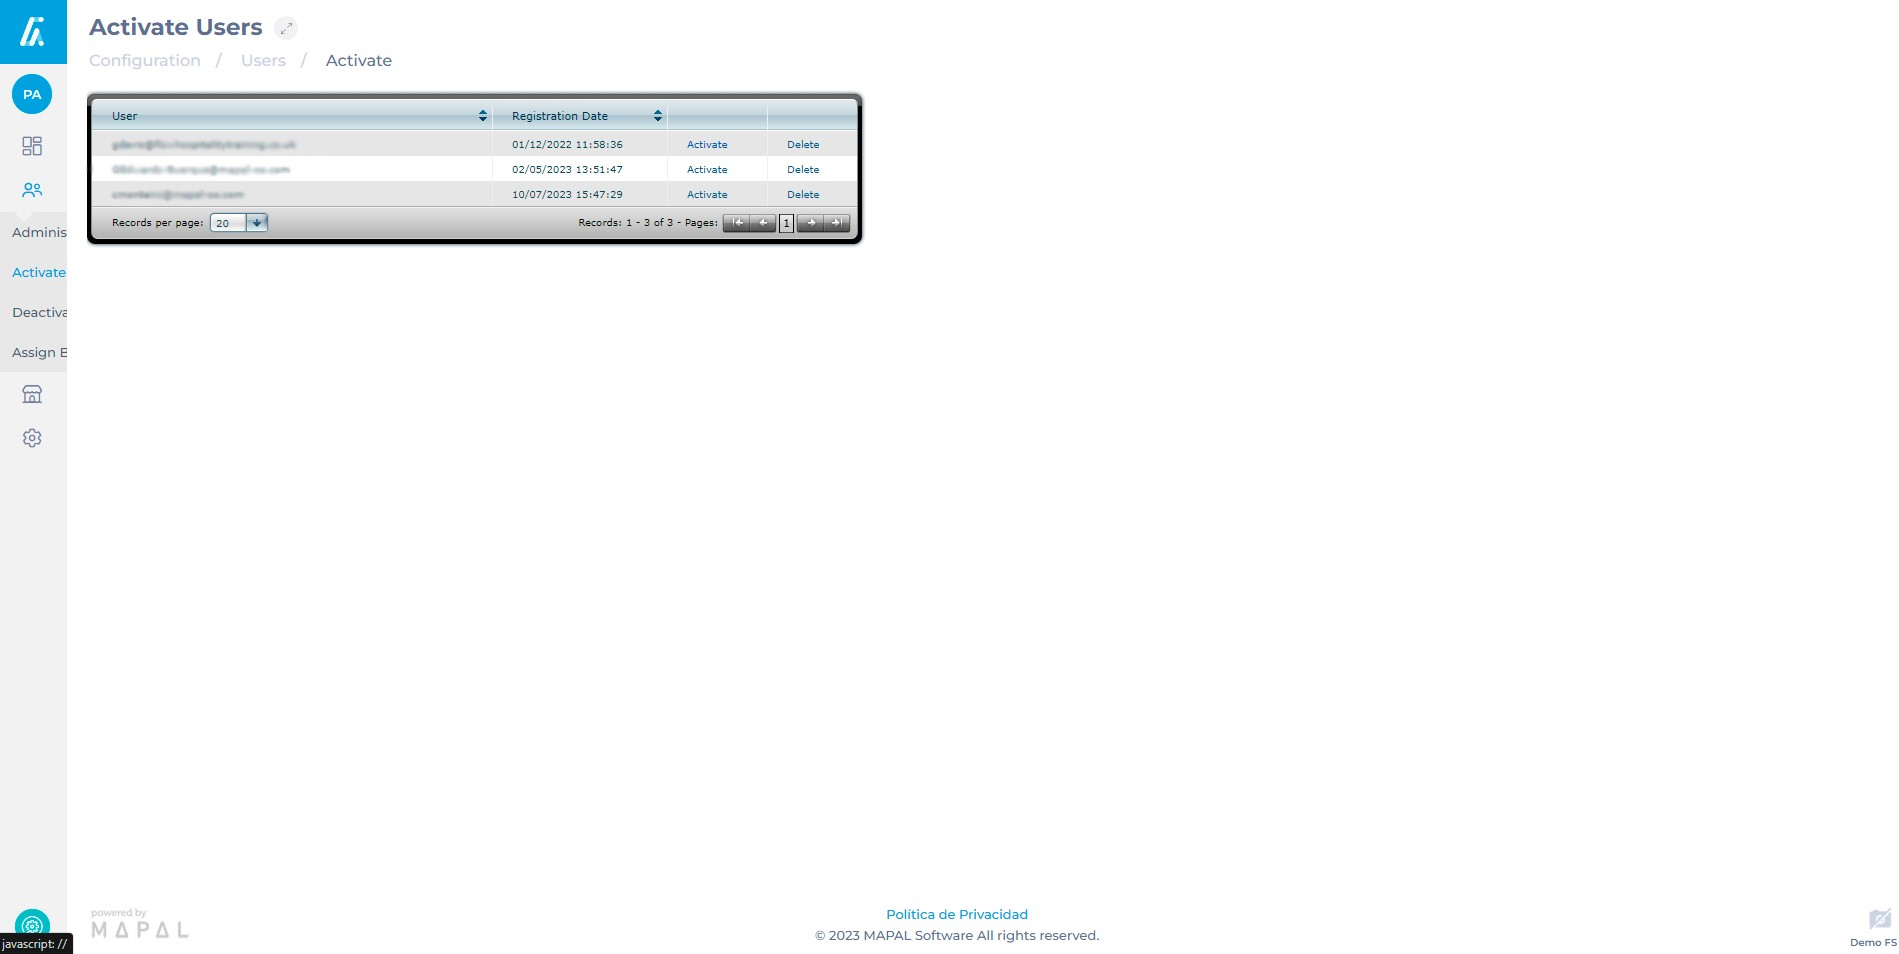
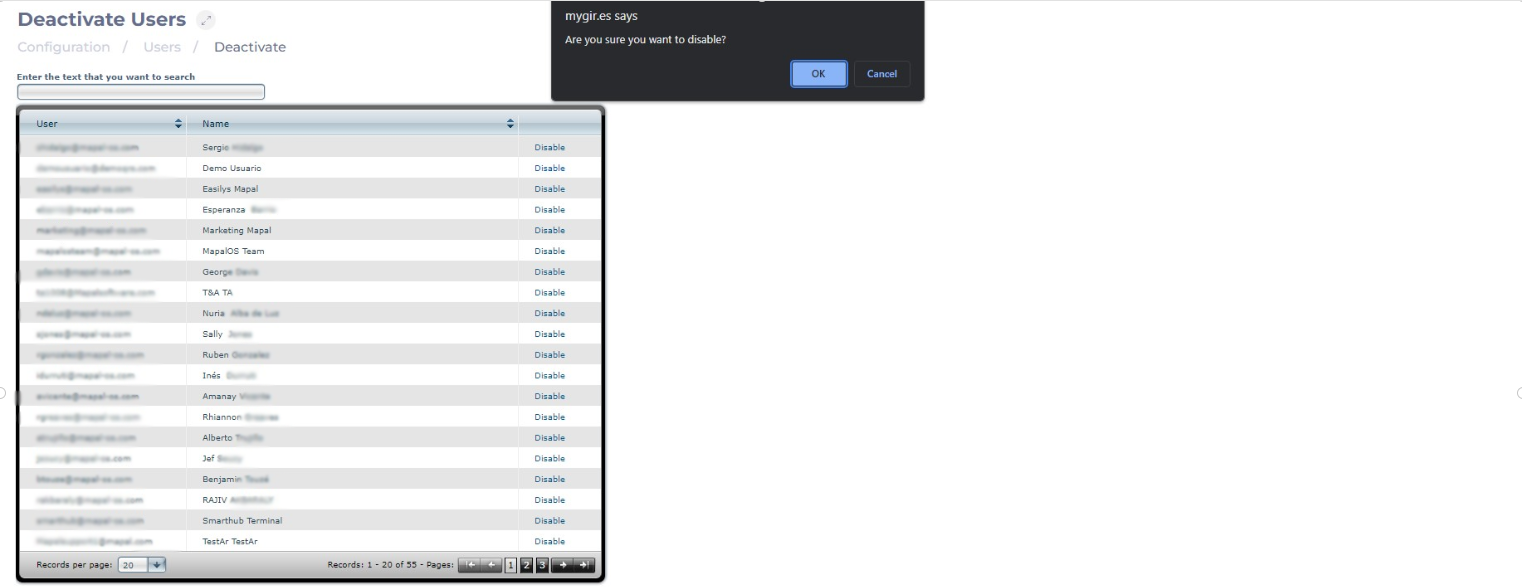
To activate your new user, see Activate User.
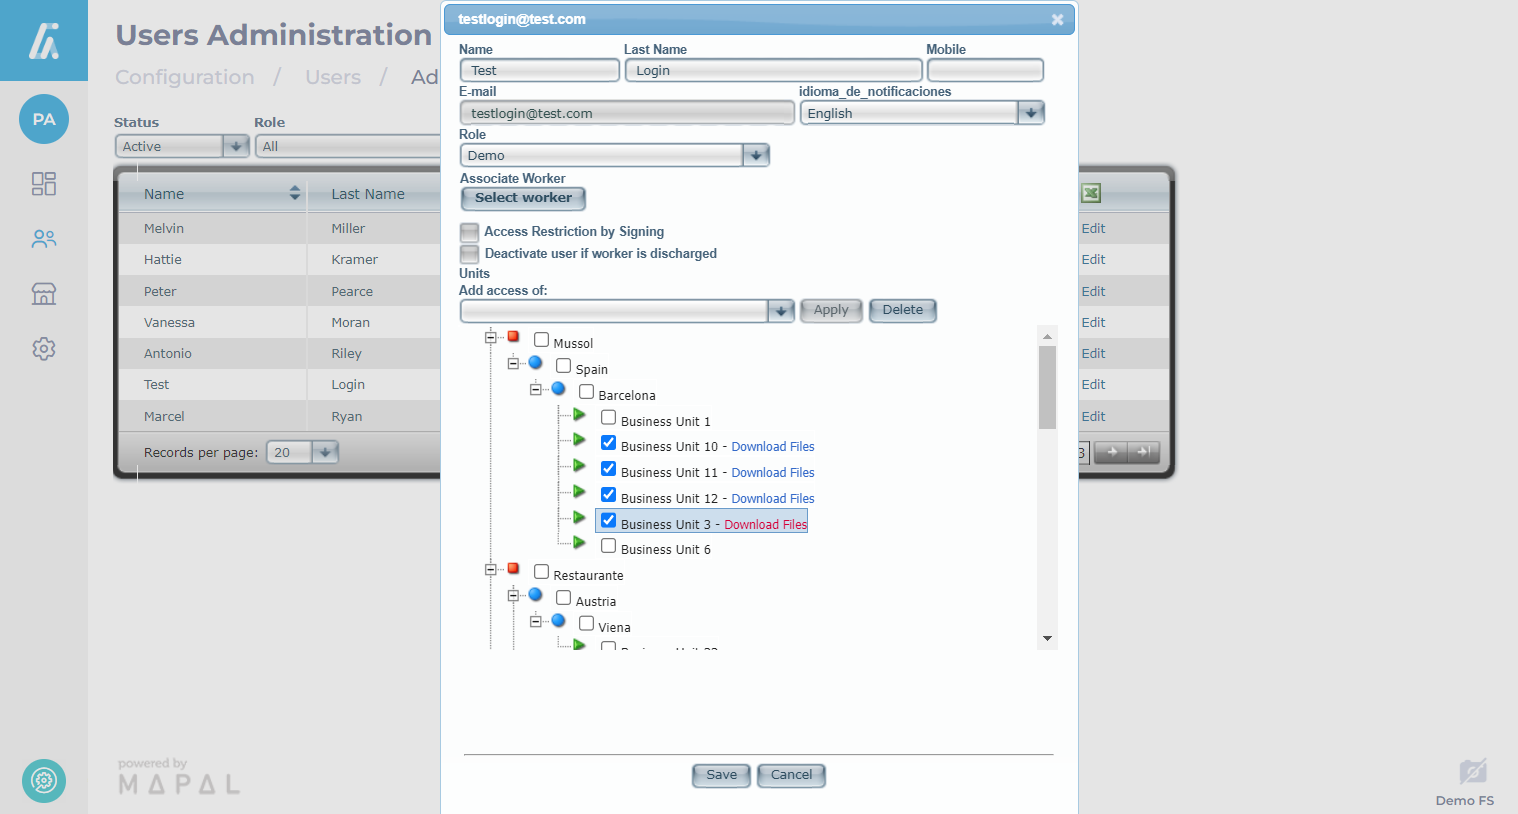
To edit a user, see Manage GIR users.
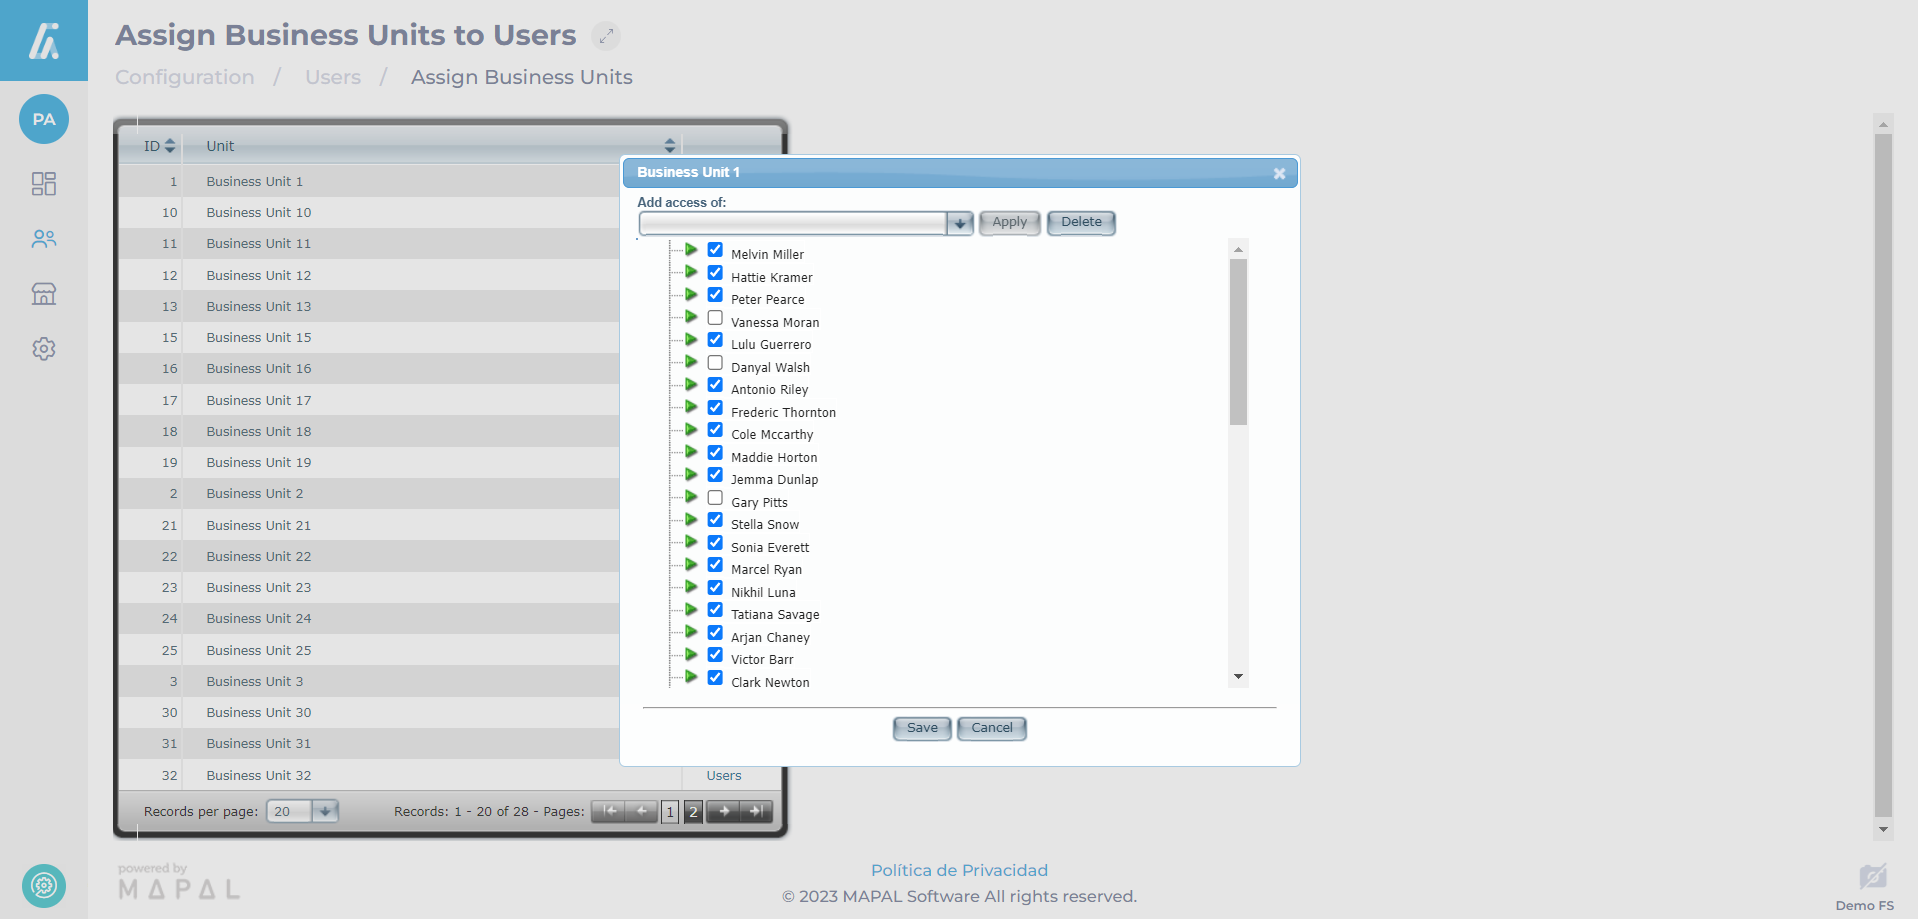
To assign roles and permissions, see Assign roles to users.
Note: The email submitted during the user creation will become the member’s user login to access GIR. It will also serve as the user login for the Workforce App.
Language in GIR will depend on browser settings, not the language selected in the user’s profile.


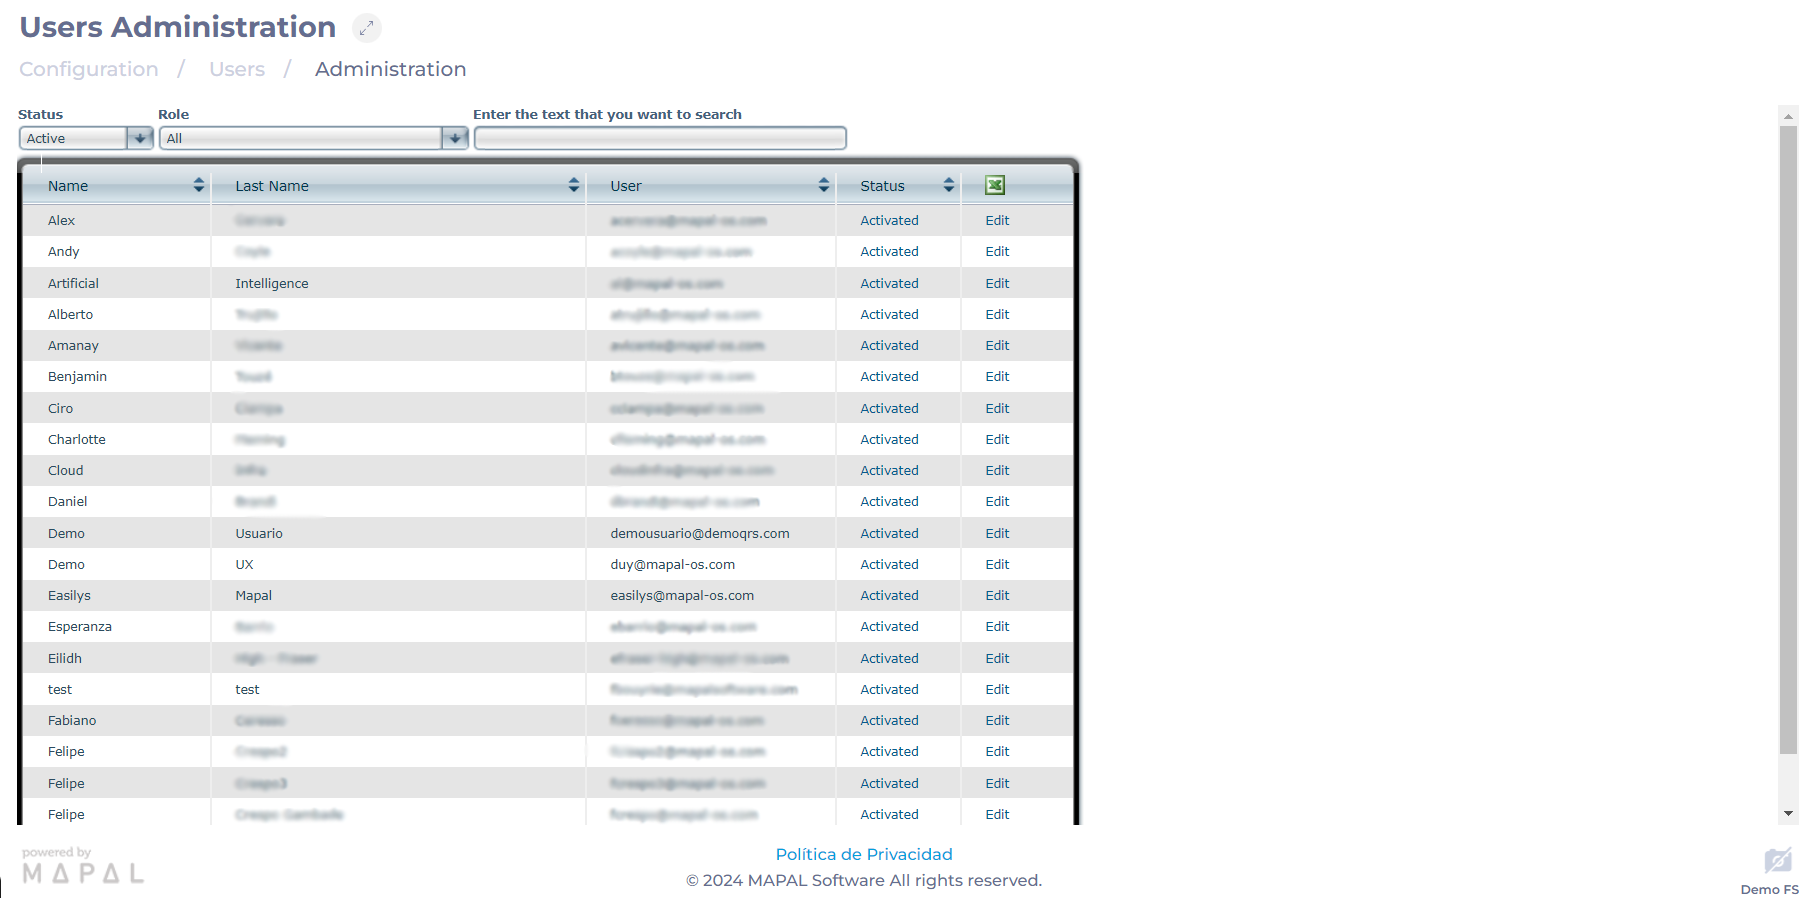
 In the Administration screen, all registered users will be displayed. To find the specific user to manage, you can filter by Status (Active/Inactive users), by Role, or directly enter the text you want to search for.