


Nota: Las acciones en la plataforma Easilys dependen de los permisos de acceso de usuario. Si no puede realizar las acciones que se indican a continuación, es posible que se deba a restricciones en su perfil de usuario. Comuníquese con el equipo de soporte o con su administrador para obtener ayuda.
Empezar desde: The Easilys menú.
-
Navegar a Sites > Site settings.
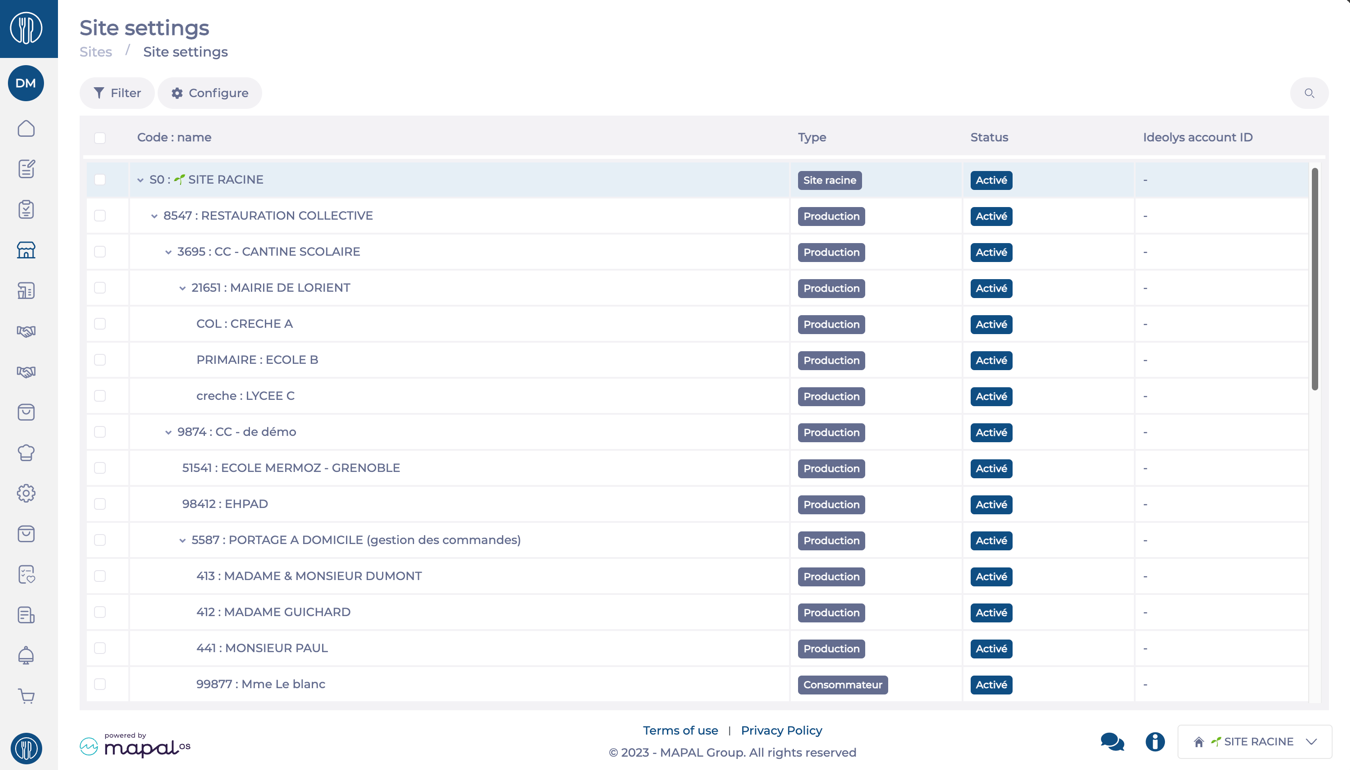
The Site Settings screen displays a table with settings for all sites you have access to. The sites are shown hierarchically. You can navigate this grid by using the following options:
-
Configure: This option allows you to change the orders of the columns, make them visible or invisible, and pin them.
-
Filtrar: Narrow down the results per site Status, Type, Billing status, or Only selected elements.
-
Search (magnifying glass): Opens a text bar to help you search sites by name.
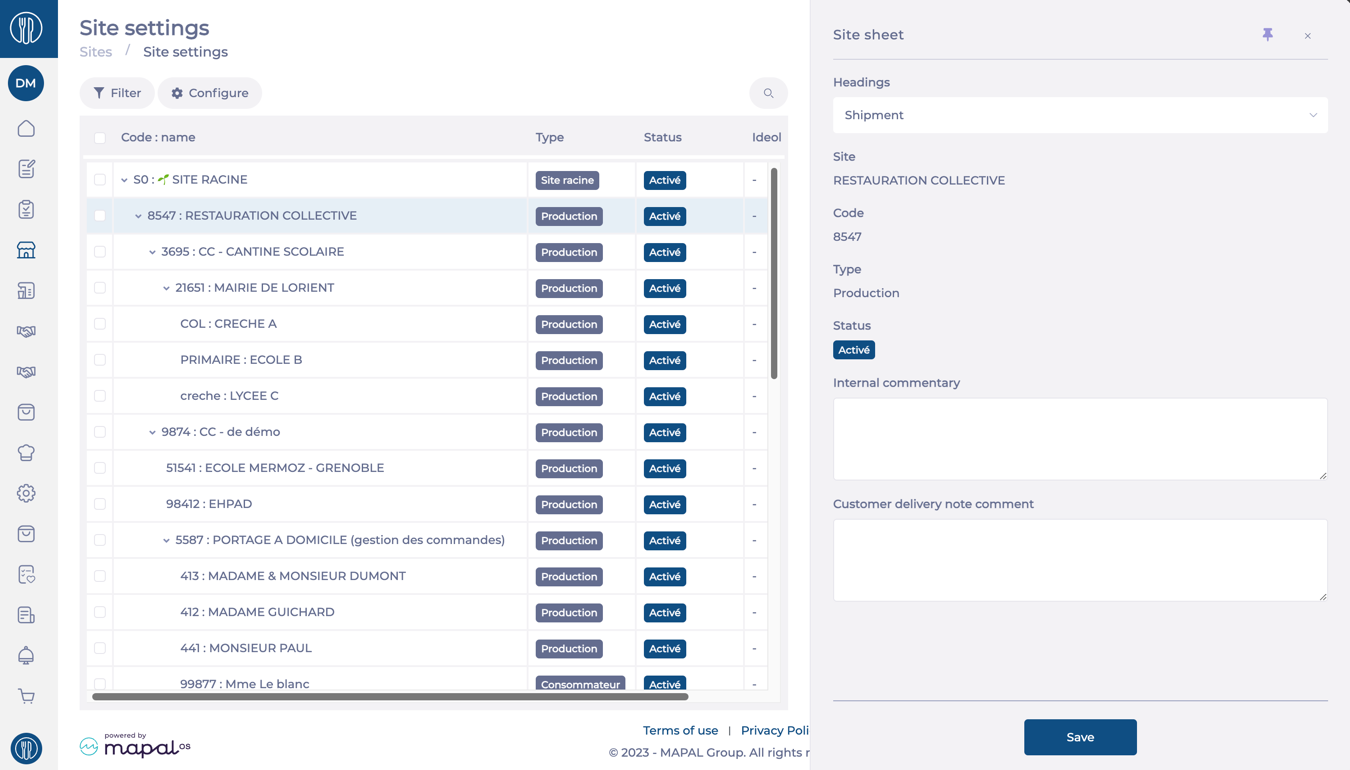
Modifying settings for a single site
-
Seleccione el site name from the hierarchy.
-
In the right-hand Site sheet panel, select the desired category (Headings) (e.g., shipments, inventory).
-
Modify the necessary settings for the selected category.
Notas: Each category has different settings that can be adjusted.
-
Seleccionar Ahorrar to apply changes.
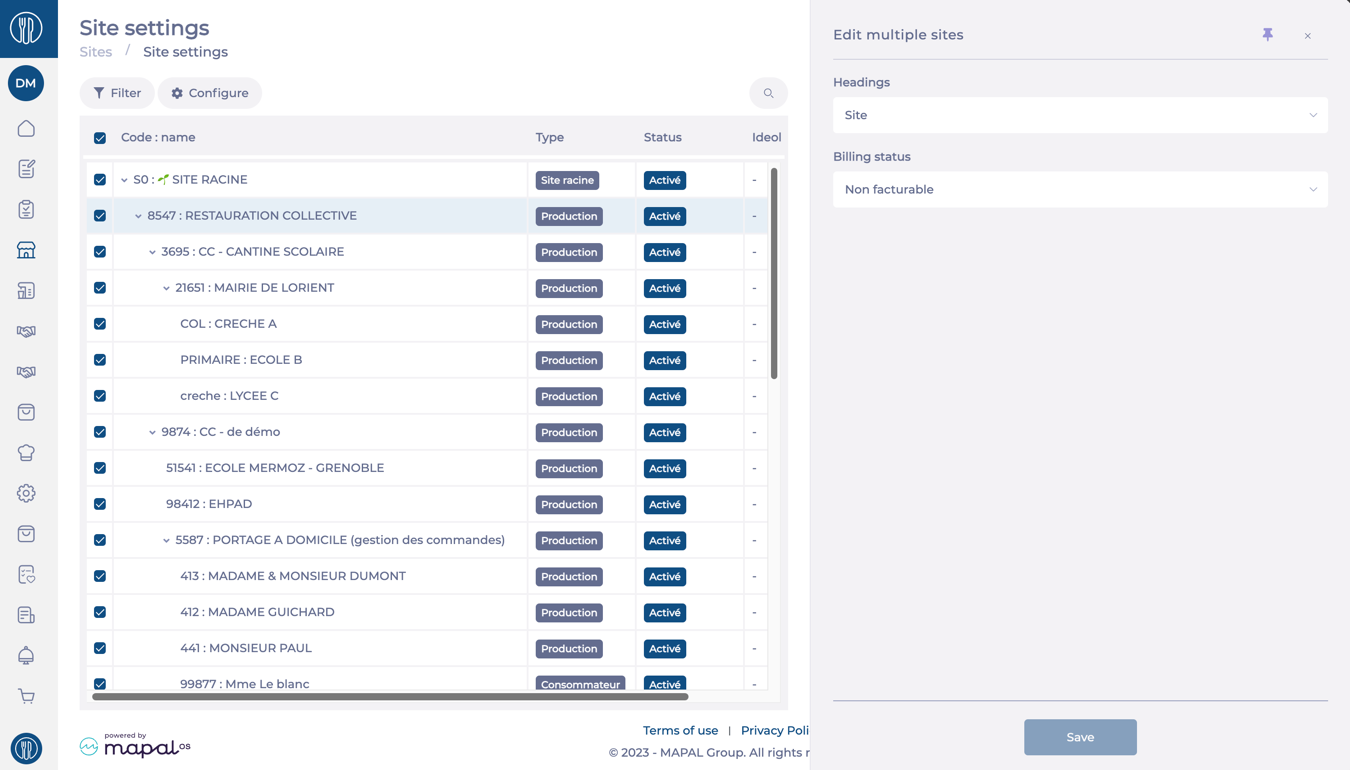
Modifying settings across multiple sites
-
Seleccione el checkboxes next to the desired sites in the hierarchy.
Notas: Selecting a parent site automatically selects all its child sites. You can deselect specific sites to exclude them.
-
In the right-hand panel, select the category (Headings) you wish to edit.
-
Update the relevant setting for the selected category.
Notas: Each category has different settings that can be adjusted.
-
Seleccionar Ahorrar to apply changes across all selected sites.
Notas: Settings related to the Shipments category can also be managed directly through Shipments > Shipment Settings.