Configure public holidays in Workforce (GIR3)
Start from: The Workforce dashboard.
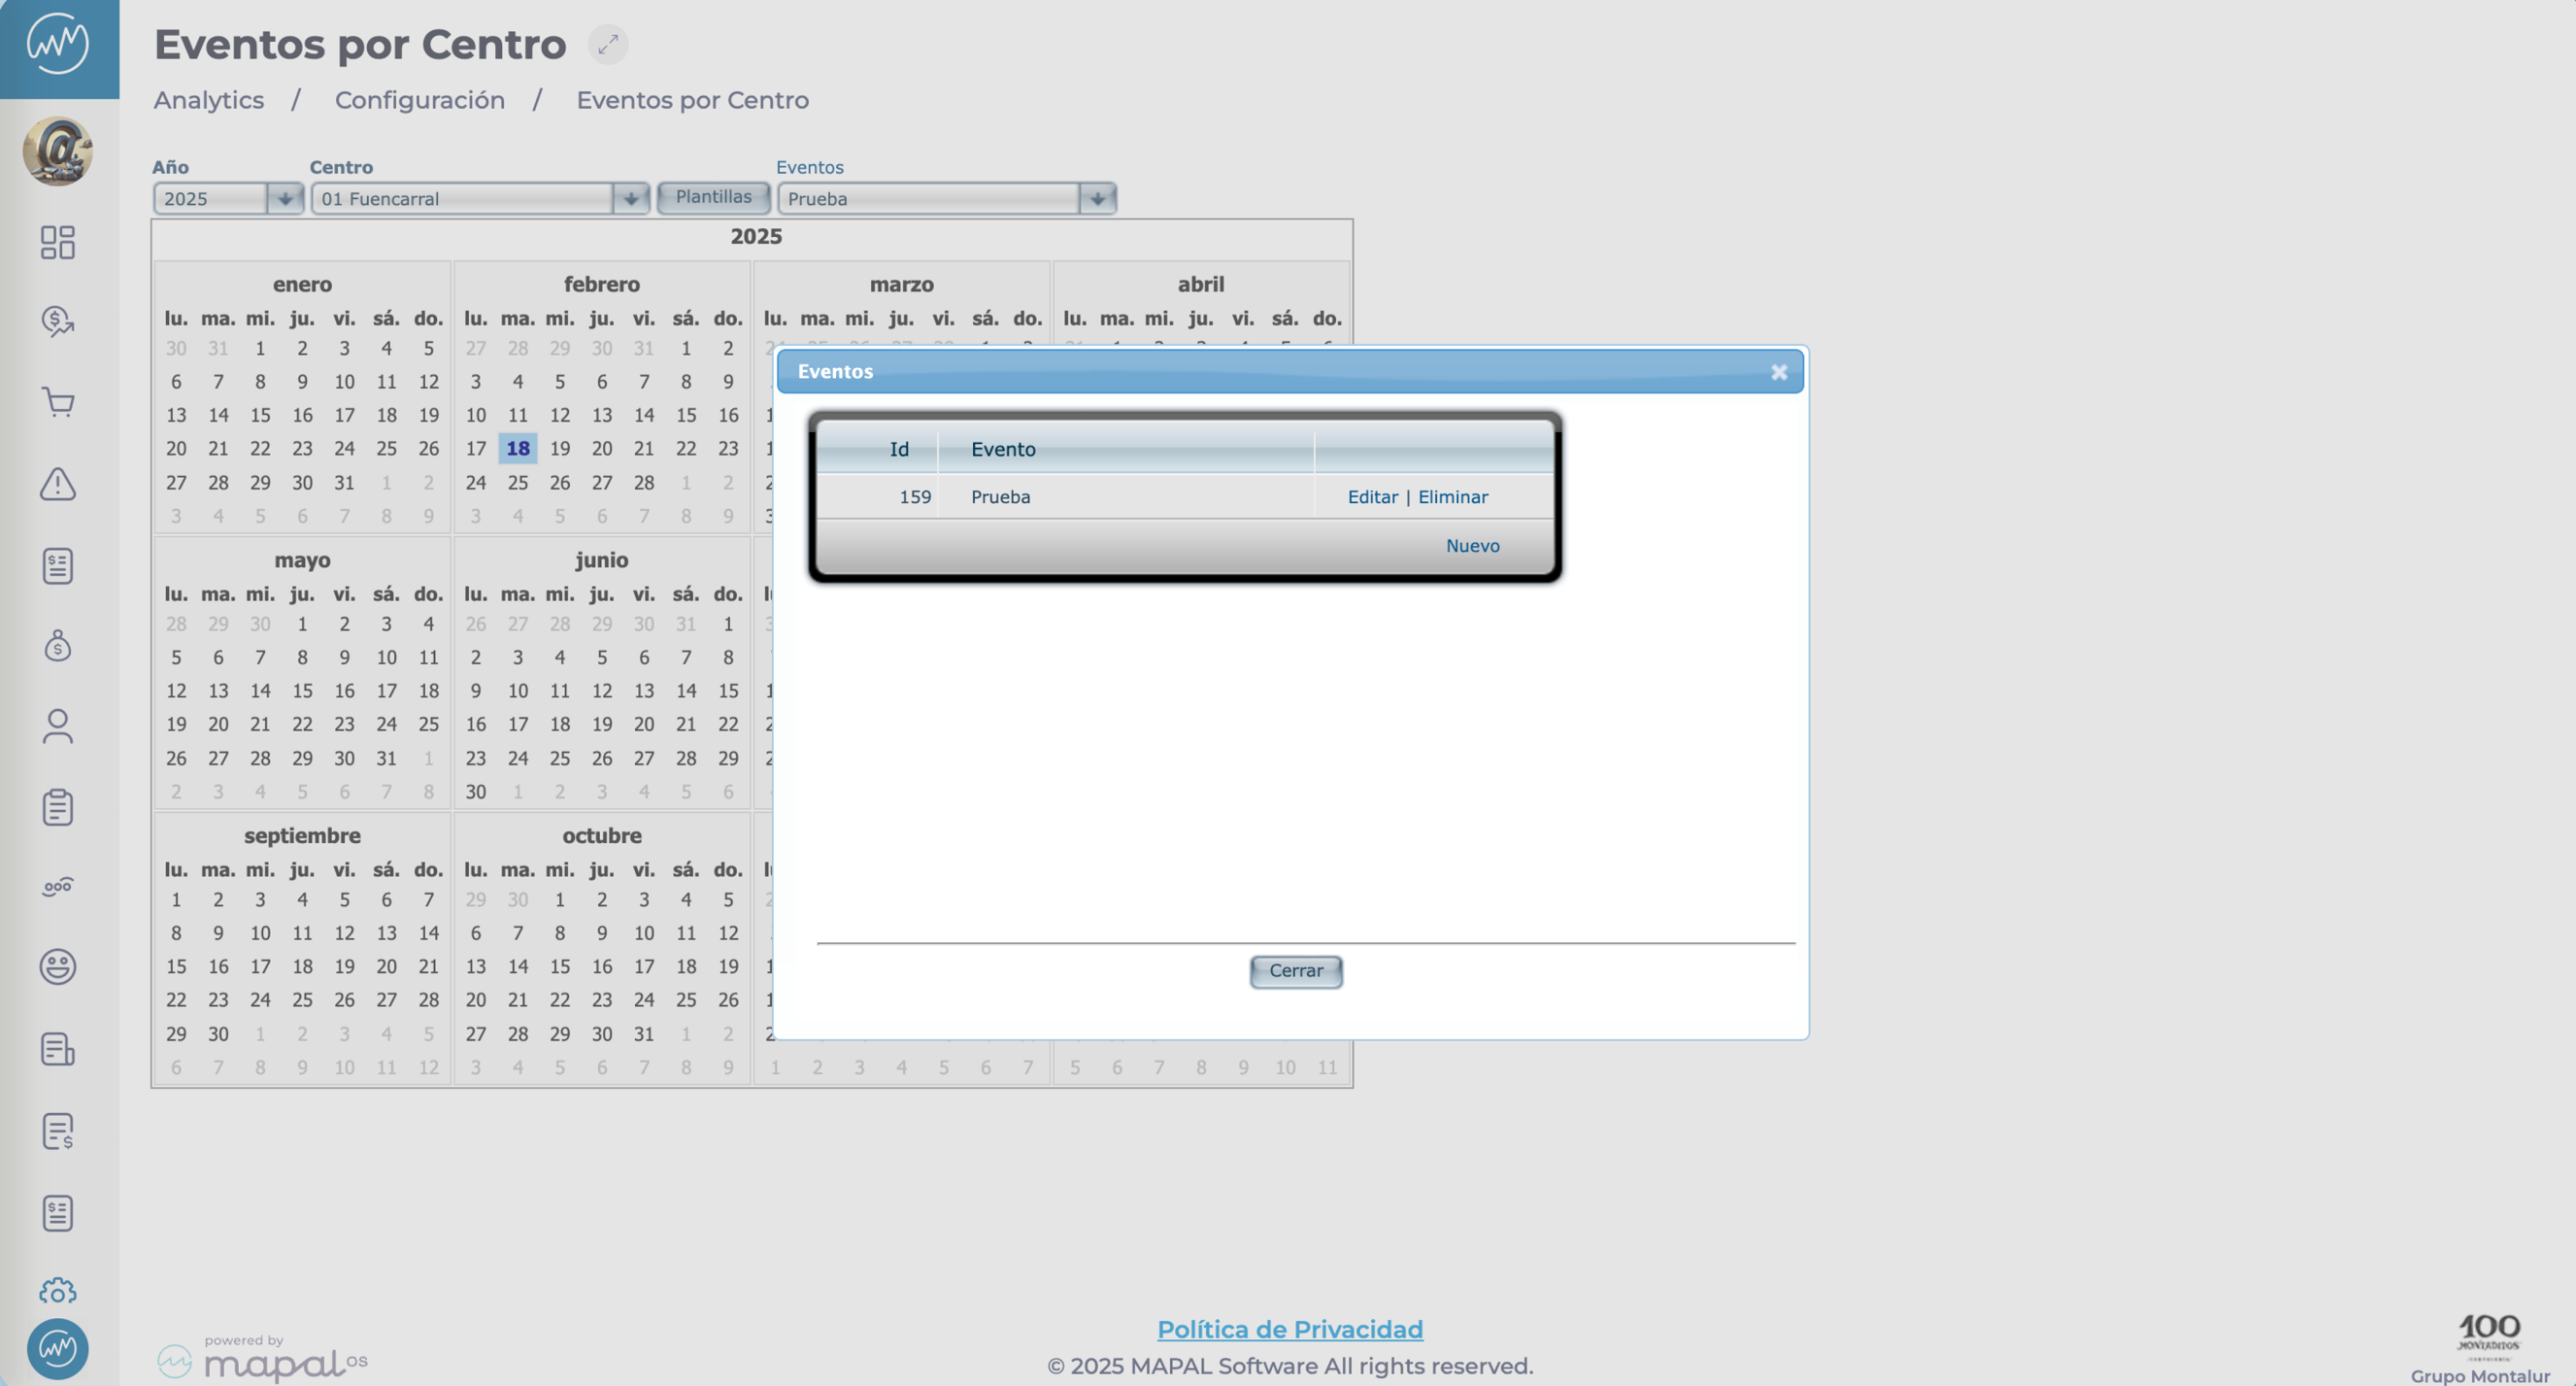
- Navigate to Configuration > Bank Holidays.
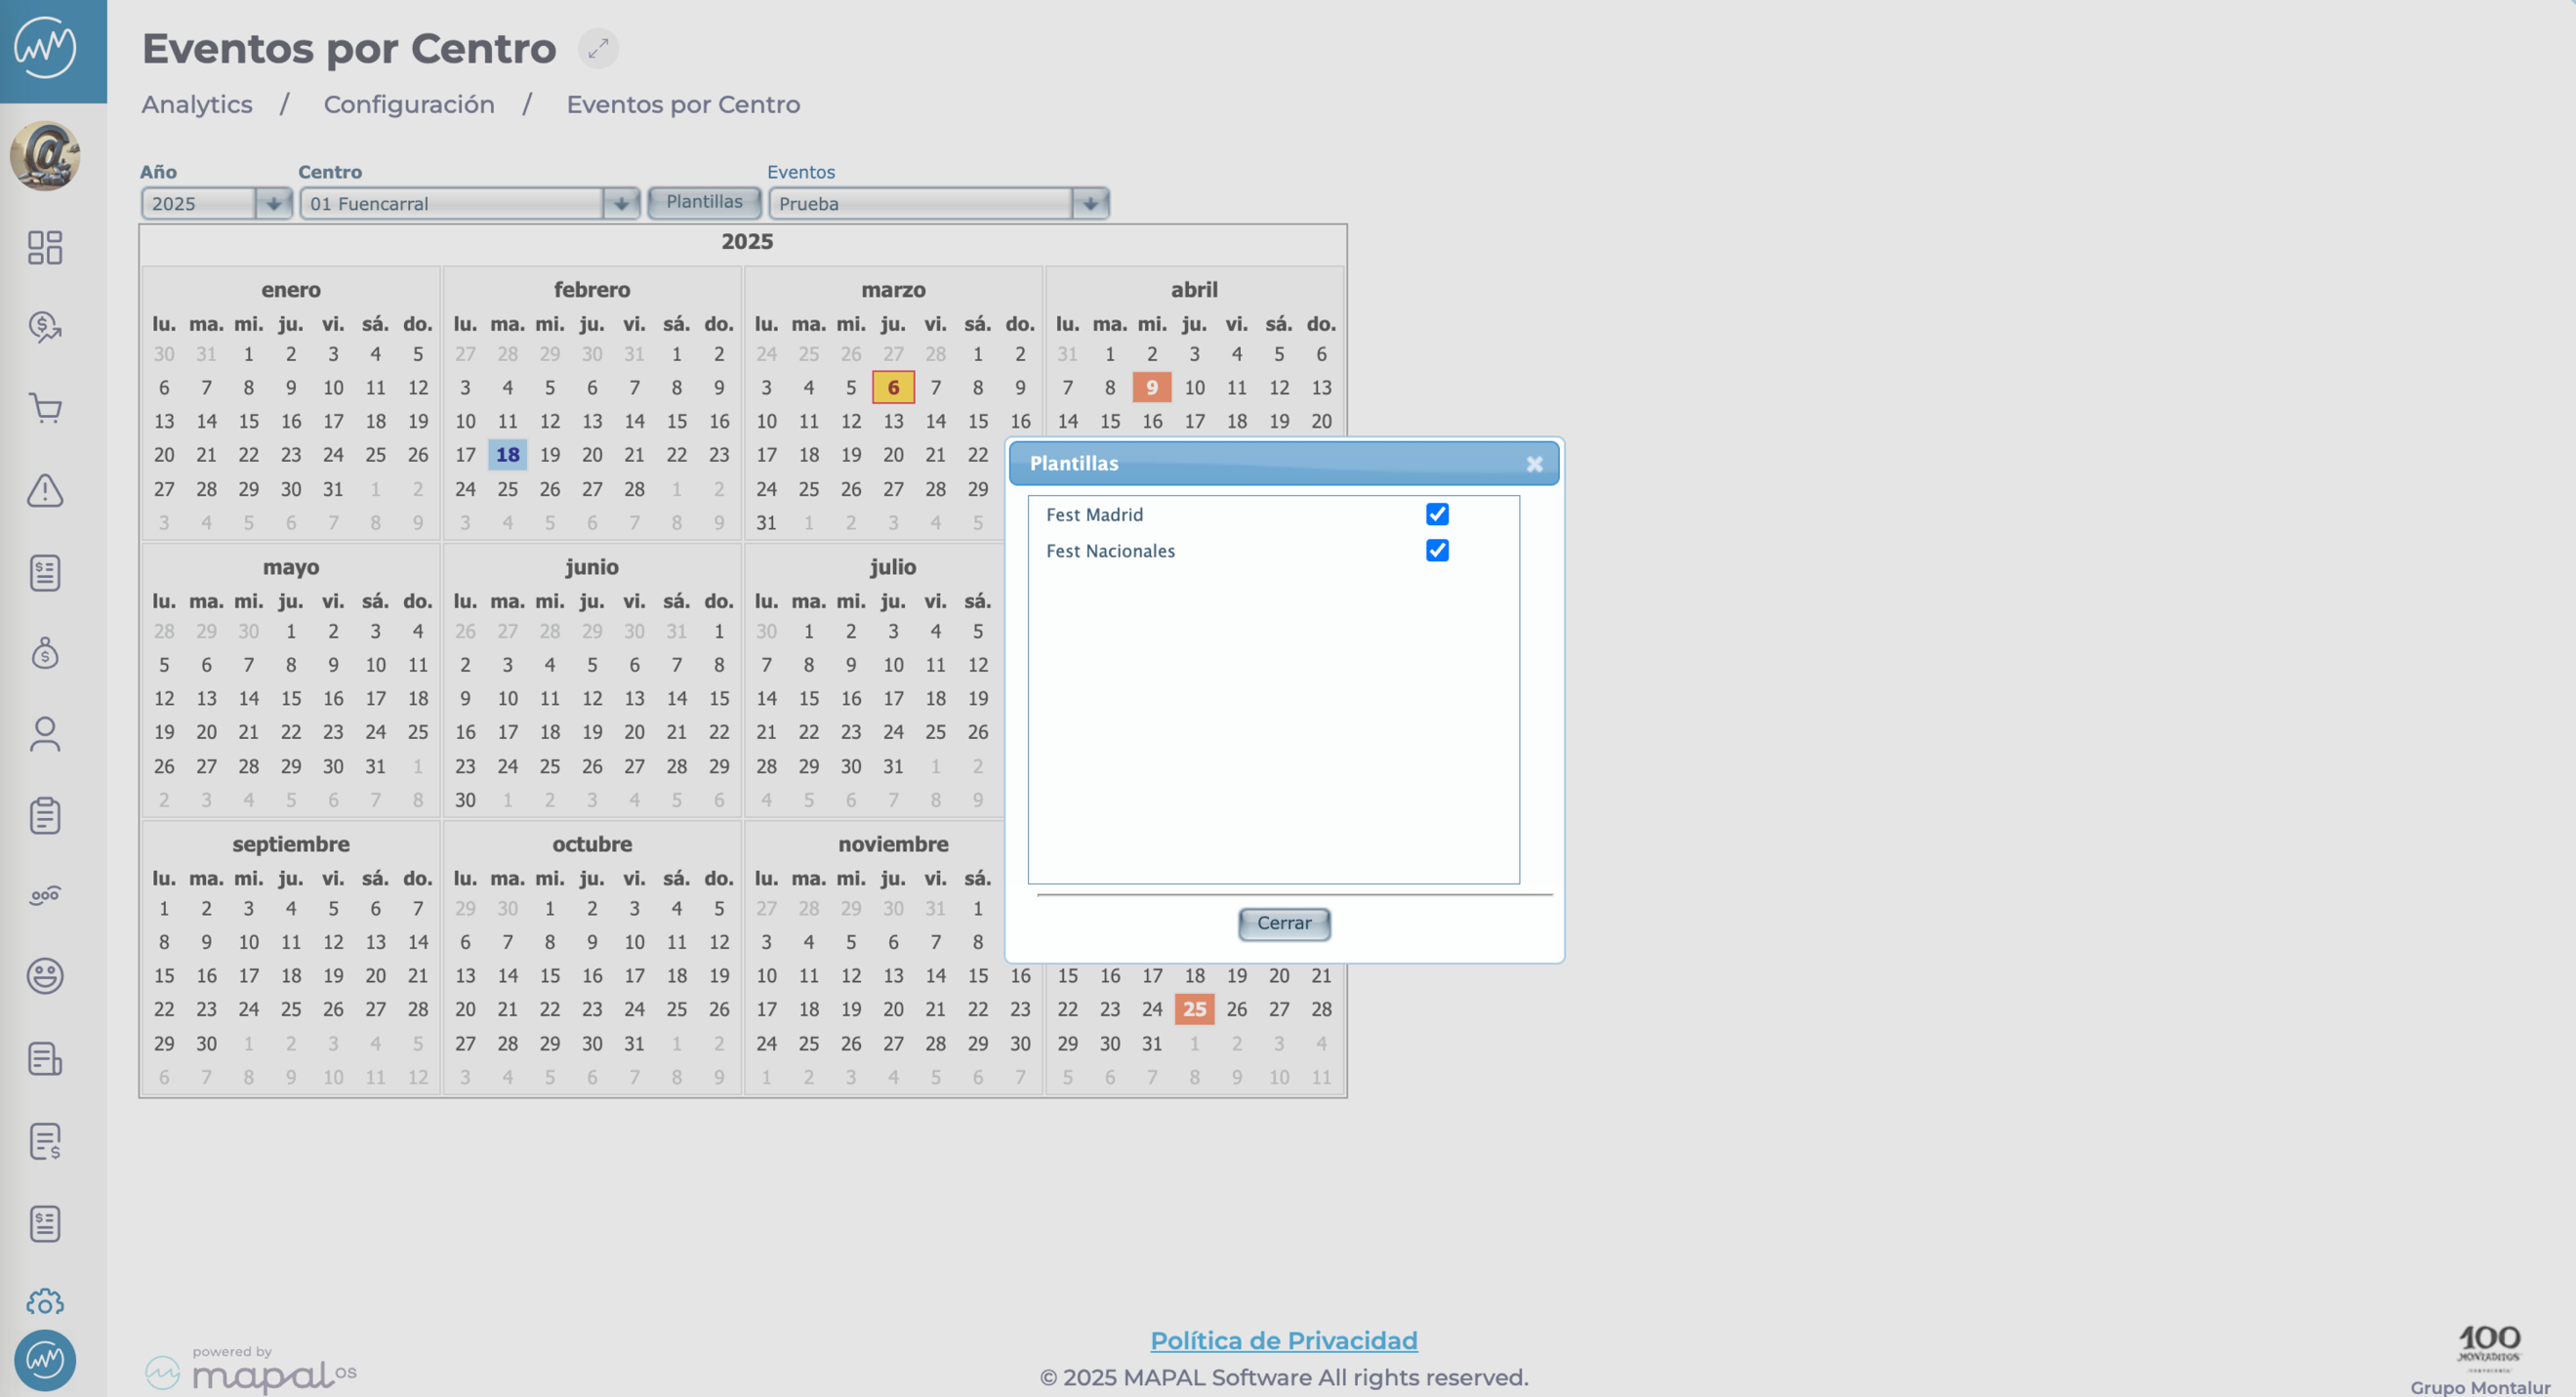
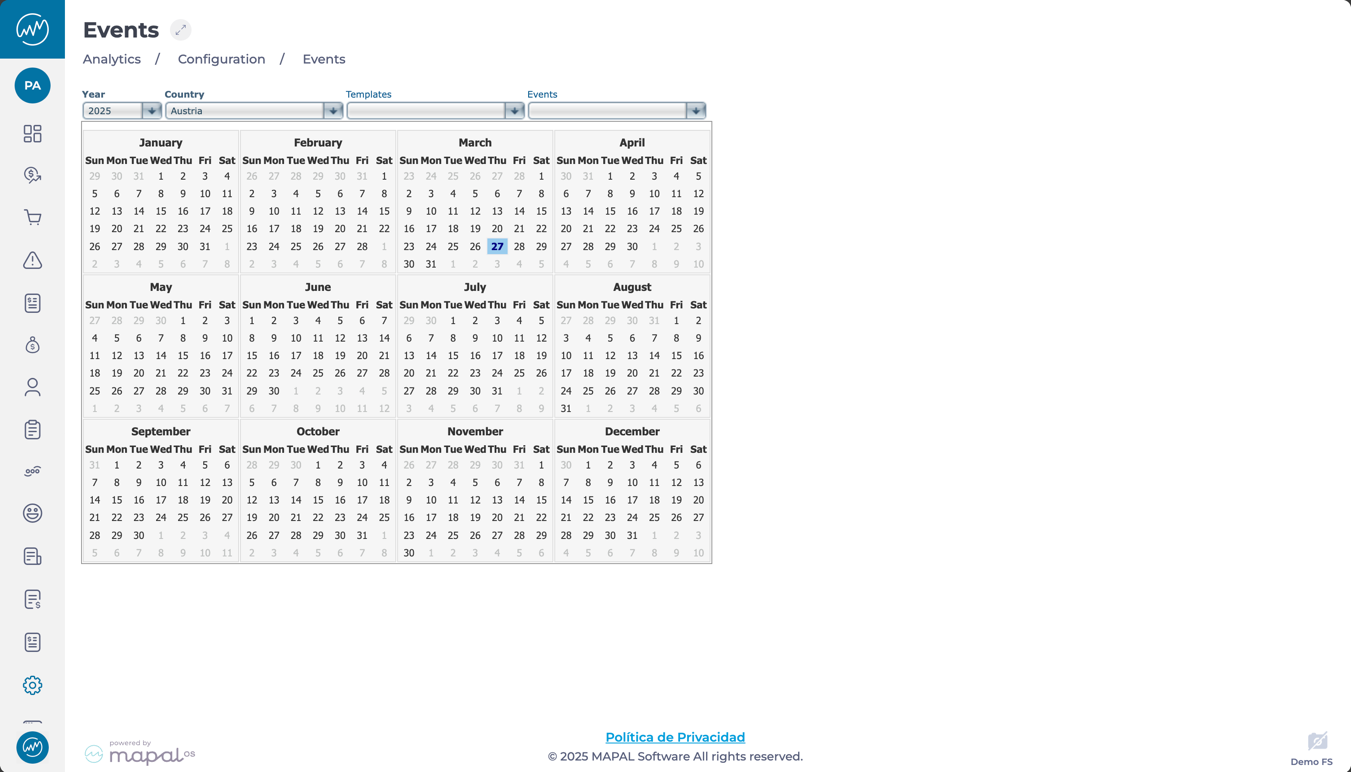
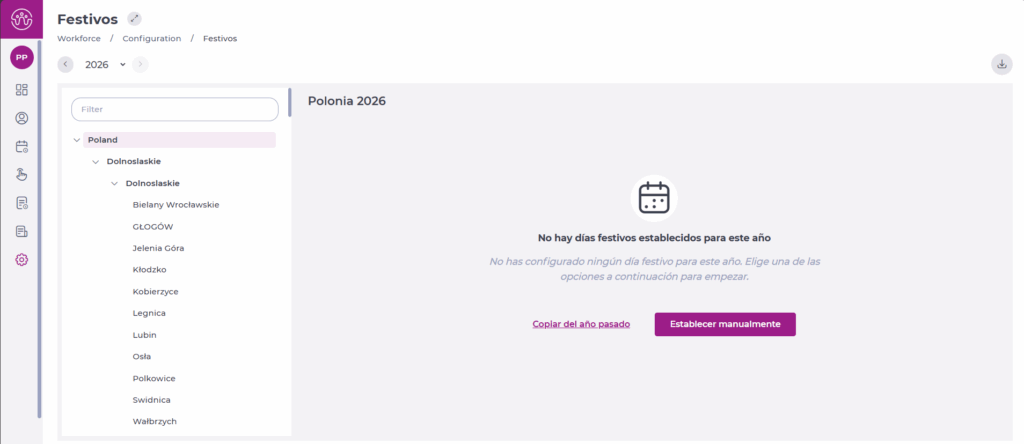
Bank holidays screen
Initial view (unconfigured year)
- Message: “No public holidays have been set for this year.”
- Options:
- Copy from previous year: Imports an existing calendar with all assigned holidays. Use this option to save time when setting up future years. *Note: This option is only available if the selected year does not already contain any holidays. Once a holiday exists, the option is disabled.
- Configure manually: Add or remove holidays manually to the calendar.
- To add a holiday, click the desired date on the calendar.
- To remove a holiday, click the highlighted date again.
Note: This screen only appears if no holidays have been saved for that year.
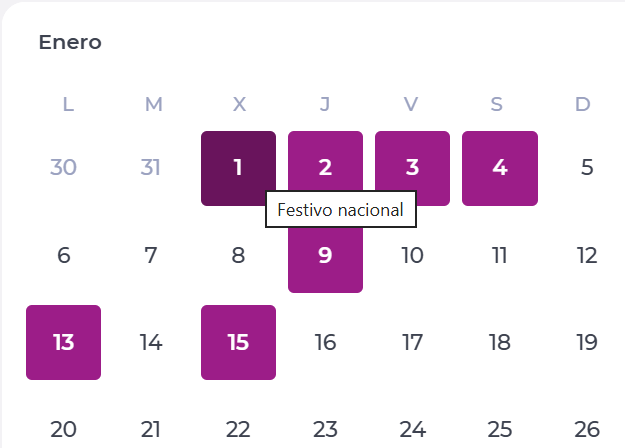
Calendar view
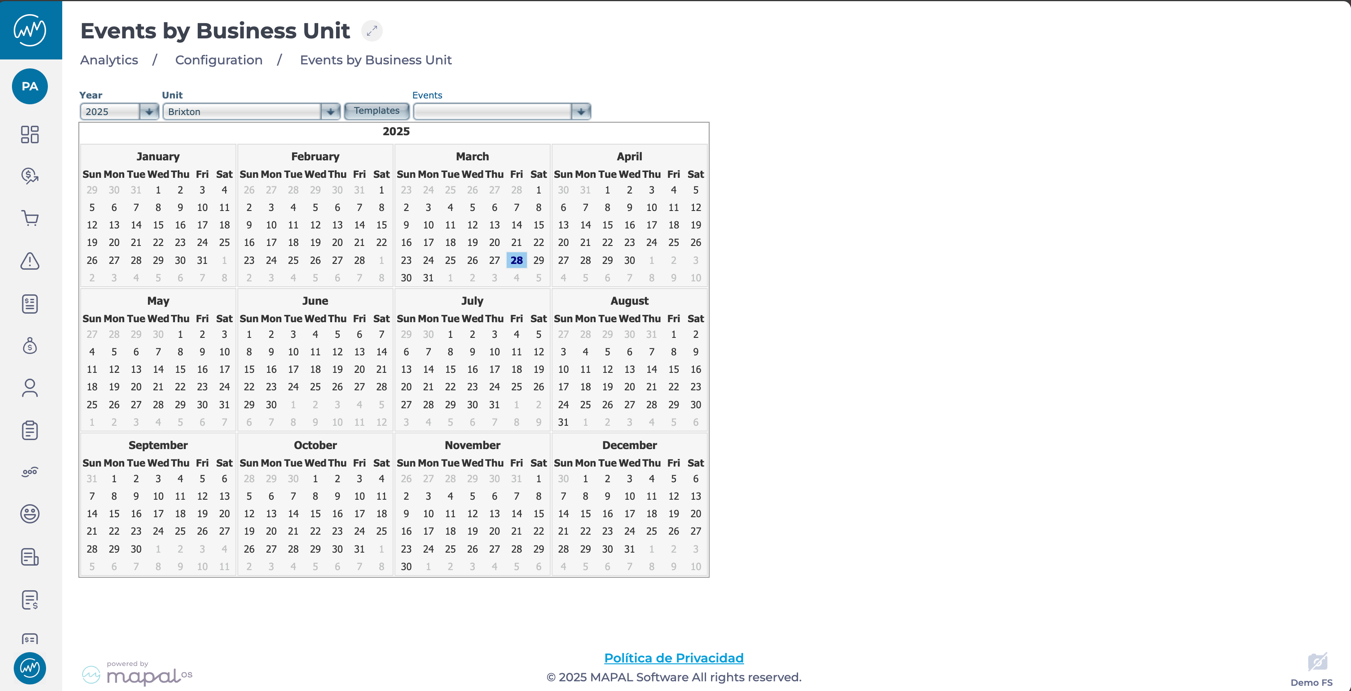
- Displays the 12 months of the year in a grid. The public holiday calendar is displayed by year and by location. The current year loads by default.

- You can view as many previous years as exist in your Workforce history, and one year ahead.
- Only locations where centres exist are displayed.
- The default country corresponds to the first available centre for the client.
- All holidays appear in the same colour on the calendar, regardless of their type. Hover over a holiday to view its type.
- Holidays displayed depend on the location level selected.
Example: If you are at the Country level (e.g. Spain), only national holidays will appear. If you select a lower level, such as Locality (Madrid), the calendar will display all holidays for that locality plus those from the higher levels: Province > Region > Country.
Holiday types
You can register and view four types of holidays depending on their geographical scope:
- National: applies to all centres in the country.
- Regional/Autonomous: applies to centres in the selected region.
- Provincial: applies to the selected province.
- Local: applies to a specific locality.
Location filters
- The module uses hierarchical filters: Country ? Region ? Province ? Locality.
- You can filter by any level independently of the others.
- Only locations with active client centres are shown.
Export holidays
You can export the holiday calendar for a specific location and year.
- Open the calendar for the desired year.
- Select the Export icon.

- Choose one of the following formats:
- List of holidays
- Full calendar (with legend)

- The file downloads automatically in .pdf format.

 Customise templates