Review engagement metrics for publications
Start from: The Engagement dashboard.
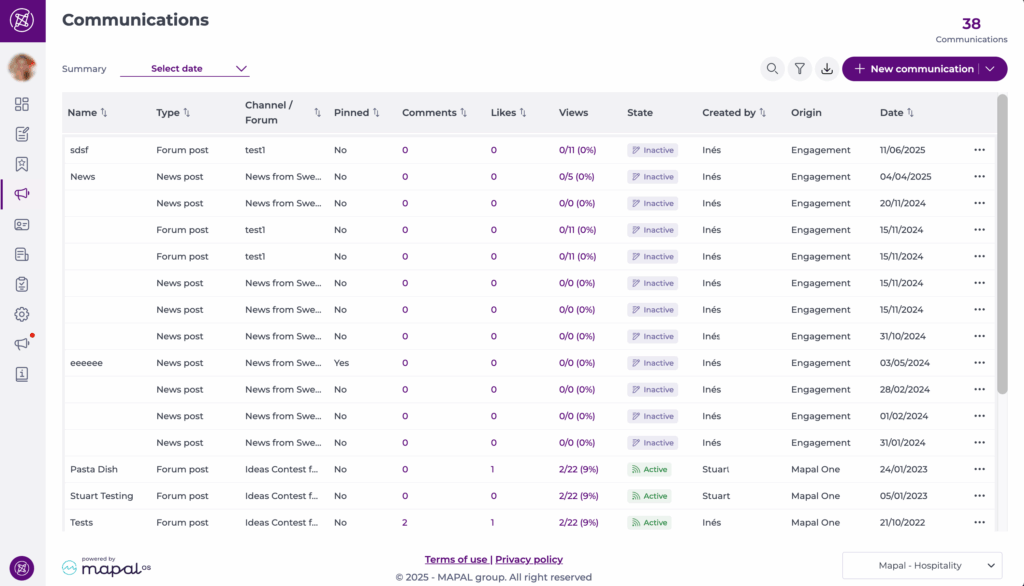
View engagement metrics in the publications grid
- Select Communications > Publications from the main menu.
- The Publications grid lists all news and forum posts.
- Use the Comments and Likes columns to review engagement for each publication. Each number in these columns is clickable and opens a side panel with more detail.
Review and manage comments for a publication
- In the Publications grid, locate the post you want to review.
- In the Comments column, select the number shown for that row.
- A side panel labelled Comments opens, showing a list with the following columns:
- Comment: the content of the comment.
- Date: when the comment was added.
- Created by: who wrote the comment.
- Actions: a three-dots (…) menu. The only action available is Delete.
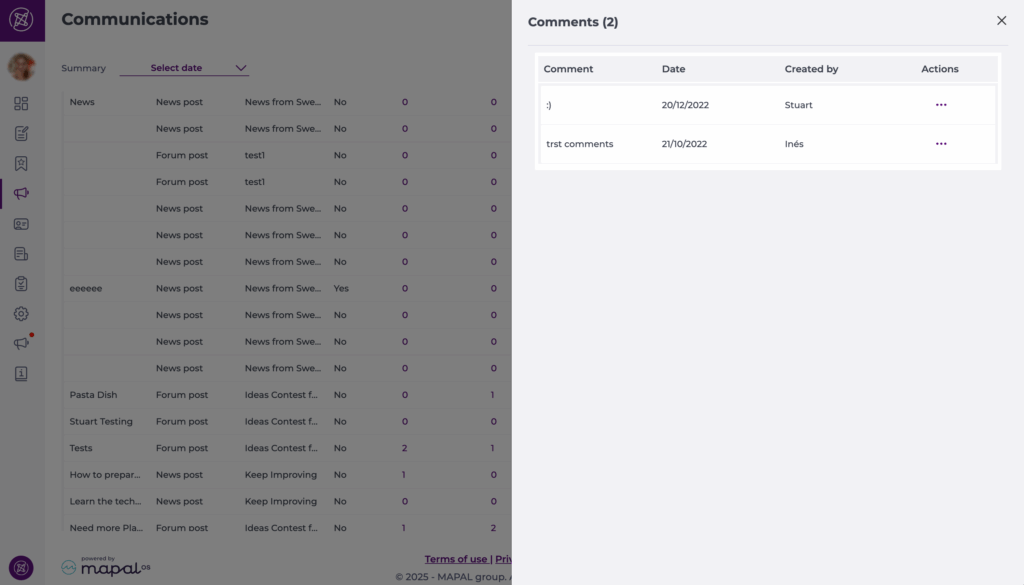
This allows you to quickly review and moderate interaction on each publication without leaving the Publications screen.
If you want to moderate flagged comment, see Manage news moderation for flagged comments.
See who liked a publication
- In the Publications grid, find the publication you are interested in.
- In the Likes column, select the number shown for that row.
- A side panel labelled Likes opens, displaying who has liked the publication with these columns:
- Name: the employee’s name.
- Job: their job title.
- Department: their department.
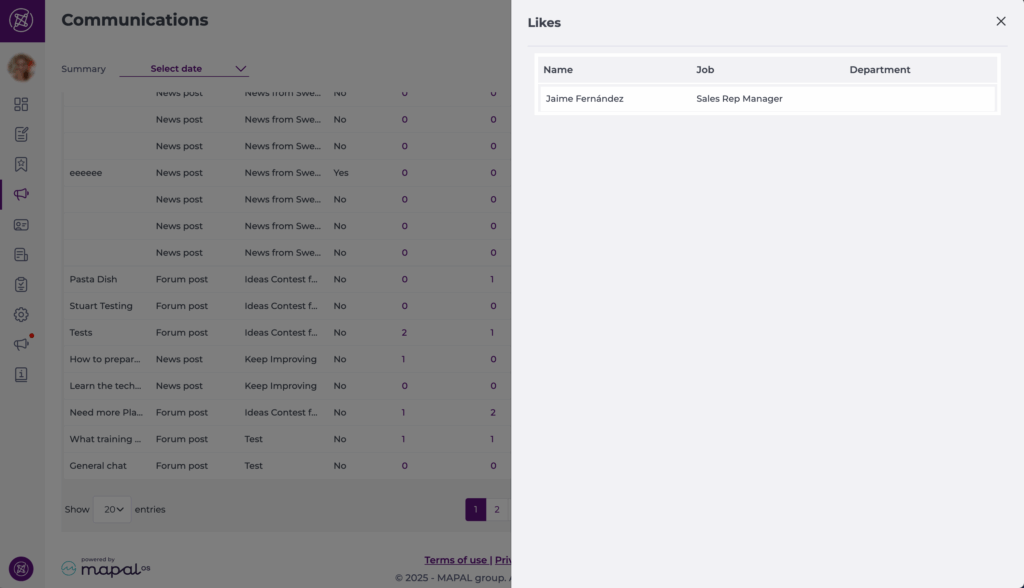
The Likes panel is read-only, providing a simple way to understand which teams and roles are engaging with each communication.