From the parent site main menu, select Products > Product Administration V2.
Search for and select the product of your choice.
Note: The choice of product does not matter. The purpose is to access the label settings.
Select Edit.
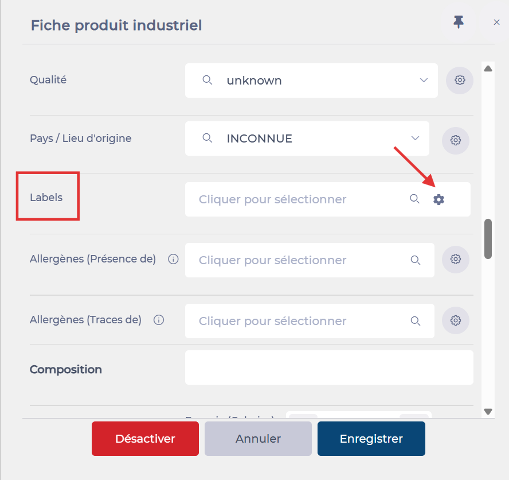
On the product label, select the cog icon.
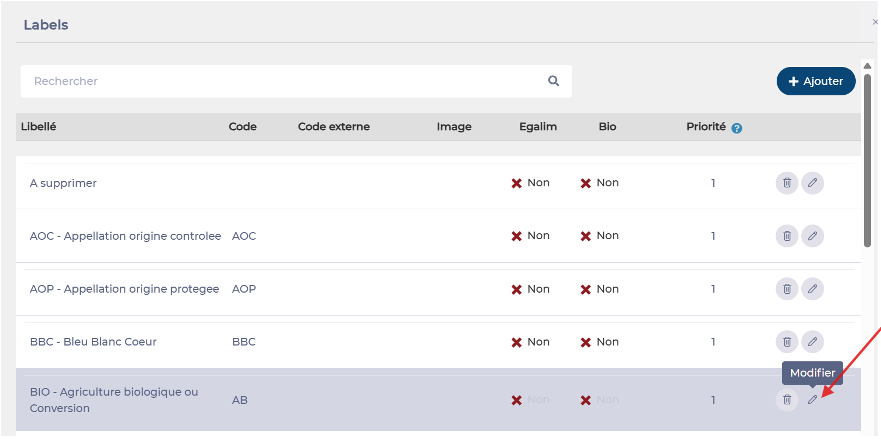
Select Edit next to the logo you want to customise.
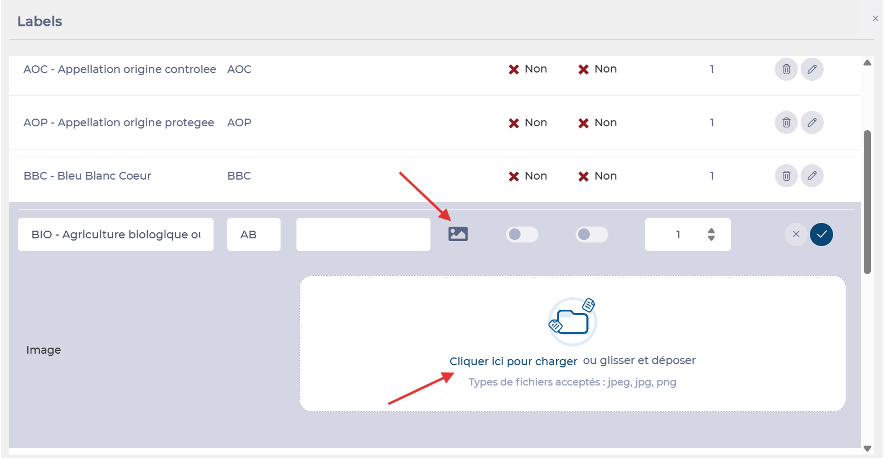
Insert your logo image.
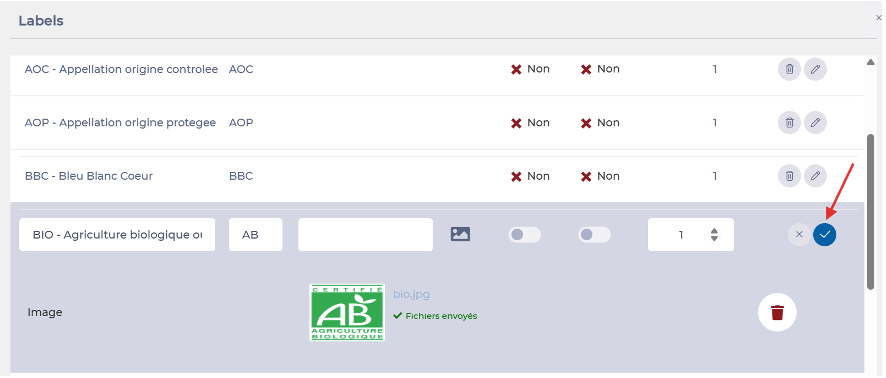
Confirm your selection to apply the logo to the label.
Print sample and expiry labels
Start from: The Compliance central overview.
Enable label printing on a form
Navigate to Forms from the main menu.
Create a new form or open an existing one where you want to print labels (for example, a sample log or secondary use-by register).
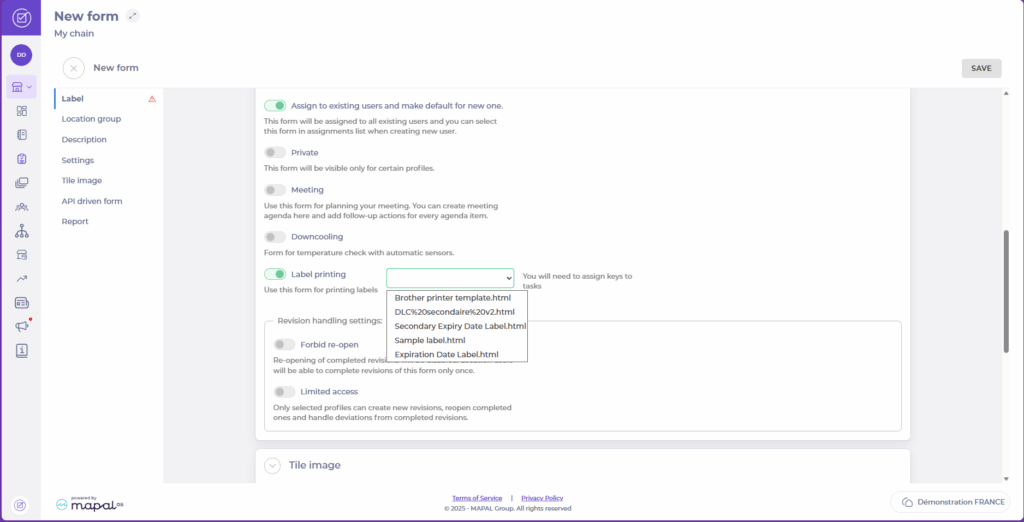
In the form creation, scroll down to the Settings section.
Toggle Label printing on. When enabled, a dropdown appears allowing you to choose which label template the form will use. The templates available are:
Sample Label
Secondary Expiry Date Label
Note: These templates are available in English, French, and Spanish and are compatible with Brother printers configured for your site.
Add tasks to capture label information
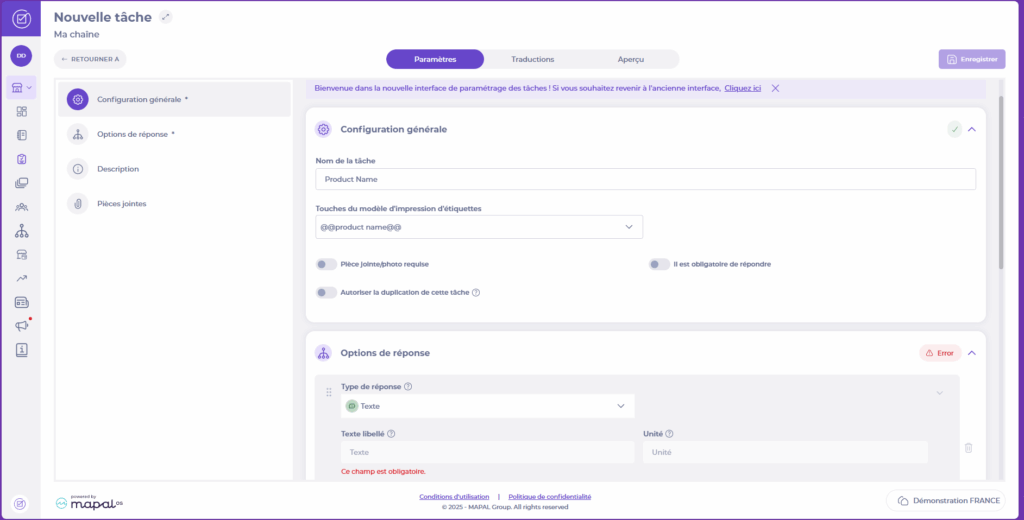
To print complete and accurate labels, the form must include tasks that provide the information (label-printing keys) used by the template, for example:
Product or recipe name
Preparation or opening date
Secondary use-by / expiry date
Any additional required notes
Create or edit tasks in the form to collect these details whenever the form is completed. The label-printing keys display accurately when you create new tasks, making it easier to link the right fields to your template.