Track and reduce waste
Start from: The Compliance general overview.
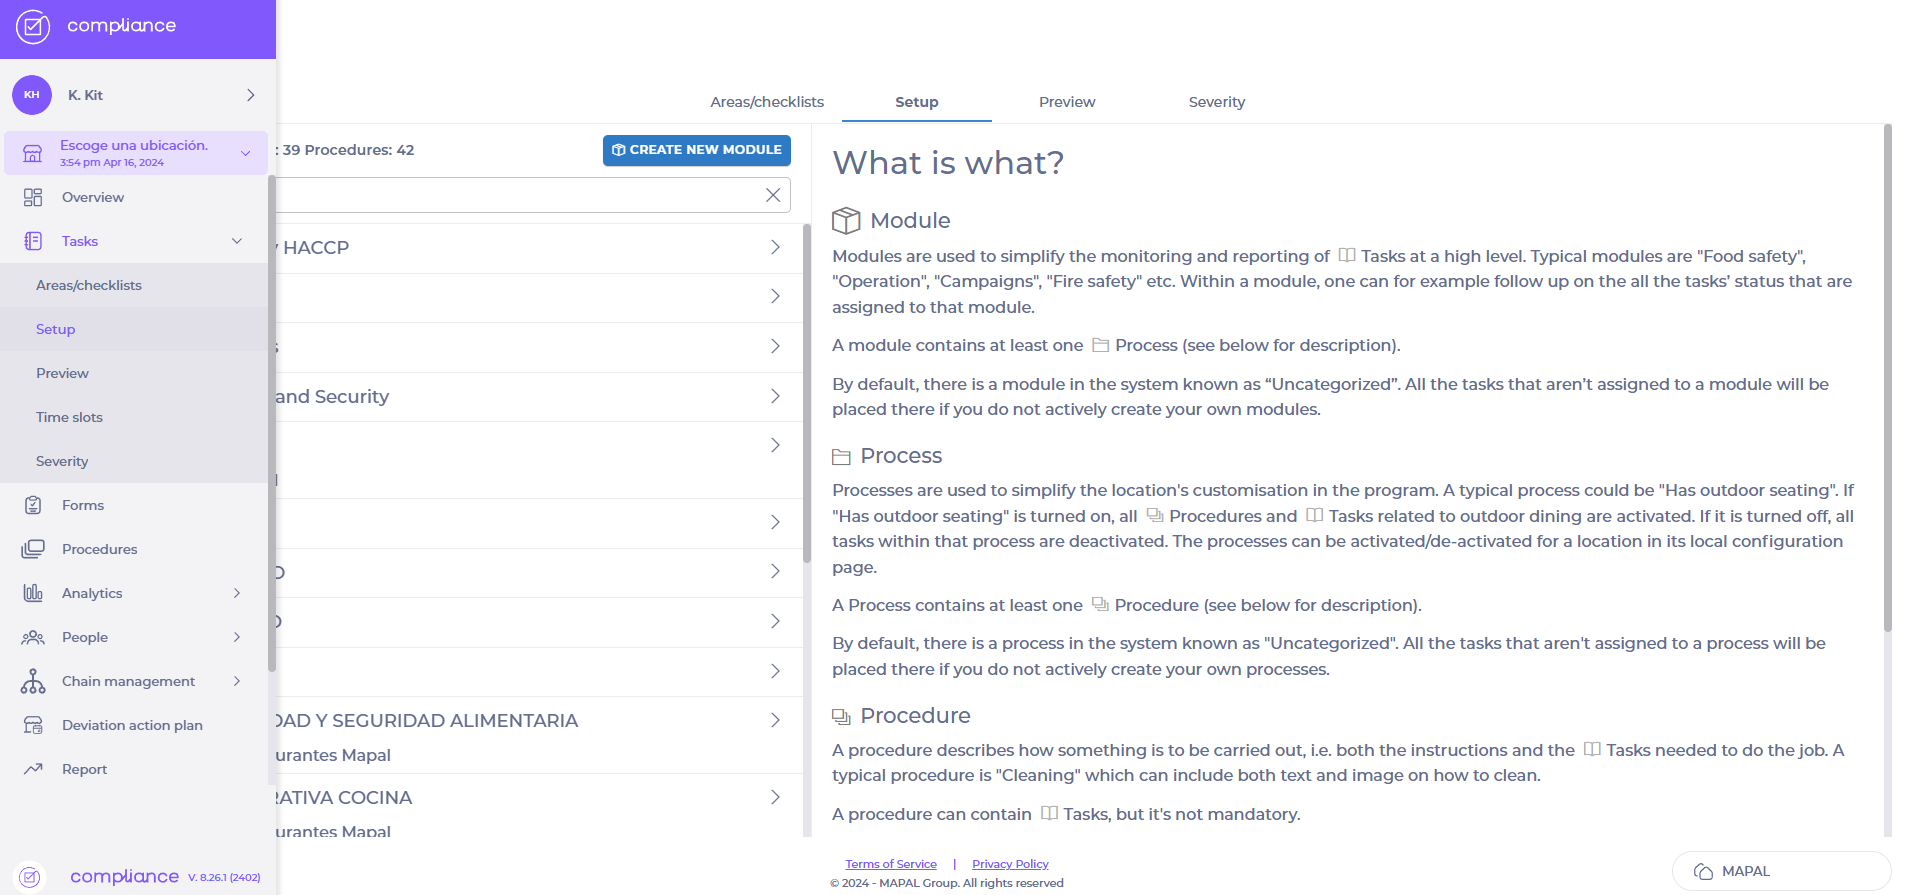
Module setup
To begin using the Food Waste module, it must first be configured at module level.
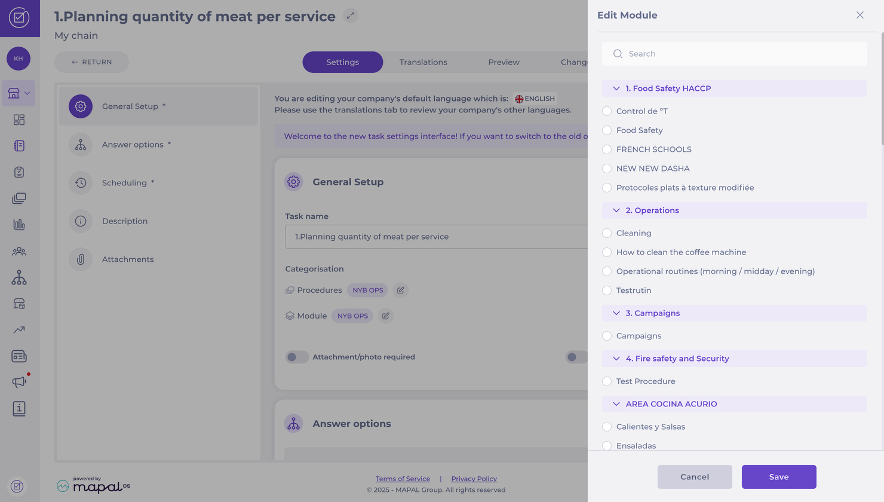
- Go to Tasks > Setup > Create New Module.
- Name the module (for example, Waste).
- Tick the box Waste Management Module.
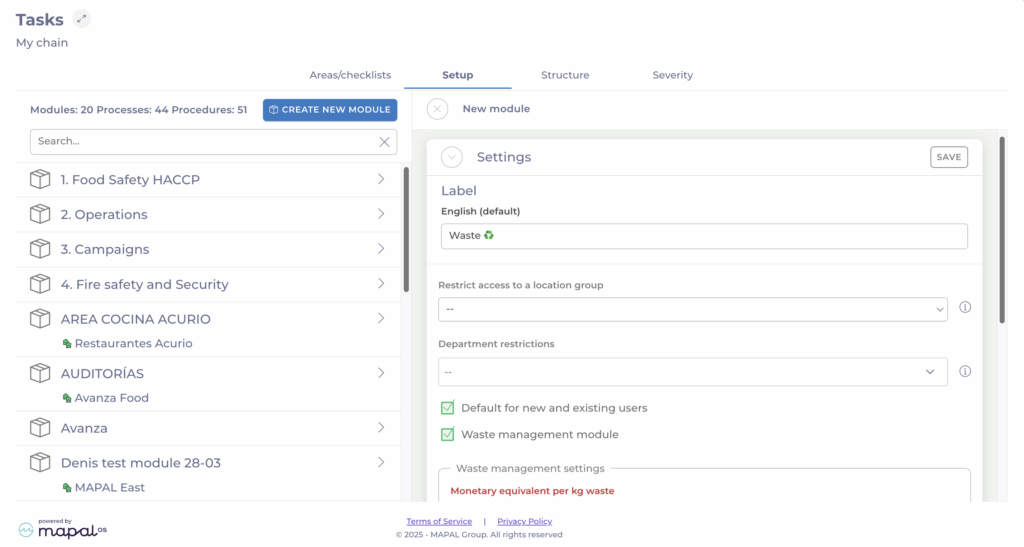
- Enter your preferred numerical parameters (e.g., unit type, measurement range).

| Field | Description |
|---|---|
| Monetary equivalent per kg waste | Defines the cost value assigned to each kilogram of waste. This helps estimate the financial impact of food waste. Example: 10 = €10 per kg wasted. |
| CO2 equivalent per kg waste | Specifies the environmental cost of waste in kilograms of CO? per kilogram of food waste. This value supports sustainability reporting. Example: 1 = 1 kg CO? per kg waste. |
| Target for max waste in gram per portion | Sets a target threshold for the maximum amount of waste generated per portion served. Use this to monitor portion control efficiency. |
| Target for max waste in gram per guest | Sets a target threshold for the maximum amount of waste generated per guest. Useful for comparing sites of different sizes or guest volumes. |
| Period of editing waste data and post-registrations (1–365 days) | Defines how long users can edit or add waste entries after the initial record date. Example: 1 = data can be edited for one day after entry. |
- Select Save.
Task configuration
Once the module is active, create the waste tracking task.
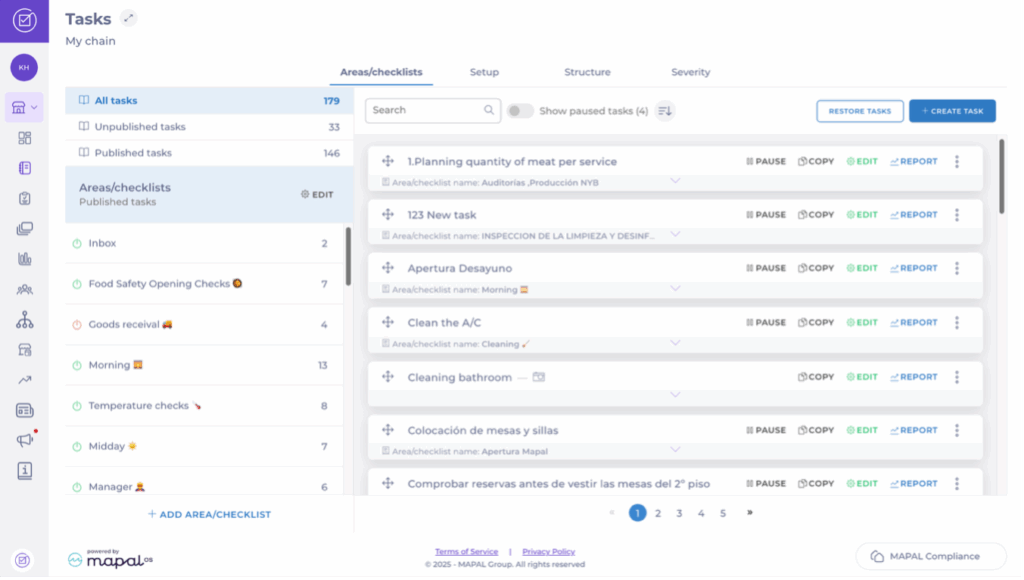
- Select Tasks > Areas/checklist
- Select + Create Task.
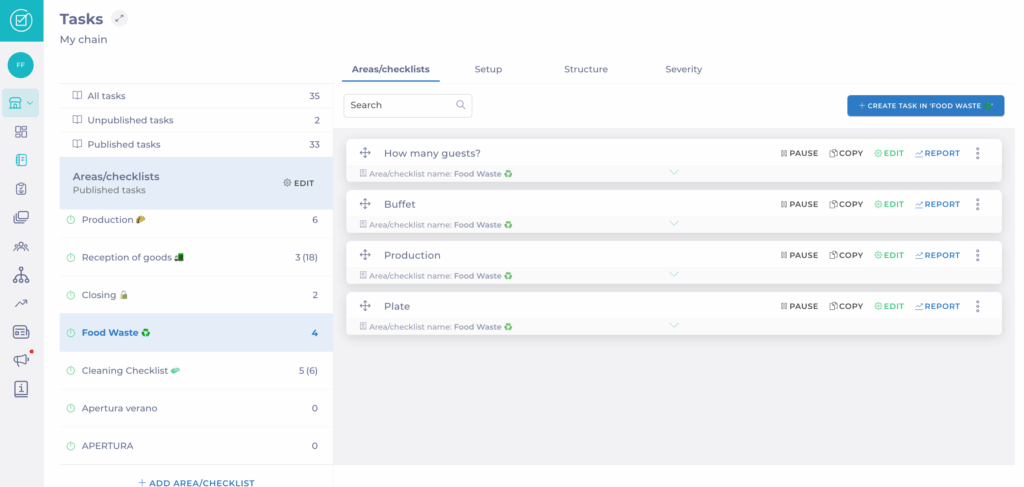
- Enter a name for the task (for example, Kitchen Waste or Buffet Waste).
- Under Categorisation, select the Waste module.
- Choose the Tag to measure:
- Waste entry: e.g., kitchen or buffet waste.
- Guest count: guest count.
- Prepared portions count: total number of portions produced.
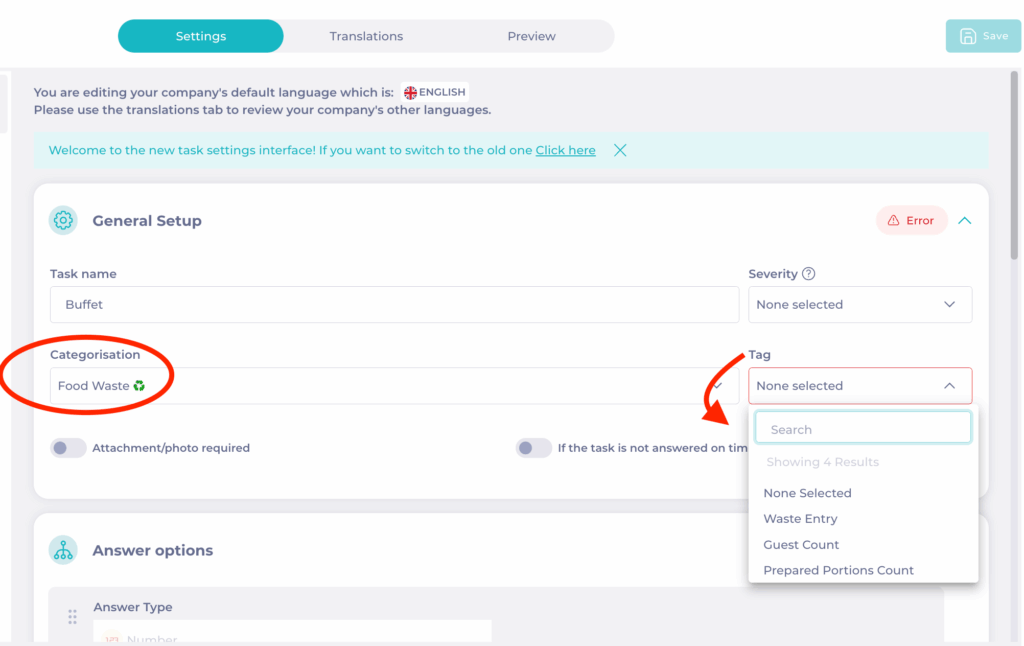
Note: It is not possible to use both guest count and portions in the same module. Once the task is saved, the selected tag is locked.
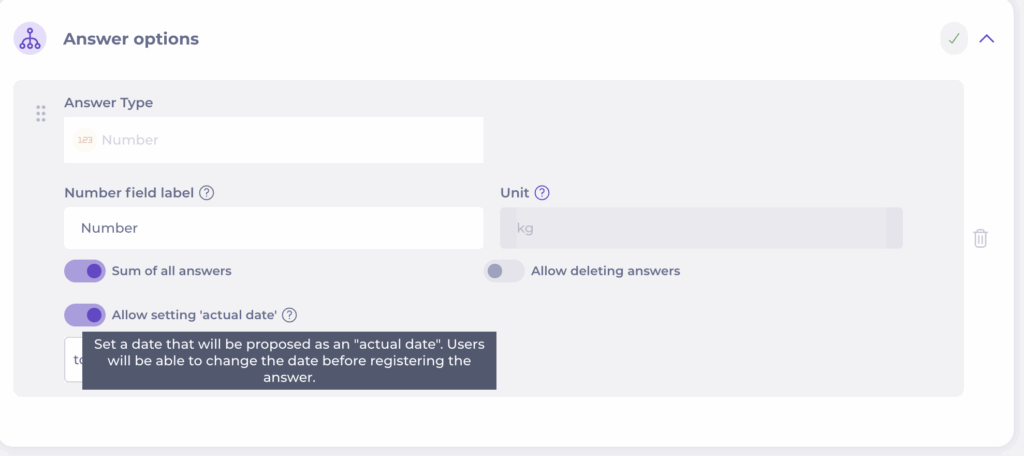
Response Options
- Only numeric input is supported.
- Multiple entries per day are allowed; totals are aggregated automatically.
- Users can delete their own entries if needed.
- The default measurement unit is kilograms (kg).

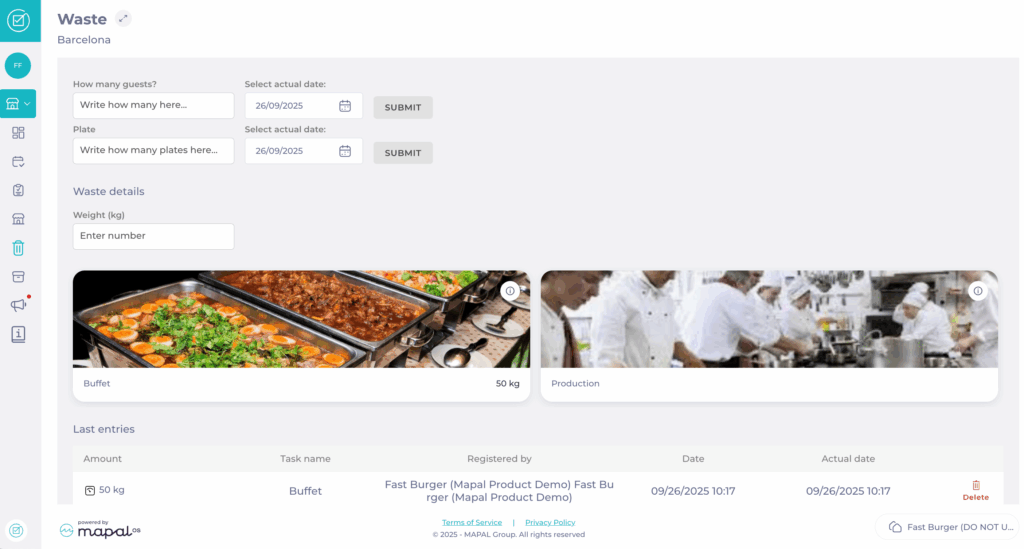
Record waste
Waste tracking tasks can be completed multiple times per day. This enables continuous logging throughout daily operations (e.g., morning prep, lunch, dinner).
You can record Waste through:
- The Daily Schedule by selecting the waste module and entering information in the task.

- OR you can select Waste in your location and enter the information.
Backdated entries
Users can log waste retroactively for up to 8 days prior to the current date.
Central level
At central level, activate Allow setting 'actual date' to permit backdated entries. You can also choose whether retroactive entries default to the selected date or today’s date.
Local level
At site level, users can freely select the date they want to assign to the waste record.
Reporting
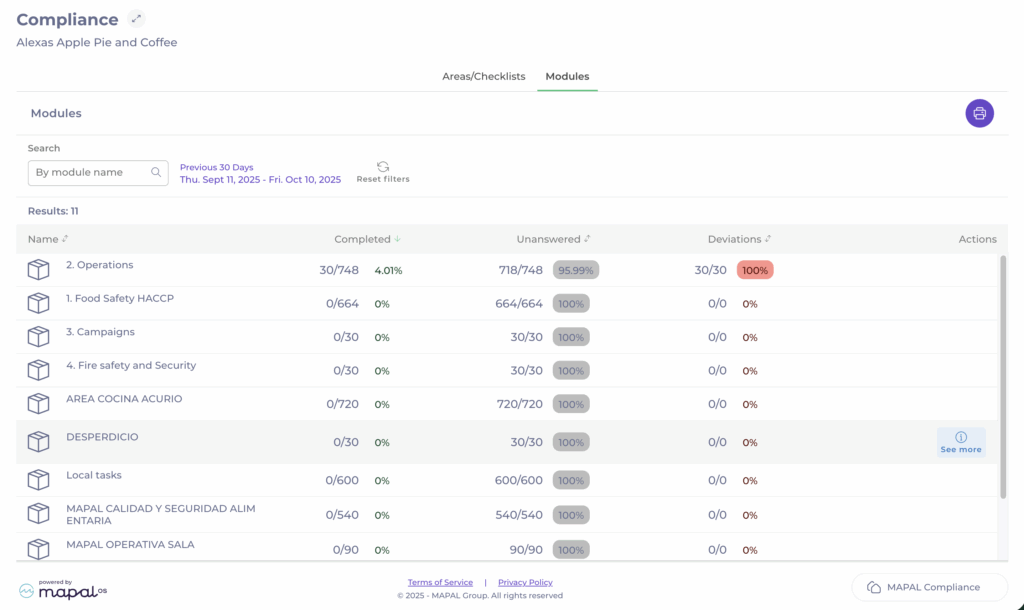
Local Level
- Go to Compliance history > Modules > See More to review logged waste data.
- Use filters to analyse waste by date, tag, or task.
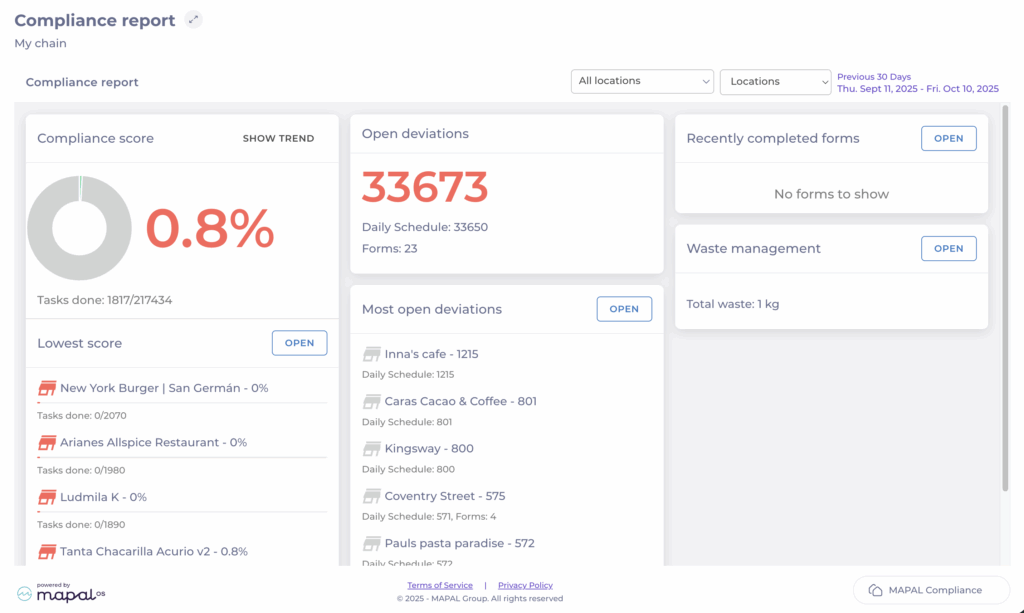
Central Level
- Go to Reports.
- The Waste Management section appears in the upper-right corner.
- Use it to consolidate data across multiple venues and compare performance.
Insights and sustainability impact
- Digital Waste Recording: Staff can quickly log waste events such as spoiled goods, production errors, or expired items.
- Integrated Operations: Waste checks can be scheduled as regular compliance tasks (daily, weekly, monthly).
- Analytics & Insights: Data is visualised in dashboards and can be integrated into Power BI for multi-site analysis.
- Cross-Site Benchmarking: Compare waste levels between venues and identify best practices for waste reduction.
- Sustainability Alignment: Supports ESG and CSR goals by creating auditable records for sustainability reporting.