Ver los elementos de su tablón de anuncios

Empezar desde: El panel de control de Mapal One.  

  • Seleccionar Biblioteca > Tablón de anuncios desde el menú principal.  


  • Una vez en la pantalla del Tablón de Anuncios, verá una cuadrícula con mosaicos. Cada mosaico representa una categoría y muestra información sobre cuántos elementos están sin leer o requieren acción. 

Nota: Puedes cambiar a una Vista de lista seleccionando el botón de lista en la parte superior derecha de la pantalla.

  • Seleccione una Mosaico de categoría o utiliza el Filtrar para encontrar fácilmente elementos específicos del tablero de anuncios por su nombre, estado, categoría o fechas de vencimiento. 

  • Una vez dentro de la categoría, aparecerá una nueva cuadrícula con diferentes mosaicos. Cada mosaico representa un elemento. Estos mosaicos muestran si el elemento está leído o no, su estado (Completado, Incompleto, Vencido, Requiere aprobación), su fecha de vencimiento y la fecha de vencimiento. 


  • Seleccionar el azulejo Para acceder al elemento específico y sus detalles. Los elementos del tablón de anuncios pueden almacenar documentos, enlaces o información importante.  


Notas: Los elementos del tablón de anuncios se pueden fijar para facilitar el acceso. También se pueden configurar para enviar notificaciones sobre fechas de vencimiento y vencimientos, y para controlar quién ha leído los documentos.  

Ver un elemento del tablón de anuncios dentro de Flow Learning

Overview:: as a training manager, you may need to view a noticeboard item within Flow Learning so you can manage the documents available to your team. See our Comunicaciones category on our Knowledge base for Noticeboards FAQs, and more information on adding noticeboards, removing noticeboard items y adding or removing them to specific branches.
Empezar desde:el panel de control de Flow Learning.
 

Agregar y eliminar elementos del Tablón de anuncios a las ramas

Empezar desde: El panel de aprendizaje de Flow.


Adding noticeboard items

  • Seleccionar Comunicaciones > Tablón de anuncios.
  • Seleccione el + icono.
  • Fill in the fields on the pop-up that appears. Refer to Añadir un elemento de tablón de anuncios simple for more detail. 
  • Choose whether you want to assign by Branch OR by Branding. You can also use the multiple filters (Section, Division, Region, Area, Branch, Job Titles or Department).
  • Seleccionar Ahorrar.

This will send this noticeboard to all whom have been selected: they will receive an email up to approximately 30 minutes after sent.


Removing / Archiving noticeboard items

  • Seleccionar Comunicaciones > Tablón de anuncios.
  • Seleccione el icono de tres puntos on the Noticeboard item you want to remove/archive.
  • Seleccionar Archive All OR Delete All.

Nota: deleting a Noticeboard item is permanent and irreversible. However, you can unarchive an archived one.

To unarchive, select Archive from the dropdown menu. This will show all the Noticeboard items that have been archived:

  • Seleccionar Unarchive all to make them active again.

Nota: if you want to remove Noticeboard items from specific branches, you can simply change the Agrupar por dropdown menu from nombre a branch. This will thus not affect the other branches.


Copy noticeboard items to a selected branch

  • Visita Company > Company Structure > Branches.
  • Encuentra el icono de tres puntos on the relevant branch, then Copy noticeboard items.
  • Seleccionar All or choose the Particular items you would like to copy - the list shows the noticeboard items that have not yet been copied/assigned to the chosen branch.
  • Utilice el Ahorrar button to copy these items to the selected branch. 


Crear categorías y subcategorías de tablones de anuncios

Empezar desde: El panel de aprendizaje de Flow.

  • Seleccionar Communications > Configure desde el menú principal.

  • Seleccionar Noticeboard categories and subcategories.


Create a category

  • Seleccione el Agregar + button and fill in the following fields:
    • Category Name (mandatory): Specify what would you like your folders to be named.
    • Select Language: Select a preferred language from the drop-down menu.
    • Mapal One thumbnail image (mandatory): Select a preferred image. All folders must have an image.
  • Seleccionar Ahorrar to save the new category OR Close to dismiss it. 

Create a subcategory

  • Seleccione el tres puntos in the category's box and then select Subcategories.

  • Seleccione el Agregar + button and assign a Subcategory name.

  • Seleccionar Ahorrar to save the new subcategory OR Close to dismiss it. 

Crear noticias

Empezar desde: the Flow dashboard.
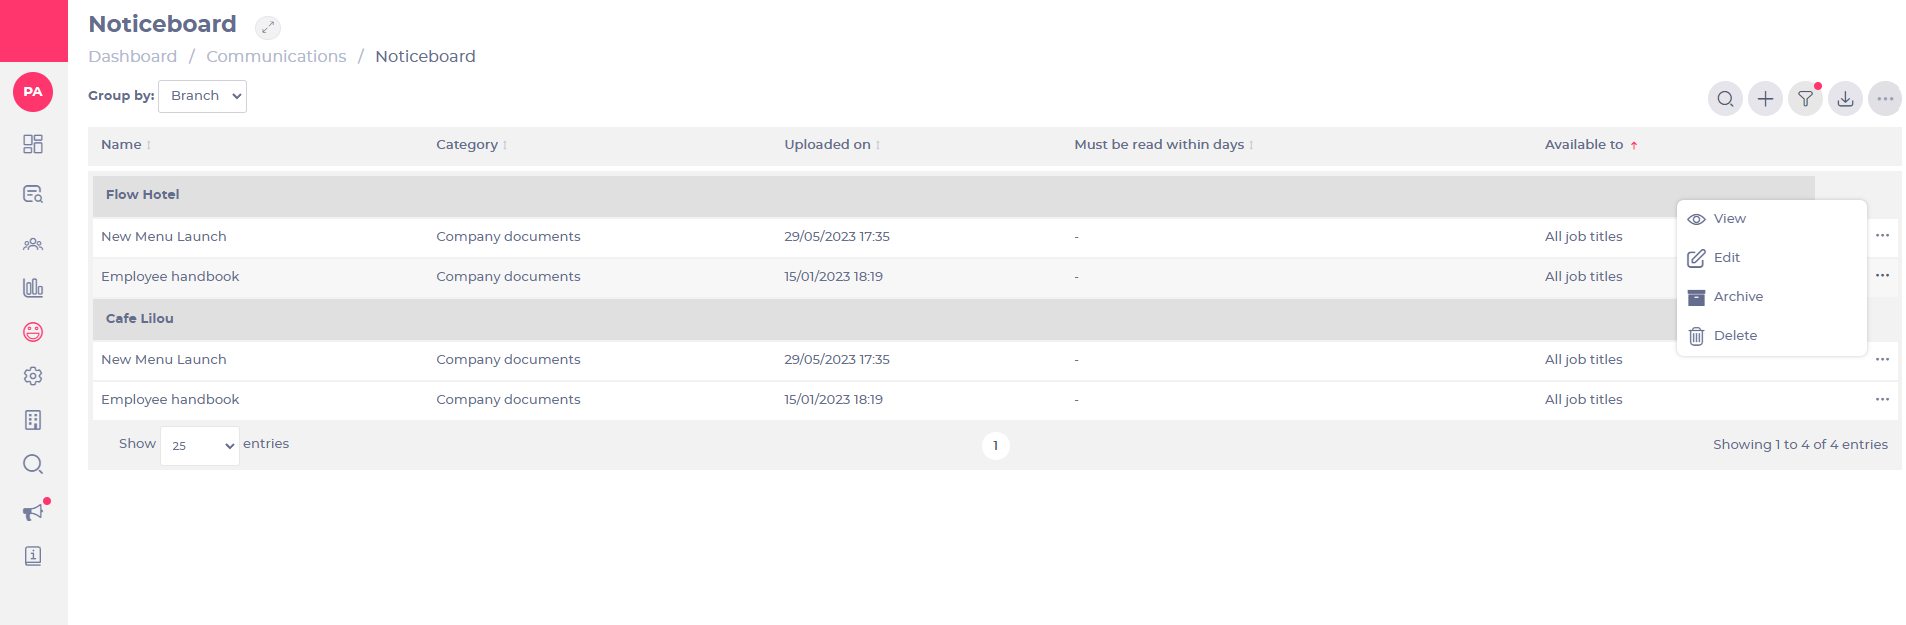
News Items

A news item in Flow Learning is a tool used to keep your team informed and engaged by sharing important updates, announcements, or other relevant information directly through the platform. News items can be customised with headlines, images, and various types of content, such as text, videos, and external links. They are visible to learners and training managers within their respective platforms and can be targeted to specific audiences within your organisation. News items are time-sensitive and will disappear from the platform after the set expiration date, ensuring that your team only sees the most current and relevant information. 

Build a News Item

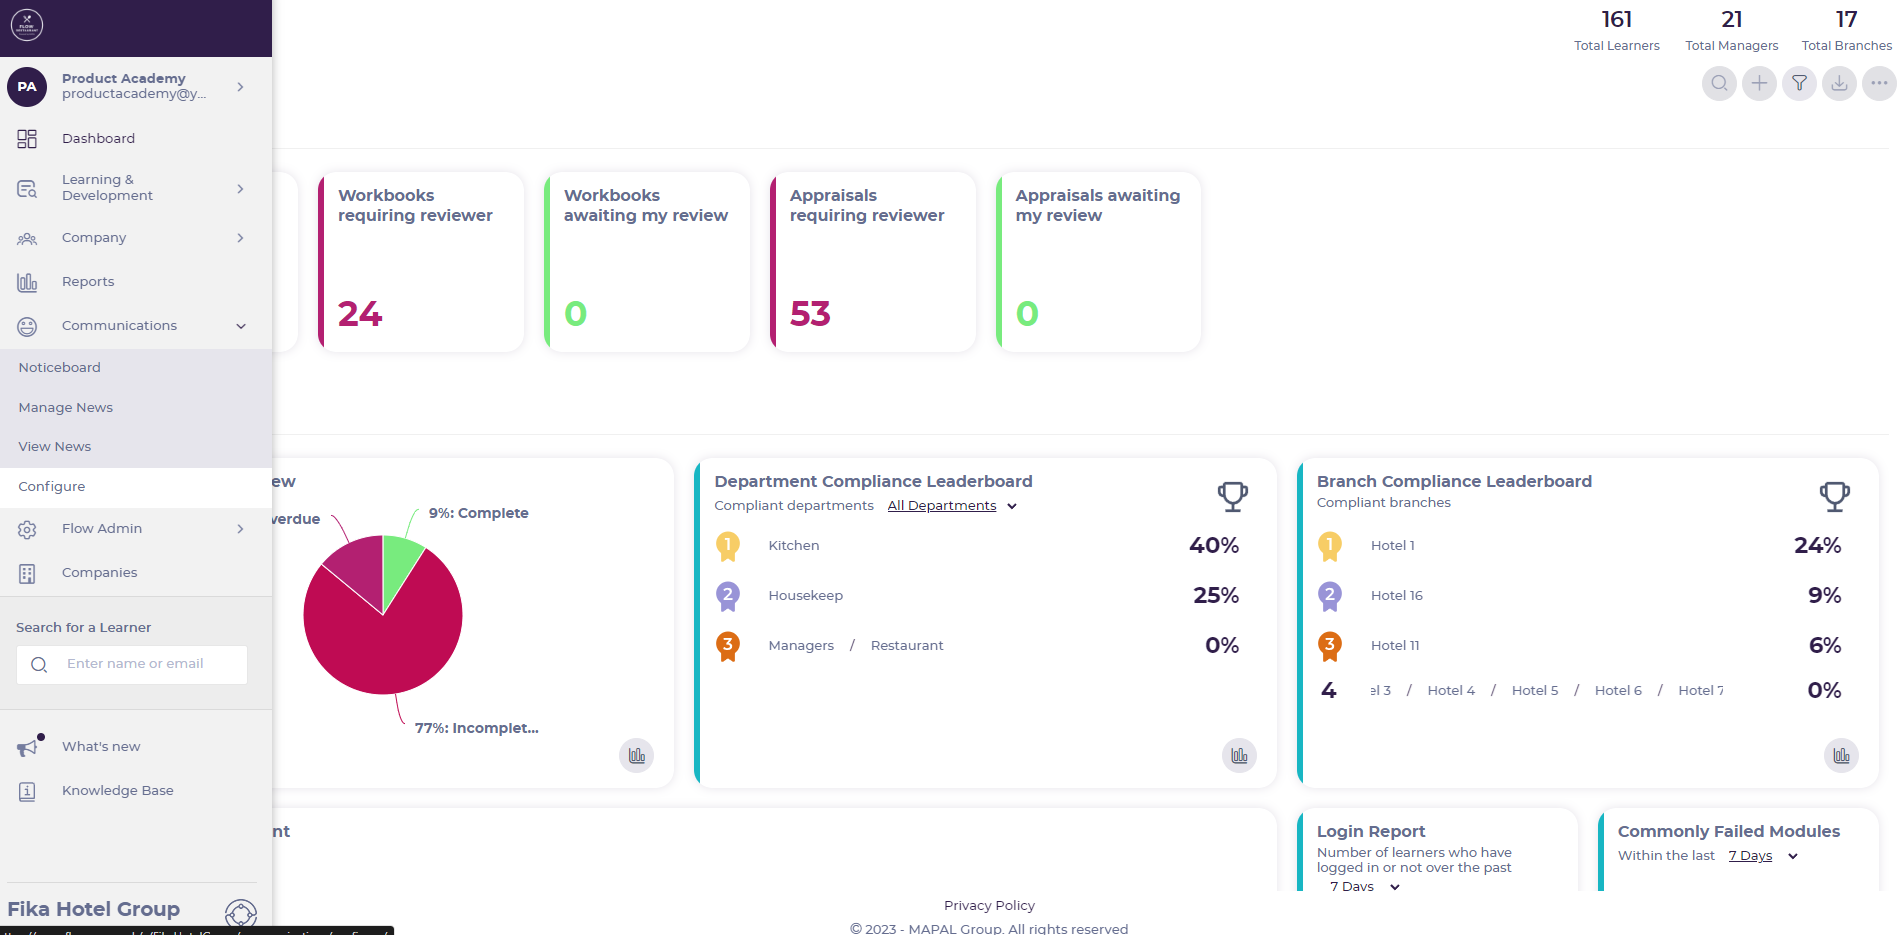
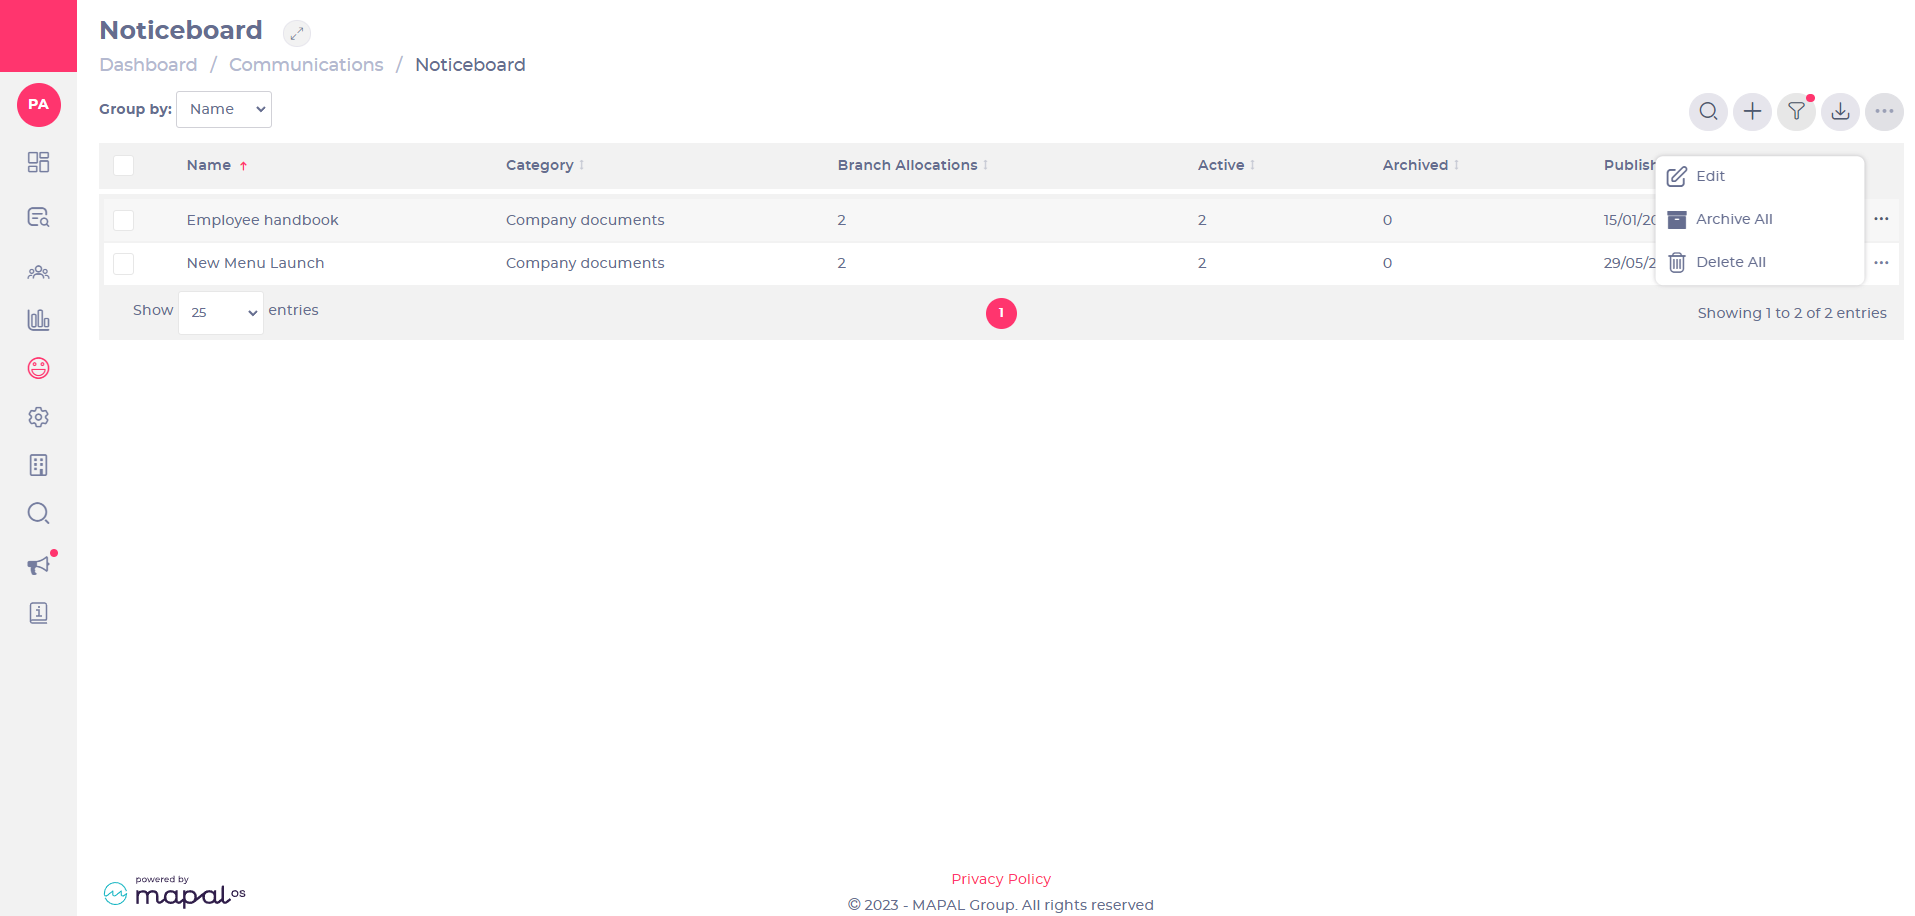
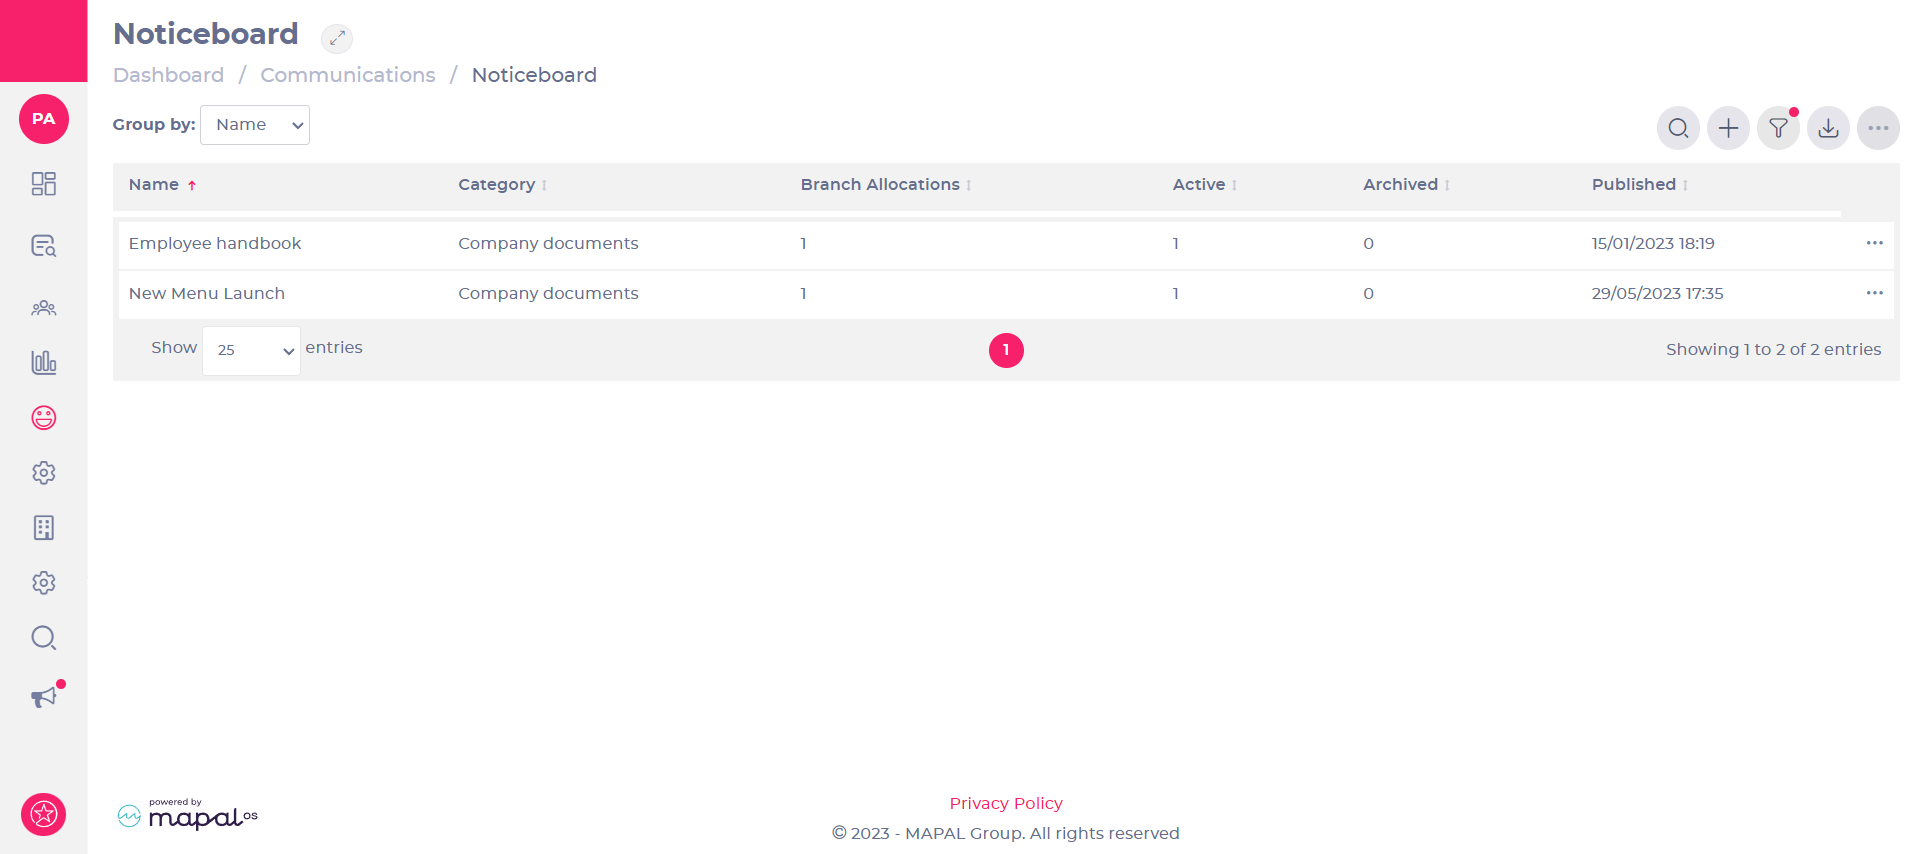
  • Seleccionar Communications > Manage News > + (Add).

  • Complete the fields in all of the 4 steps in the form that appears. See below for more information on how to complete each field.

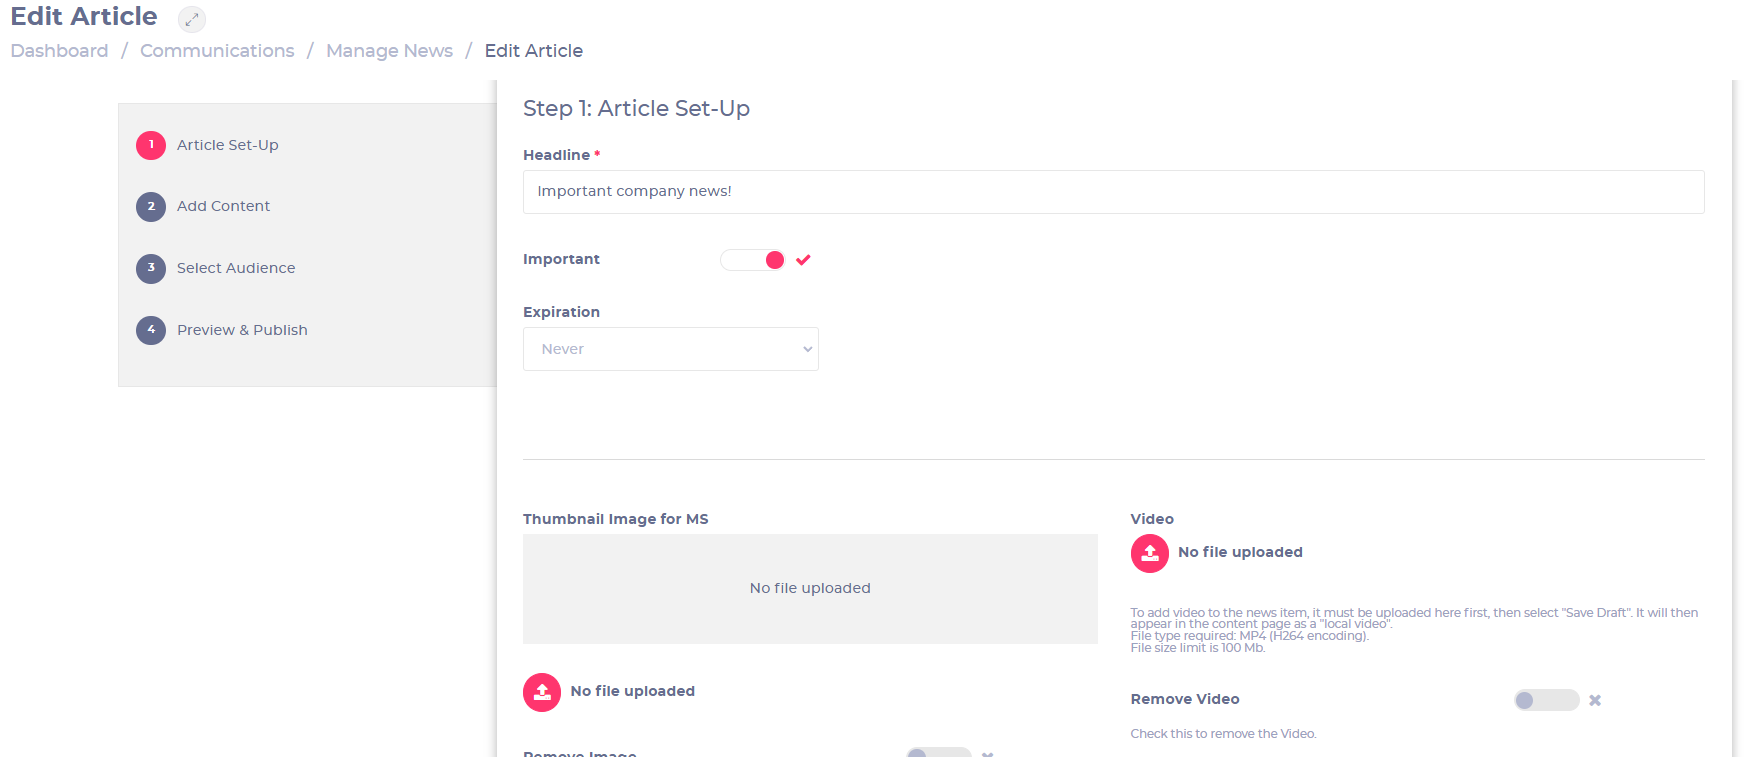
Step 1: Article Set-Up

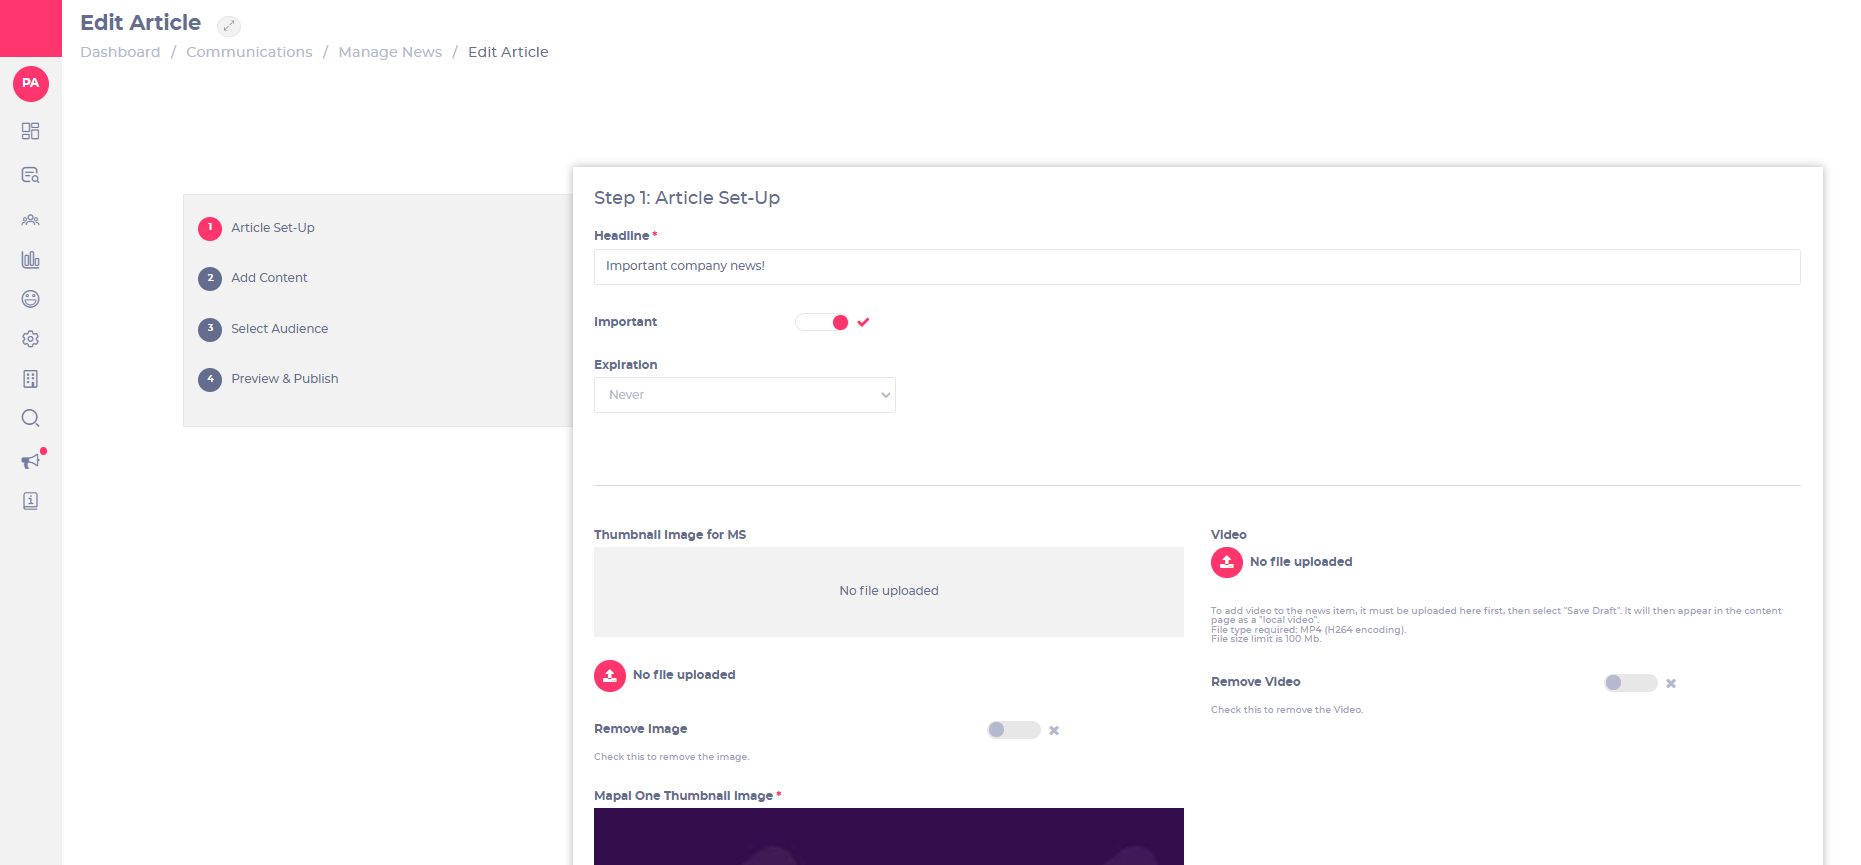
Headline (Mandatory):
Write a short headline on what your news item is about.

Importante:
Select if you want to bring learners’ attention to this. This will show with a ! next to the item.

Expiration:
Select the number of days this news item will be available on learners’ platforms. Nota: unlike learning modules, which go overdue after their expiration date, News items will completely disappear from learners' platforms after the Expiration date.

Thumbnail Image for MS:
Upload a thumbnail image here if your news item is for training managers only, and you’d like this image to show in the management system (MS).

Remove Image:
Select this toggle if you would like to remove the image that is already there (MS only).

Mapal One Thumbnail Image (Mandatory – cannot publish without this image):
Upload the image you would like to show as a thumbnail on a learner’s platform (Mapal One).

  • Seleccionar Próximo when you finish setting the news item up OR Save Draft to save and pick this up another time.
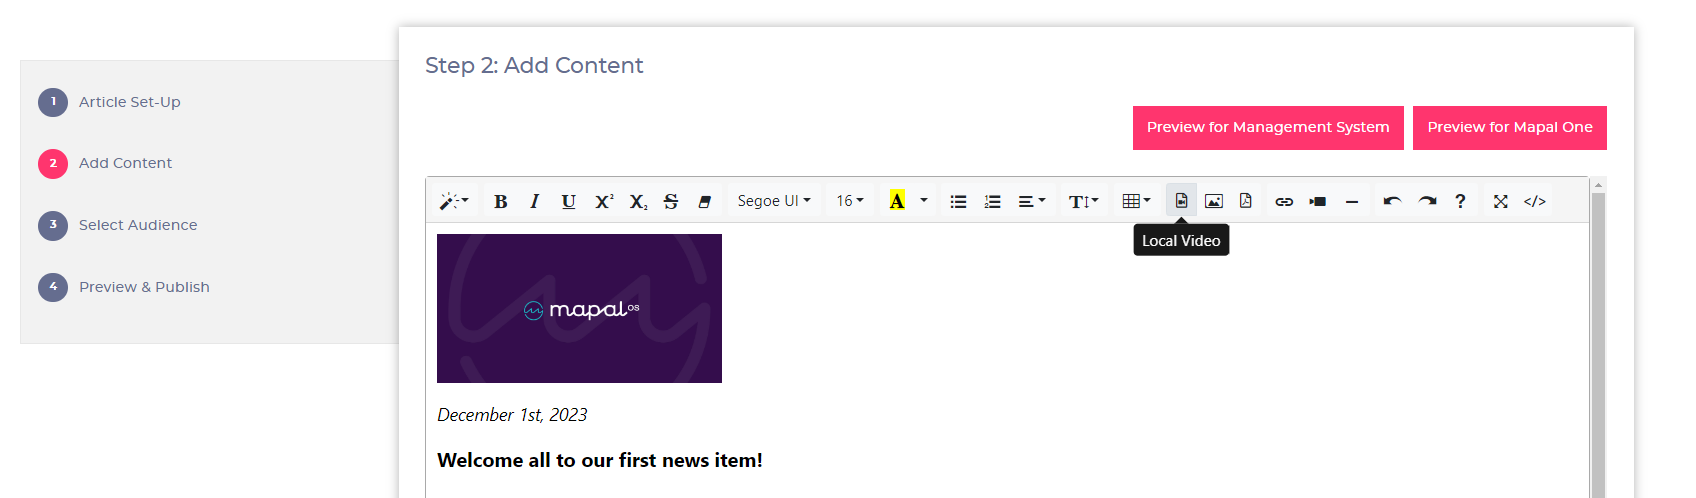
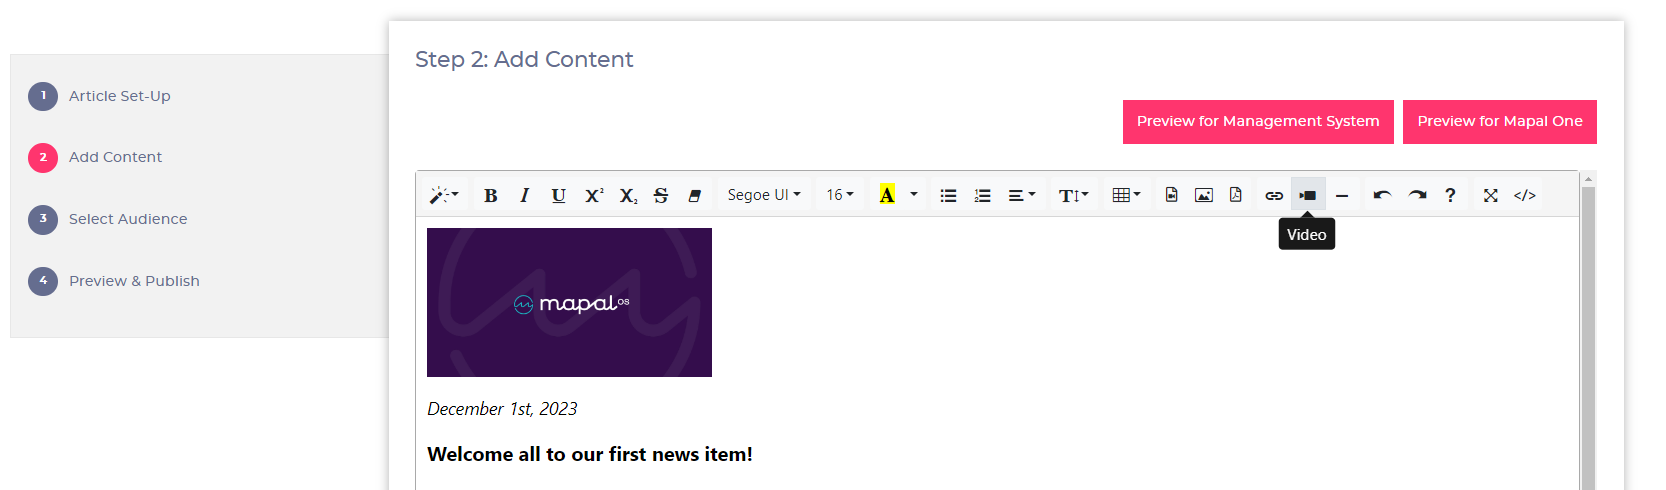
Step 2: Add Content


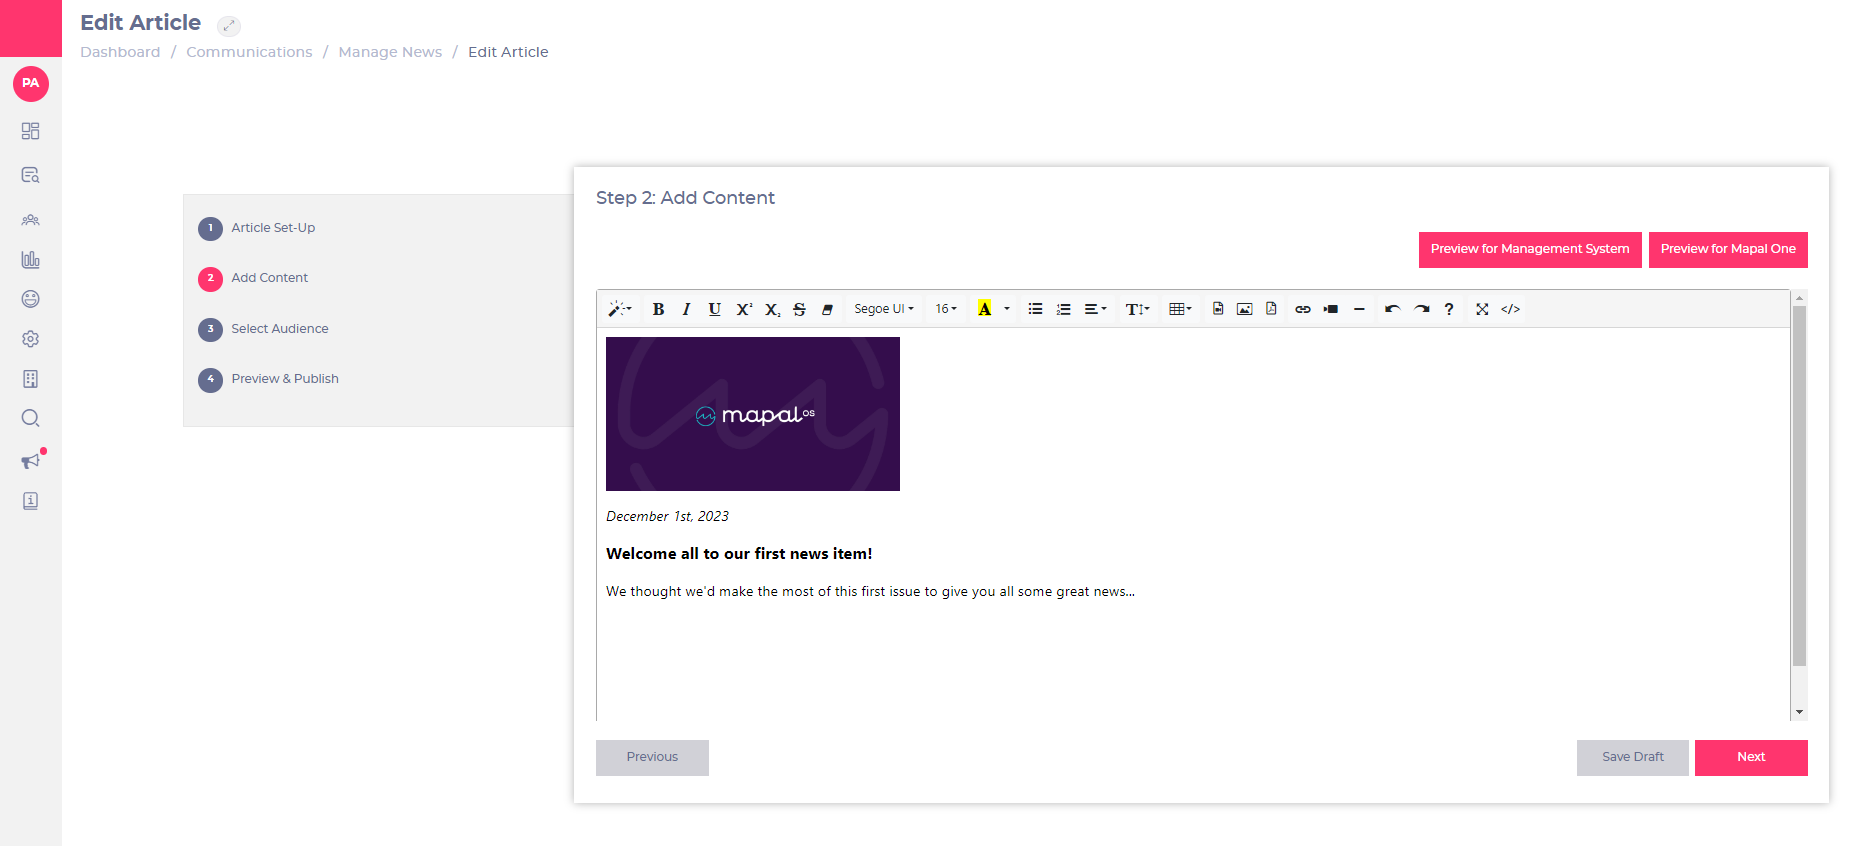
  • Insert the content of your news item in the body text box.

You can also insert images, videos, PDF documents and external links. See Upload videos on to news items to know more about inserting videos here.

  • Seleccionar Próximo when you finish adding content to your news item OR Save Draft to save and pick this up another time.

 Step 3: Select Audience


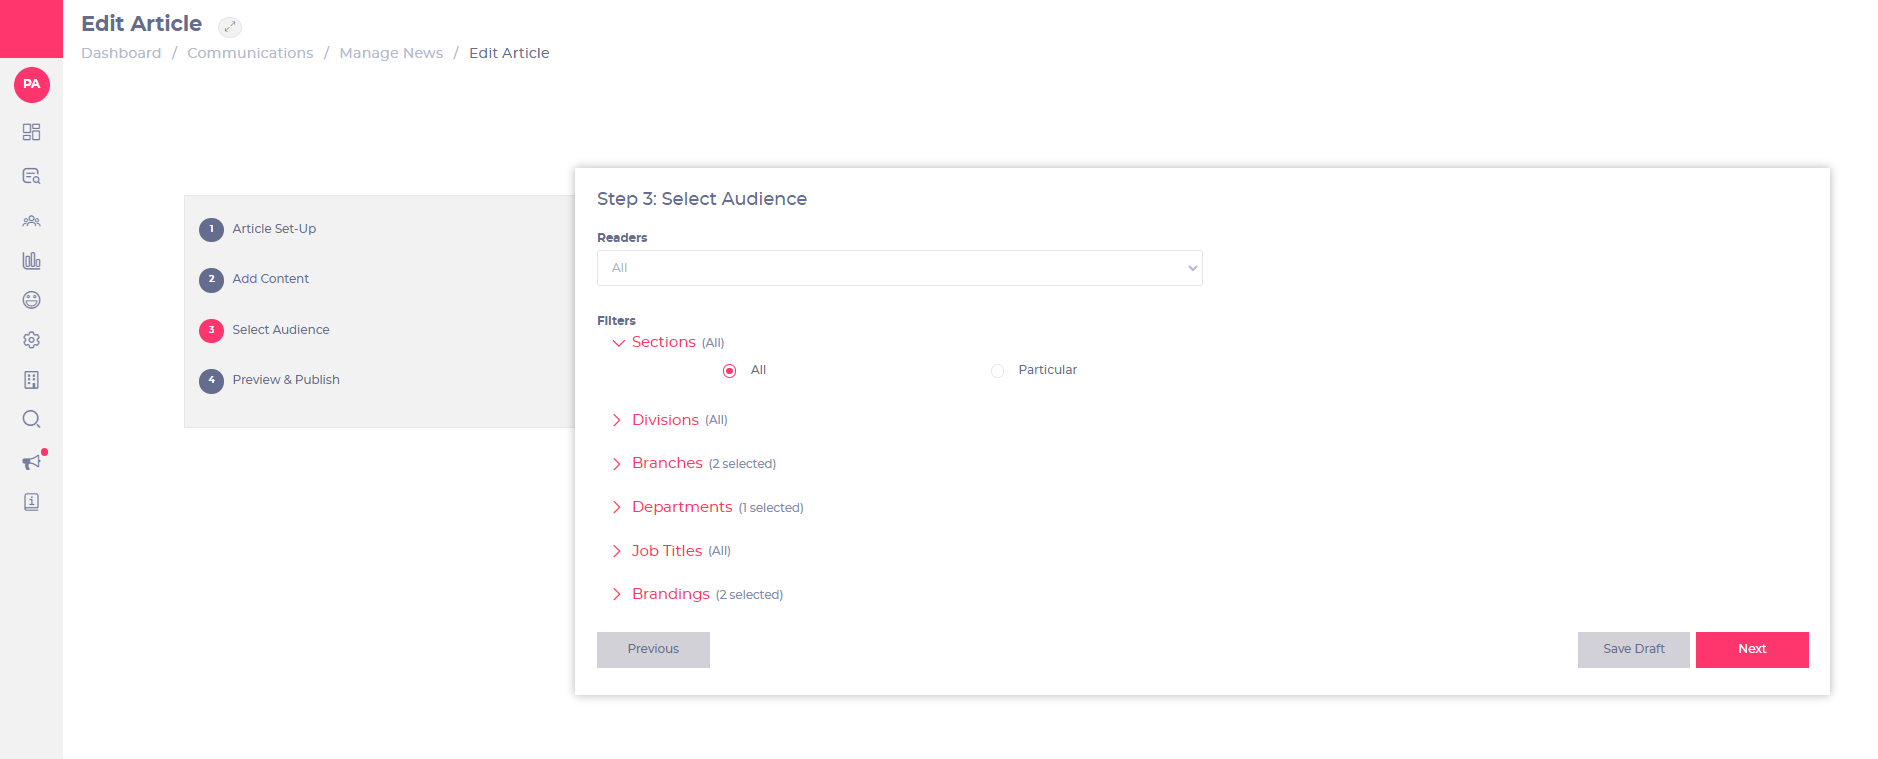
  • Select the recipients of your news item in the Readers dropdown list (Learners, Training Managers or both [All])

Nota: you can also filter your audience by Sections, Divisions, Branches, Departments, Job titles and Brandings

  • Select either the All o Particular options to specify this. If Particular is selected, you’ll be shown a list of possible options to select from.
  • Seleccionar Próximo when you finish selecting the audience for your news item OR Save Draft to save and pick this up another time.

Step 4: Review & Publish

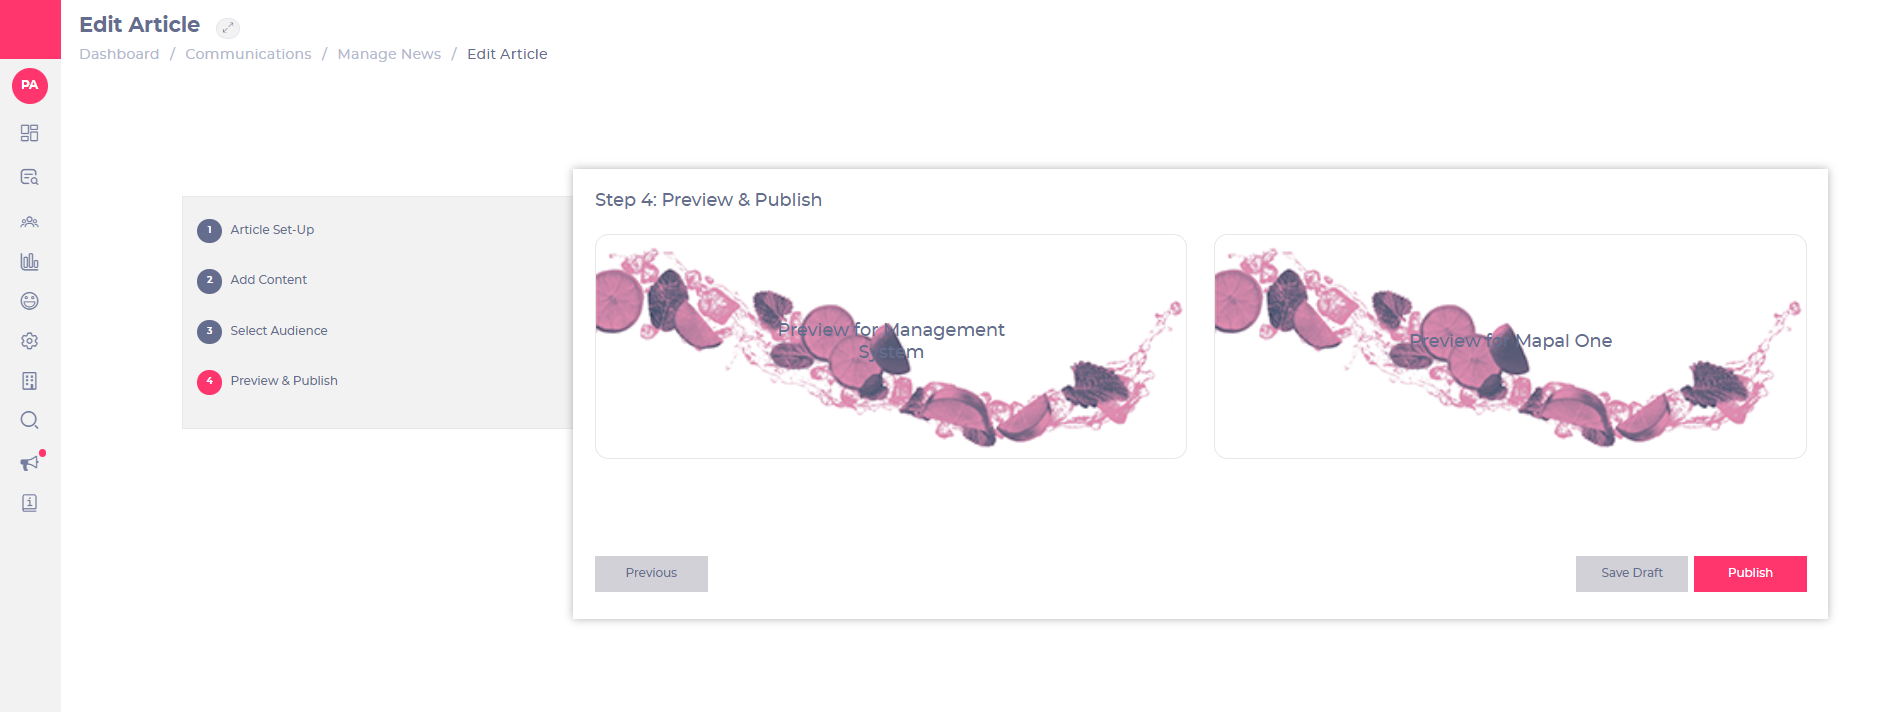
In this step, you’ll be able to see how your news item will look both on the management system (for training managers) and on the learners’ platform.

  • Seleccionar Preview for Management System to see how it will look on the MS.
  • Seleccionar Preview available after draft has been saved to see how it will look for a learner.

Subir vídeos a una noticia

Empezar desde: the News item set-up form (Flow dashboard: Main menu > Communications > Manage News > + Add)

Nota: see Crear noticias for more information on how to set news items up.

How to upload local videos

Use this option to upload local videos that are stored on your computer. 

  • Upload a video in the video upload section in Step 1: Article Set-up. Before you include the video in the Step 2: Add Content text box, it must be uploaded first.
  • Enter a headline (this is necessary in order to Guardar borrador).
  • Seleccionar Guardar borrador.
  • Seleccionar Próximo to move on to Step 2: Add Content.
  • Seleccione el Local video icon to add your video to the news item.

  • Choose the alignment of the video and select OK.
  • Select Next to continue to Steps 3 y 4, and select Publicar to send the news item out.

Nota: you can delete this video from the news item by selectin the Remove Video toggle on Step 1: Article Set-up.

How to upload embedded videos

Use this option to embed videos into your news item, when these are hosted elsewhere and not on your device (for example, on YouTube).


  • Select the video icon in Step 2: Add Content.
  • Insert the video URL and select Insert Video.
  • Seleccionar Próximo to continue to Steps 3 y 4, and select Publicar to send the news item out.


Eliminar o archivar un elemento del tablón de anuncios

Removing noticeboard items

  • Seleccionar Comunicaciones > Tablón de anuncios.
  • Select the three dots next to the noticeboard item you wish to remove or archive.
  • Seleccionar Borrar to remove the noticeboard item permanently.

Archiving and unarchiving noticeboard items

  • Seleccionar Archive to hide a noticeboard item but keep a record of it for the future.
  • You can filter results using Filtrar and then the Archived option in the Espectáculo menu. Noticeboard items can be filtered by Ops Manager, Area Manager, Branch and Category.
  • Seleccionar Aplicar filtros to see a list of all archived noticeboard items.
  • Select the three dots next to the archived item you wish to make active again and select Republish.

Removing, archiving and editing noticeboard items for specific branches

You can carry out the actions described above for specific branches only (changes made will not affect other branches).

  • Seleccionar Rama desde Group by: dropdown menu.
  • Select the three dots next to the noticeboard item you wish to make changes to for that specific branch.

Viewing an assigned item after Archiving or Deleting

When you archive or delete a noticeboard item, its visibility and accessibility to learners are impacted as follows:

  • Deleted Noticeboard Items: Deleting a noticeboard item removes it permanently from both the noticeboard and learners' profiles. This means learners will no longer see the item, and it cannot be retrieved or referenced in the future.

  • Archived Noticeboard Items: Archiving a noticeboard item hides it from the noticeboard and learners' profiles, keeping it inactive. However, unlike deletion, archived items are preserved in the system for future use and can be found by learning managers and Republished if needed.

  • Items Already Read by Learners: If a learner has accessed and read a noticeboard item before it was archived, the item will no longer appear in their profile—it is removed once archived.

Preguntas frecuentes sobre los artículos del tablón de anuncios

  • Can you send a Noticeboard item to an individual learner?

No, but they can be sent to specific branches, departments or job titles.

  • Can I add more than 1 file to a Noticeboard item?

You can only add one file per Noticeboard item.

  • Why can’t I see this functionality on my platform?

Please contact your Customer Success Manager or point of contact at Flow if you are having trouble viewing this functionality on your platform.

  • Can I see what Noticeboard items an individual learner has on their profile?

Yes, you can view these on the trainee profile, click on Noticeboards and there will be a list of all the NB items assigned to this trainee.

  • Is there a limit on file size?

Yes, 100MB for videos and 10MB for other file types.

  • When I open/download the item it has a weird name that's just numbers and letters and not the original file/Noticeboard name, why?

This is the unique name given when stored on our server/cloud, which cannot be changed.


Reporting for Noticeboard items

  • Seleccionar Informes en el menú principal.

Nota: the reporting for Noticeboard items is under the Comunicaciones option on the main menu.


Añadir un elemento de tablón de anuncios simple

Empezar desde: El panel de aprendizaje de Flow.

  • Seleccionar Comunicaciones > Tablón de anuncios to open the Noticeboard page. You will see a list of items posted previously.

  • Seleccionar  to activate the new item window.

  • Enter the title of your item in the Nombre campo.
  • Select the group for your item in the Categoría lista desplegable.
  • Utilice el Subcategory dropdown to organise the item further.
  • If the Send to new learners only toggle is selected, this noticeboard item will only be assigned to learners added to the system after the item is published.
  • Seleccionar Add document A picture containing icon<br><br>Descripción generada automáticamente to attach an additional file to your item. It will open a file selector.
  • Locate and select the file you wish to attach. File types supported include pdf, doc, docx, png, jpg, jpeg, img, csv, xls, xlsx and pptx to a maximum file size of 10MB. The filename you have uploaded will be detailed below the instruction text.

Nota: You can only attach one file to each item.

  • Enter a description of your item in the Descripción campo.

Nota: Your description has a character limit of 350, including spaces.

  • Habilitar el Must be read toggle if you require all recipients to read your item. If so, you must add a due date, and the item will appear in the Required by you section. If this is toggled off, and no due date is assigned, the item will appear in Recommended by you.
  • Enter a positive number in the Must be read within days field. The fecha de vencimiento will be calculated from the learner's start date plus the value in this field.

Nota: Negative numbers in this field should be avoided.

  • Seleccione el Expires field to activate a pop-up calendar and add an expiry date if you want the item to have a limited duration. This is optional, and we only recommend adding one if the item actually does expire (like a company handbook for a specific year), as the item will disappear for learners after this date.
  • Select the expiry date and select Hecho to set a date O seleccionar Today to set the expiry date as today.
  • Habilitar el Send overdue alerts to manager toggle if you require notification of any staff who have not accessed the item by the ‘must be read’ date.
  • Enter an email address in the Manager email to send overdue alerts to field so set the destination of the notifications.
  • Habilitar el Send email notifications to trainees toggle to alert all relevant learners of the new item on the Noticeboard.
  • Select each option to filter the recipients of your item. They are all fields in your learners’ profile.
    • Región
    • Área
    • Rama
    • Job Titles

Nota: If these fields are called something different on your system, direct any questions to your manager or your Flow Customer Success manager.

  • Select each option and choose either All OR Particular to filter down who will receive the noticeboard item.
  • Seleccionar Signoff required if you would like to ensure the item is read by the recipient. In the Mapal One portal, the learner is asked to select the Sign Off button to show that they have read the noticeboard item.
  • Seleccionar Show in recommended if you wish this item to appear in the Recommended for you section. Items that require sign-off or have a due date will appear in the Required by you section. If this button is toggled off, and no due date has been assigned to the item, it will only appear in the Document library, and not on the learner's dashboard.
  • Seleccionar Ahorrar to save and publish your noticeboard item and return to the Noticeboard page O seleccionar Cerca to close the item without saving it and return to the Noticeboard page.

You have now created an item that will show in the Required by you o Recommended for you sections on the Mapal One learner’s platform. It will also appear in the Mapal One Document Library section under Noticeboard. If you have requested a notification of any staff member failing to access the item, this will be emailed to your specified email address.

Noticeboard assignments

Assignments will happen for any learners matching the configuration settings, whenever that learner is created, changes job role o moves branch.

If an end date is removed from a learner (this is commonly the case when employees are re-hired) and new noticeboard items have been uploaded while they were away from the business, these will automatically be issued to the learner.