Here, you will be able to see a general overview of the agile feedback for the whole team.
Notes: You will also have the chance to use the Select an evaluation dropdown to see the results of a specific evaluation and filter further to see a custom summary of the evaluation in specific branches and periods.
The general summary is divided as follows:
Summary widget: Three metrics are displayed in this tile: Overall rating, GAP vs. target, and % of surveys completed.
Evaluations widget: A vertical graphic diagram is shown in these tiles, where you can see the number of evaluations completed per day.
Top 5 modules: A horizontal graphic diagram is displayed with the five highest-rated modules.
Top 5 employees: Here, another horizontal graphic diagram with the five best employees.
View and manage events by Business Unit
Start from: The Analytics dashboard
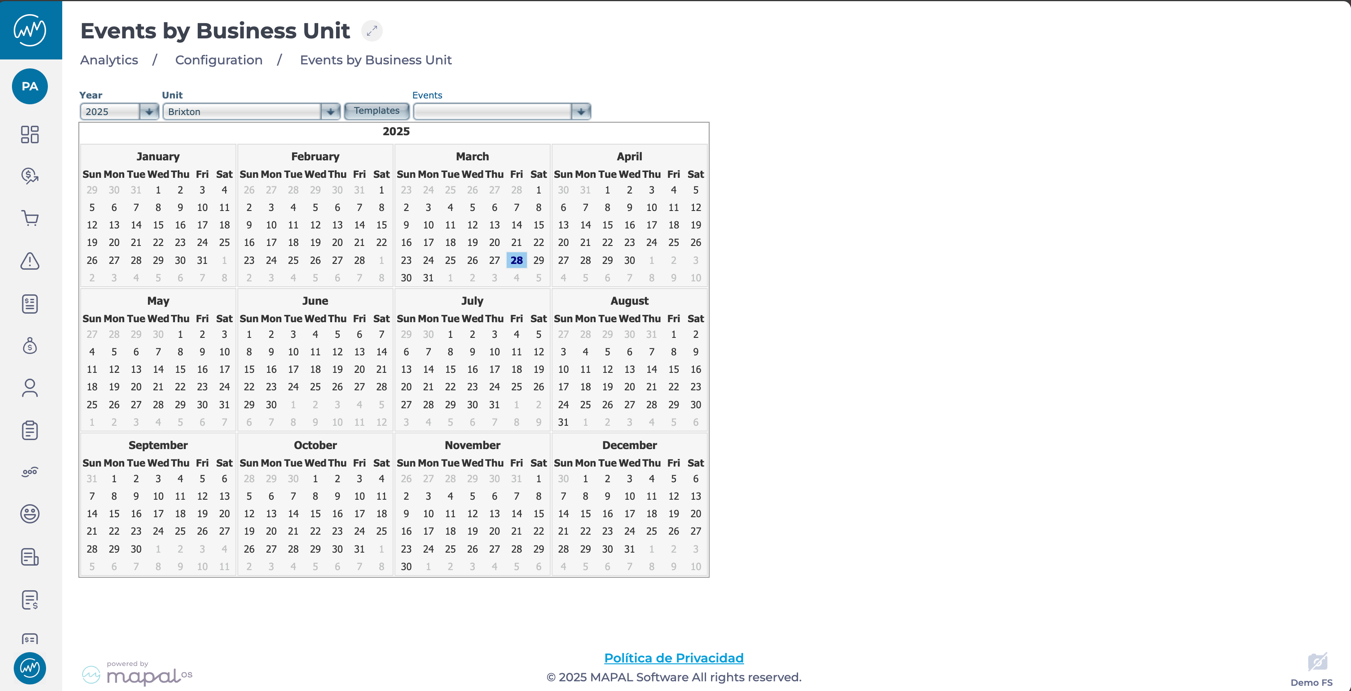
Navigate to Configuration > Events by Business Unit from the main menu.
You will see an interactive calendar that displays business-related events across a location.
Apply filters to narrow down the calendar view to match your planning needs:
Year: Select the year you want to view.
Business Unit: Choose a specific business unit to see only its associated events.
Templates: Filter by predefined event templates (e.g. national holidays, regional events).
Events: Focus on particular types of events (e.g. closures, milestones).
Notes: Combine filters for more specific results, such as viewing only regional holidays for one business unit in a particular year.
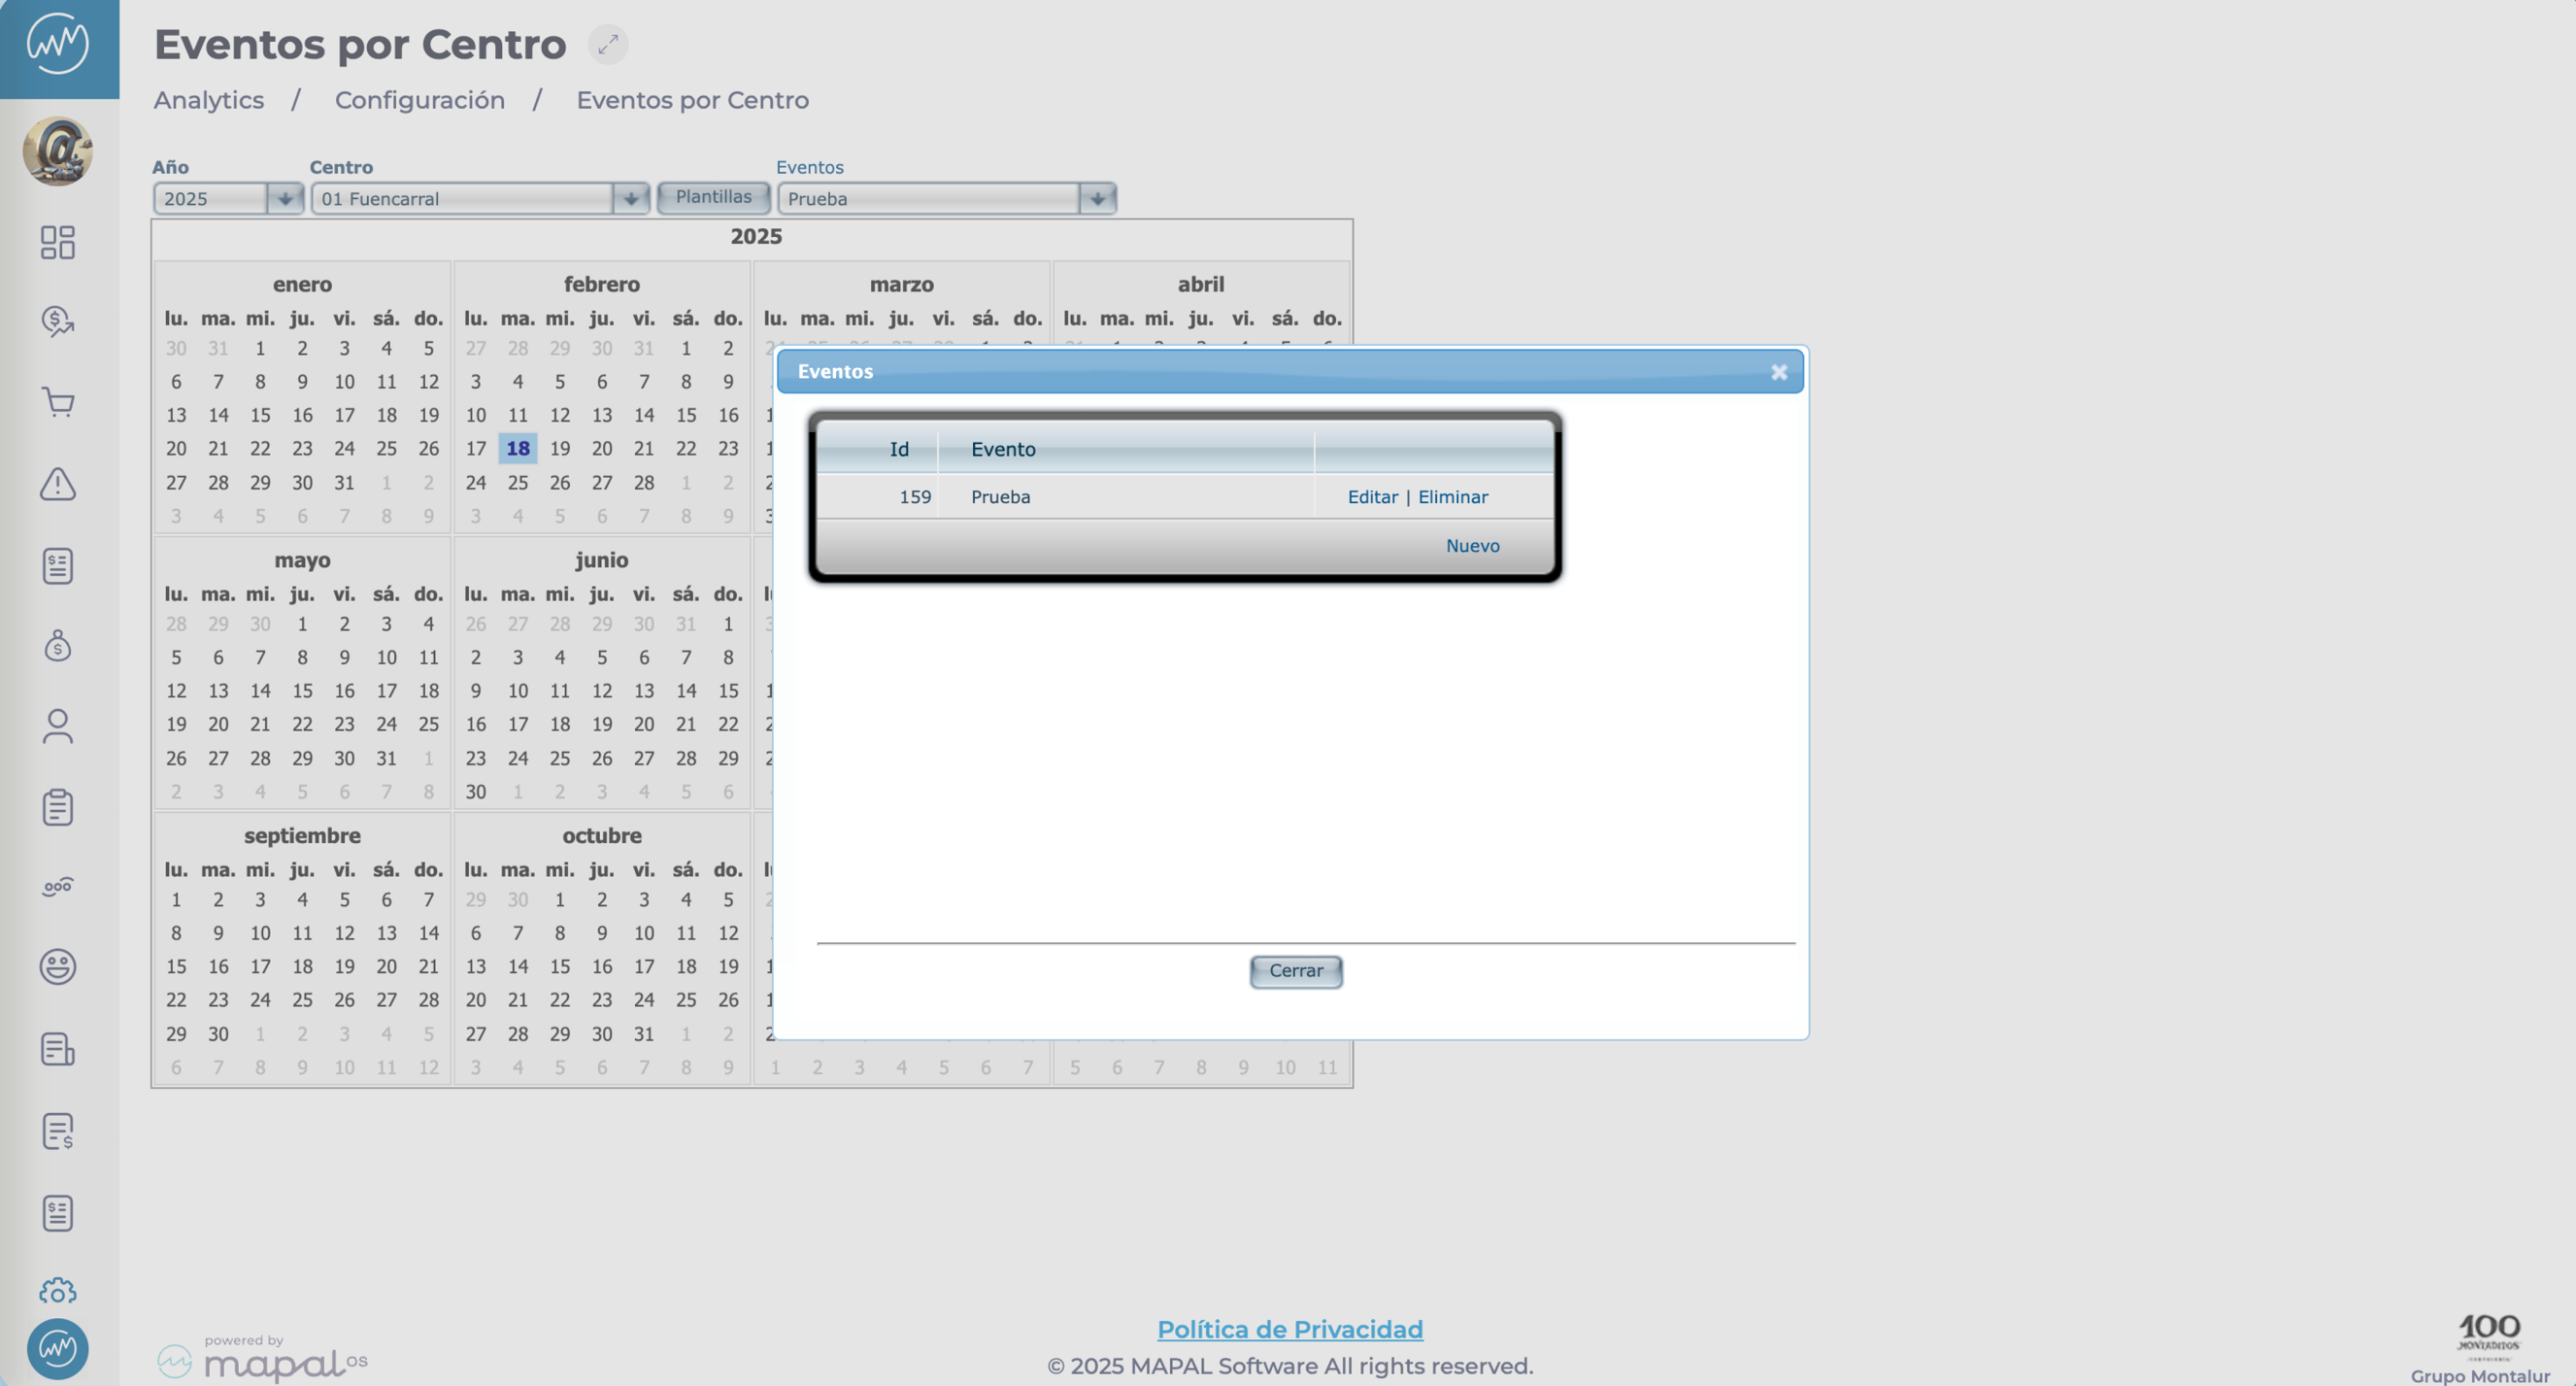
The filtered events will appear in the interactive calendar.
Each event is displayed clearly, making it easy to identify important dates.
Click on any event to view more details.
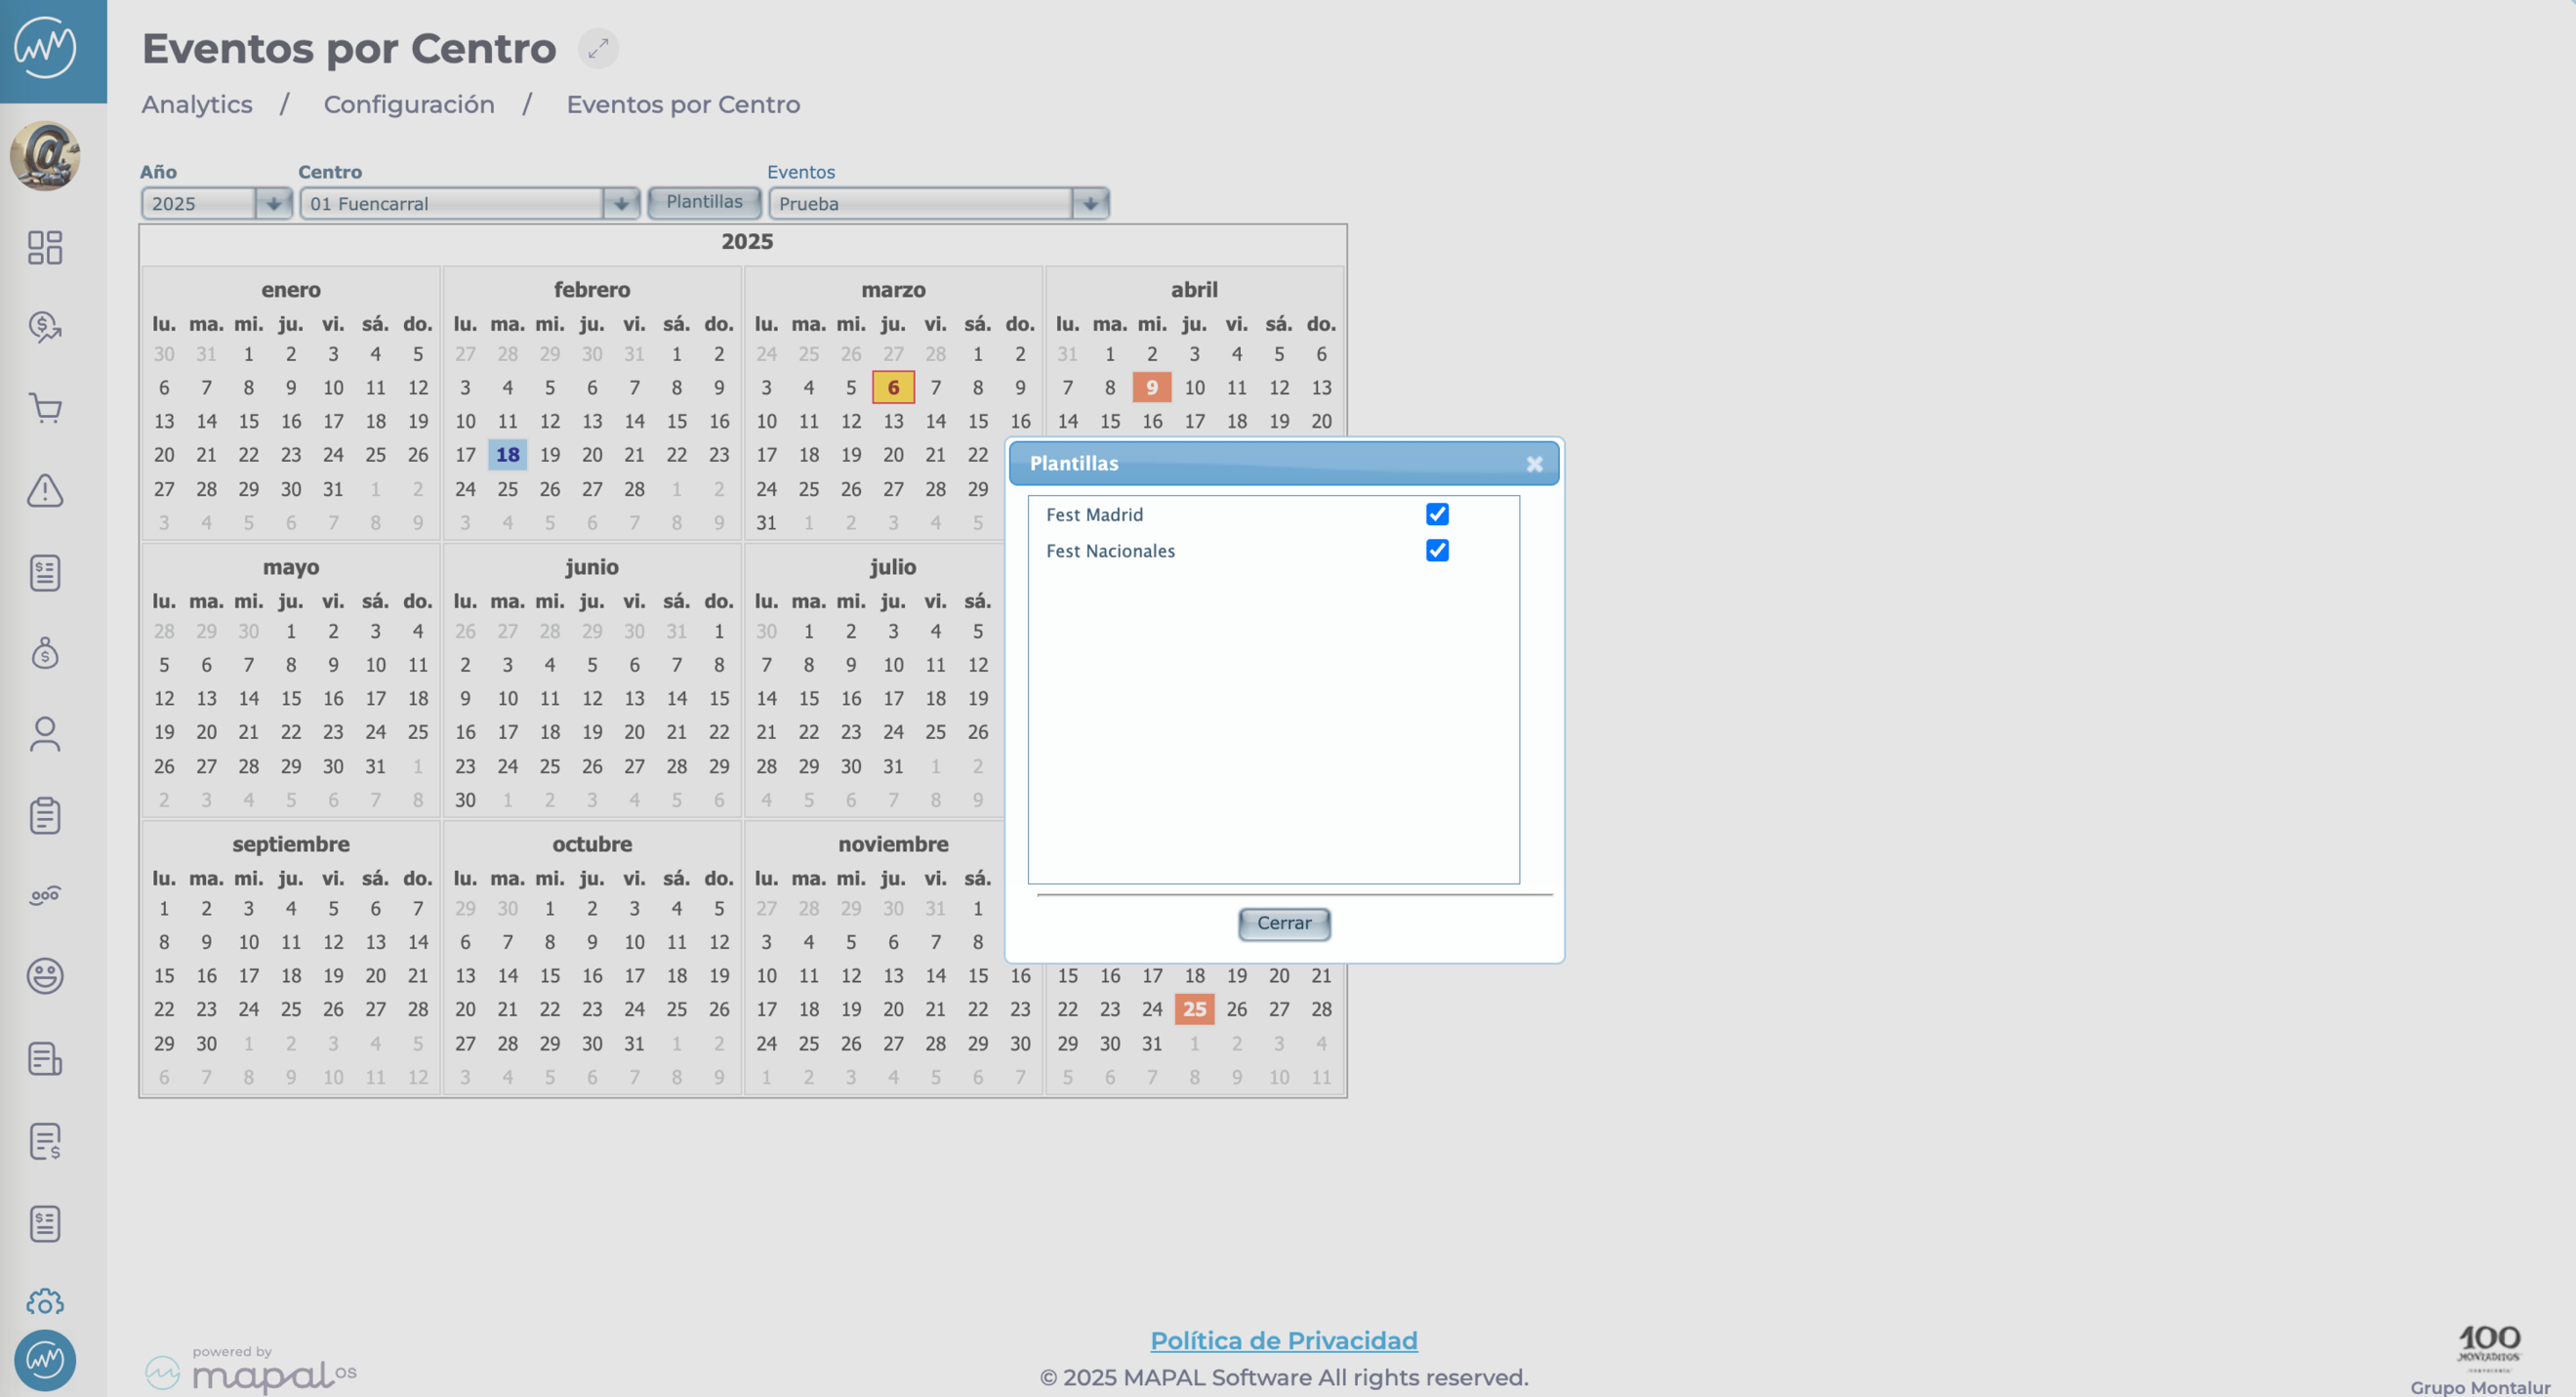
Customise templates
Select the Templates button to open a pop-up window.
Tick or untick templates to adjust what appears in the calendar view.
This helps tailor the event list to what’s most relevant for the selected business unit.
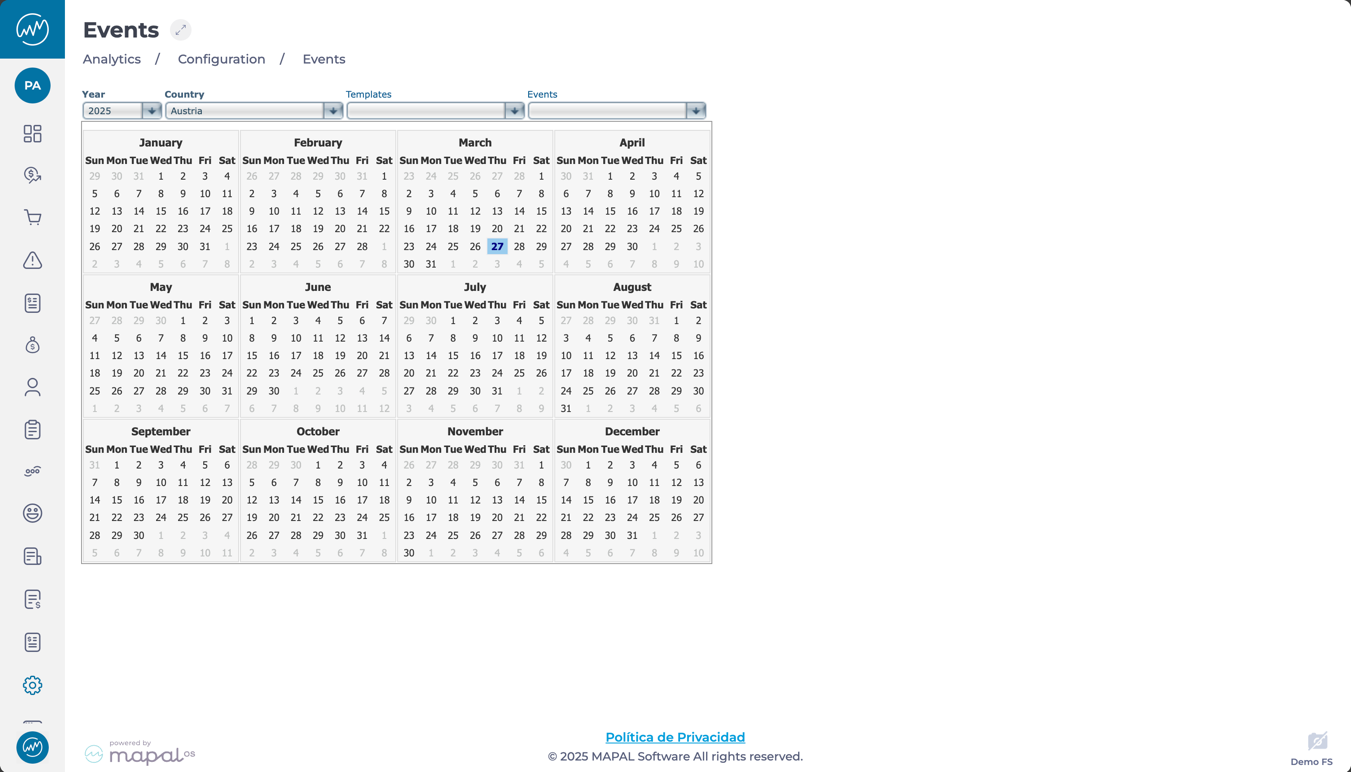
View and manage business-related events
Start from: The Analytics dashboard
Navigate to Configuration > Events from the main menu.
You will see an interactive calendar that displays business-related events across your organisation.
Events will display in the calendar and can include public holidays, internal milestones, or any other business-relevant dates.
Use the filters at the top of the calendar to refine what is shown:
Year: View events for a specific year.
Country: Narrow results by country to see location-specific dates.
Template: Filter based on templates used for recurring event types.
Event: Focus on specific events like holidays, closures, or custom events.
Click on an event within the calendar to see more details.
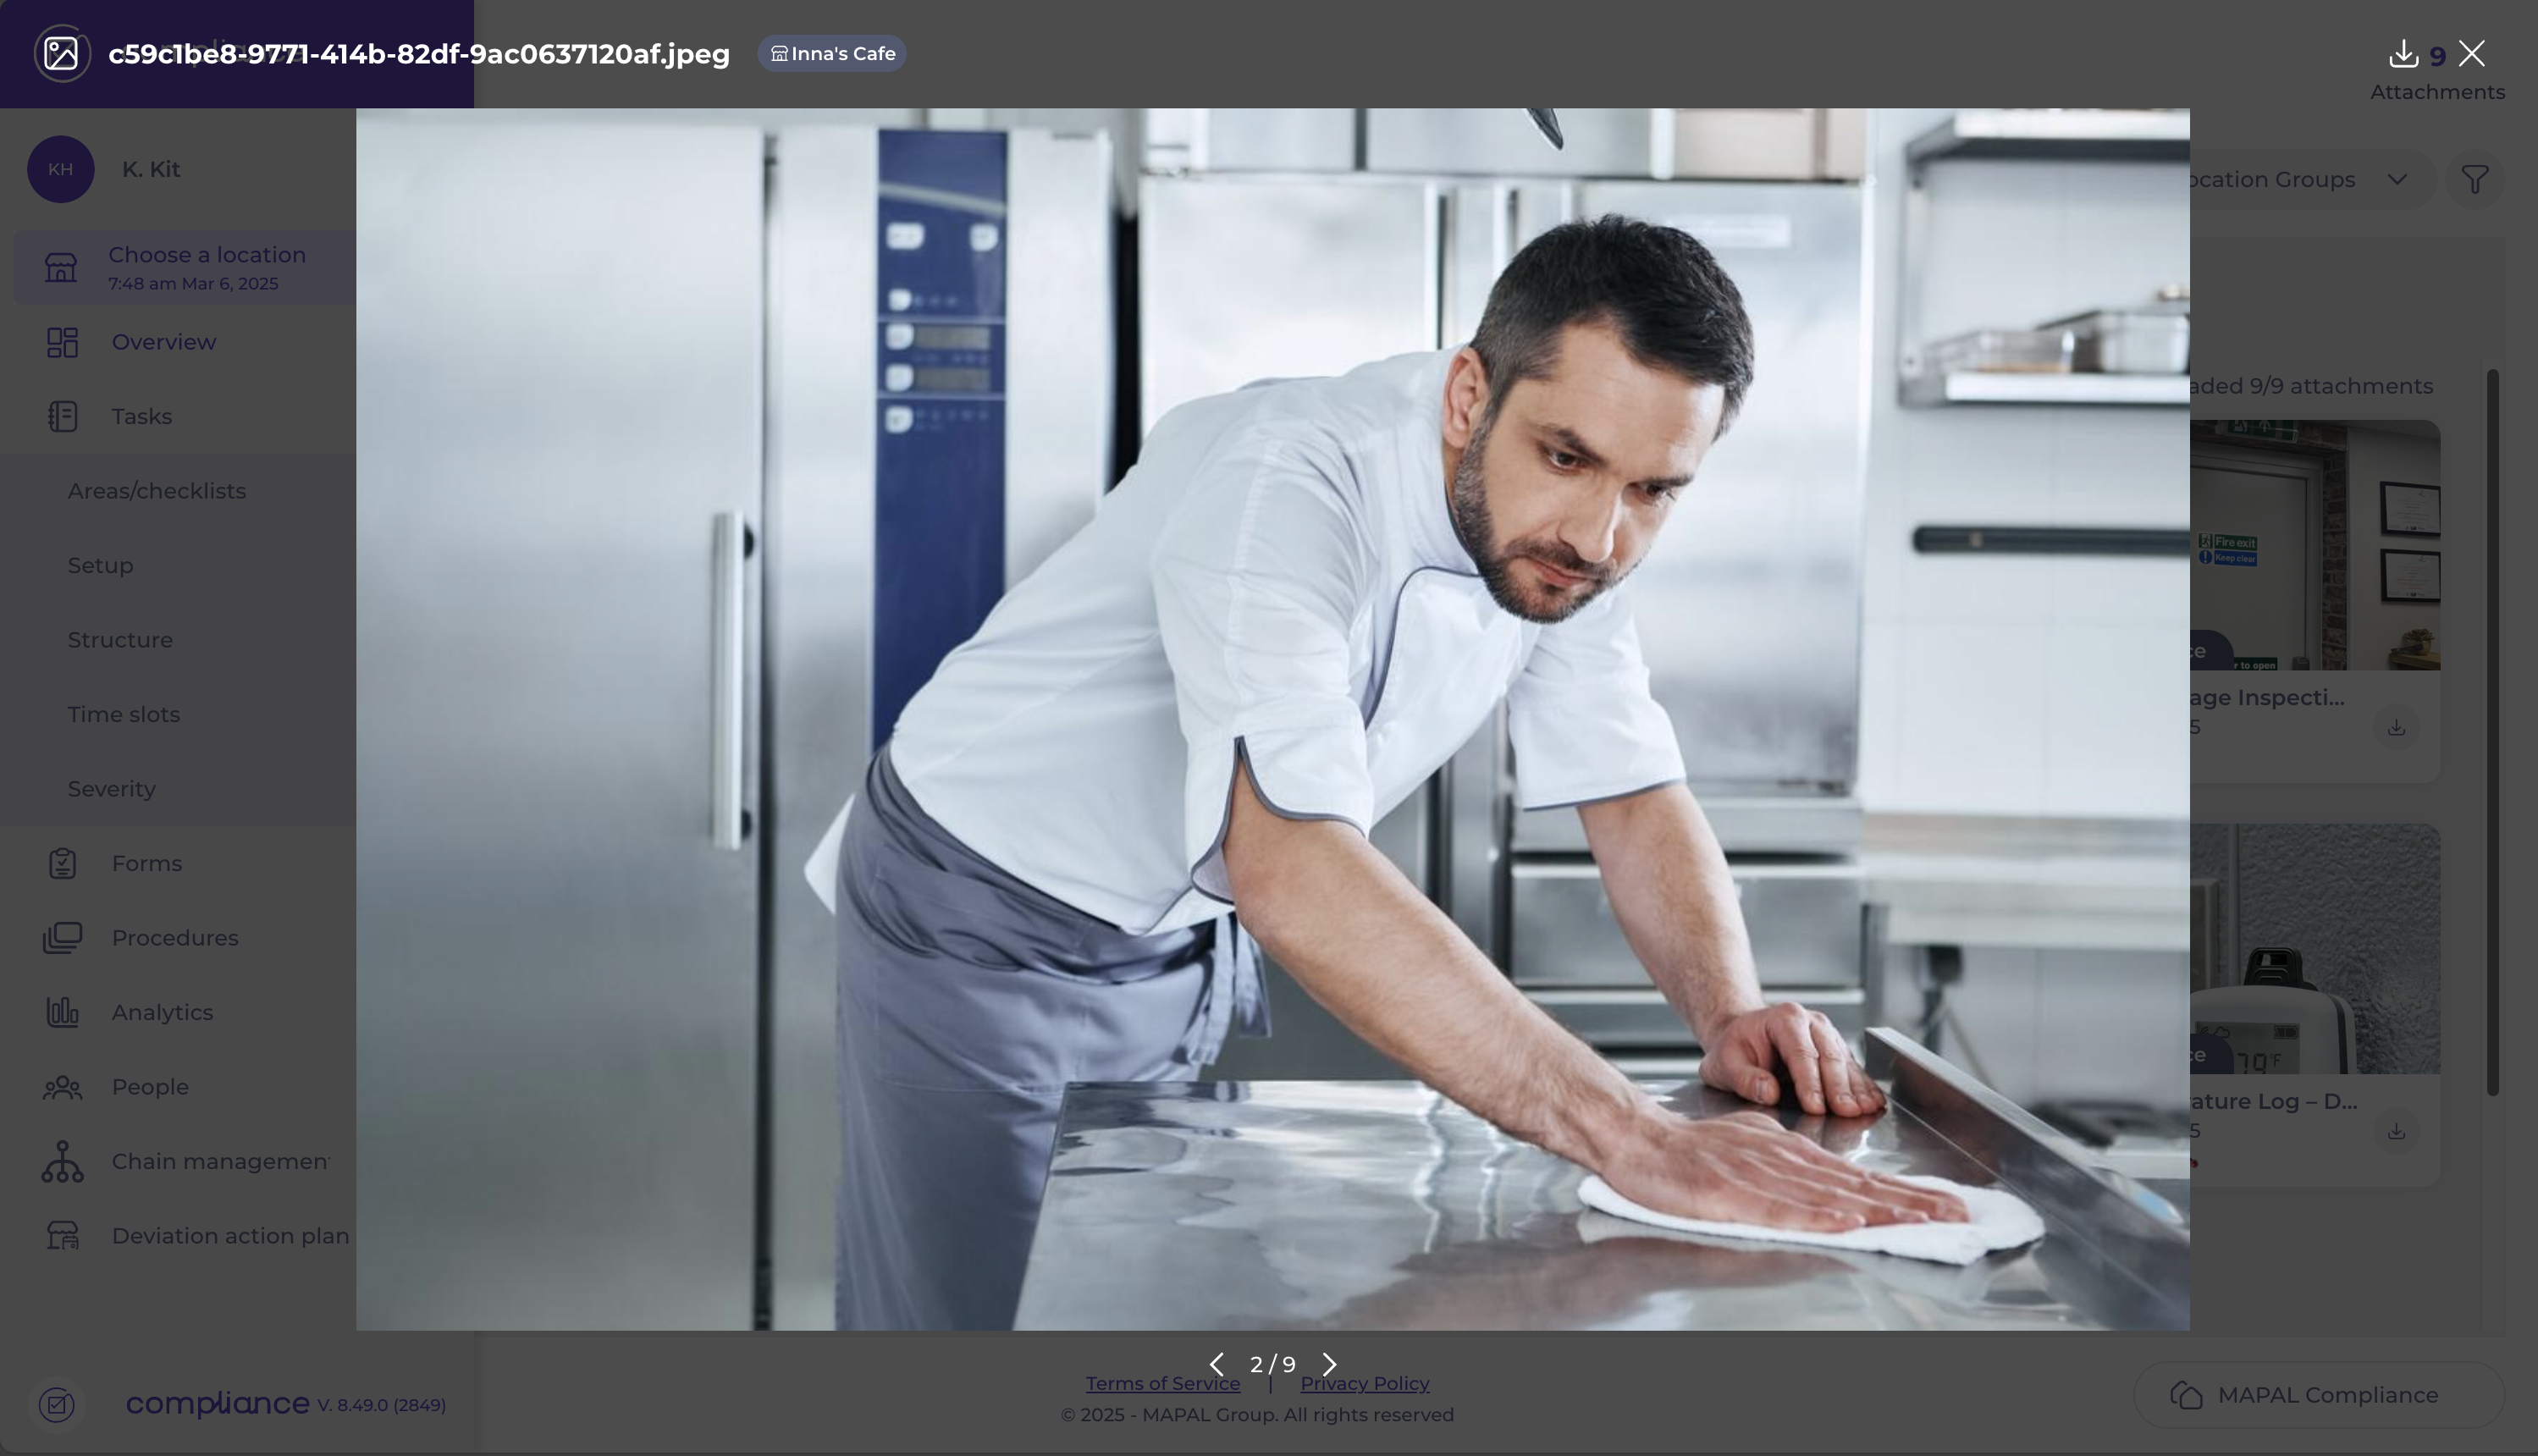
Moderate images and attachments on Compliance
Start from: The Compliance overview.
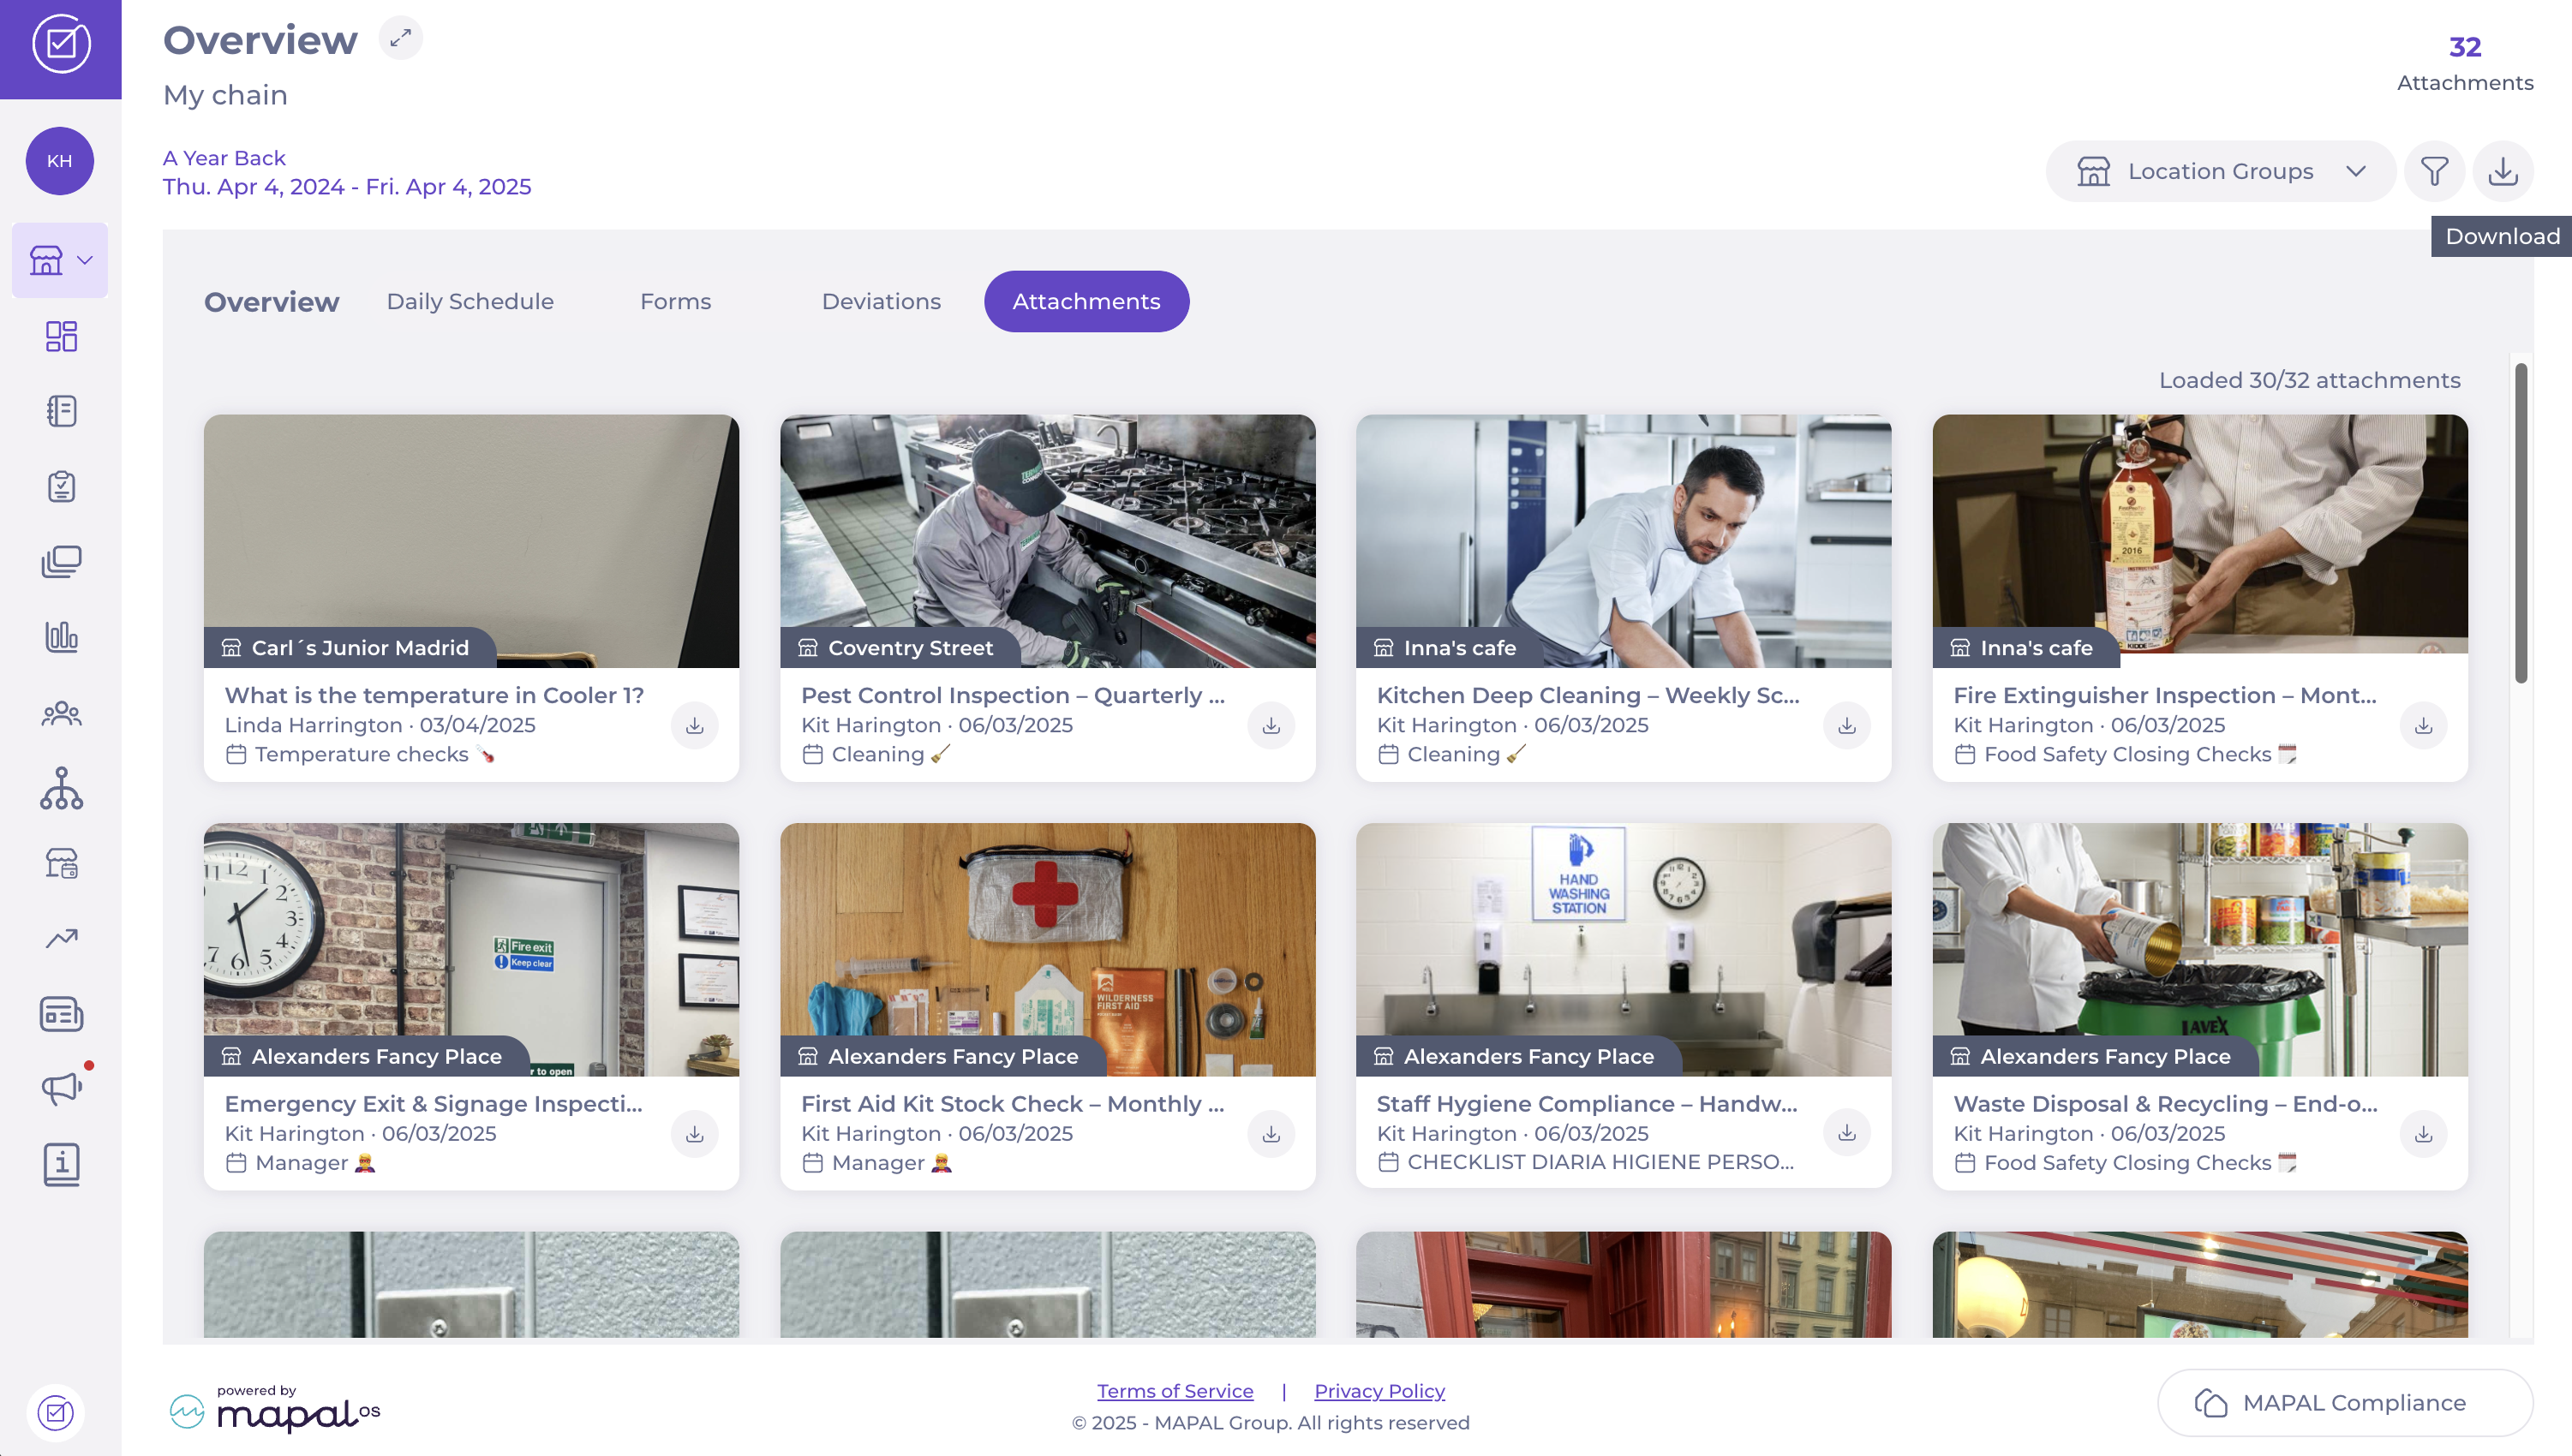
The Attachments section provides a centralised view of all uploaded images added to tasks.
To moderate images and attachments:
Navigate to the Central Overview.
Locate the Attachments tab.
Use the Filter to refine the results.
Filter by Location Group to view attachments for specific business areas.
You can Download anattachment directly from the preview.
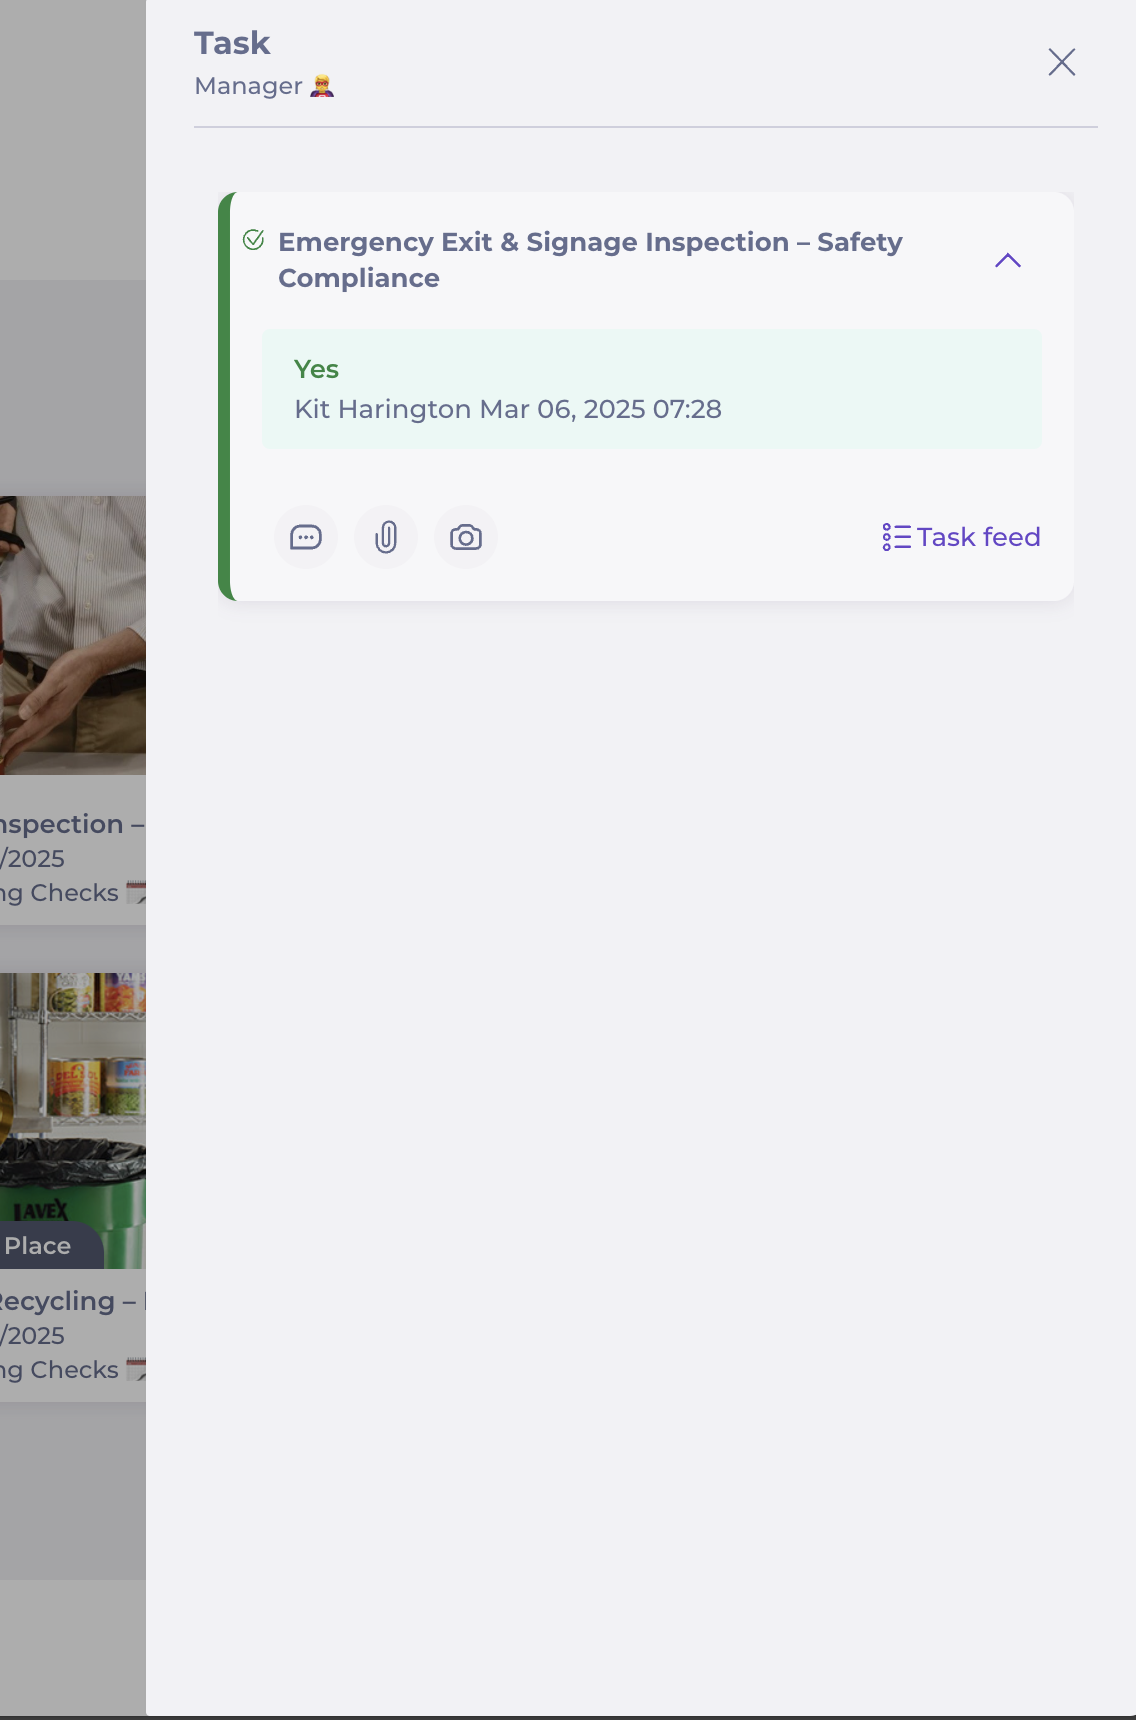
To see a bigger preview and more details, select the image.
If you select the task's title, a side panel with the task details will appear. This panel displays:
The location where the photo was taken.
The user who uploaded it.
The task feed, including associated comments for context.
Download all attachments as a batch
Navigate to the Attachments tab in the Central Overview.
Apply any filters to narrow down your results, if needed.
In the top right corner, select the Download button.
All attachments currently visible in your filtered view will be downloaded in a compressed .zip file.
Fermer financiers budgets
Start from: The Analytics dashboard.
Accessing the budget closure module
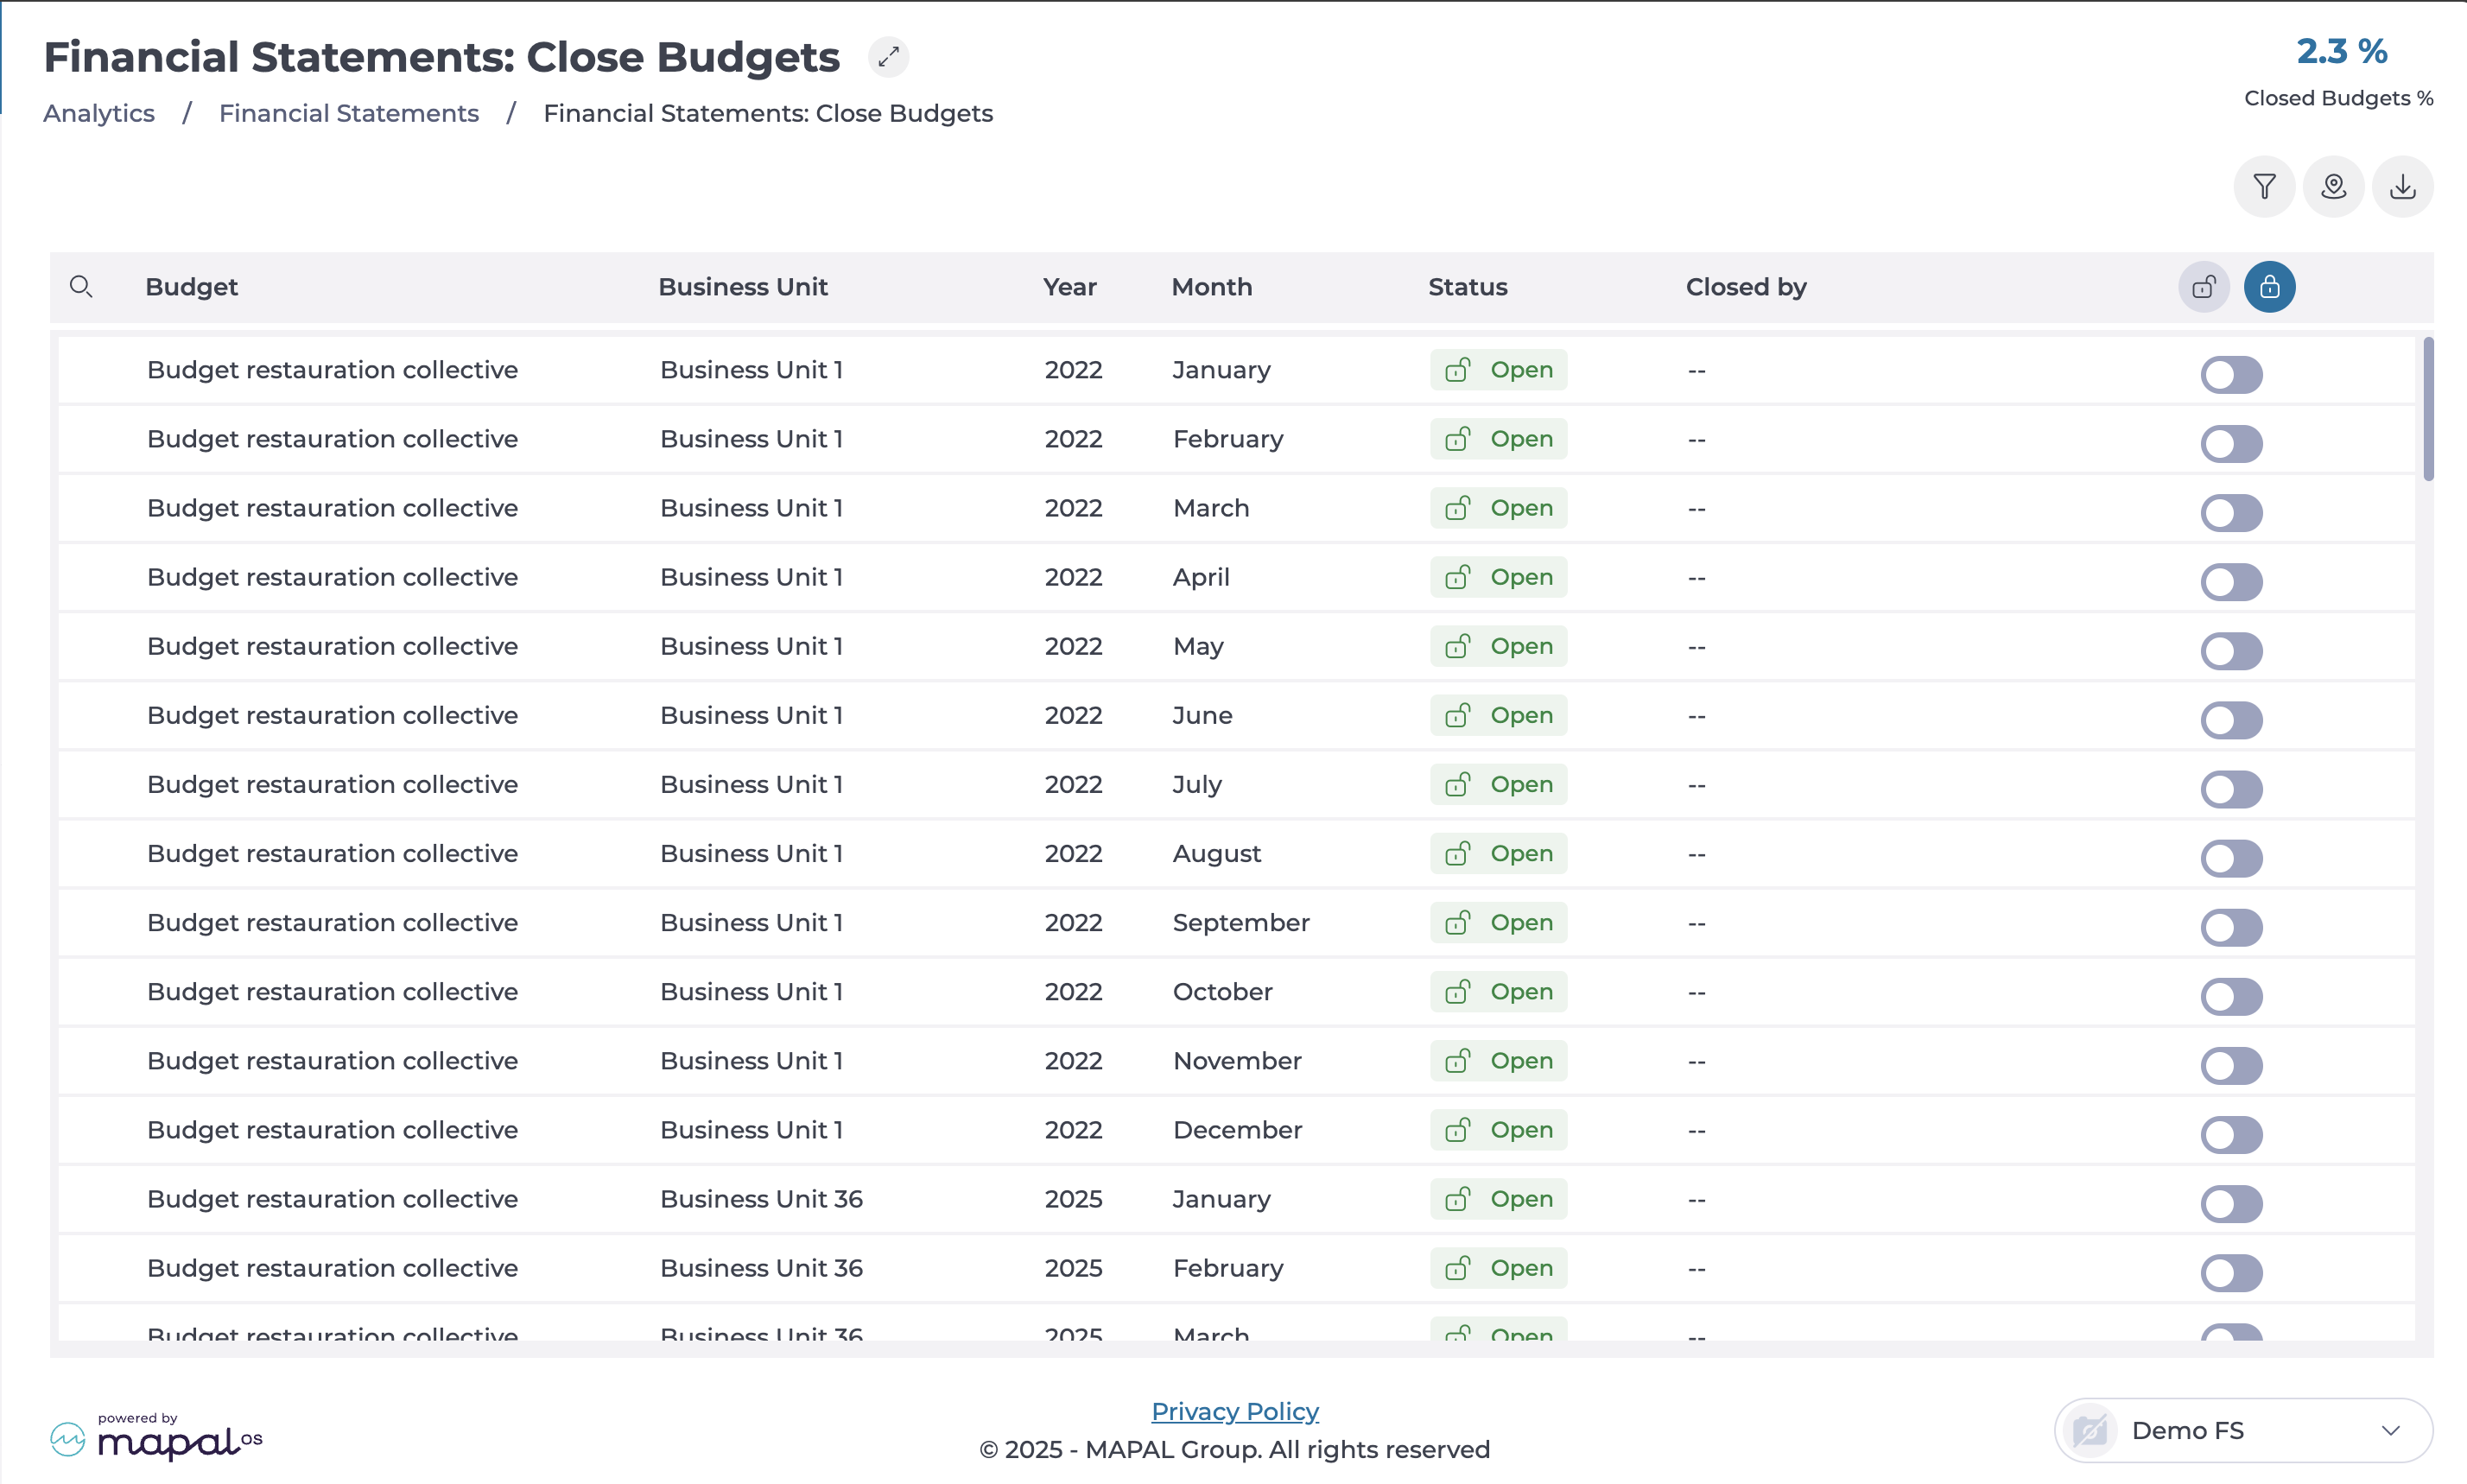
Navigate to Financial Statements > Close budgets.
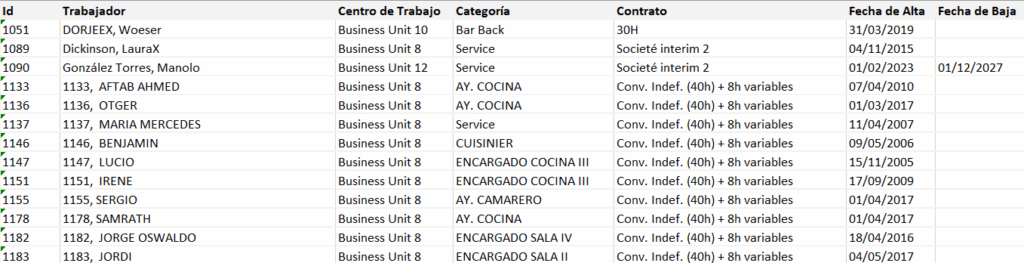
A table will display all registered budgets along with their details. The table consists of the following columns:
Budget: Displays the name and purpose of the budget.
Business Unit: Identifies the associated business unit.
Year: Specifies the year of the budget.
Month: Indicates the applicable month.
Status: Shows whether the budget is Open or Closed.
Closed by: Identifies the user who locked the budget (only visible if closed).
Open or Close Budget: An interactive toggle allows switching the budget status.
Closing a budget
Locate the budget you want to close. You can use the Filter or Filter by Business Unit to narrow down the search.
Select the toggle in the last column to change the status to Closed.
The Closed by column will now display your name and the date of the closure.
Closing multiple budgets at once
Select the Close all button at the top of the table.
All budgets in the list will be locked simultaneously.
Reopening a budget
Select the toggle to open an individual budget.
If necessary, select the Open all button to revert the closure.
The budget(s) will return to an editable state.
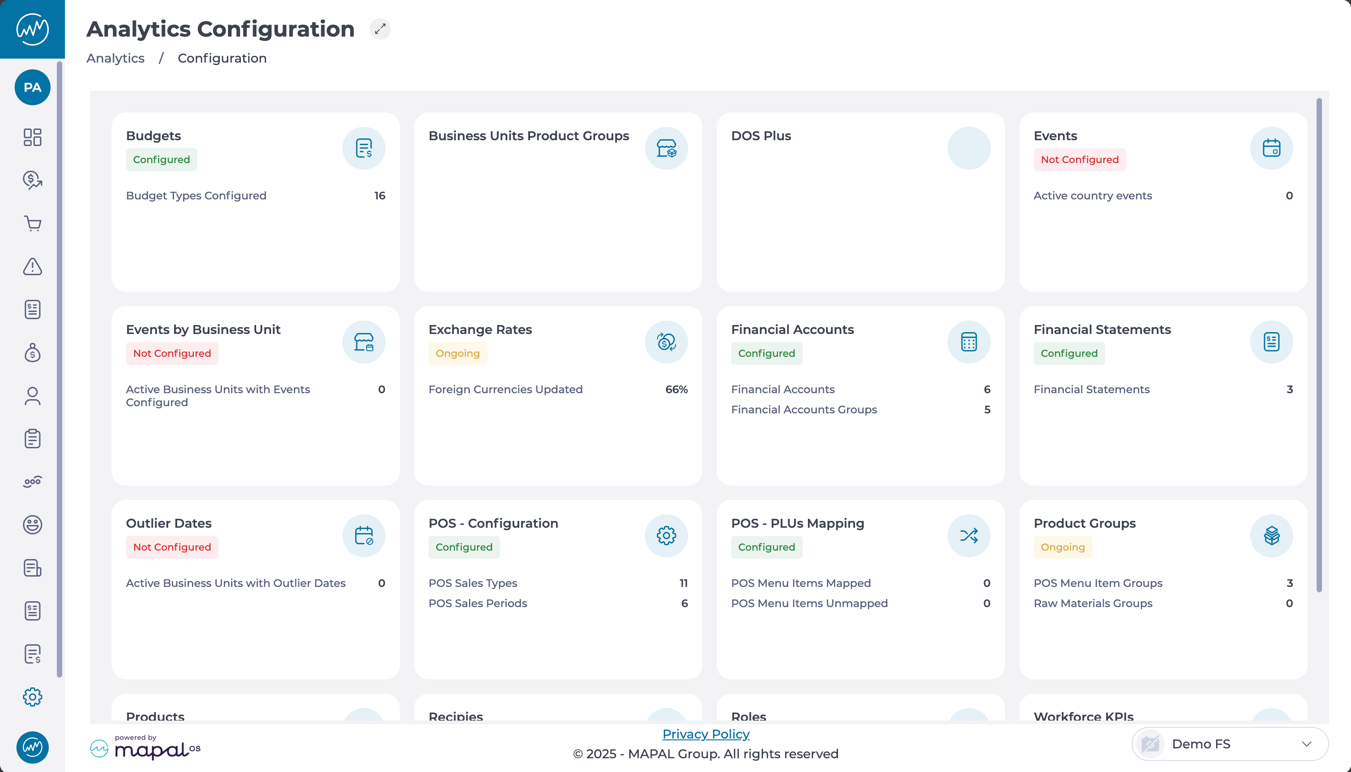
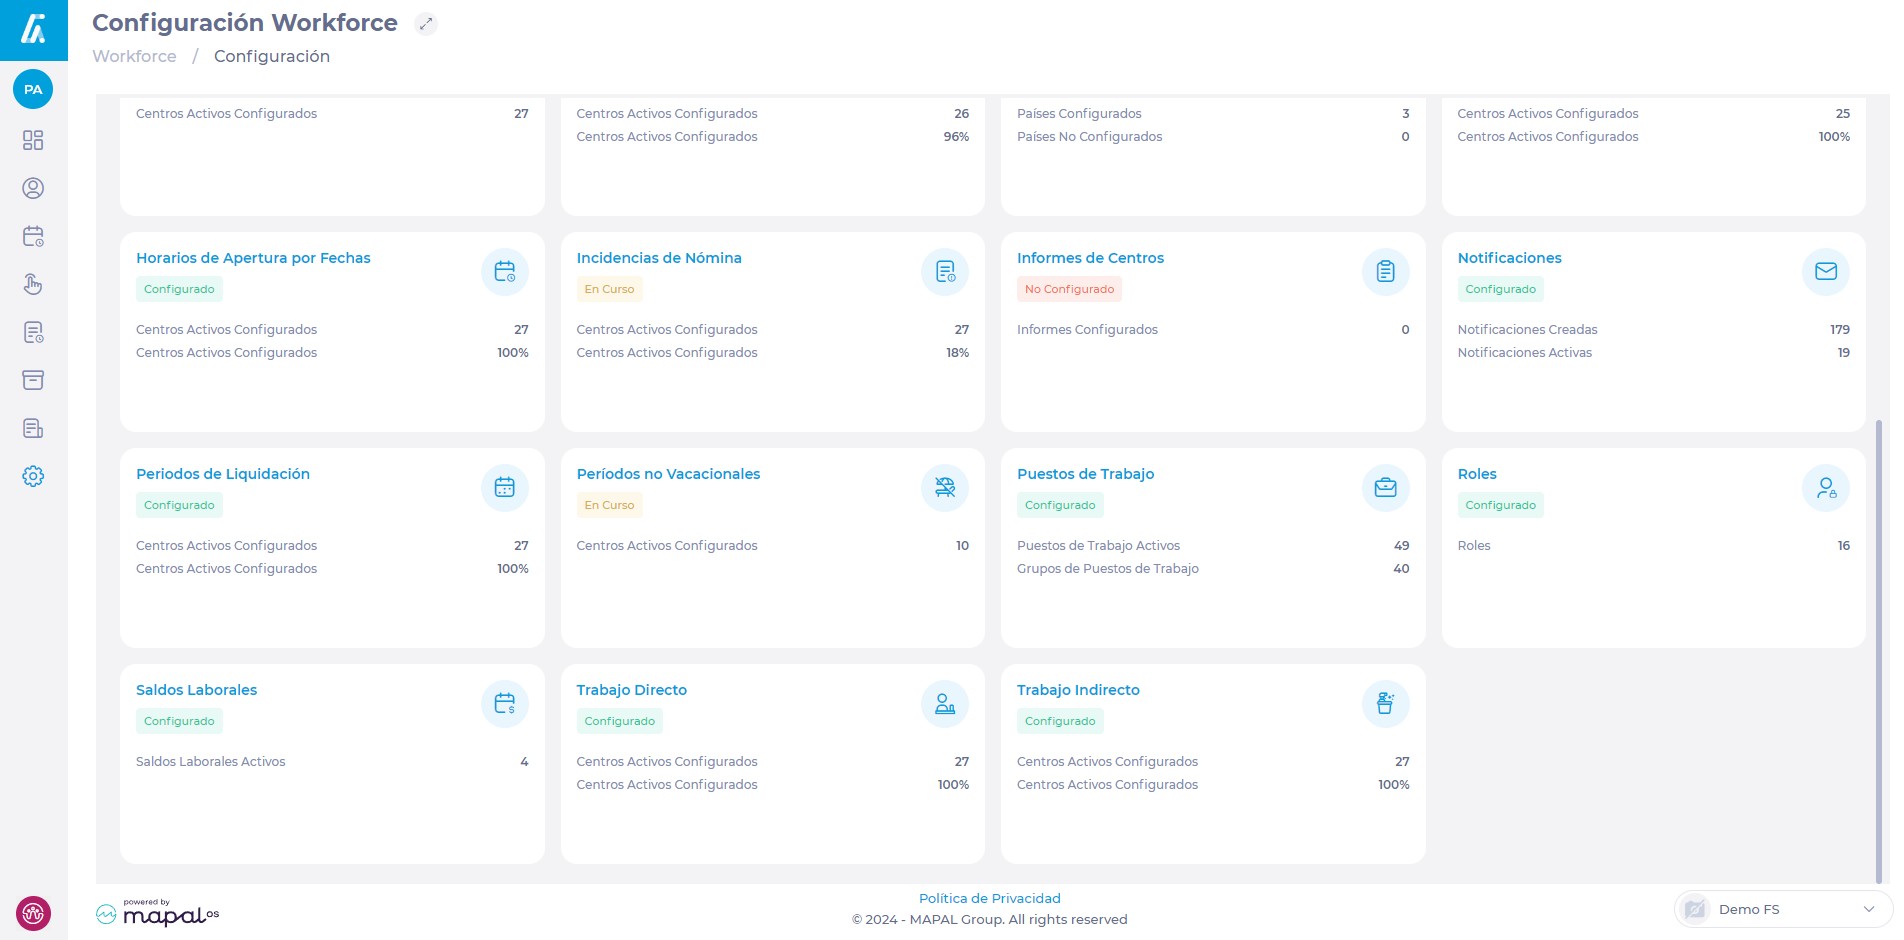
An overview of Mapal OS Configuration
Key features
User profile management: Add, edit, and manage user profiles and their permissions within the system.
Department management: Set up and organise departments to reflect your business structure.
Job title configuration: Create and manage job titles to ensure accurate role assignment and tracking.
Bulk actions: Assign roles and permissions in bulk to save time and reduce manual errors.
Benefits
Streamlined operations: Centralised control of user profiles, permissions, and system settings enhances operational efficiency.
Customisation: Tailor the system to meet specific business needs, ensuring all settings align with organisational requirements.
Improved accuracy: Bulk actions and organised management reduce errors and save time.
Enhanced security: Manage access and permissions effectively to ensure data security and compliance.
Next steps
The Configuration app by Mapal OS is essential for hospitality businesses seeking efficient management and customisation of their system settings. Its comprehensive features ensure a streamlined setup and enhanced operational efficiency.
Understand when a balance has not been posted to an employee
Start from: The Workforce module.
See if balances have been posted to the employee
Workforce provides users with a detailed report of balances by worker and balances by unit, so they can get an overview that allows them to verify if balances are set up and accounted for correctly.
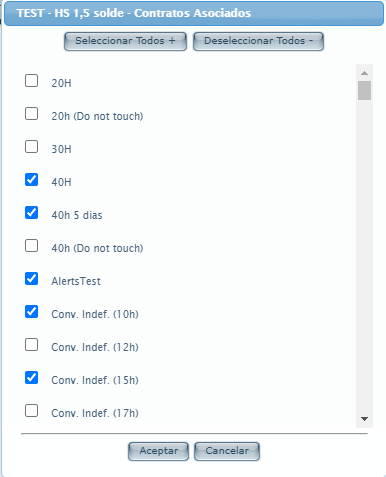
On the Labour Quotas screen, find the balance you want to assign in the Balances dropdown.
Select the Contracts button to see a list of all the contracts created and to which of them the balance is associated.
Select the specific contract of the employee to whom you want to assign the balance.
Select Accept to save the selection OR Cancel to discard it.
Record absenteeism incidents in the Workforce App
Start from: The Workforce App.
Select the Workforce icon on the app screen to display the menu.
Select Absences from the main menu.
Main Absences Screen
The main absences page shows the absence statistics for all the centers to which the user has access.
The counters in the page header show:
The number of employees Working.
The number of absenteeism incidents by type:
Holidays
Sick leaves
Other incidents
Percentages of the total.
By selecting a business unit (in the grid), the details of the absences of the selected business unit will be displayed.
Select the employee's field (the row) to view the details of his or her absence incidents.
By sliding one of the rows to the left, you will discover the different actions available for the absence occurrence:
Edit the incident, including the option to attach documentation from the cell phone.
Eliminate the incident.
Review or de-review the issue.
The floating menu gives access to absence creation, parameters, filter, and grouping by components.
Create an absenteeism record
Navigate to the floating menu on the main Absenteeism page and select Create Absence.
Once the Create Absence component appears, fill in all the fields.
Note: Note that, unlike the PC panel, the Documents tab will be disabled. Users will only be able to add documents to absences already created.
Sick leave will display additional fields to configure:
End date confirmed
Hospitalization
Replacement
Relapse
If the start and end dates are the same, and if the absence can be set for a period of time within a day, a switch will be enabled to define the absence as a partial absence if necessary.
In cases such as these, new fields will be enabled to establish the start and end times of the absence.
To edit an incident, access the employee's issue, swipe left, and select the Pencil icon.
Note: This option will only be displayed if the user has the necessary permissions and the absence is not in review status.
When editing an absence, you can attach files to it by selecting them from the files stored on your mobile device or by taking a picture of the document.
Note: As in the other menus, you can use parameters, filters, and groupings to find the occurrences.
Absenteeism Rules
Absences can be managed with rules to enforce company policies and operational requirements. These rules can be activated during initial setup or by request and are inactive by default.
Rules can be configured to:
Require supporting documents: e.g., Sick Leave or Work Accident may require a medical note.
Set minimum and maximum duration limits: e.g., Marriage Leave maximum 15 days; Vacation minimum 1 day.
Block requests on specific days: e.g., Training cannot be requested on public holidays in the site’s calendar.
Restrict by seniority: e.g., Paid Leave requires 90 days of service.
Prevent consecutive incompatible incidents: e.g., Personal Leave cannot be placed immediately before Vacation.
Restrict by job category: e.g., Union Days only available to representatives.
Limit the number of requests within a period: e.g., Justified Absence limited to 3 per month.
These rules reduce errors, prevent unnecessary back-and-forth, and ensure absence processes match operational needs.
Export employee dashboard information
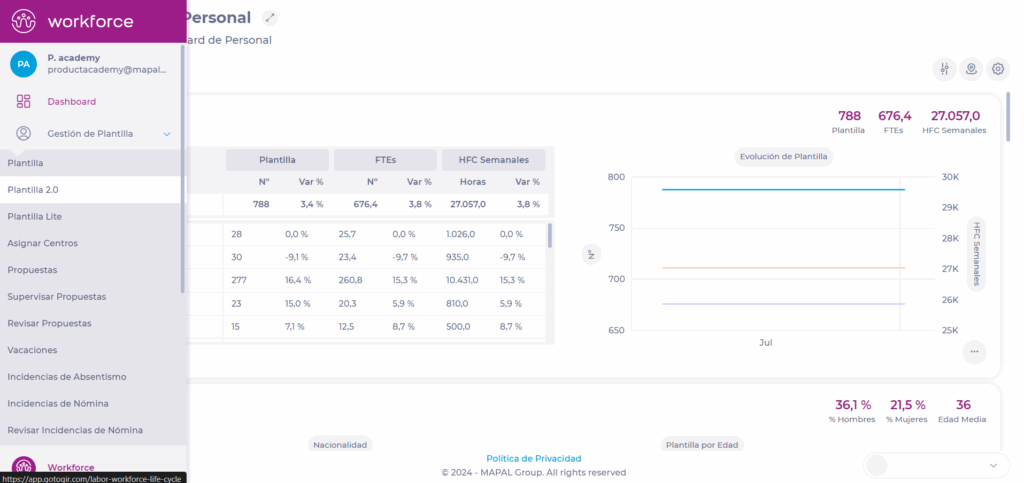
Start from: The Workforce module.
Select Workforce Management > Workforce 2.0 from the main menu.
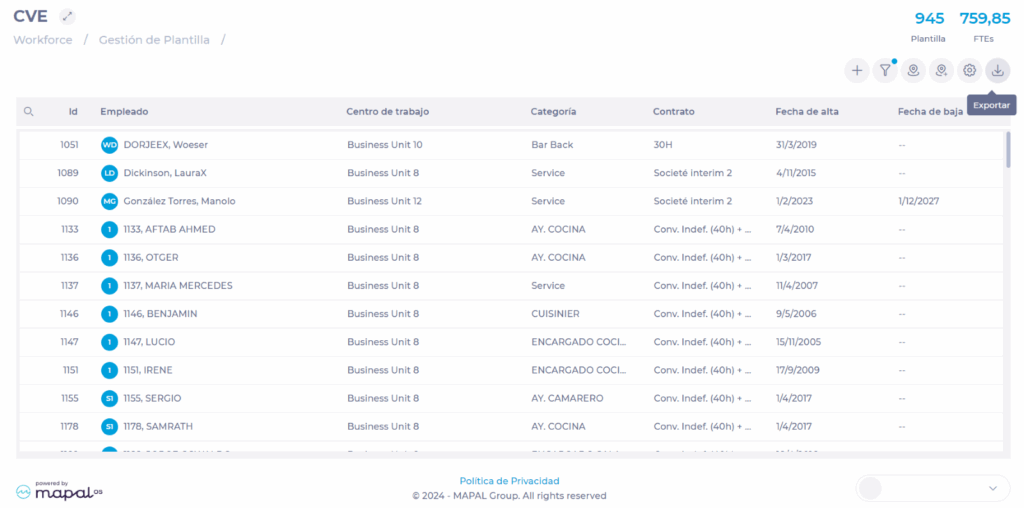
On the Template 2.0 (CVE) screen, select the Export button.
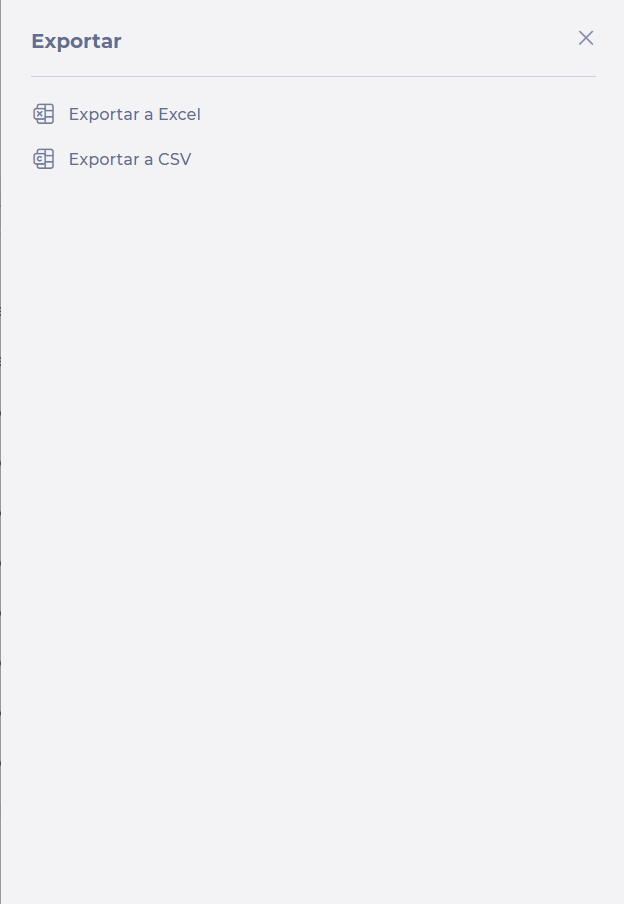
In the Export dropdown window, select your preferred file format. You can choose between Excel (.XLS) or .CSV (comma-separated values).
The report will display the same data as seen on the employee dashboard, but in the chosen format.
An overview of Mapal One
Key features
Home dashboard: Displays required and recommended learning, extra resources, links, and favourites.
Schedule management: Visualise online and in-person training in one calendar with easy filters.
Career tracking: Appraisals, competencies, and workbooks are all in one place for progress tracking.
News updates: Recommend job-specific news and articles to keep employees informed.
Document management: Store noticeboard items, certificates, and downloaded learning resources securely.
Benefits
Increased engagement: Streamlined access to essential resources and news.
Improved efficiency: Centralised management of training schedules and career progress.
Enhanced communication: Effective dissemination of news and updates.
Next steps
Mapal One is an essential tool for hospitality businesses aiming to improve employee engagement and streamline operational tasks. Its comprehensive features ensure that staff are well-informed, trained, and motivated.

 Customise templates