Manage budgets from the Analytics sales tool

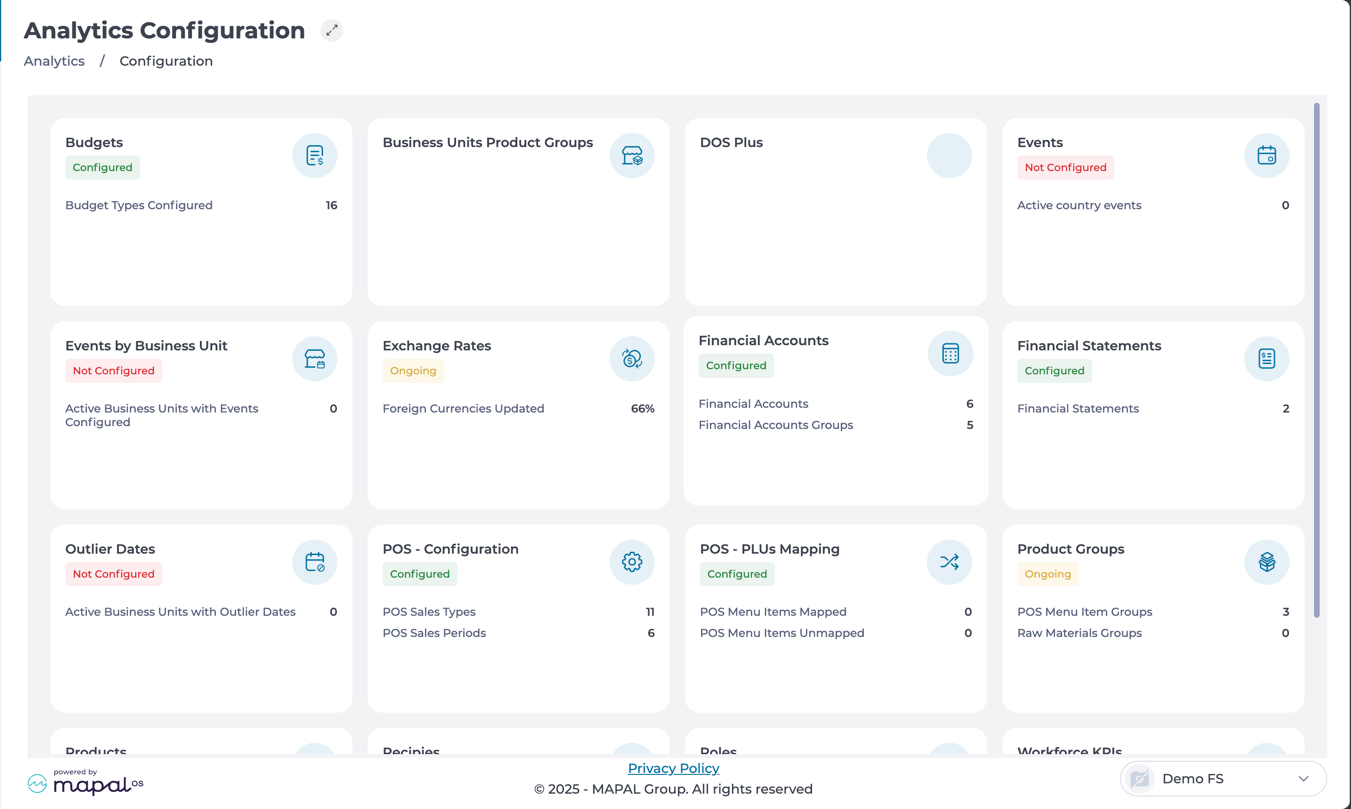
Start from: The Analytics module.  

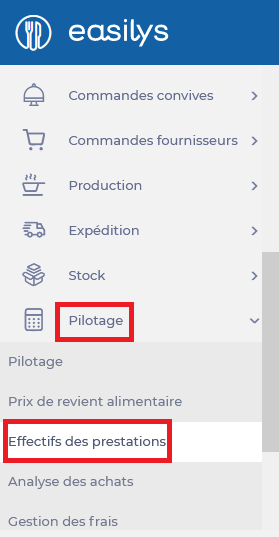
  • Select Sales from the main menu.

  • Configure the Sales screen to display the data you need OR choose an existing Scenario where you use a Budget as a Comparison Scenario.

To learn more about Sales configuration, see Filter and navigate through Sales data.

  • Select from the dropdown the Budget you want to view and manage.

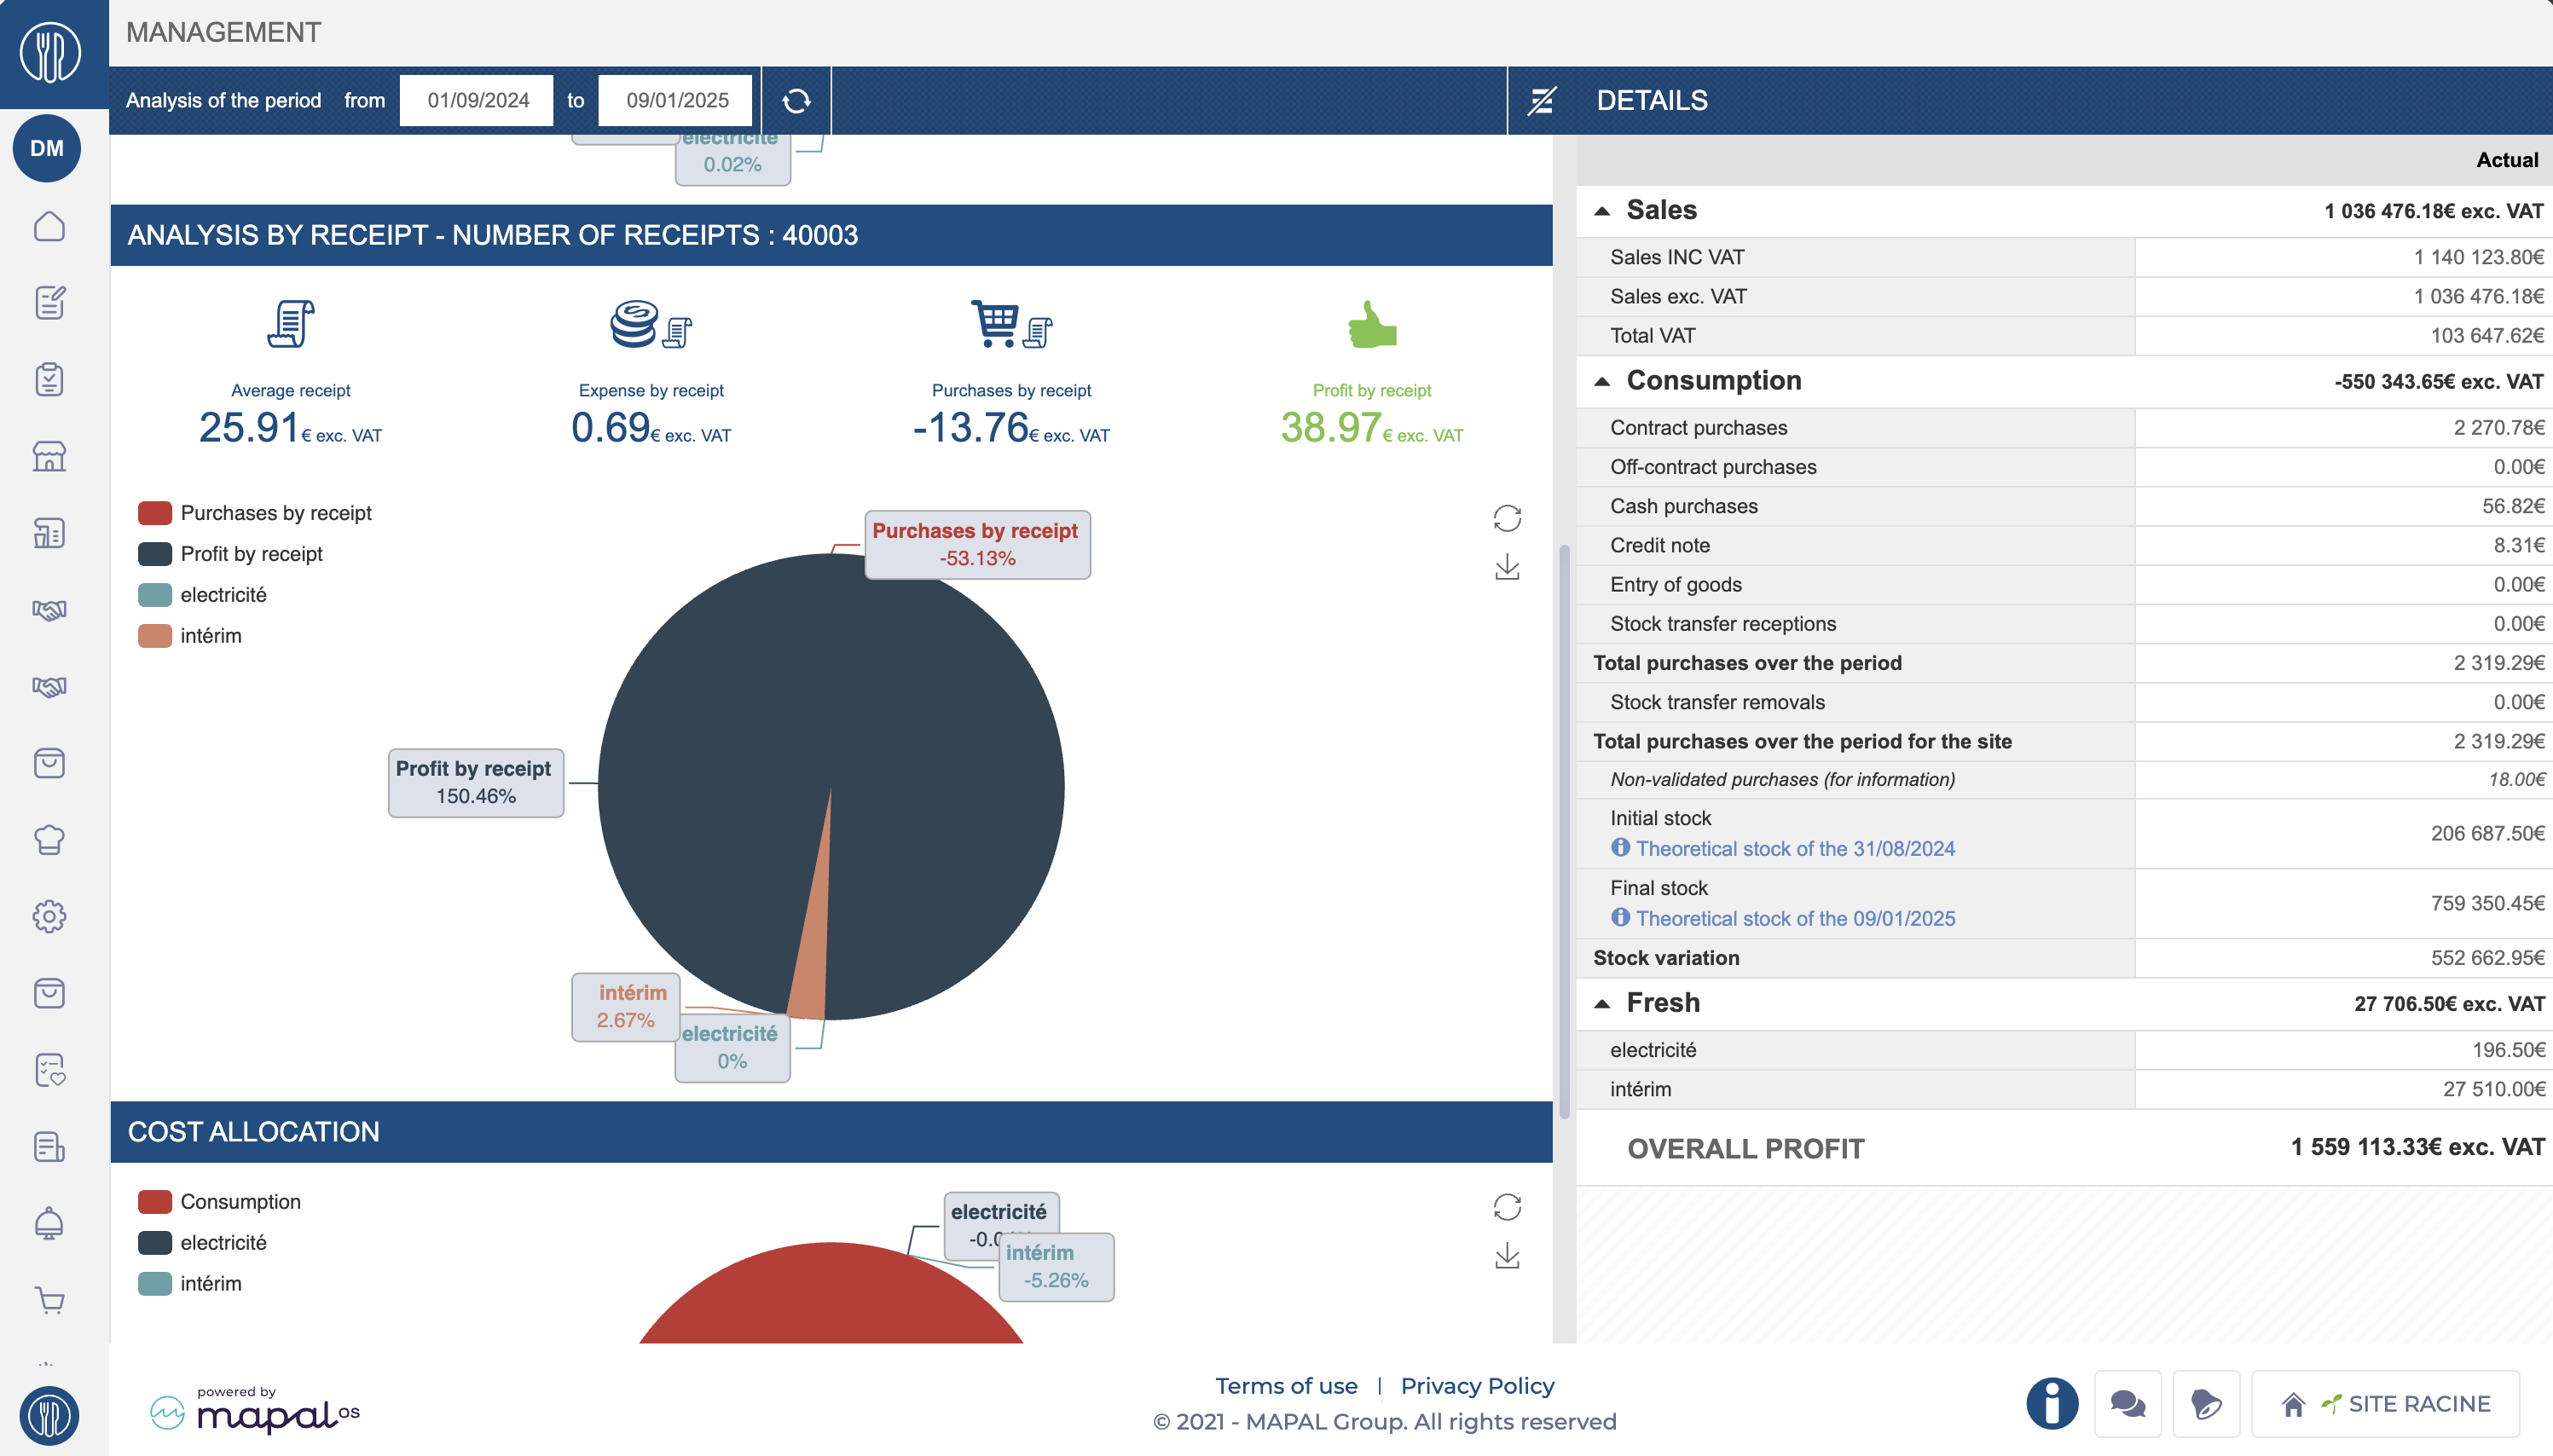
  • Select Accept to see the configuration result on the Sales screen.

  • Select the Budget button.

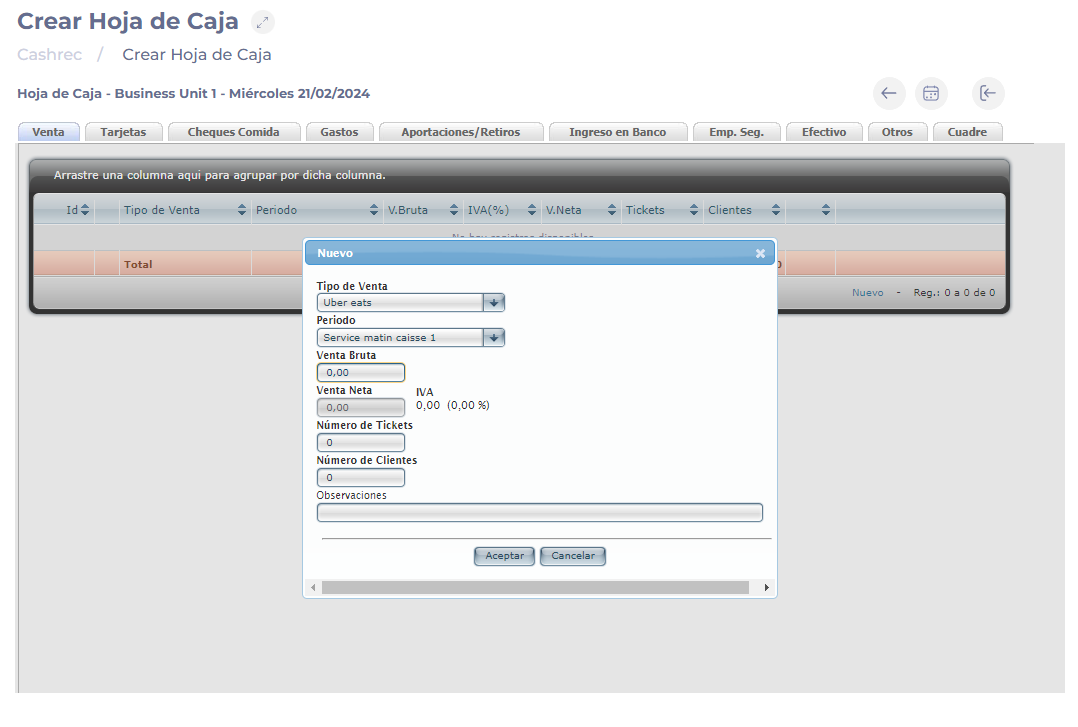
A Sales Budget modal will open where you can manage four blocks:

Budget Scope

In this section, you will set the general budget data.

  • Select the budget to manage from the Budget* dropdown.
  • Select the Data Source for that budget. It can be POS or Cash Sheet.
  • Select the Center* for which you will configure that budget.
  • Set the From* and To* dates that will govern that budget.
  • Select the Sale Types included in that budget. Use the Individual or Group switch to set whether it will be a single group of sale types or several.
  • Select the Sale Periods established for the budget.

Notes: Fields marked with * are mandatory.

Reference Data

In this block, you will set whether the budget will use reference data from another center, date, or source.

  • In Reference Center, select whether you want to use the same center in a previous year or another specific center.
  • Select whether you want to use Historical Data or another Budget as Reference Source.
  • In Reference Date, you can set the specific time range you will use as reference for your budget. It can be the same day of the week in a previous week, same date in a previous year, or a comparable day in a previous year.
  • Depending on the parameter you use in Reference Date, you can select the Previous Year or Previous Week you will use as reference.
  • Select whether you will Use budgeted data as reference for future dates. If you do, then set the Budget for Future Dates.

Projection Method and Assumptions

In this section, you can set how you want to project the budget and whether you want to establish variations to the references you have set.

  • Select the Projection Method to use. It can be Sales, Tickets and Average Ticket, Customers and Average Ticket per Customer, or Trend.
  • In Sales Assumptions, set a Percentage variation, Specific variation or Particular value. You can set a single value for All days or a different one By days of the week.
  • Set a reference parameter for Tickets and Customers. It can be Same growth as in Sales, Same number of Tickets/Customers as in Reference Date, Same growth as Tickets/Customers and Average ticket per customer.

Distribution by Sale Types and Periods

In this block you can set specific budget distributions by periods and sale types.

  • Choose whether you want to make the distribution Based on Reference Data or not.
  • Choose whether you want to Show all Sale Types or not.
  • You can Load a base distribution by choosing a specific date from the reference data.
  • Set the distributions in percentage. In the table, rows correspond to sale types and columns to periods.
  • Keep in mind that the sum of all distributions must equal 100%. You can view this in the Total row.

Once you complete each of the blocks, select Accept to save changes OR Cancel to discard them.

Reject or accept a quote submitted on a work order

Start from: The Easilys menu.

Important to know: If an orange warning triangle is visible on the quote line, it means that the quote amount is higher than the threshold defined on the equipment record. When you hover over the triangle, a message will display the percentage set for this threshold.

Note that you may not be able to "Accept" or "Reject" a quote if you do not have validation rights or if the amount of the quote exceeds the set limit.

If you reject a quote, you can add a comment to explain the reasons for the rejection. Your maintainer can then propose another quote.

The work order will change to status "Awaiting intervention" as soon as a quote is accepted.

Managing additional and/or exceptional costs

Start from: The Easilys menu.

There are two methods for managing additional and/or exceptional production costs.

This is specifically about excluding certain costs from the calculation of the food cost price.

The first method involves using manual stock withdrawals of the additional or exceptional type.
The second involves indicating additional or exceptional service headcounts by specifying the food cost price (PR) associated with the service.

The simplest way is to choose one method to manage all additional costs. The most accurate is the first, that is, management via stock withdrawal movements.

If you choose to use this method, which we recommend if you do not use the stock withdrawal assistance via the "Stock withdrawal" screen*, you will not need to indicate a food cost price in your additional or exceptional services. You can even avoid distinguishing between main and additional or exceptional services.

*This screen provides the list of all withdrawals to be made for the day, which Easilys calculates by consulting the menus. With one click, all your withdrawals are completed.

 1. MANAGEMENT VIA STOCK WITHDRAWALS

The "Stock withdrawal" window appears.

This is the most accurate method to exclude these consumptions from the food cost price.

You can use (from the "Stock movements" view) the "List of additional withdrawals" or "List of exceptional withdrawals" reports to review and verify your withdrawals.

These withdrawals will appear in the calculation of the food cost price visible on the "Food cost price" screen. The costs are excluded, which then gives the net consumption. These costs are therefore excluded from the food cost price.

OR

2. MANAGEMENT VIA SERVICE HEADCOUNTS

Once the day is validated, Easilys can calculate the food cost price by excluding the costs related to the additional service.

Below, Easilys performs this calculation:
2.20 (food cost price) x 25 (headcount for the day) = 55.00 euros (material cost of additional services)

It is entirely possible to use both methods for different cases. However, be careful not to use both methods simultaneously for the same cost as this would double the total costs excluded from the food cost price calculation.

You can therefore make additional stock withdrawals to manage, for example, events such as a farewell party. And also manage costs related to meals offered to exceptional visitors via service headcounts.

The only thing to avoid is making both additional withdrawals and indicating a food cost price on an additional service for the farewell party, as the production costs for this farewell party would be excluded twice in the food cost price calculation.

View the financial management dashboard

Note: Actions on the Easilys platform depend on your user access permissions. If you cannot perform the actions below, it may be due to restrictions on your user profile. Contact the Support team or your administrator for assistance.

Start from: The Easilys menu.

  • Navigate to Management > Management in the Easilys menu.

  • Select the time period you wish to analyze by defining a start and end date.

Key Features

The financial dashboard provides essential insights into restaurant performance:

  • Food Cost Analysis: Analyze specific periods, including metrics such as:

    • Total Revenue: Cumulative sales data for the period.

    • Consumption Breakdown: Includes purchases, stock transfers, credits, and stock variations.

    • Stock Changes: Calculated between two inventories (actual or theoretical).

  • Prime Cost Calculation: Add daily payroll and other expenses to calculate operating results.

Notes: You can calculate prime costs by adding daily payroll and other expenses via the Management > Expense Management screen.

  • Graphical Analysis: View visual graphs of:

    • Margins and consumption relative to revenue.

    • Ticket-level details, including ticket count, average value, costs, purchases, and margins per ticket.

Dashboard Sections

Graphics

  • Sales Ratio: Provides a graphical breakdown of sales ratios:

    • Consumption: Percentage of revenue allocated to consumption.

    • Overall Profit: Profitability percentage for the selected period.

    • Other Costs: Includes payroll and services such as utilities (electricity, water, etc.).

  • Analysis by Receipt: Displays key metrics, such as:

    • Average Receipt: Average revenue per receipt.

    • Expense per Receipt: Operational costs distributed across receipts.

    • Profit per Receipt: Profitability per receipt.

    • Purchases per Receipt: Purchasing costs linked to the receipts.

    • Visualization: Pie charts illustrate the breakdown of profits and expenses for better clarity.

  • Cost Allocation: Offers a detailed breakdown of costs:

    • Consumption Costs: Major expenses like food costs.

    • Additional Costs: Covers labor (e.g., interim staff) and utilities (e.g., electricity).

    • This helps identify areas where costs exceed expectations.

Details Panel

The details panel complements the graphics with an itemized breakdown:

  • Sales: Breaks down sales data, including totals with and without VAT.

  • Consumption: Includes total purchases, stock variations, and credits for the selected period.

  • Costs: Highlights specific operational and fixed costs contributing to overall expenses.

  • Overall Profit: Shows the total profitability for the analyzed period.

Configure your financial accounts

Start from: The Analytics dashboard.

  • Navigate to Configuration > Financial accounts.


Creating a financial account

  • Select New at the bottom of the grid to create a new financial account.

  • Enter the account Code to uniquely identify the account.

  • Select the corresponding Category from the dropdown menu.

  • Define the account Type, if applicable.

  • Customize the account Name in different languages if required.

  • Select Accept to save the new financial account.


Locate a financial account

  • By using the tools at the top of the grid, you can locate an account to edit or remove it:

    • The Language dropdown allows you to search for names in a particular language.

    • The Type dropdown allows you to narrow down the search by Accounts or Groups.

    • You can also use the Search in the table function to find a specific name on the grid.

Edit a financial account

  • Once you locate the desired account, select Edit next to the account.

  • Modify the necessary fields, such as the Code, Category, Type, or Name.

  • Select Accept to apply and save the changes.

Deleting a financial account

  • Once you locate the desired account, select Delete.

  • Confirm the action in the popup window.

  • The account is now removed from the list.

Create a new record in cash sheets

Start from: The Cashrec module.

  • Select Create Cashrec from the main menu.

In the Create Cashrec screen you will find that cash sheets are opened automatically every day, so there is no need to create them. To create and edit cash sheets, select the date.

Tabla<br><br>Descripción generada automáticamente
Inside the Cash Sheet you will find:

Sales

  • Select New.

  • Select the Sale Type and Period.

  • Indicate the Gross Sales for the day and the number of Tickets (if the traffic selected in the configuration was tickets and not customers). You can write any comments.

  • Once you have done this, select Accept.

Interfaz de usuario gráfica, Aplicación, Word<br><br>Descripción generada automáticamente
Notes: In case you have more than one type of sale, do the same steps again.

Bank Cards

  • Select New.
  • A box will open in which you will select the type of Bank Card and indicate the Amount.
  • Make any comments you wish.
  • Select Accept to register every card you want.


Notes: In case there are more than one type of card, do the same steps again to register a new one.

Food Vouchers

  • Select New.
  • Select the type of Food Vouchers and any observations you wish.
  • Indicate the Quantity of checks and their Unit Value, the + button will add new rows.
  • Once all the checks have been indicated, select Accept.


Notes: In case there are vouchers of more than one type, perform the same steps again.

Expenses

  • Select New.
  • Select the Concept and Type of expense.
  • Set the receipt number and date.
  • Set the Vendor, Details, and VAT Rate (%).
  • Indicate the Total Amount.
  • Select Accept to save.


Notes: In case there are more expenses, go through the above steps again.

Contributions/Withdrawals

  • Select New.
  • Select the Type (Contribution or Withdrawal), Concept, and indicate the Total Amount. Write down any details if necessary.
  • Select Accept.


Notes: In case there are more than one contribution or withdrawal, go through the same steps again.

Bank Deposits

  • Select New.

  • Select the Bank Account.

  • Set the Date/Time of Entry.

  • Indicate the Amount Deposited and the Business Day to which the income belongs. You can write any comments if necessary.

  • Select Accept to save.

Interfaz de usuario gráfica, Aplicación<br><br>Descripción generada automáticamente
Notes: In case more than one entry is made, go through the same steps again.

Security Company (Sec. Co)

Same as Bank Revenues, except that it is picked up by a Security Company. It must be previously configured in Vendors and then assigned to the Center in Cash Sheets by Center.

Cash

  • Select New.
  • Indicate the Location.
  • Specify the total amount of cash in the cashbox and a description if necessary.
  • Select Accept to save.

You can also do it with New with calculator, where coins and bills will appear and you will be able to enter the amounts.


Notes: If more than one box exists, perform the same steps again.

Others

In this tab, you will see the personnel's clock in records and you will be able to define the weather for that day in the drop-down menu.

Balance

Summary of the records that have been made. Highlights:

  • Initial Cash: Total cash from start, before the cash sheet was made.
  • Theoretical Cash: Total cash that should be held according to the allocation you have filled in on the cash sheet. This is the sum of initial cash, sales (including VAT), and contributions less the amount of bank cards, food vouchers, expenses, withdrawals, bank deposits, and deliveries to security companies.
  • Actual Cash: Total cash that you have indicated in the Cash tab of the Cash sheet.
  • Cashrec reconciled: Difference between Actual Cash and Theoretical Cash. If the actual is higher than the theoretical, there will be an excess, otherwise, there will be a shortfall.

Set Cost of Labour

Start from: The Workforce module.

  • Navigate to Configuration > Costs of Labour.

  • Select the By Date or By Unit tab to display the personnel costs according to your preference.

You will have two ways to establish personnel costs: One by one, or by importing an Excel template.

One by one

  • In the By Date tab, you will find different fields to fill in to complete the configuration.

    • Date: Sets the start date for the cost change of this category.

    • Category: Select the specific category to be configured.

    • Salary: Sets the net hourly wage for this category.

    • Social C.: Sets the social costs per hour for this category.

    • Variable: Sets the cost of variable hours for this category.

    • Excess Cost: Sets the cost of excess hours for this category.

    • Nightwork surcharge: Establishes the additional cost per hour for this category.

    • Holiday surcharges: Establishes the additional cost for holidays that each hour would have for this category.

    • Effective Hour: Sets the cost of the effective hour for this category.

    • Effective Fixed Hour: Establishes the cost of the effective fixed hour for this category.

    • Bonus %: Sets the bonus percentage for this category, if any.

  • Once the fields have been completed, select the work center(s) (Business Unit) to which you are going to apply the configuration.

  • Select Apply to save the new cost per category OR Delete to discard the changes.

Interfaz de usuario gráfica, Aplicación<br><br>Descripción generada automáticamente

Importing the Excel template

  • In the By Date or By Unit tab, select the Excel icon to download the import template.

Interfaz de usuario gráfica, Aplicación, Tabla<br><br>Descripción generada automáticamente

  • The import template displays a series of fields to be filled in:

    • Unit ID: fill in the field with the center code.

    • ID Category: fill the field with the category code.

    • Date: Sets the start date for the cost change of this category.

    • Salary: Sets the net hourly wage for this category.

    • Social C.: Sets the social costs per hour for this category.

    • Variable: Sets the cost of variable hours for this category.

    • Excess Cost: Sets the cost of excess hours for this category.

    • Nightwork surcharge: Establishes the additional cost per hour for this category.

    • Holiday surcharges: Establishes the additional cost for holidays that each hour would have for this category.

    • Effective Hour: Sets the cost of the effective hour for this category.

    • Effective Fixed Hour: Establishes the cost of the effective fixed hour for this category.

    • Bonus %: Sets the bonus percentage for this category, if any.

  • Once the fields are completed, save the file in .XLS format.


Notes: Load the file with alphanumeric values only. The use of formulas may generate errors in the configuration. 

  • Back in the Cost of Labour screen, select the Import button.

Interfaz de usuario gráfica<br><br>Descripción generada automáticamente

  • Select the file you have saved on your computer.

  • Select Import to load the file OR Cancel to discard it.

Interfaz de usuario gráfica, Texto, Aplicación<br><br>Descripción generada automáticamente