Revise indirect work within the shift
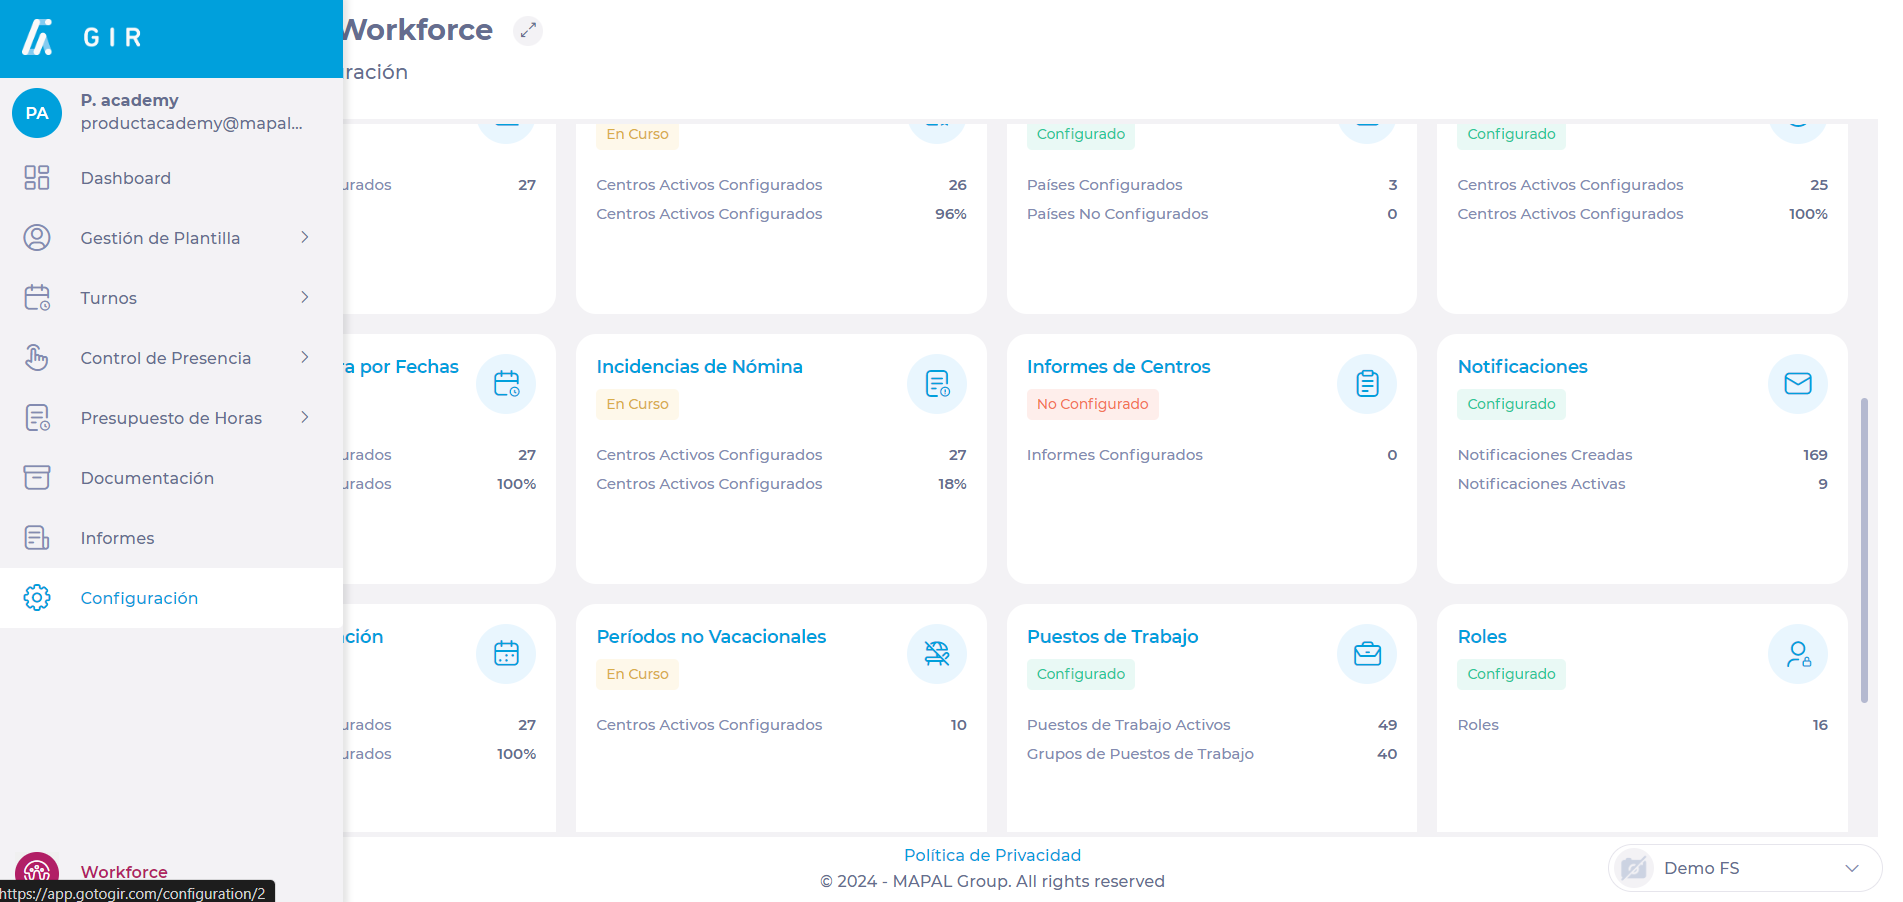
Start from: The Workforce module.
-
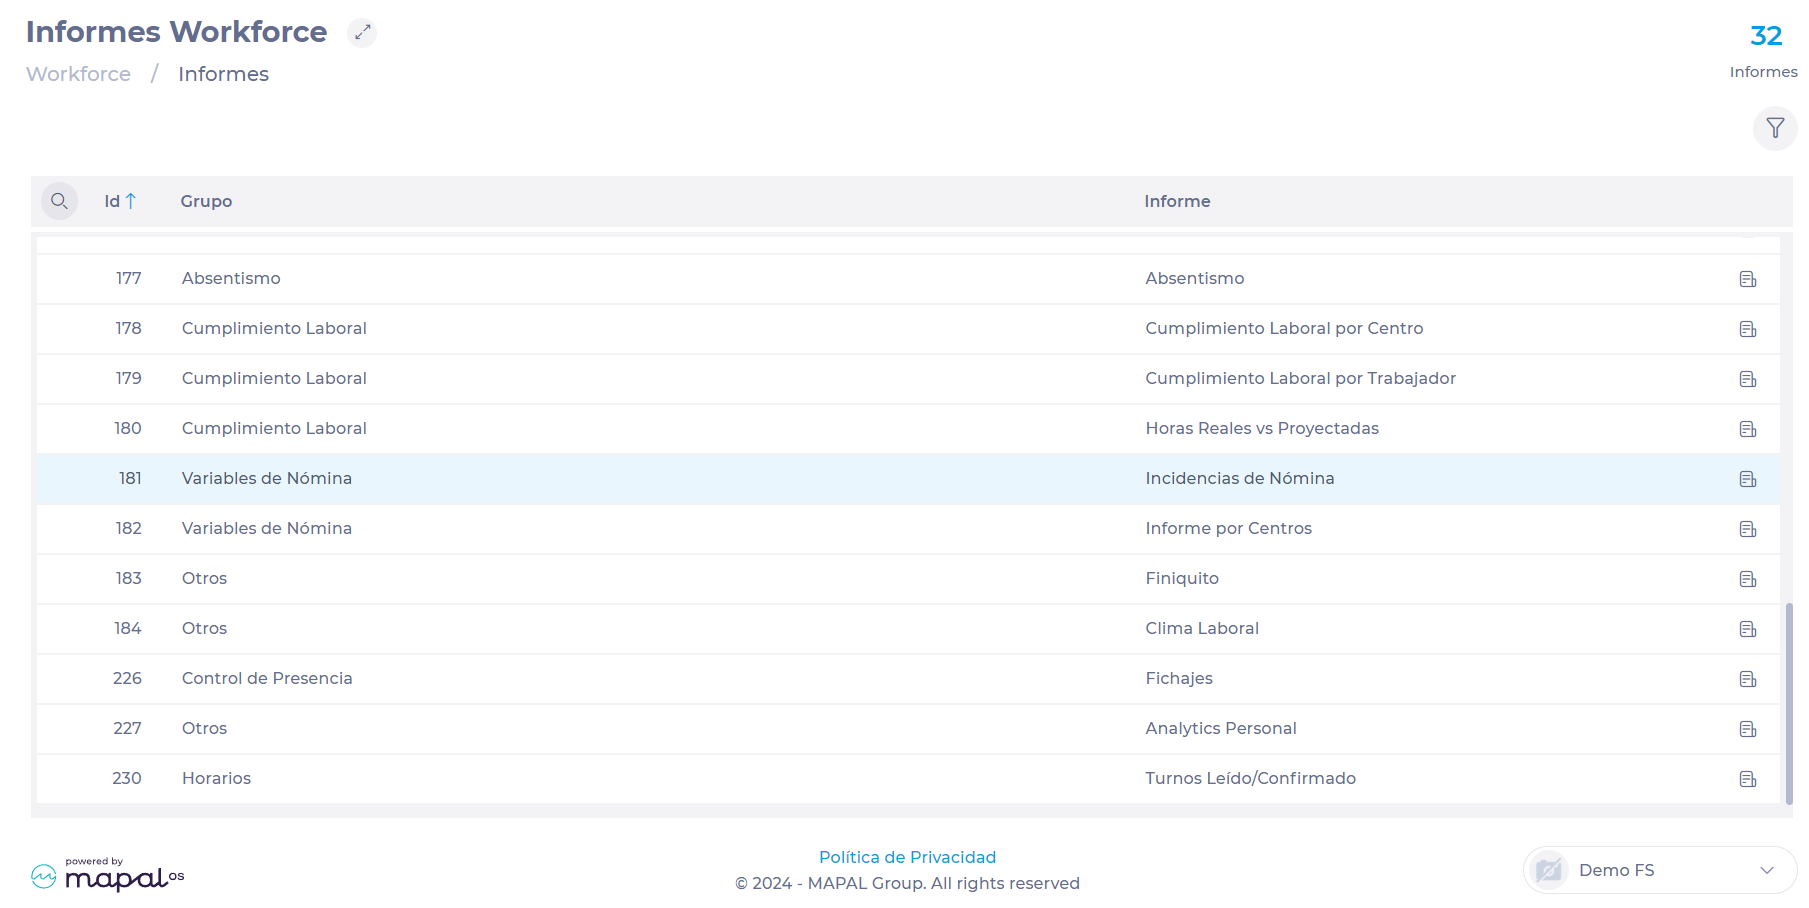
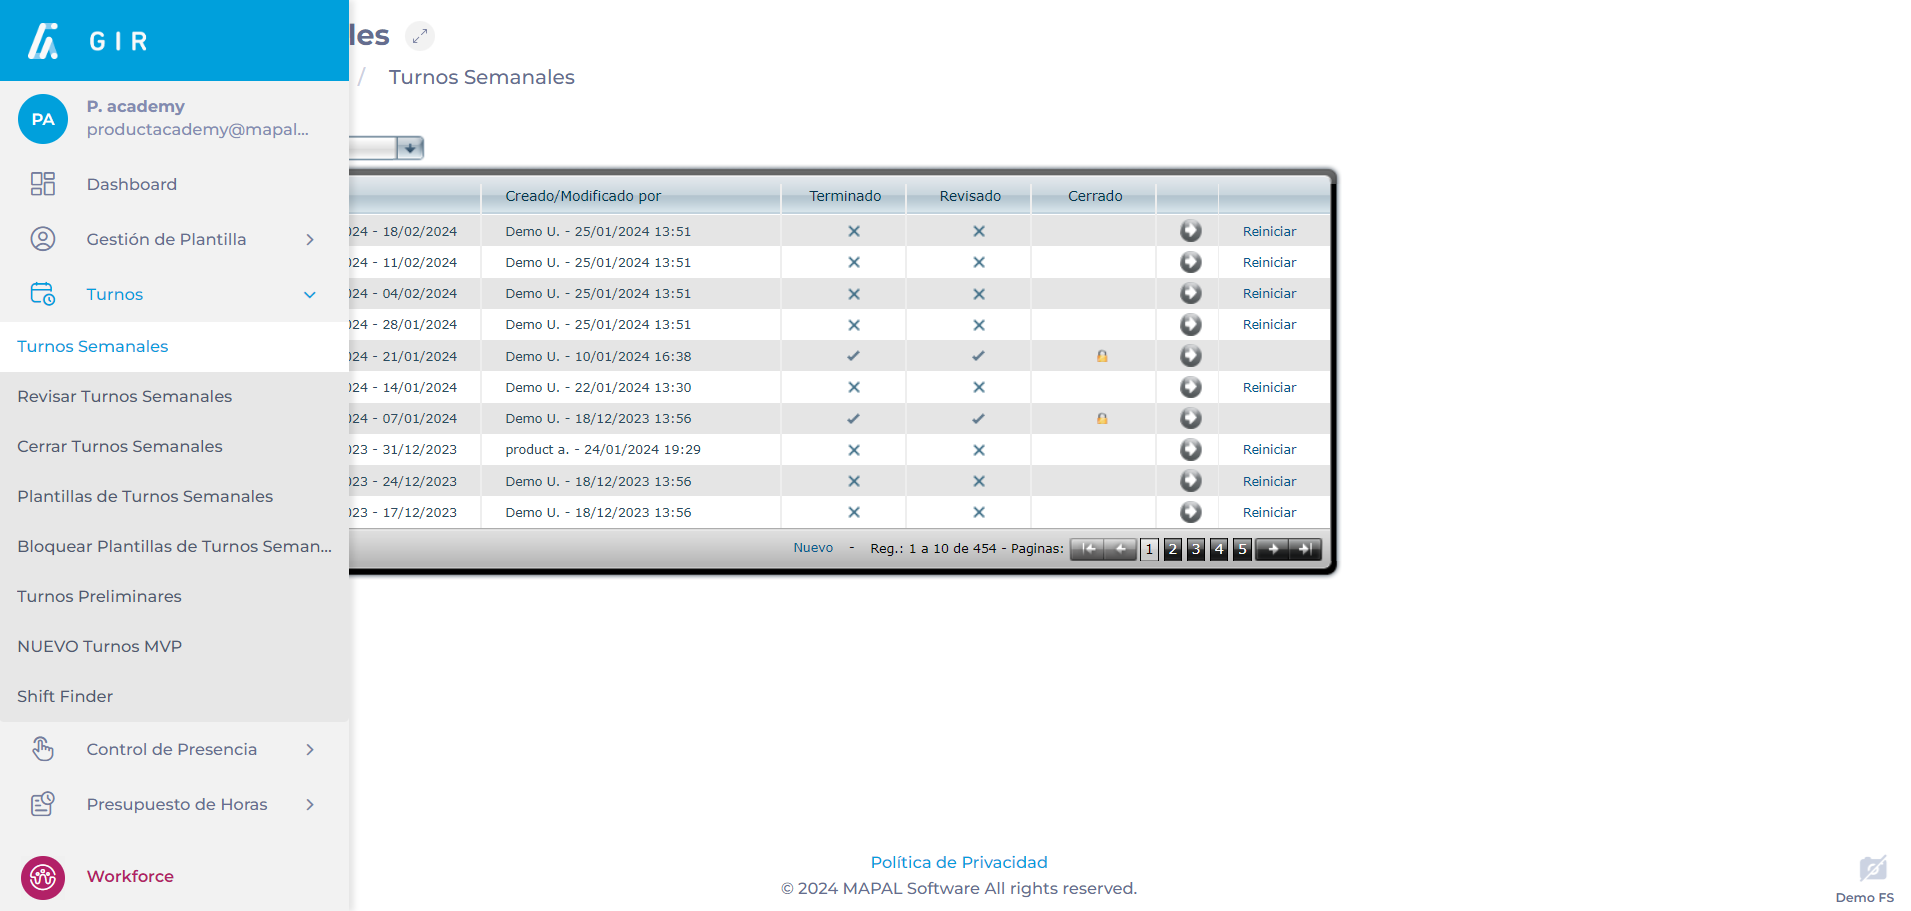
Select Scheduling > Weekly ROTAs from the main menu.
-
Select the Work Center where you want to review the indirect labor.
-
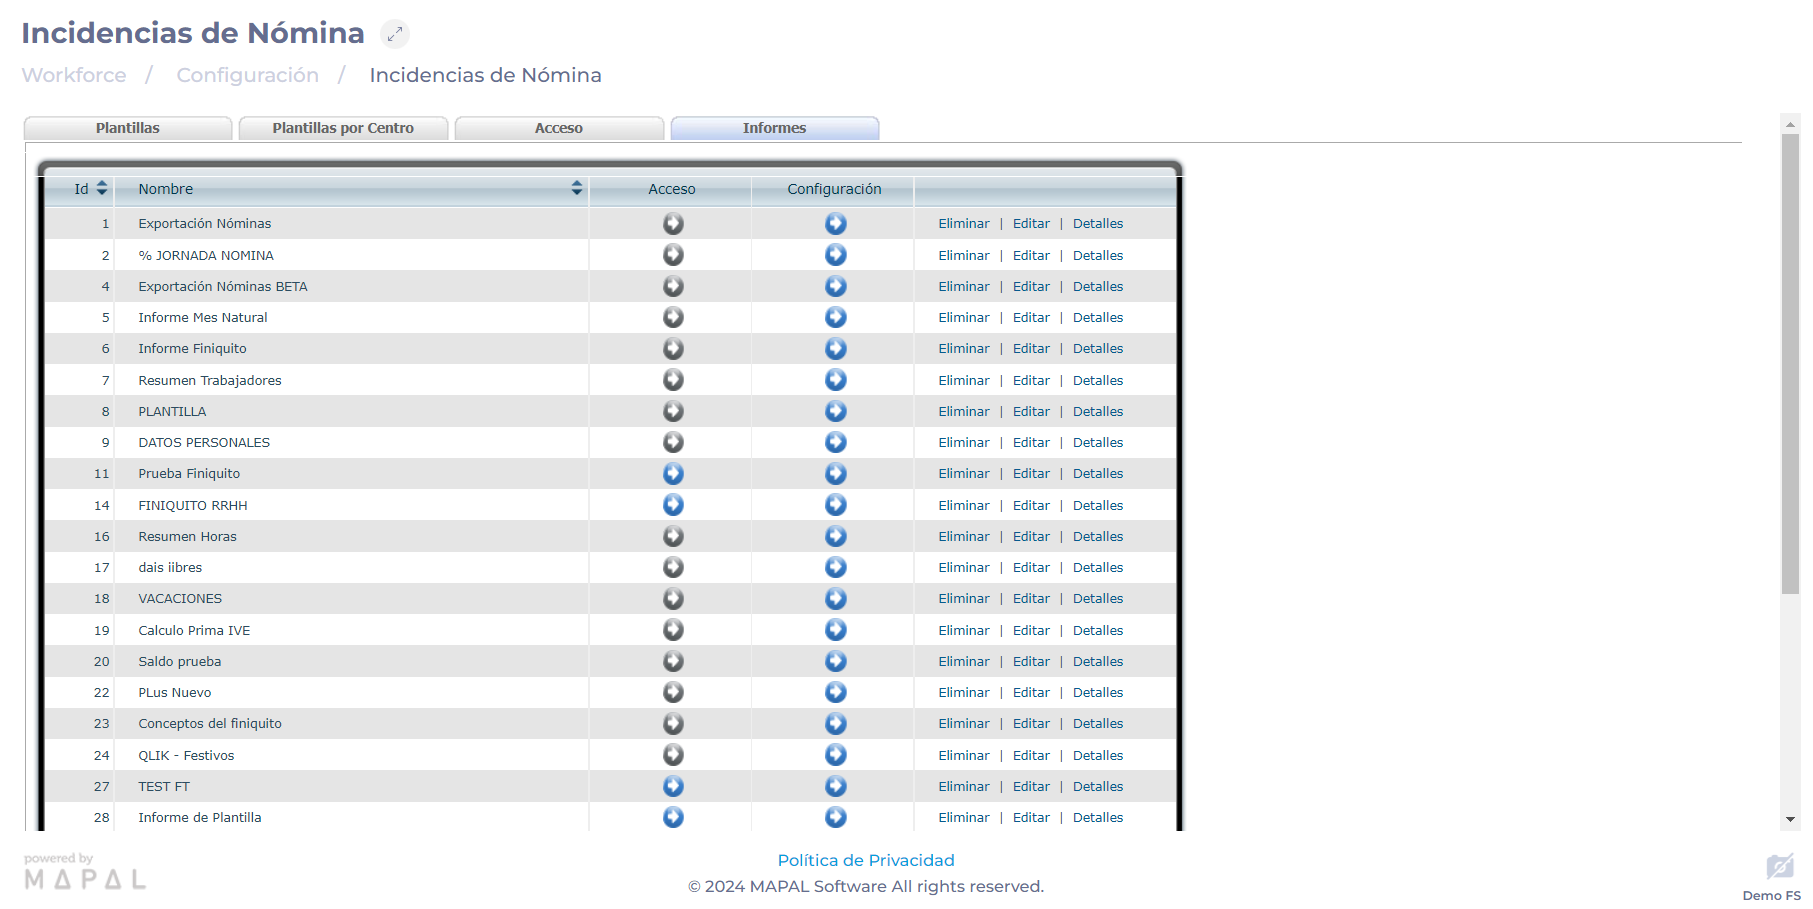
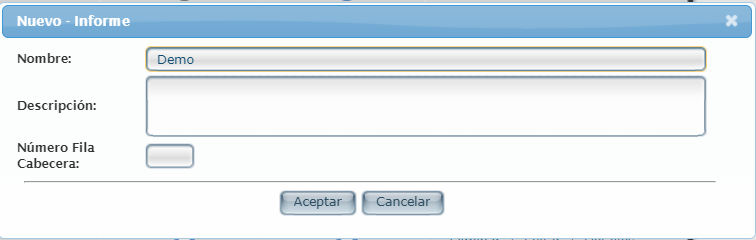
Select New to create a new weekly shift or configure a weekly shift that has already been created by selecting the Arrow icon.
Notes: If the icon is blue, it means that there is already data saved in that week.
-
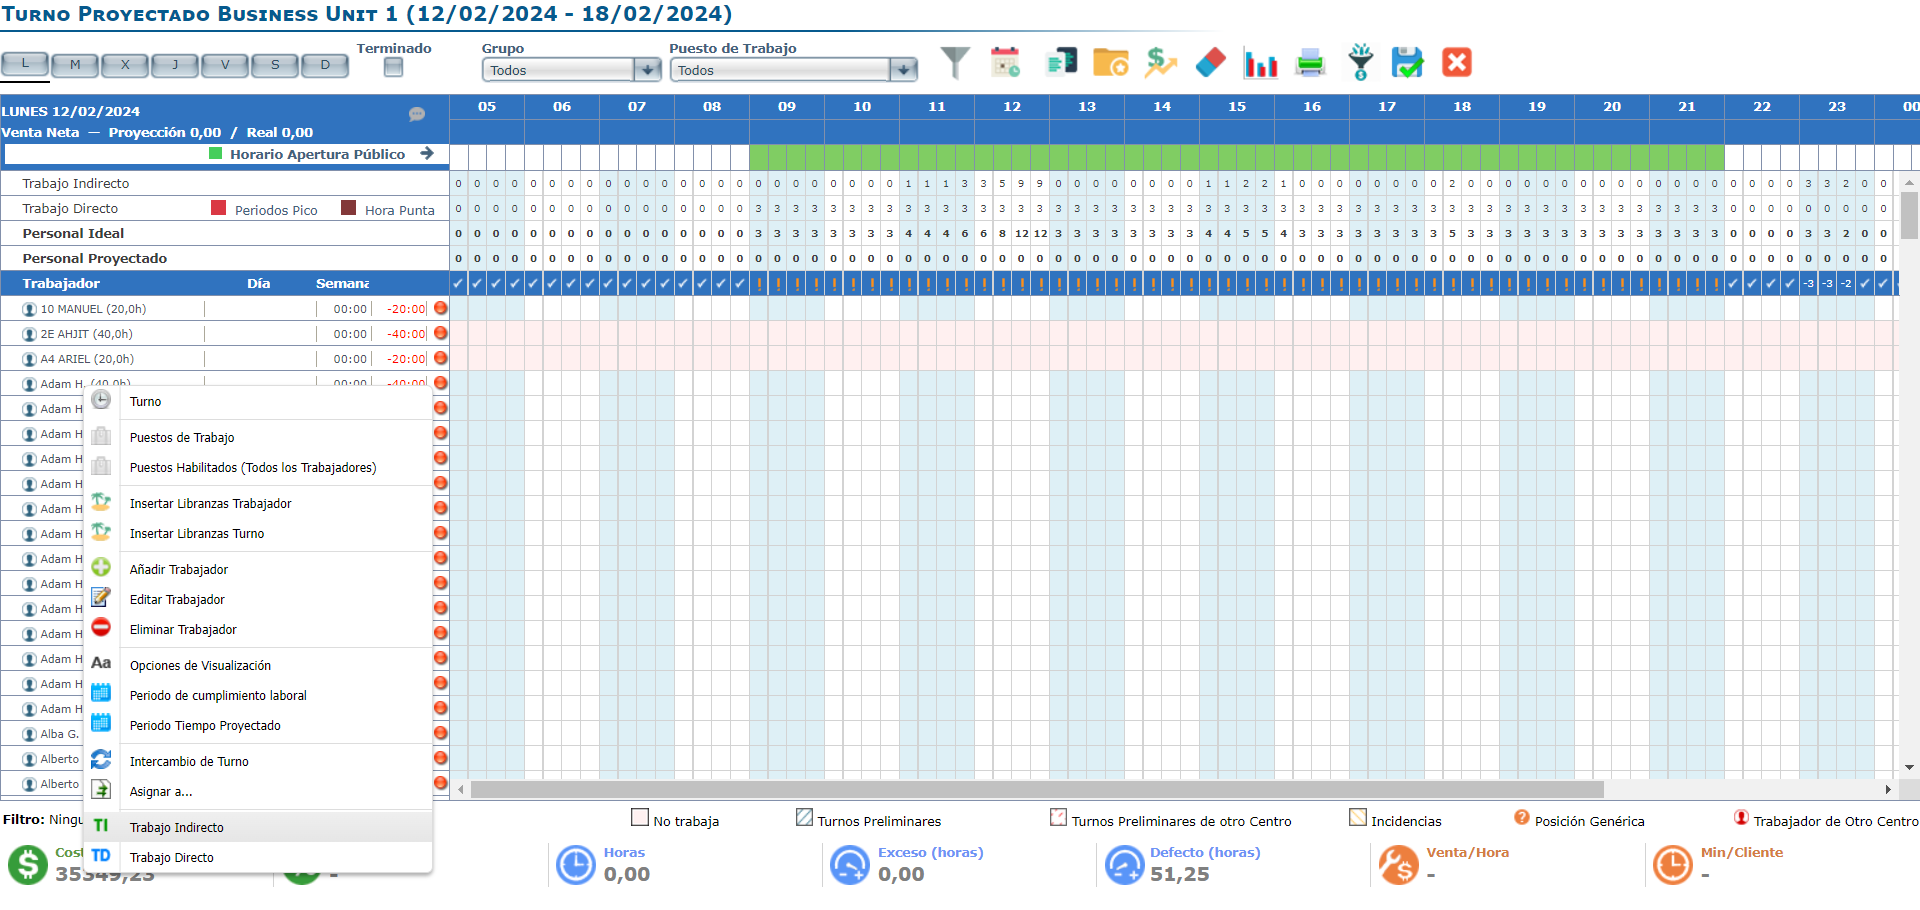
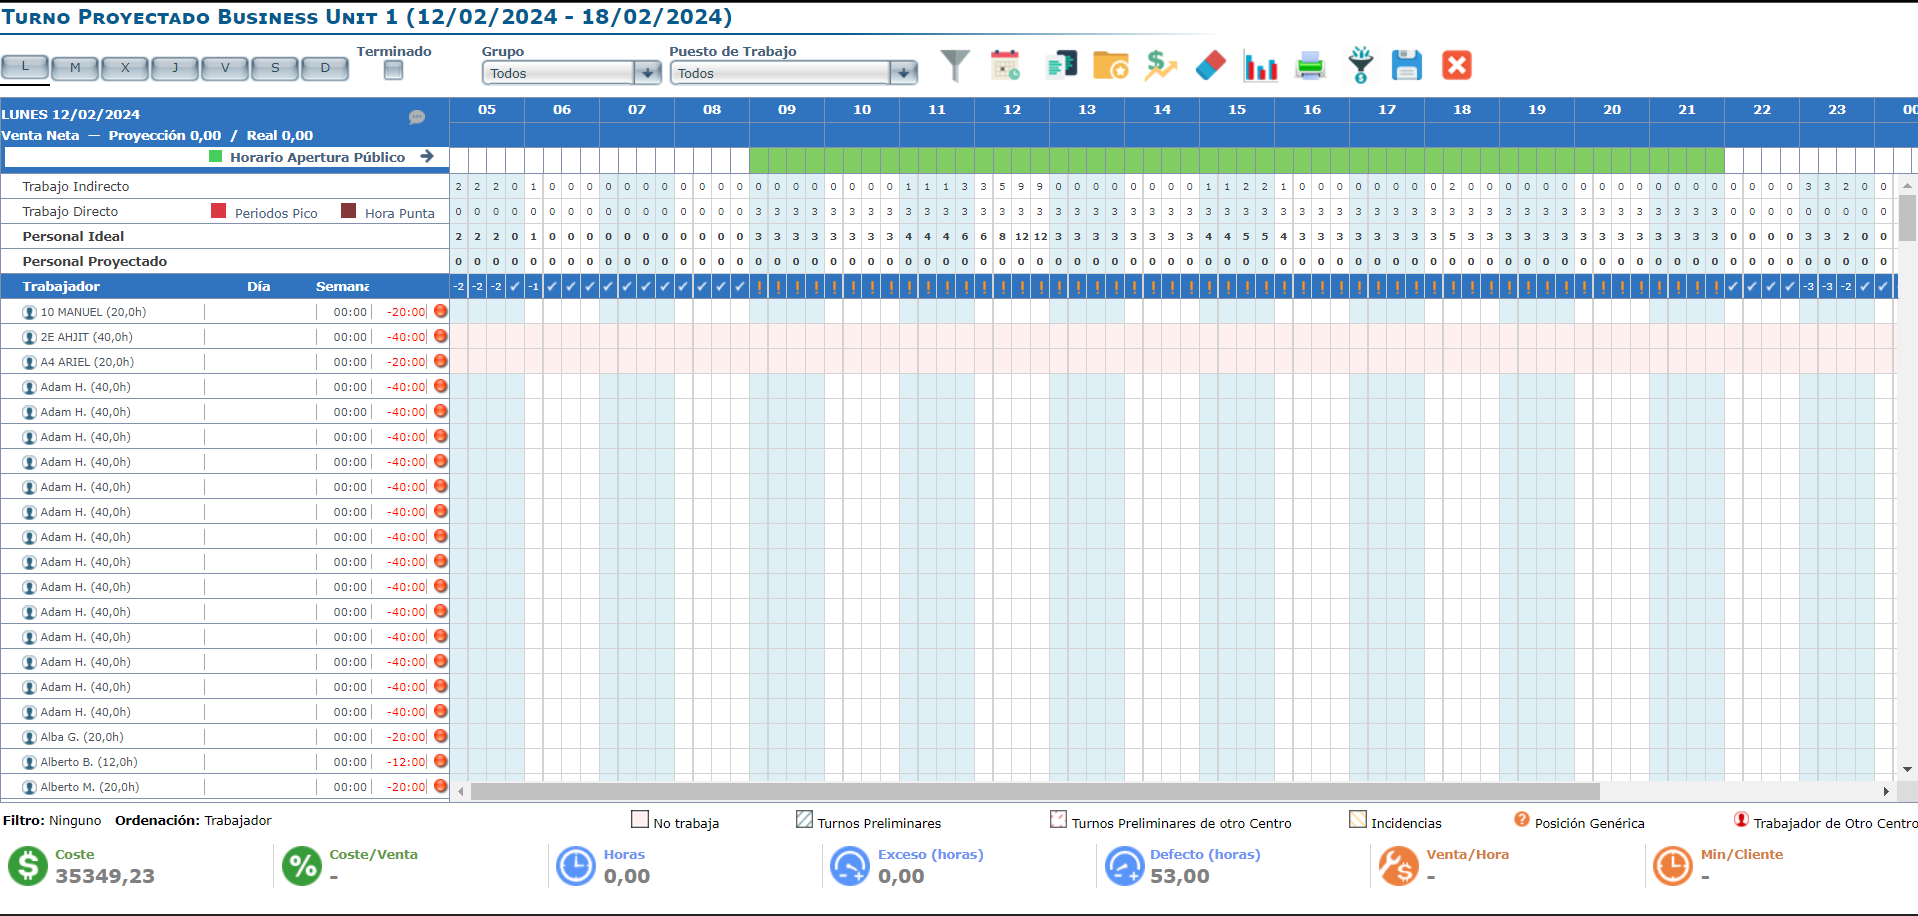
Once on the Projected Shift screen, locate the Indirect Labor row in the Net Sales panel.
-
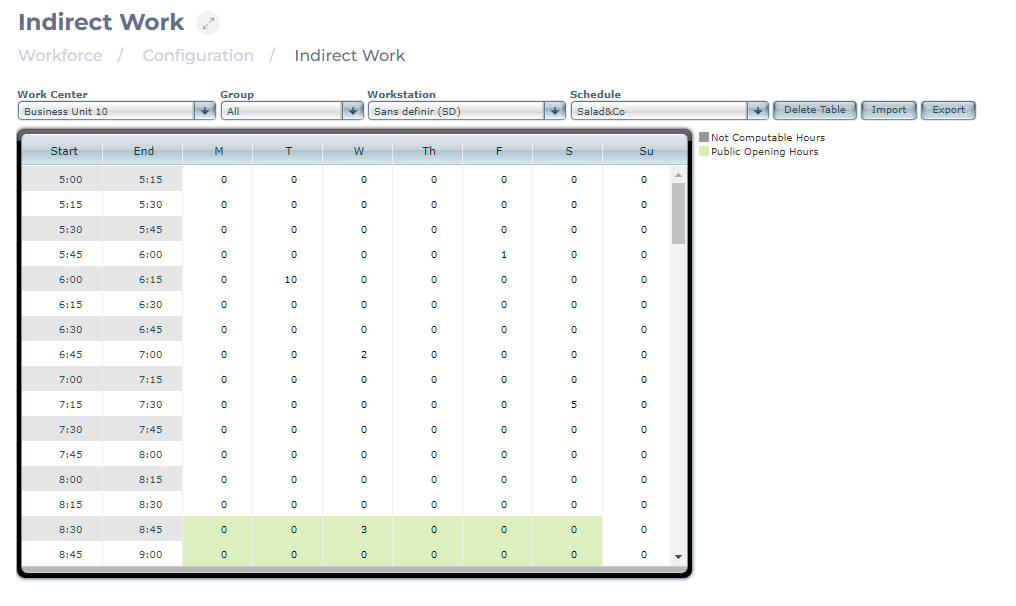
In this table, you will be able to view the Indirect Labor configured as follows:
-
Columns with numbers indicate a time of day.
-
The subcolumns (4) represent a quarter of an hour each. That is, under column 05, there will be four sub-columns: 05:00 - 05:15, 05:15 - 05:30, 05:30 - 05:45, 05:45 - 06:00.
-
The number within each table or sub-column indicates the number of workers assigned for indirect labor in that defined quarter-hour.
-

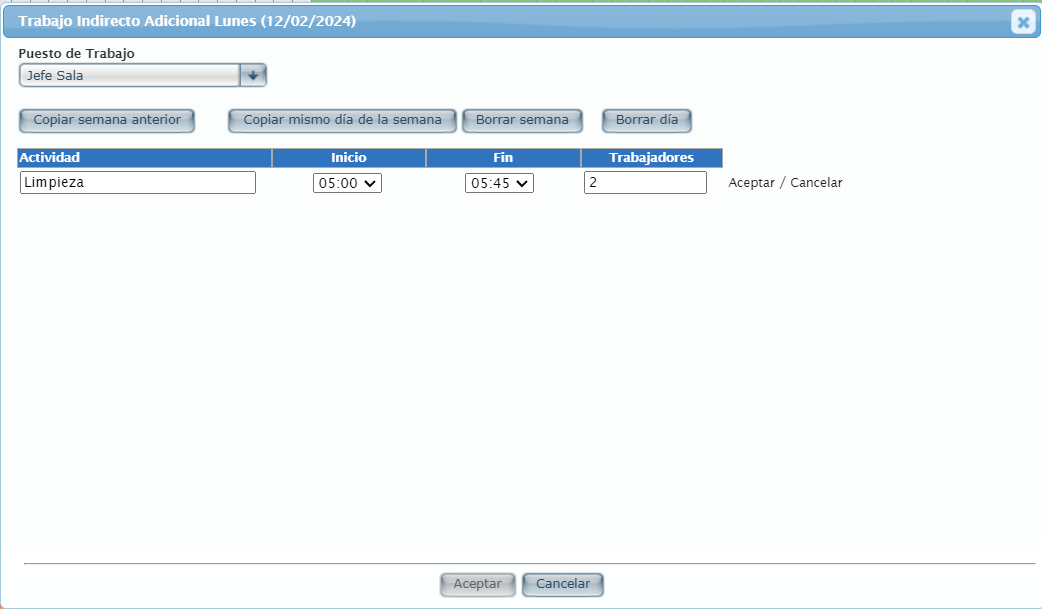
To correct any inconsistencies in the configuration or to change any indirect labor requirements, see Configure Indirect Work for a Shift.