Manage refresher learning
Start from: The Flow Learning dashboard.
View refresher learning assignments
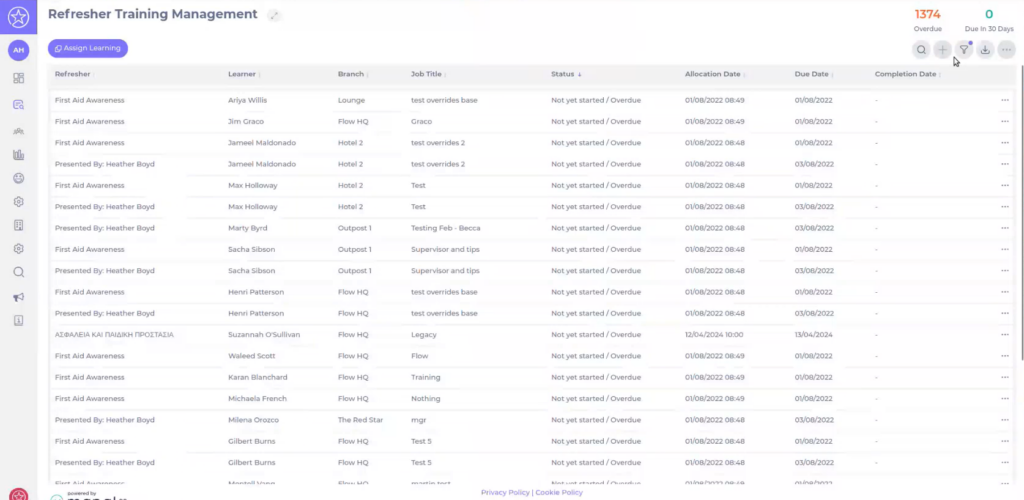
- From the main menu, navigate to Learning & Development > Refresher learning.
- The grid shows one row per learner and refresher combination, with key information such as:
- Refresher: the refresher training item (module, workbook, external training, etc.).
- Learner: the employee assigned to the refresher.
- Branch, Job title: the learner’s organisational context.
- Status: Not yet started, In progress, Completed, Overdue, etc.
- Allocation Date, Due Date, Completion Date: key dates for tracking progress.
- Use the column sort arrows to order the list (for example, by Due Date or Status) and the Show X entries dropdown to adjust how many rows are visible per page.
Assign refresher learning
You can also allocate refresher training directly from the Refresher Training Management area using Assign Learning. For more information about this process, see Assign learning.
For more detailed workflows on configuring and issuing refresher learning, see:
- See Issue refresher learning manually to know how to manually trigger refreshers for specific learners.
- See Add and edit refresher rules to know how to define the automatic rules that generate refresher assignments. This article also explains how refresher chains work when a module refreshes with a different module.
Filter refresher learning
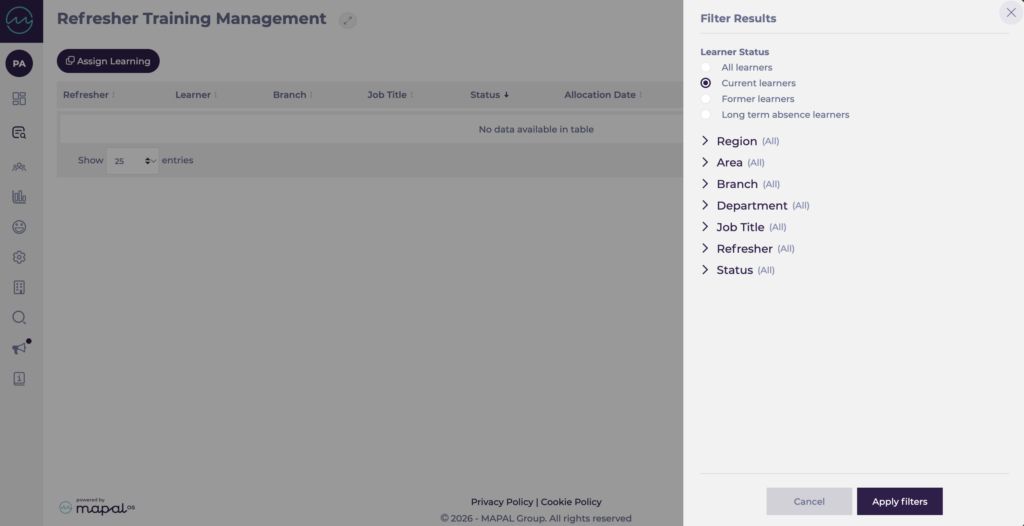
You can narrow down the view using the filter drawer to focus on specific learner groups or refresher types.
- On the Refresher Training Management screen, select the Filter icon in the top-right corner.
- In the Filter Results drawer, choose your criteria:
- Learner status: All learners, Current learners, Former learners, or Long-term absence learners.
- Region / Area / Branch: filter by geography or specific sites.
- Department / Job title: focus on particular roles or teams.
- Refresher: limit the view to one or more specific refresher items.
- Status: filter by completion state, such as Not yet started, In progress, Completed, or Overdue.
- Select Apply filters to update the grid.
You can reopen the filter drawer at any time to adjust or clear filters as your reporting needs change.
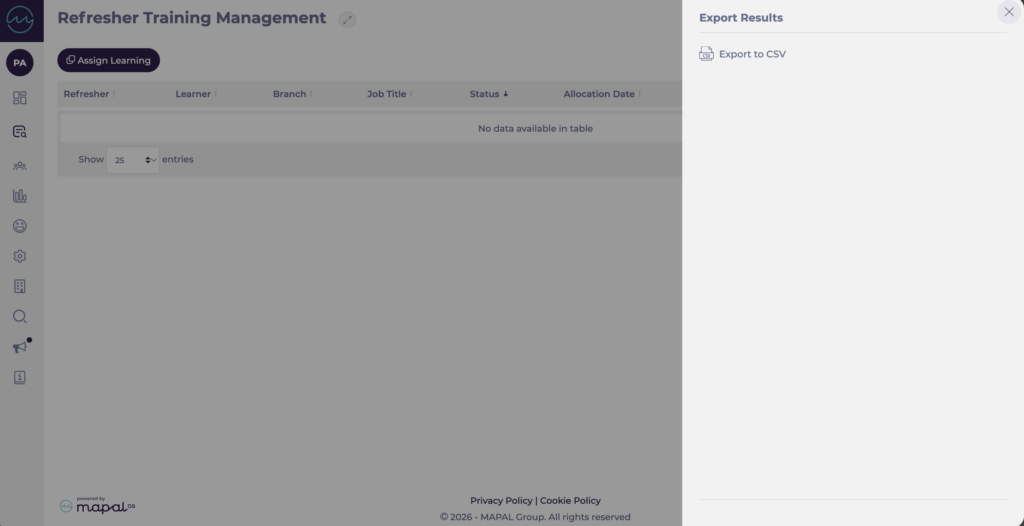
Export refresher learning data
You can export the filtered results to CSV for further analysis, sharing, or integration with BI tools.
- Apply any filters you need so that the grid shows the learners and refreshers you want to analyse.
- Select the Export icon at the top-right of the grid.
- In the Export Results drawer, choose Export to CSV.
A CSV file is generated containing all visible columns (Refresher, Learner, Branch, Job Title, Status, dates, etc.).