Complete the projected and/or actual forecasting of a menu
Note: each action performed in the application is subject to access permissions. If you cannot carry out the recommended actions in the articles you are viewing, this may mean that the necessary rights have not been activated for your user profile. Contact the Support team, or your administrator, to find out more.
Start from: The Easilys menu.
SET DEFAULT FORECASTED HEADCOUNTS ON A MENU TEMPLATE
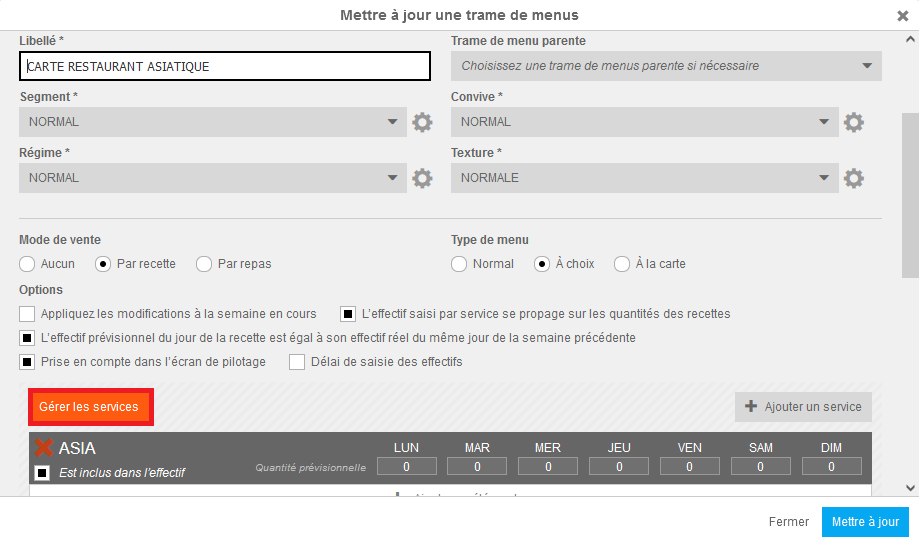
It is possible to indicate forecasted headcounts when creating a menu template. This way, the application always pre-fills these forecasted headcounts by default.
For more information on creating a menu template, see the article Create a menu template from the menu templates screen.
MANUALLY INDICATE FORECASTED AND/OR ACTUAL HEADCOUNTS
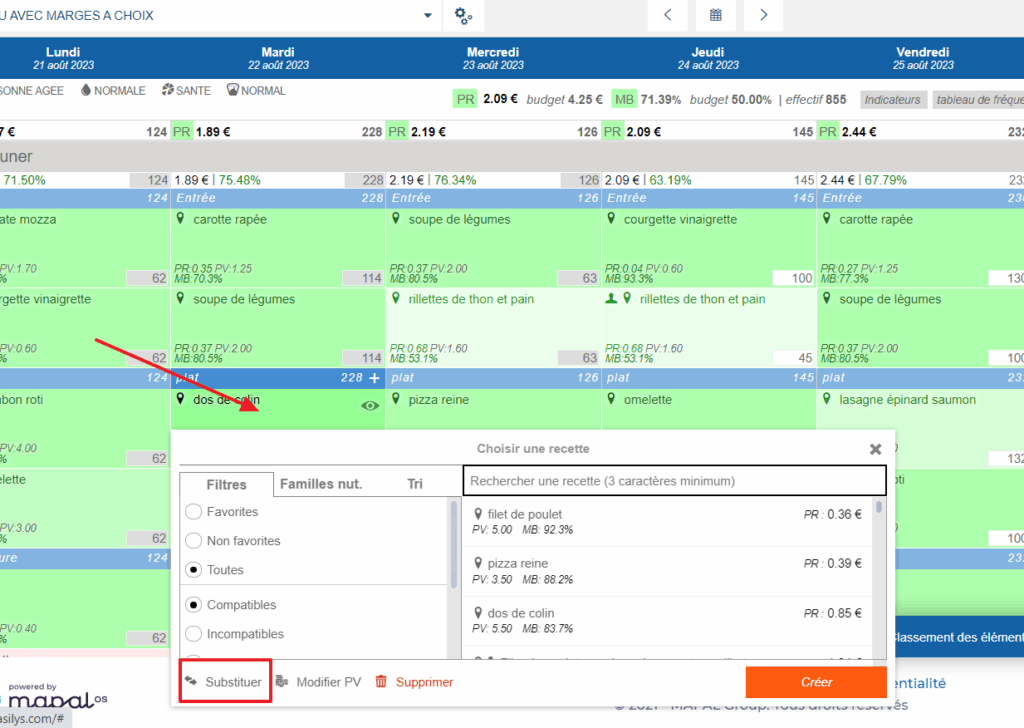
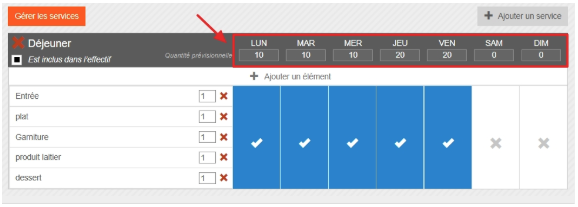
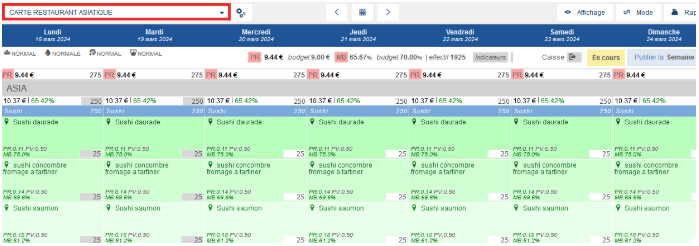
It is possible to modify forecasted and actual headcounts manually directly from the menus by selecting the headcount box at the bottom right of each recipe added in the menu.
Note: the actual headcount is automatically filled in by Easilys whenever a forecasted headcount exists and the date has passed. To ensure this actual headcount is correct, you can modify it.
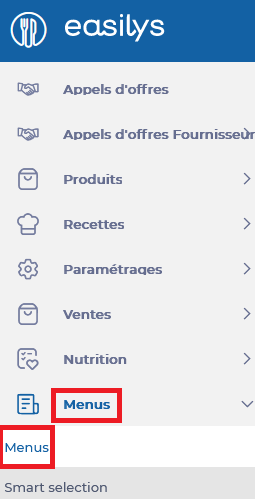
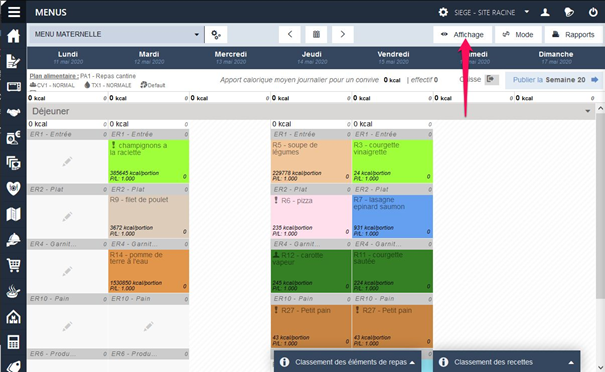
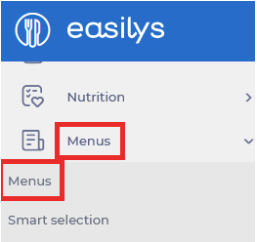
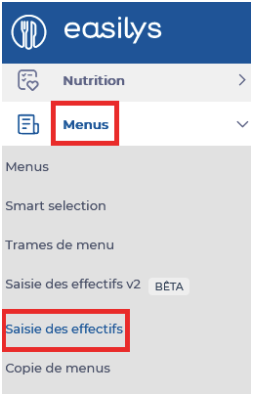
- Select the tabs Menus > Menus.
- Select the menu template containing the menus for which you want to manually add forecasted headcounts.
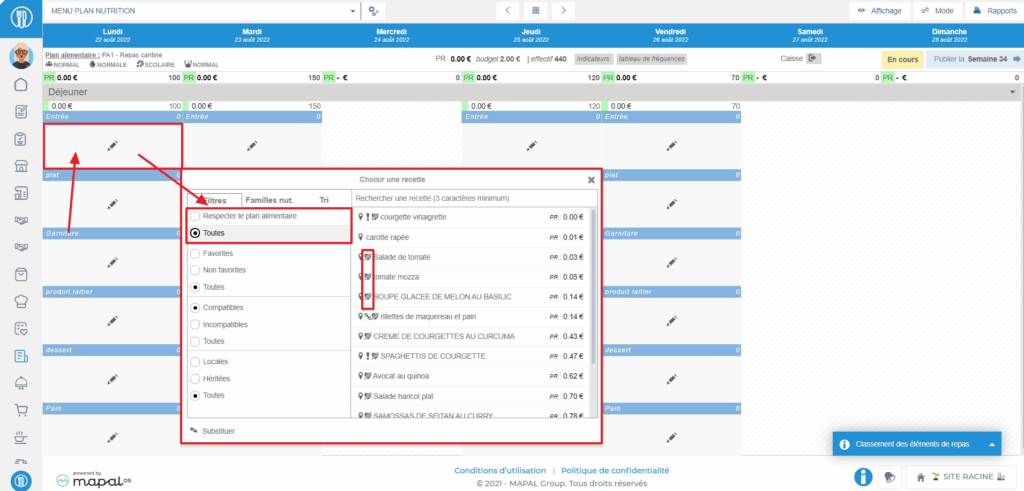
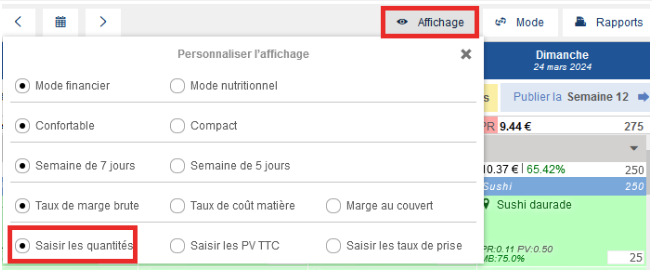
Note: there are several menu display types. You may not be in the view that allows you to enter headcounts. In that case, select Display and choose the option Enter quantities.
- In a menu box containing a recipe, select the small box visible at the bottom right.
- Enter the headcount in the box.
- If you enter the headcount on a future date, Easilys considers it a forecasted headcount.
- If you enter the headcount for today or a past date, Easilys considers it an actual headcount.
- Once entered, press Enter on your keyboard to validate or select a new box in the menu.
- A message will prompt you to save your changes.
- Select Save now.

Note: you can make several changes before selecting Save now. Just make sure you do so before leaving the menus page, or you will lose your modifications.
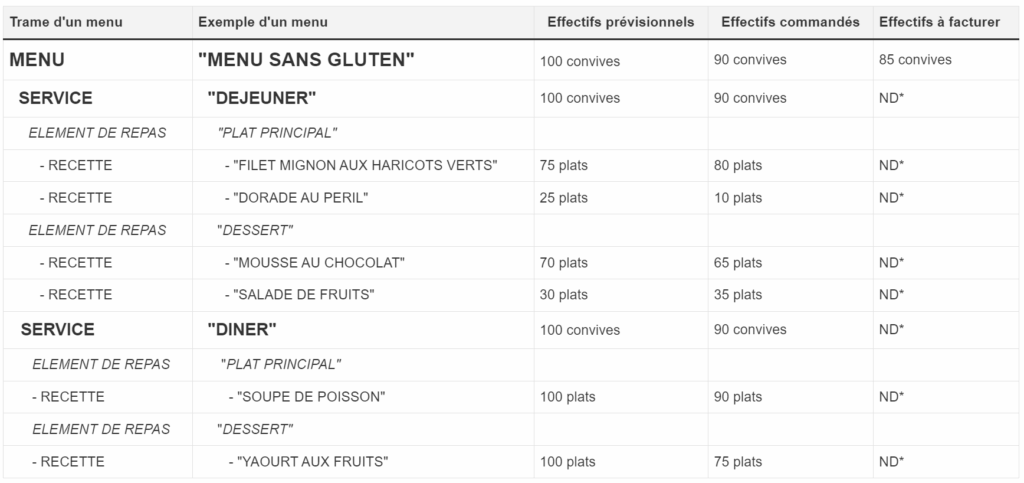
COMPLETE FORECASTED AND/OR ACTUAL HEADCOUNTS USING THE MENU QUATITIES SCREEN
- Select the tabs Menus > Menu quantities.
- Select a service to expand the detail by dish included in it.
- Enter the forecasted headcounts in the P box and the actual headcounts in the R box under each dish.
- The P box corresponds to forecasted headcounts.
- The R box corresponds to actual headcounts.
- As soon as the actual is entered, this is the information Easilys will use in the various monitoring reports.
Note: for a past date, the total is greyed out and the R box is highlighted. This is where you must enter the actual headcounts.

- Once entered, press Enter on your keyboard to validate or select a new box in the menu.
- A message will prompt you to save your changes.
- Select Save now.
You can also download the Count per meal type report from the Menus screen. This will give you a spreadsheet showing weekly headcounts per dish and service.
- Select the tabs Menus > Menus.
- Select Reports.
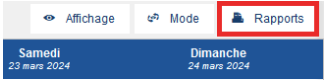
- Select Count per meal type.
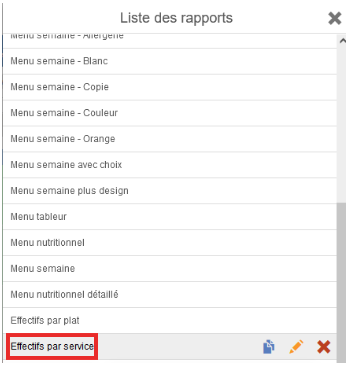
- Download the report in spreadsheet format (ods, xls, xlsx).
- Modify this file and re-import it from the Menu quantities screen (Menus > Menu quantities) by selecting Import headcounts.

COMPLETE FORECASTED AND/OR ACTUAL HEADCOUNTS USING THE MENU QUANTITIES V2 SCREEN
This entry screen is particularly useful if you need to enter headcounts for several child sites. For example, if you manage a central kitchen, it allows you to enter and view headcounts for your delivery points:
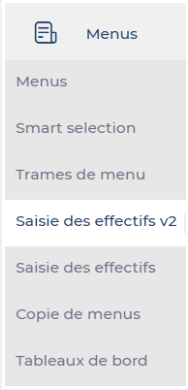
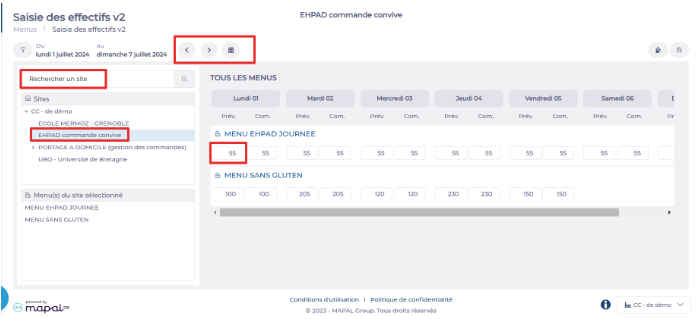
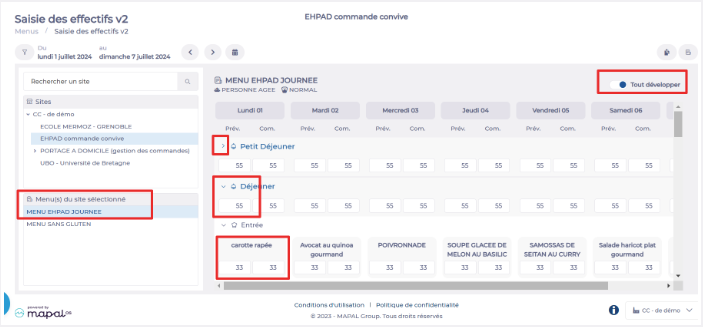
- Select the tabs Menus > Menu quantities V2.
- Display the desired week using the scroll arrows or the calendar.
- Select the site for which you want to enter headcounts. You can use the search field or the site tree.
You will then see an entry line for each menu template of this site. The headcounts you enter here will be applied identically to all services of the day.
If you want to enter different headcounts depending on the services:
- Select the menu template from the list on the left.
- For each service, view the details of the recipes offered in the menu.
Note: You can hide or display the recipe details either service by service (arrow next to the service) or globally (the Expand all option).
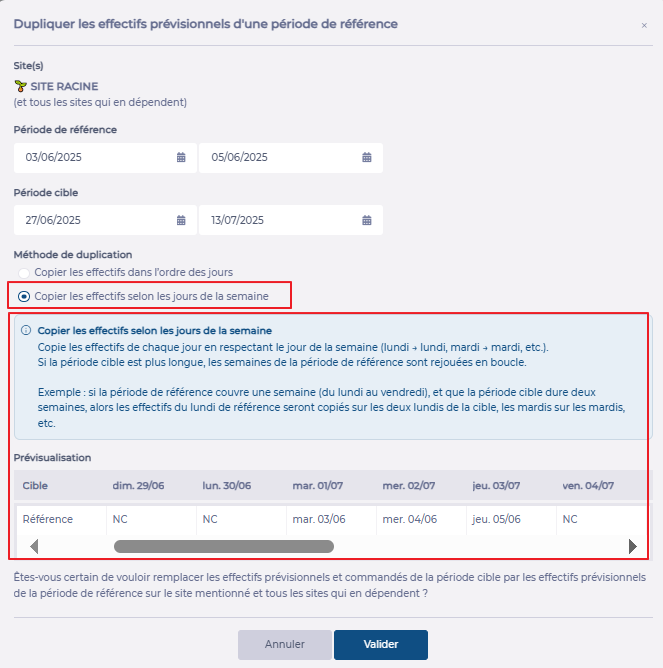
If you want to fill in the forecasted headcounts of a future period with the headcounts from another period (past or future), you can also use the Duplication function:
- Select the Duplicate a reference period function at the top right.

- Enter the origin period and the target period.
- Select the desired copy option.
- Click Validate.
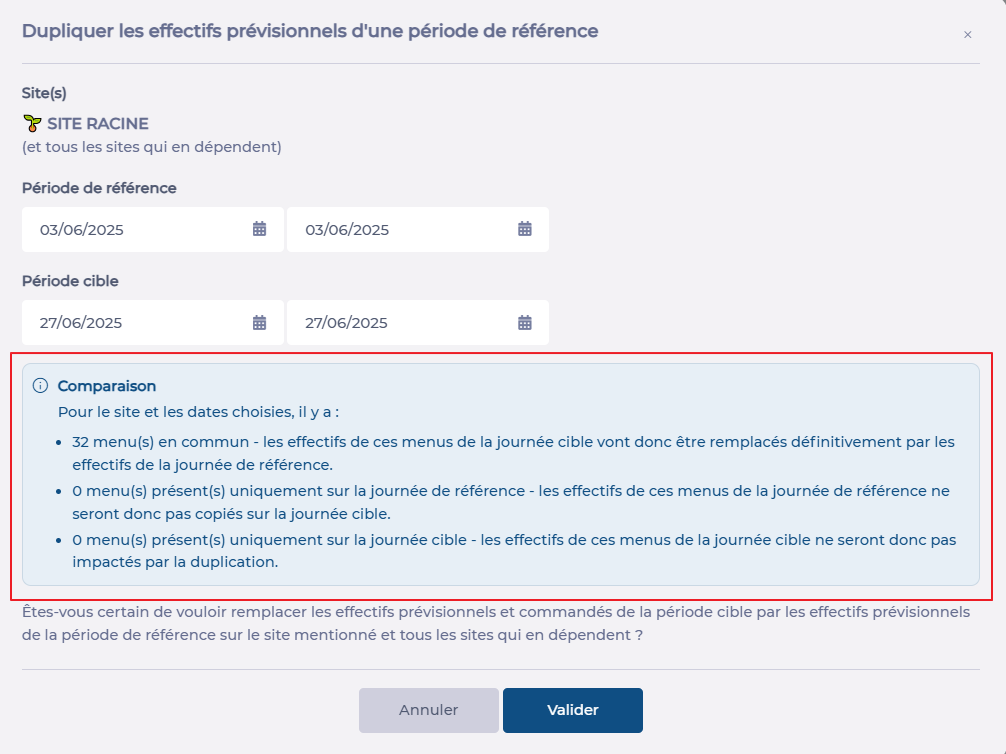
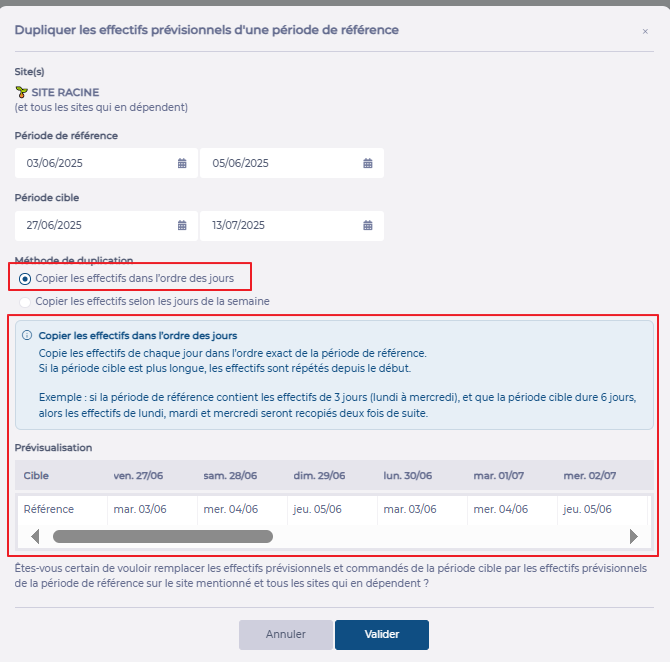
Note: Depending on the selected period, the available options and the information message will update. Take the time to carefully read this message as well as the summary table that appears when copying a period of more than one day to fully understand the impact of your action.
- Message when duplicating a single day:
- Message when duplicating a period with the option to respect the order of days:
- Message when duplicating a period with the option to respect the days of the week: