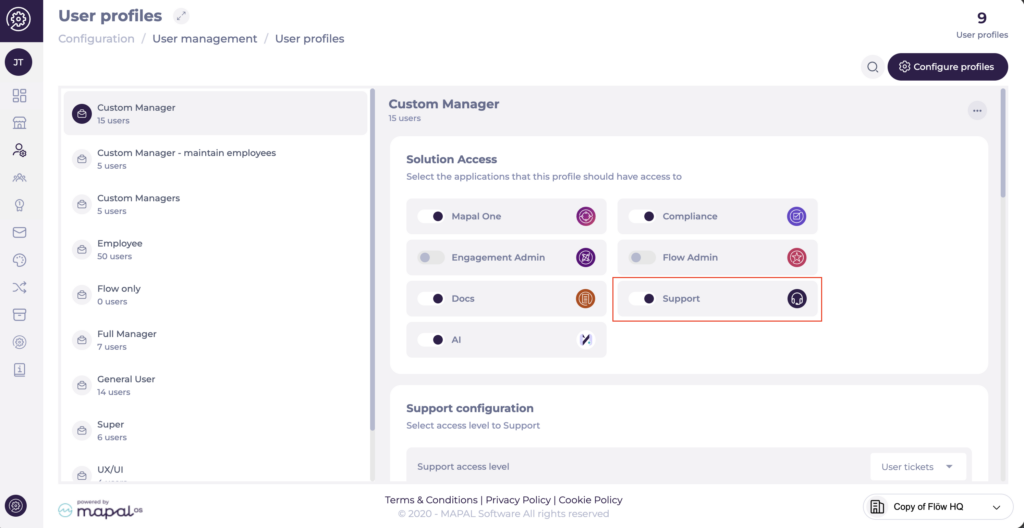
In the list of active profiles, select the role to which you want to grant access.
From the Solution Access tab, enable the Support product.
By enabling this product, all users assigned to that profile will be able to create tickets to contact the Mapal Support team.
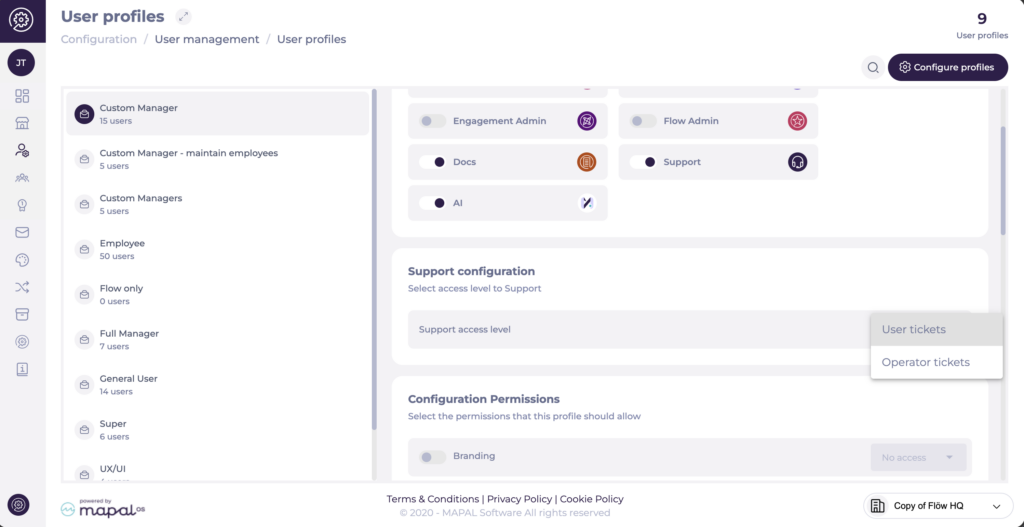
Define the ticket visibility level for the profile. You can choose between the following options:
User tickets: The user will only be able to view and track the tickets they have personally created.
Operator tickets: The user will be able to view and track all tickets created both by themselves and by other users with access to the Support product.
Changes are saved automatically and applied immediately.
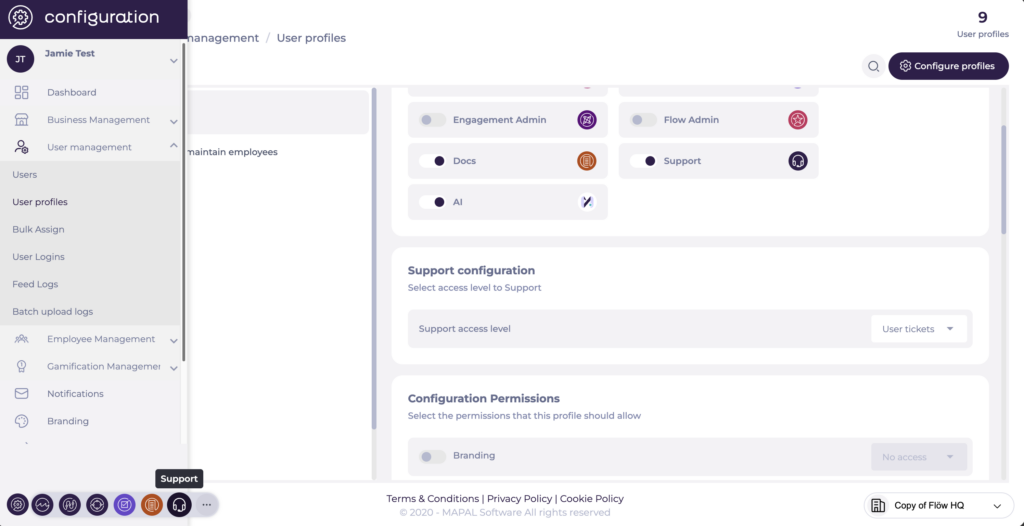
Once the configuration is complete, users with that profile will be able to access the Support product from the bottom navigation bar and start using it.
Note: To enable this configuration, it is necessary to contact the Onboarding Consultant or the Customer Success Manager.
Profile configuration: Holidays
Start from: The Workforce module.
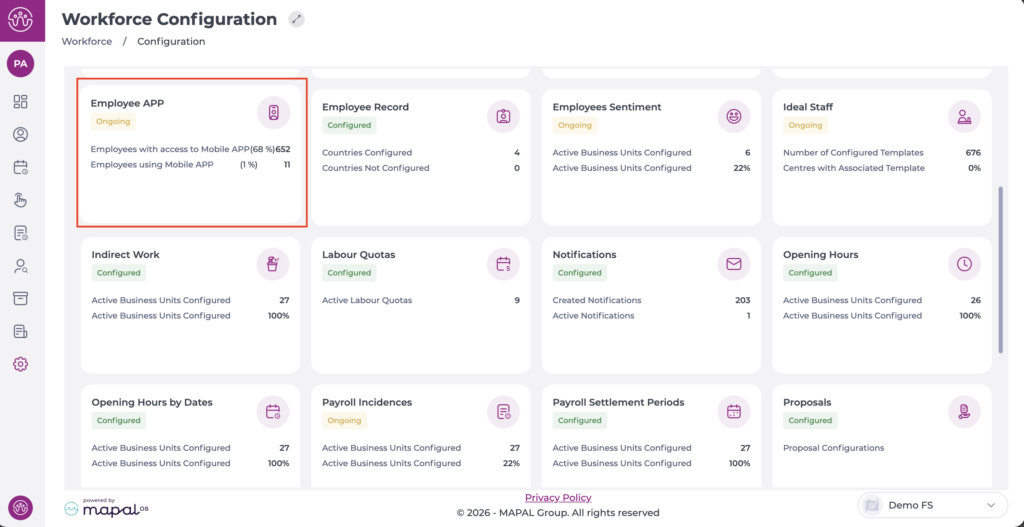
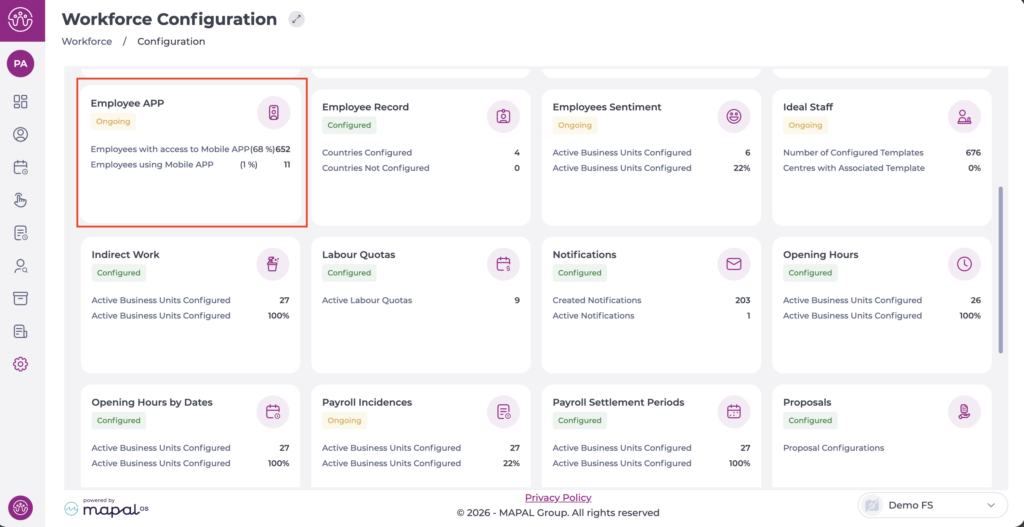
Select Configuration > Employee App from the main menu.
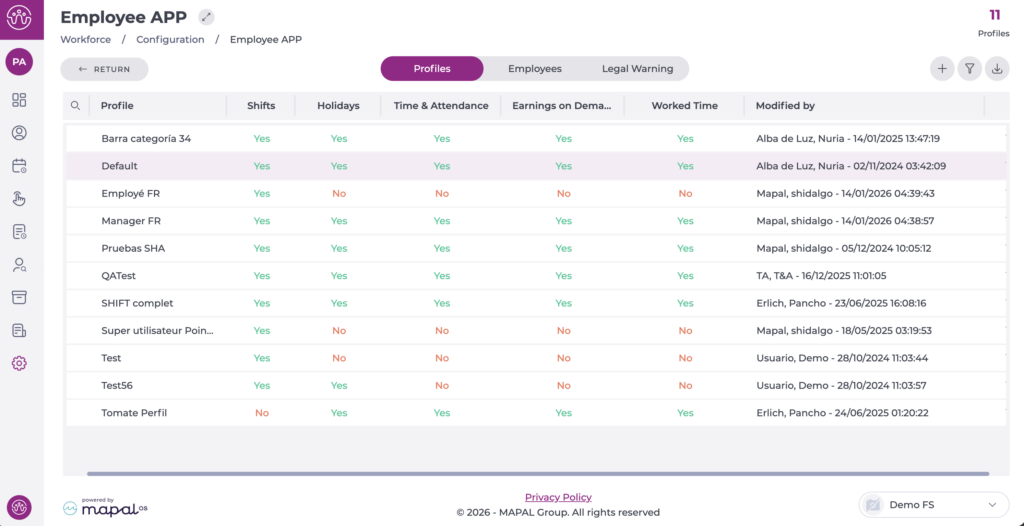
On the Profiles tab, you can see the list of profiles already created.
Select the profile you want to edit.
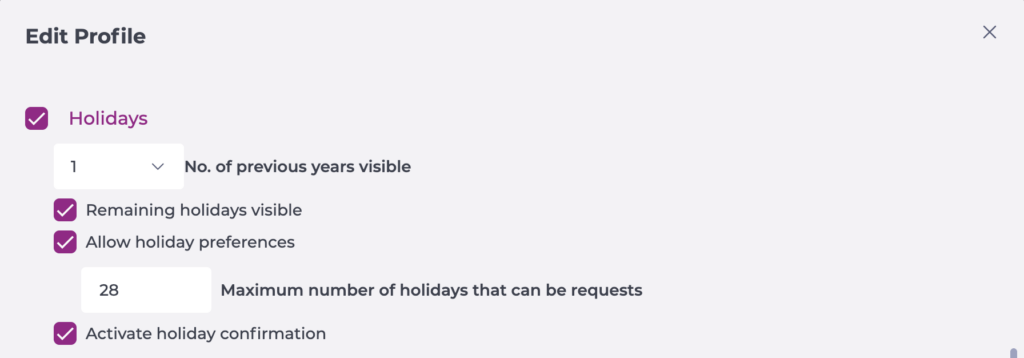
In the pop-up window, begin editing the Holidays section by enabling the corresponding checkbox.
Set the number of previous years you want to be visible.
Select Remaining holidays visible if you want employees to see their remaining days.
Select Allow holiday preferences and then configure the maximum number of days they can request.
Select Activate holiday confirmation if you want the employee to receive an update once their holidays are confirmed.
Select Accept to save the configuration you have defined OR Cancel to discard the changes.
Profile configuration: Labour compliance
Start from: The Workforce module.
Select Configuration > Employee App from the main menu.
On the Profiles tab, you can see the list of profiles already created.
Select the profile you want to edit.
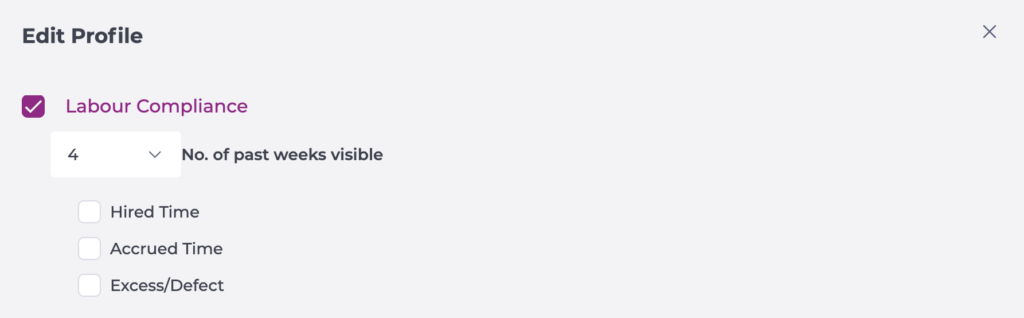
In the pop-up window, begin editing the Labour compliance section by enabling the corresponding checkbox.
Set the number of past weeks visible.
Select the options Hired time, Accrued time and/or Excess/Defect, so that the hours in each case are visible according to the indicated reference period.
Select Accept to save the configuration you have defined OR Cancel to discard the changes.