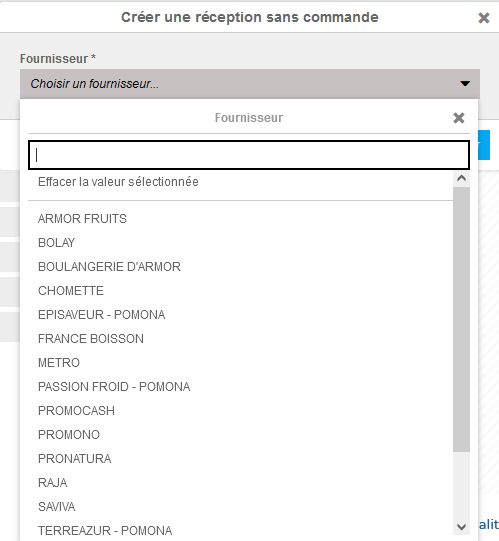
Find a supplier order that isn't visible in the Receptions screen
Note: Each action performed in the application is subject to access permissions. If you are unable to carry out the recommended actions in the articles you are viewing, this may mean that the necessary rights have not been activated for your user profile. Contact the Support team, or your administrator, to find out more.
Start from: the Easilys menu.
Case 1: The reception is not present in the list
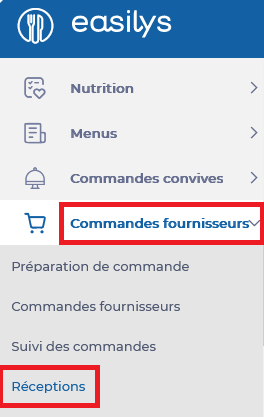
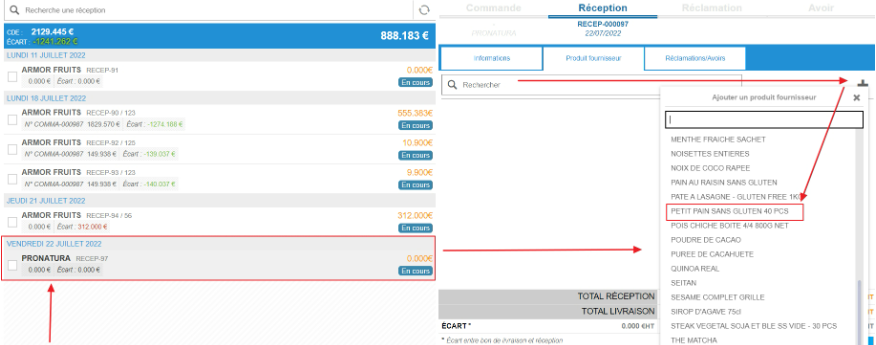
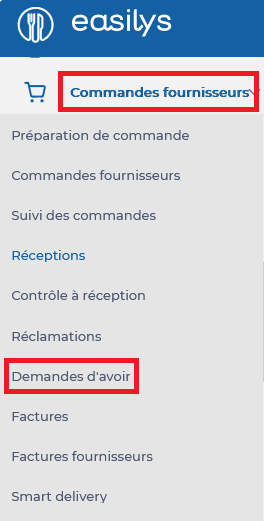
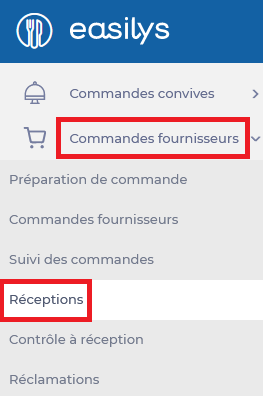
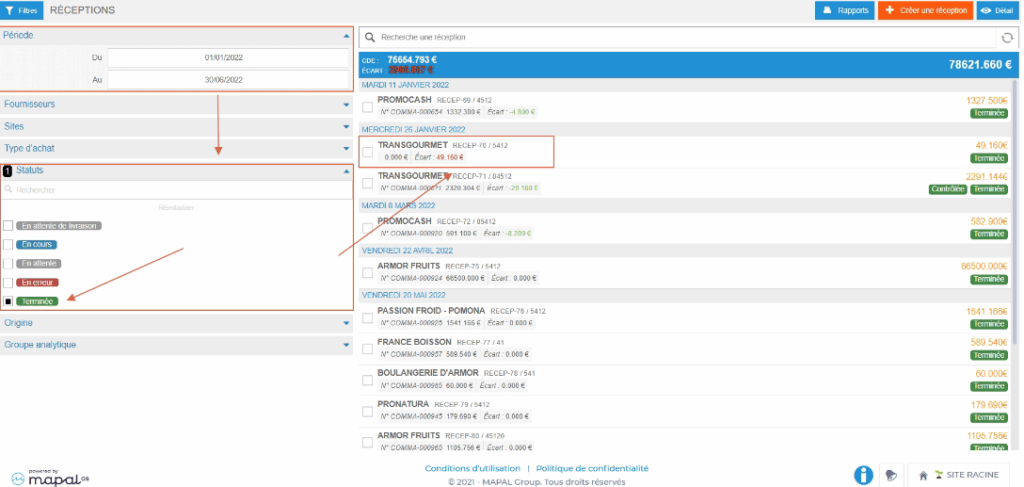
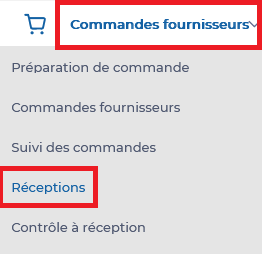
- Navigate to Supplier Orders > Receptions.
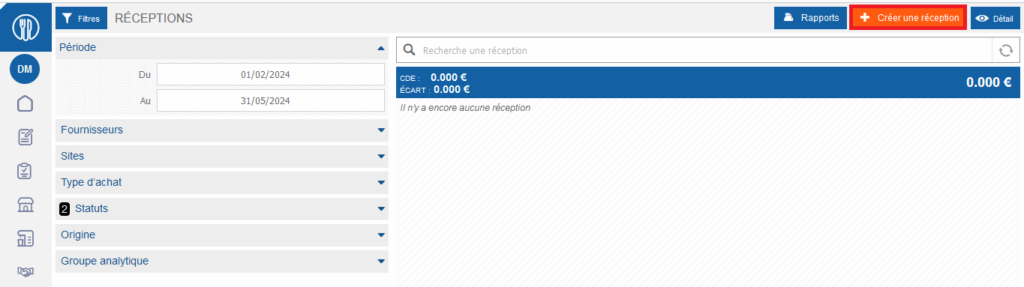
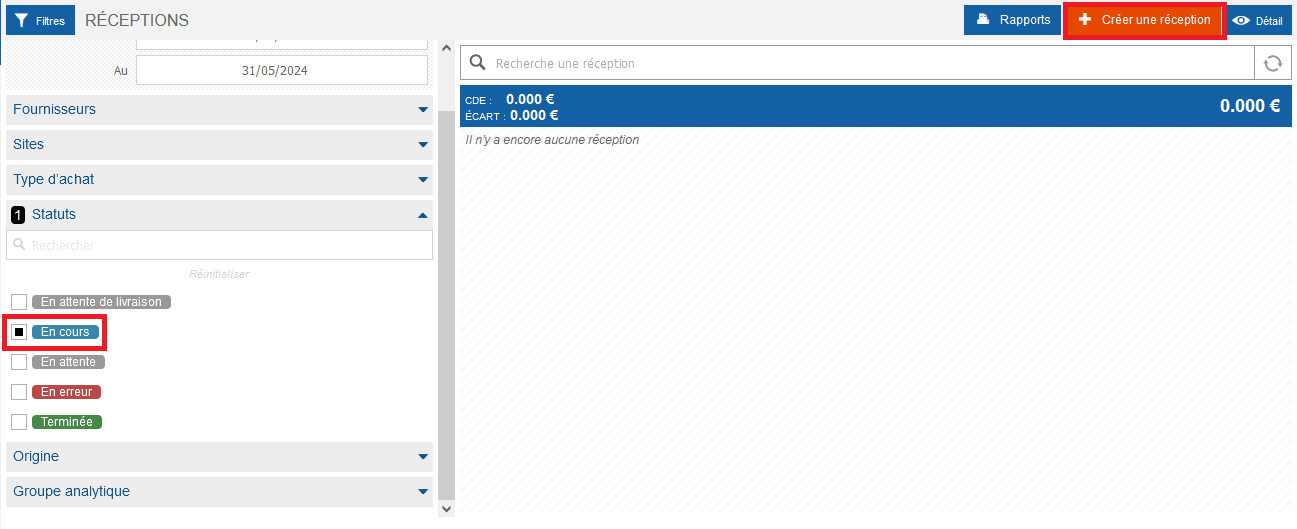
- The list of receptions is displayed.
- By default, the displayed receptions are those that correspond to:
- expected to arrive in a 3-month period, from the beginning of last month
- having the status “In progress” or “In error”.
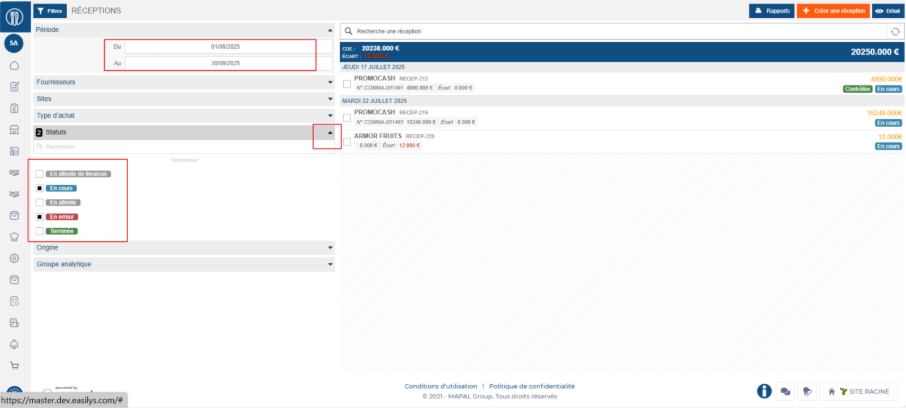
- If the reception you are looking for is in another period or has another status, you need to modify the filters to make it appear. To do so:
- Adjust the period by changing the dates in the from … to … fields.
- Expand the Status filter and check the desired statuses.
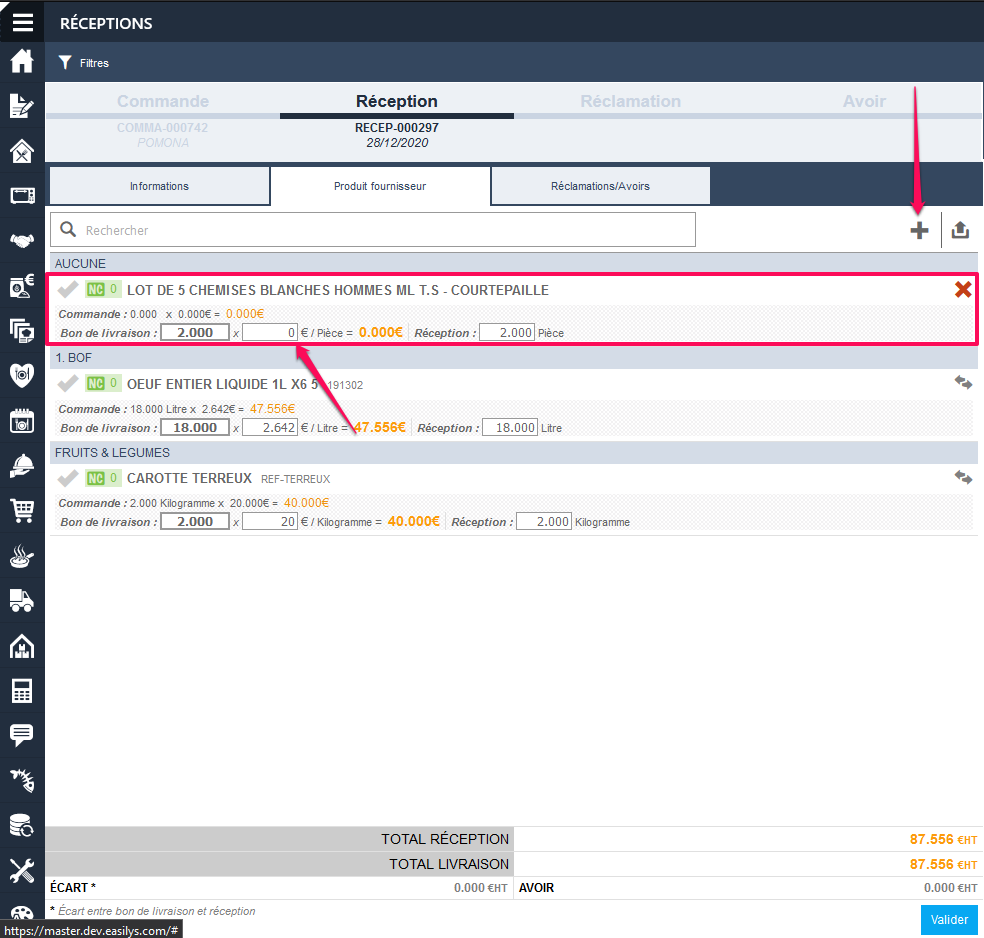
Case 2: The reception is blocked “pending delivery”
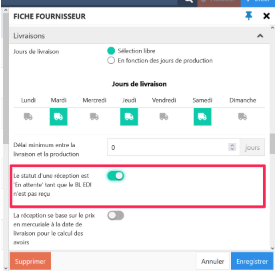
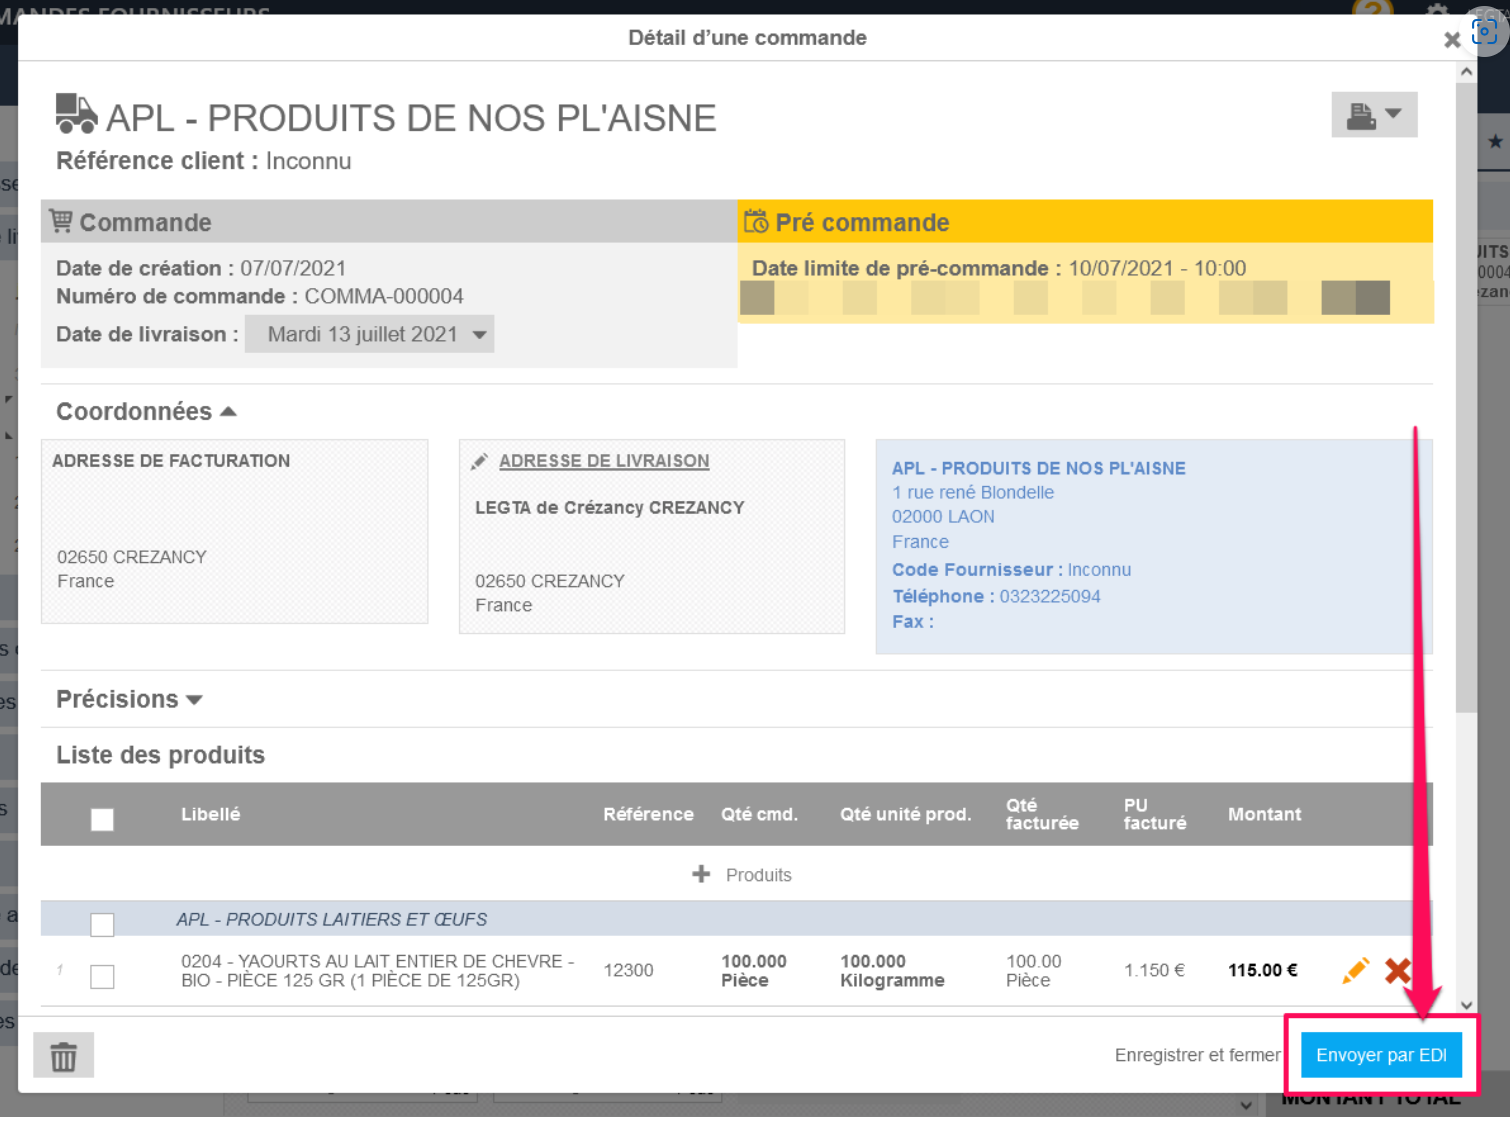
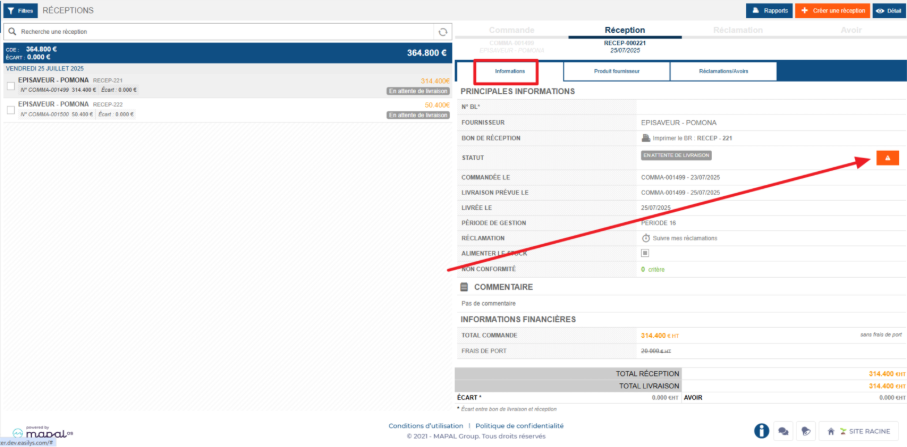
- If you have receptions with the status “Pending delivery”, this means that Easilys is waiting for an EDI delivery note (electronic data interchange). Receptions pass through this status when the option requesting it has been checked on the supplier record (see article Understand reception 'Pending' status for the EDI delivery note).
- Normally, this status is temporary. If this status persists on a reception, there is an issue in the EDI flow — notify your administrator, who has the possibility to manually unblock these receptions. There is in fact a right allowing certain users to force-change receptions blocked in “Pending delivery” status to “In progress”. They can follow this process to manually unblock these receptions:
- Select the reception “Pending delivery”.
- Click on the Information tab.
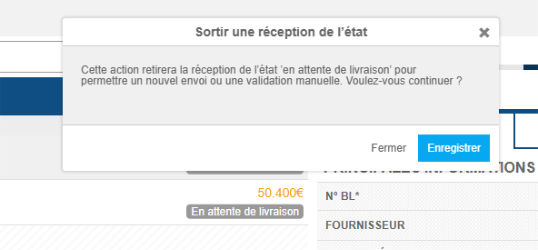
- Click on the alert button.
- Confirm the status change by clicking on Save.
- If the “Pending delivery” status appears for suppliers who never send you delivery notes by EDI, then modify the option on the supplier record (see article Understand reception 'Pending' status for the EDI delivery note) to avoid having this status. If you are not authorized to do so, contact your administrator.
Case 3: The reception is blocked “pending”
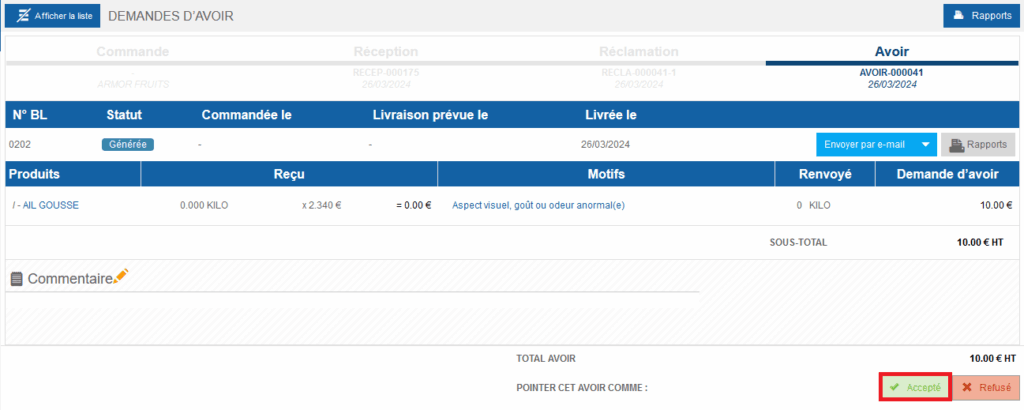
A reception has the status “Pending” when there is a validation workflow on claims and the validator has not yet accepted or refused the claim.
Case 4: The reception is blocked “in error”
A reception is “In error” when there is a validation workflow on claims and the validator has refused the claim.
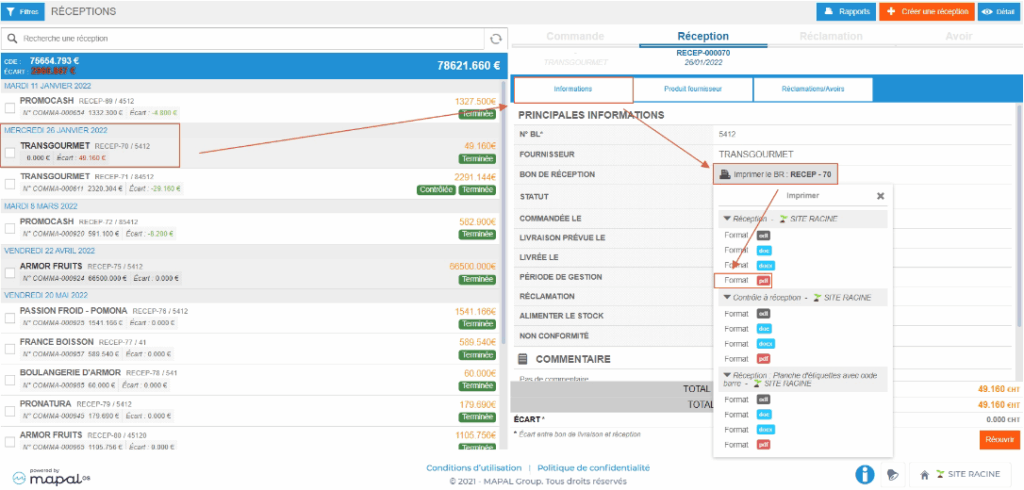
Case 5: The reception has the status “Completed”
The “Completed” status on a reception indicates that it has already been validated. If you wish to make changes to this reception, you can reopen it under certain conditions. Refer to the article Reopen a completed reception which explains this process.