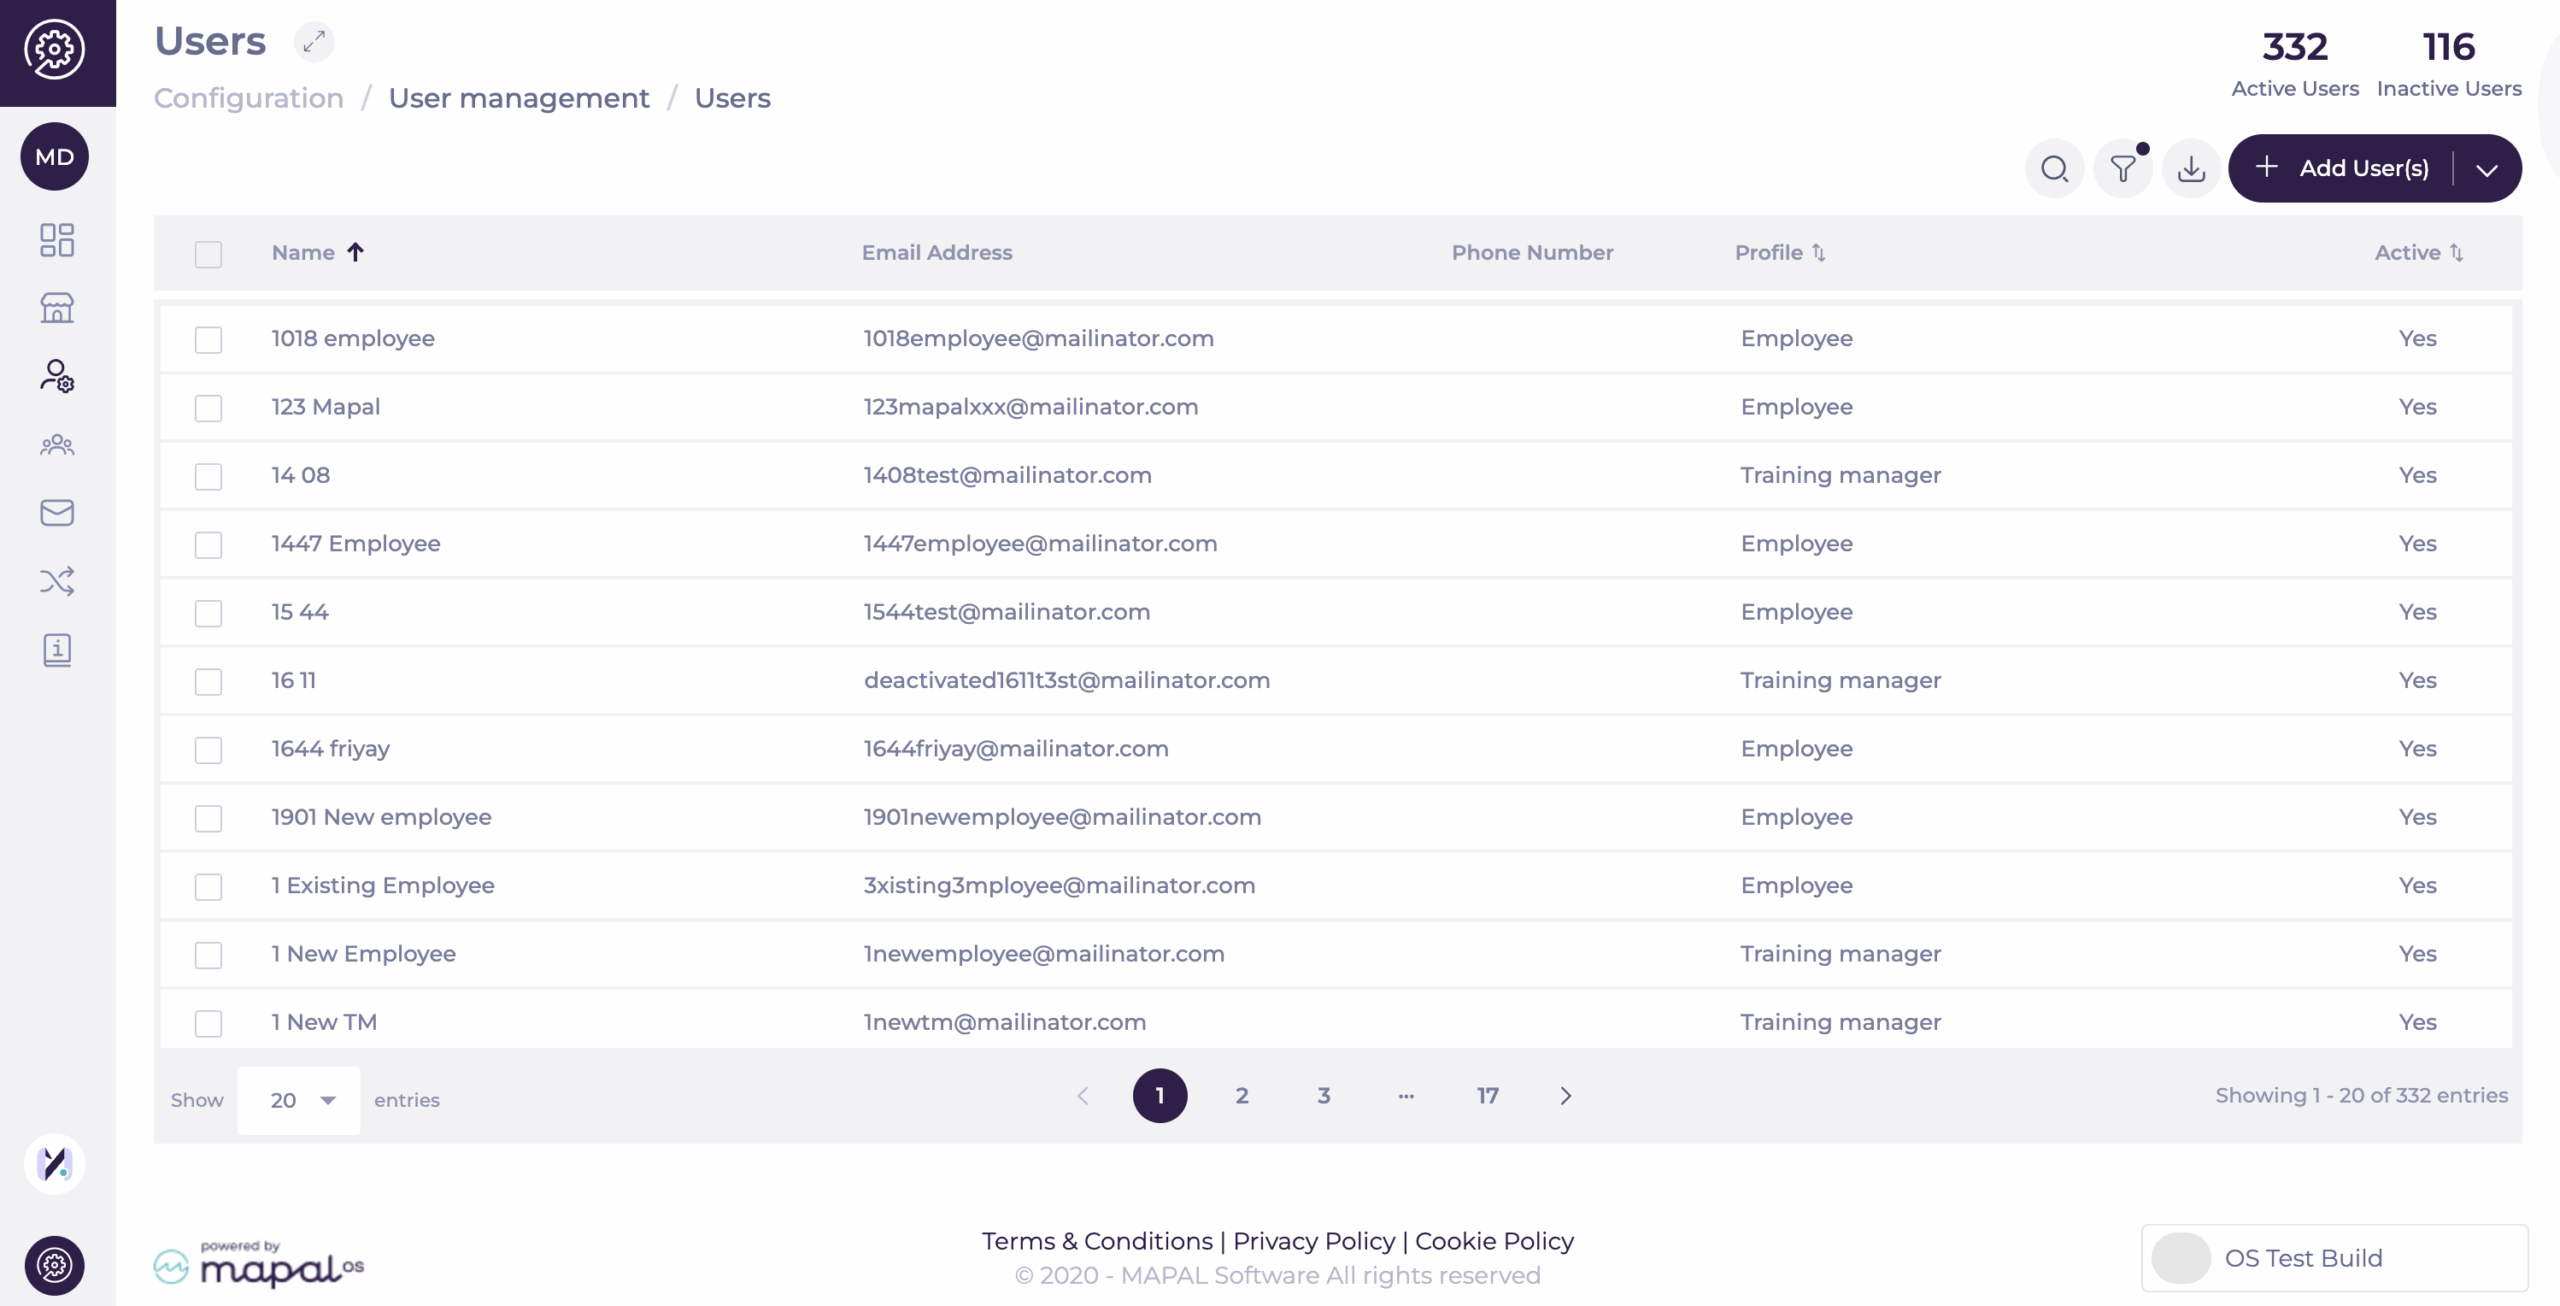
Manage users in Mapal OS
Start from: the Mapal OS dashboard.
- Select the Open button on Configuration.
- Select User management > Users in the main menu.
- Select the user whose settings and details you wish to edit, by clicking on their name. You'll be taken to the user information page, where you can edit its details.
Note: The Users page shows only active users by default. A coloured dot in the filter button indicates that a filter is applied. This speeds up navigation and reduces clutter, especially in large accounts. You can still adjust or remove the filter at any time to display inactive or all users.
Details
- Complete or edit the user details on the Details tab on the form that appears.
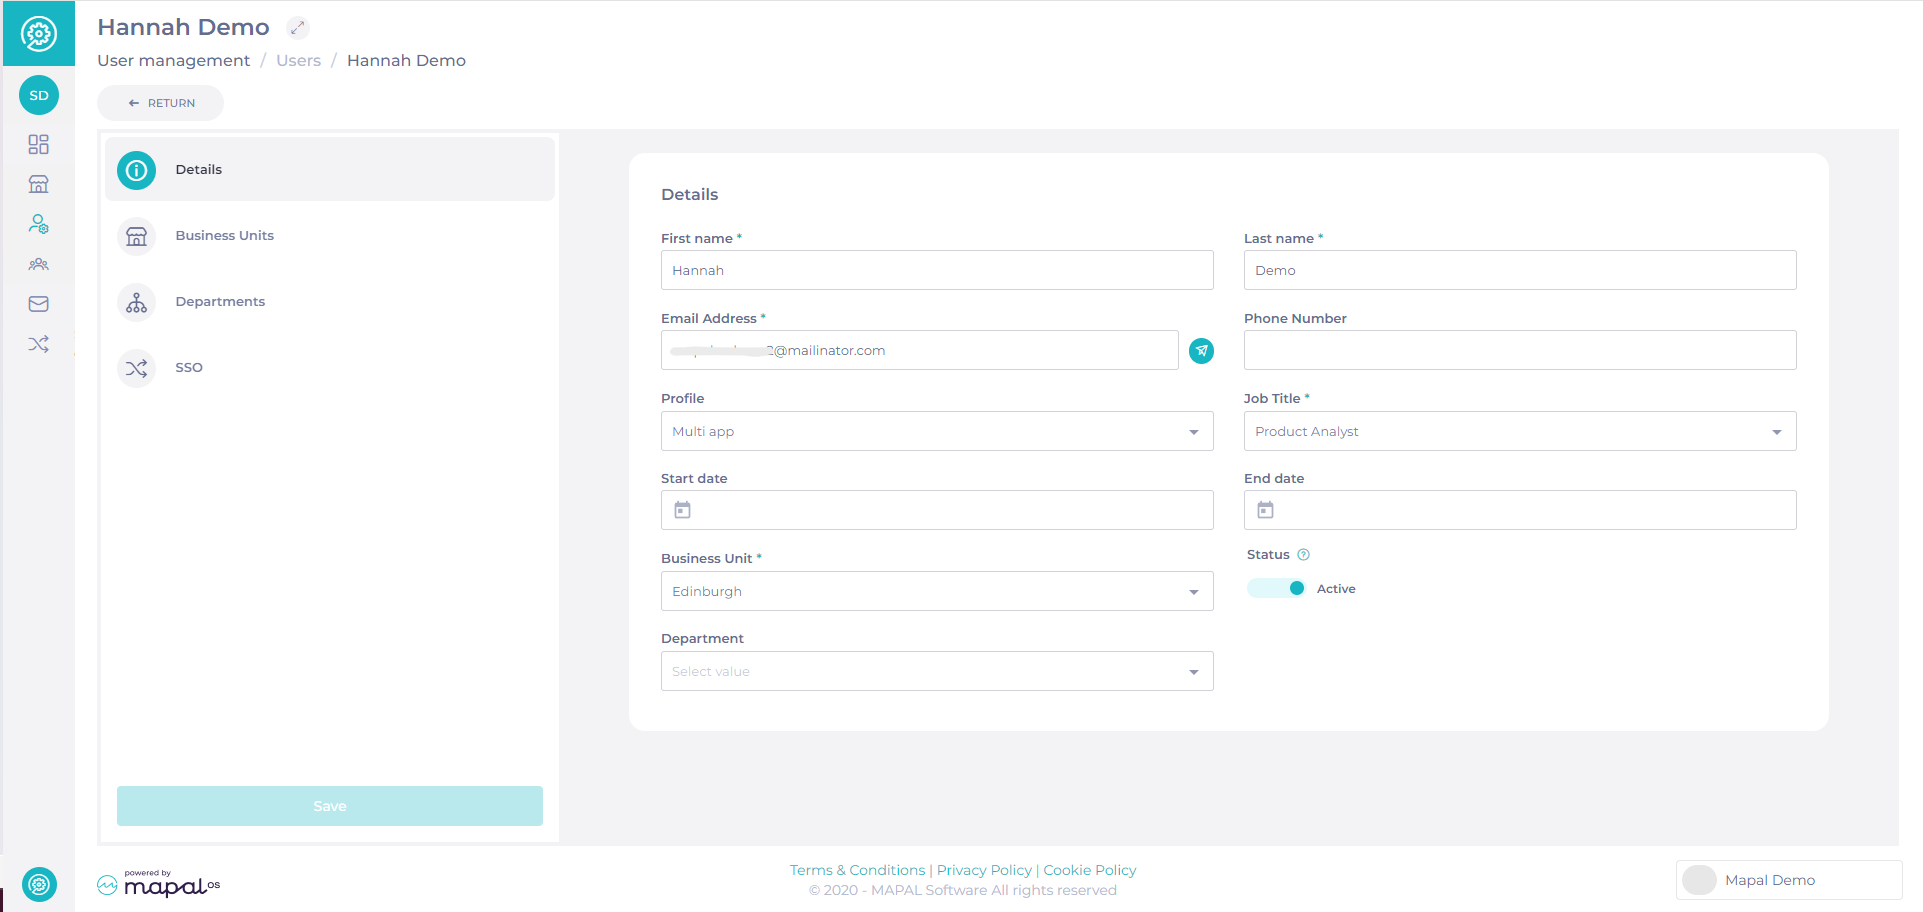
- Complete the relevant fields:
- First name
- Last name
- Email address
- Phone number
- Profile - determines the user's access to configuration and products.
- Job title
- Start date
- End date
- Business Unit - select which Business Unit the user is assigned to.
- Status - select if this user is active, so they have access to the operator.
- Department - select which Department the user is assigned to. See Manage departments in Mapal OS for more information.
Business Units
This tab enables you to choose which Business Units the user has access to.
Add Business Units individually
- Select Business Units.
- Select the relevant business units to add to the list, or just select allow access to all business units.
- Select Save when you have finished.
Notes: Users can also select select the checkboxes for multiple business units.
Departments
This tab enables you to choose what Departments the user has access to.
- Select Departments and use the Add (+) button to open up Add Department.
- Select the relevant departments to add to the list, or just select allow access to all departments.
- Select Done when you have finished.
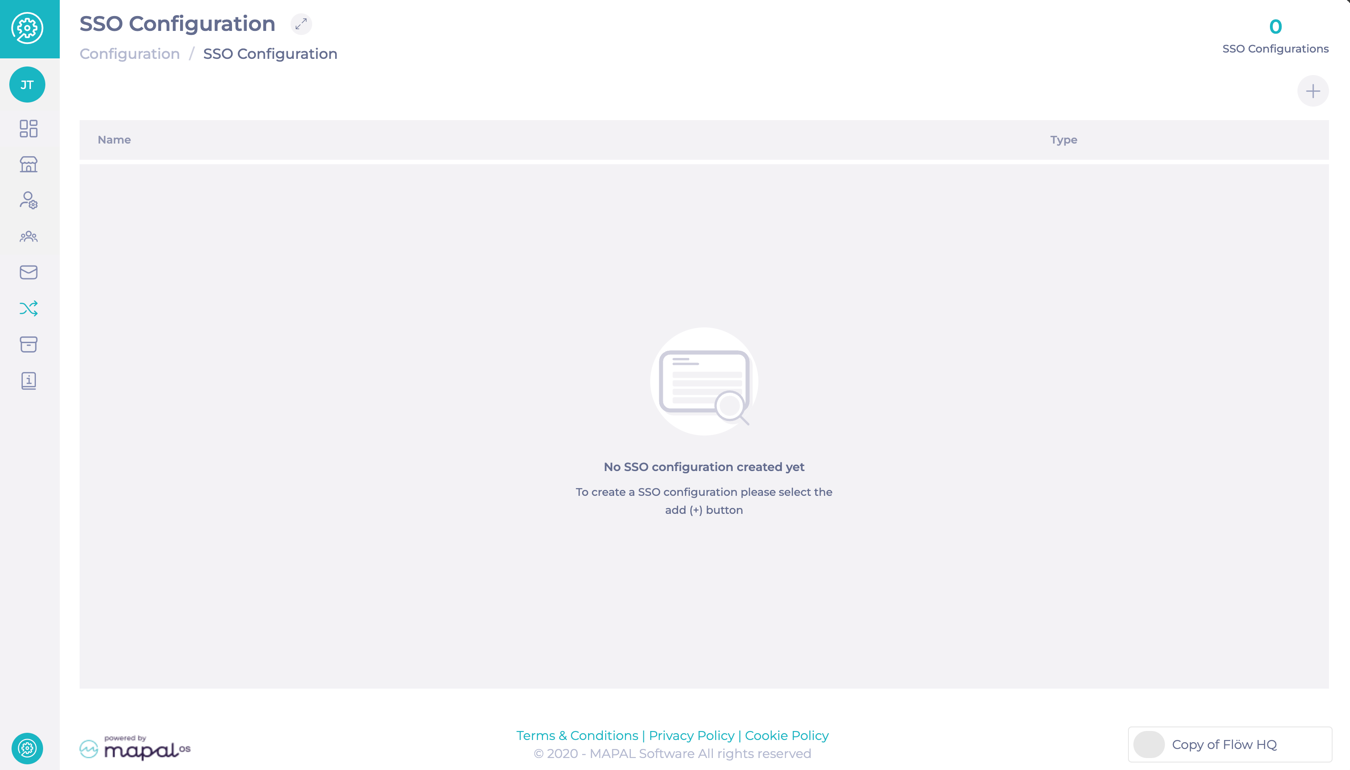
SSO
- Select the SSO tab to see the user’s SSO source and Identifier* (these are non-editable fields).
For more information on SSO, you can contact your Customer Success Manager at Mapal.
Notemandatory fields are marked with an asterisk (*).
Activating a user in Mapal OS
- Navigate to User Management > Users.
- Find the user and open their Details screen.
- Use the Status toggle to activate or deactivate the user.
Note: If an email address is updated for an Employee or User, the old email remains in the system but becomes inactive. This process applies to all employees, including those with extra permissions (e.g., Training Managers in Flow Learning).
Resending a user welcome email
If a user needs to access the system or reset their password, you can resend their Welcome Email.
- Locate the Email field in the user’s Details.
- Click the Send icon to resend the welcome email.
- The email will be sent to the user's inbox immediately.
Exporting a list of users
- Navigaqte to User management > Users.
- Select the Export button at the top of the page.
- The system will generate a CSV file with the users visible to you.
Exports follow permission-based visibility rules:
- Only users whose permission profiles include the same or fewer permissions than your own will be included in the export.
- Users with higher-level access are automatically excluded.
- Users without an assigned profile (no permissions) remain visible.
This ensures consistent security and respects the same visibility limits that apply within the user management interface.