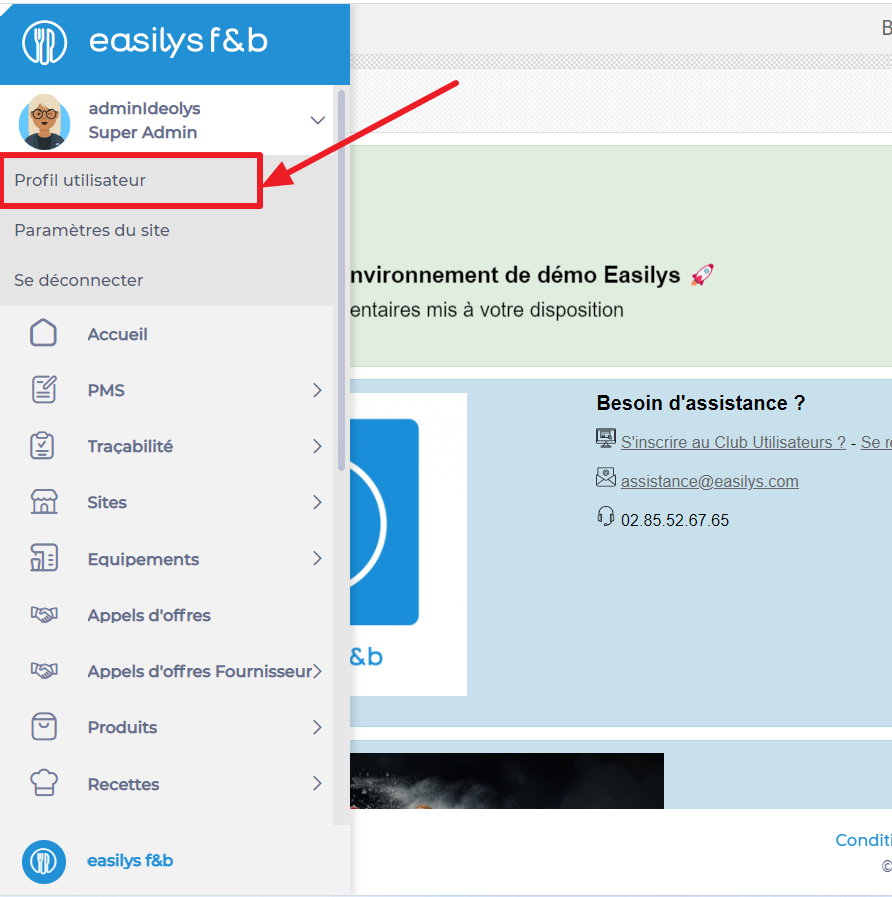
Use Easilys in multilingual mode
Start from: The Easilys menu.
Prerequisite: A technical action is required to activate multilingual mode in your environment. If you would like to use this mode and it has not yet been activated, please contact the support team.
Principle
In multilingual mode, users can translate certain data into the different working languages defined in Easilys, particularly into the language associated with their user profile.
For example, the name of the same recipe may vary depending on the user’s language:
- For a user whose language is English: Creamy Chicken with Mushrooms
- For a user whose language is Spanish: Pollo a la crema con champiñones
- For a user whose language is French: Poulet à la crème et aux champignons
This multilingual option does not apply to the translation of interface elements (menus, buttons, etc.). Those translations are managed directly by our team and cannot be modified by users.
When the multilingual option is activated
When multilingual mode is enabled in your environment:
- Multilingual fields can be identified by a translation icon.


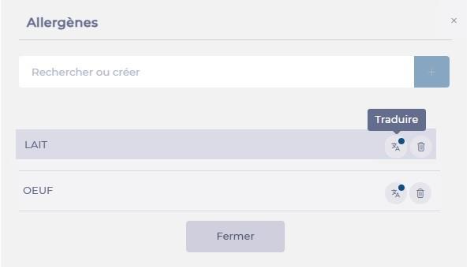
- If the icon’s indicator is green, it means the field already has translations in all the active languages of your environment.
- Data is displayed in your own language (the one defined in your profile) if a translation exists. If not, it appears in grey using the default system language.
- If you have permission to edit a field, and that field is multilingual, you can enter or update translations in all available languages in your environment.
Entering or editing translations
- Click the translation icon next to the field.
- Enter or modify the desired translations.
- Click Validate or Save, depending on the case.
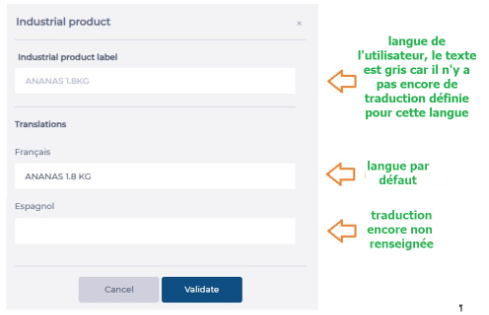
Example
The following example shows the entry field for the name of an industrial product. The user’s language is English, but the data has not yet been translated. It therefore appears in the server’s language — in this case, French.

Note that the name appears greyed out, indicating that it has not yet been translated into English.
The user can then click the small translation button:

A panel appears showing which parts are already translated and which are not.
Non-exhaustive list of multilingual fields
| Subject | Translatable Field |
|---|---|
| Ingredient | Ingredient name |
| Ingredient family name | |
| Ingredient production unit name | |
| Industrial Product | Industrial product name |
| Industrial product composition | |
| Country / place of origin name | |
| Label name | |
| Allergen name | |
| Industrial product family name | |
| Industrial product range name | |
| Industrial product category name | |
| Industrial product quality name | |
| Industrial product storage zone name | |
| Supplier Product | Supplier product name |
| Recipe | Recipe name |
| Commercial recipe name | |
| Recipe category name | |
| Recipe steps name | |
| Production workshop name | |
| Transformation type name | |
| Menu | Menu name |
| Meal component name | |
| Service name | |
| Segment name | |
| Texture name | |
| Diet name | |
| Guest name | |
| Other | Analytical group name |
| Smart Selection rule name | |
| Smart Grammage name |