


Note: Chaque action effectuée sur l'application est payante. Si vous ne parvenez pas à effectuer les actions recommandées dans les articles que vous consultez, cela peut signifier que les droits nécessaires ne sont pas activés pour votre profil utilisateur. Contactez l'équipe d'assistance ou votre administrateur pour en savoir plus.
Départ de : Le menu Easilys.
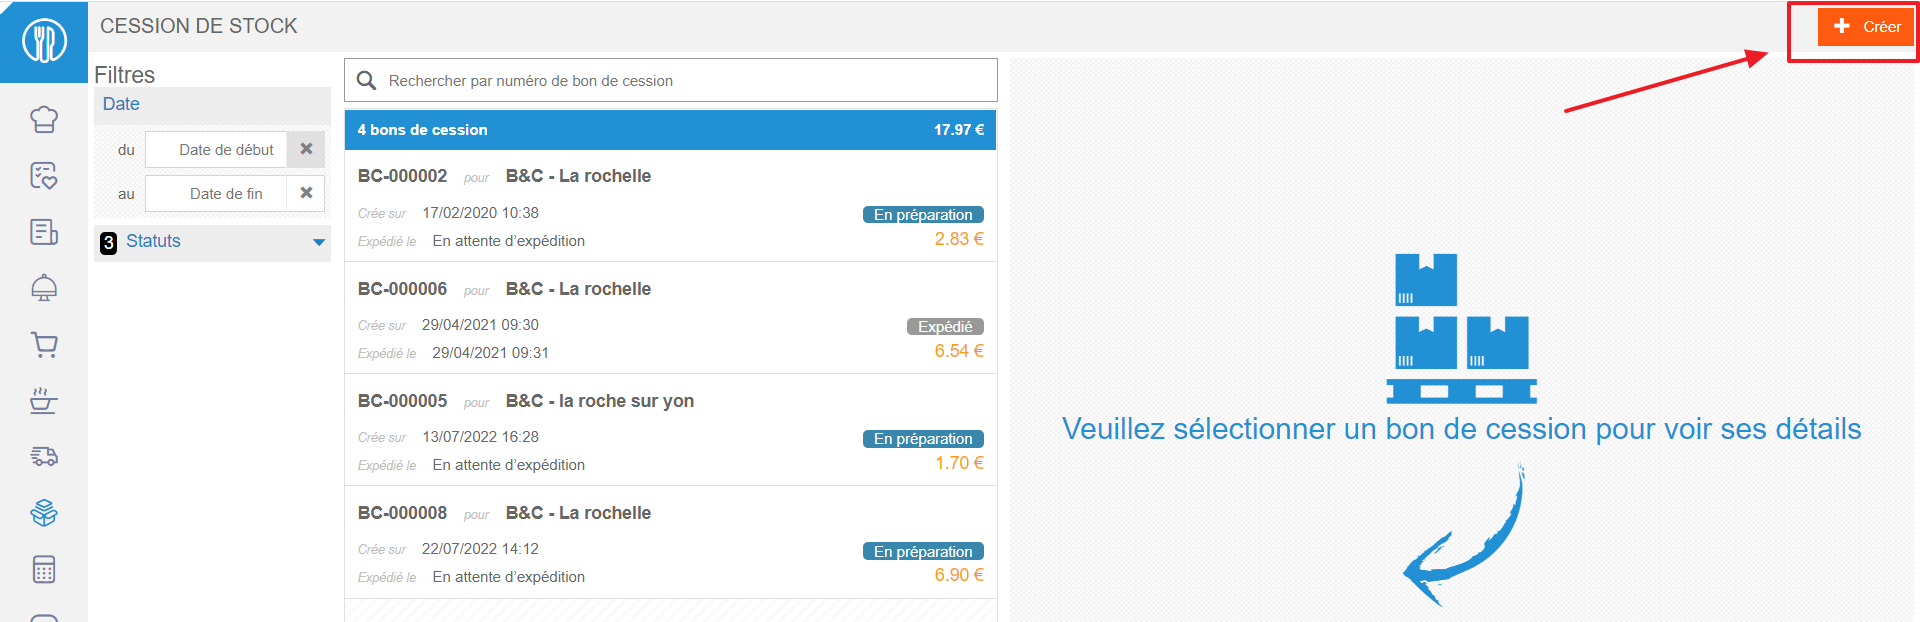
- Sélectionner Stock > Stock transfer.
- Sélectionner +Create at the top right of the screen.
UN new stock note appears on the right-hand side of the screen.
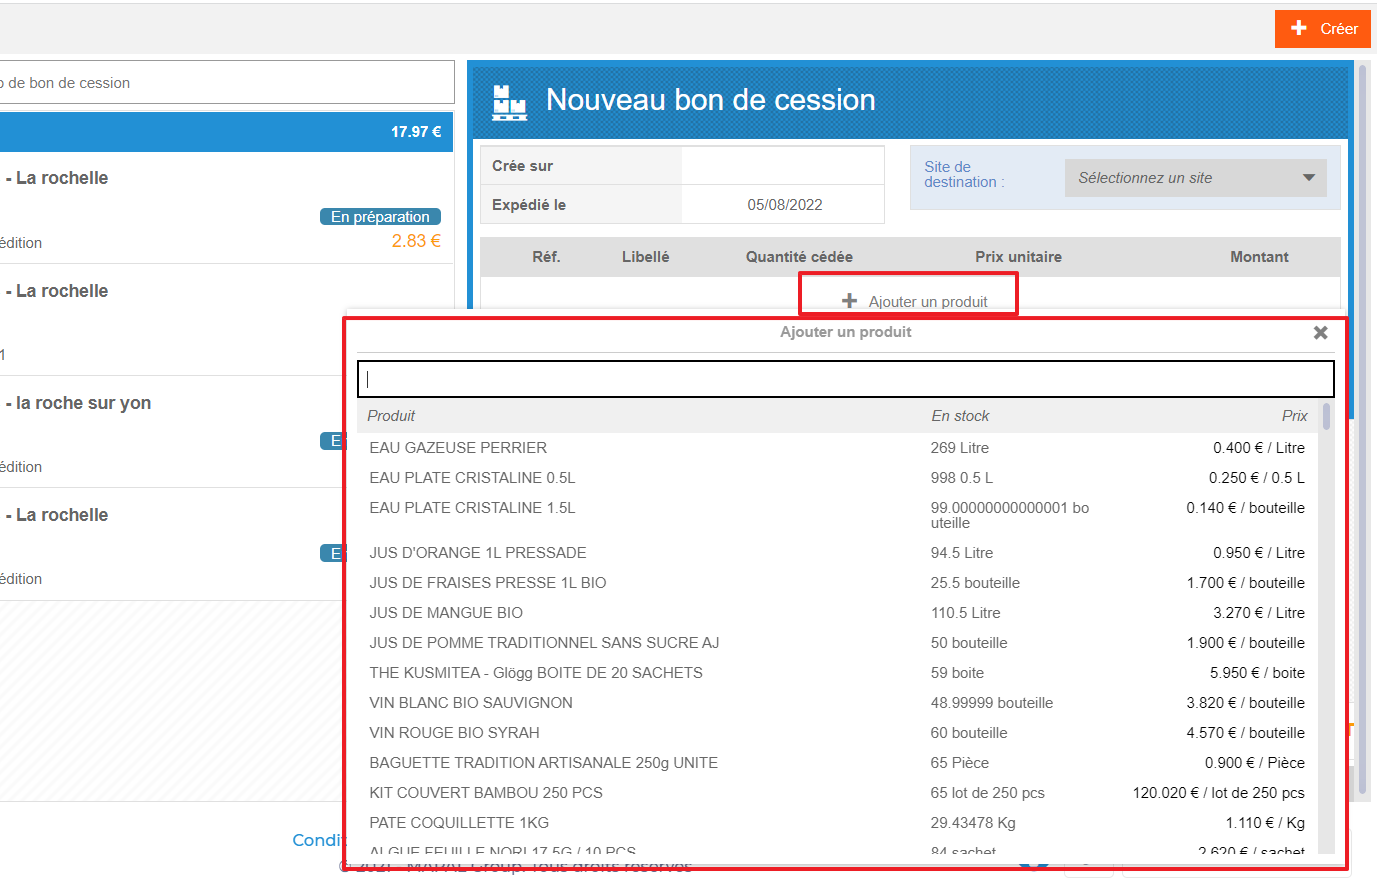
- Sélectionnez le site de destination for the stock transfer.
Note: To view destination sites, the transfer tag must be present on both the transferring and receiving sites.
To find out more, consult the resource Set up the transfer of stock between different sites.

- Sélectionner + Add a product to search for the item you wish to sell.
In this way, only products currently in stock on the site appear in the list.
- Indiquez le quantity you wish to transfer in the Qty transferred boîte.
- Modify the unit price si nécessaire.
- Ajouter un commentaire si nécessaire.

- Sélectionner Sauvegarder at the bottom of the stock note.
Le transfer note is created. It appears in the list of available transfer notes on the left of the screen.
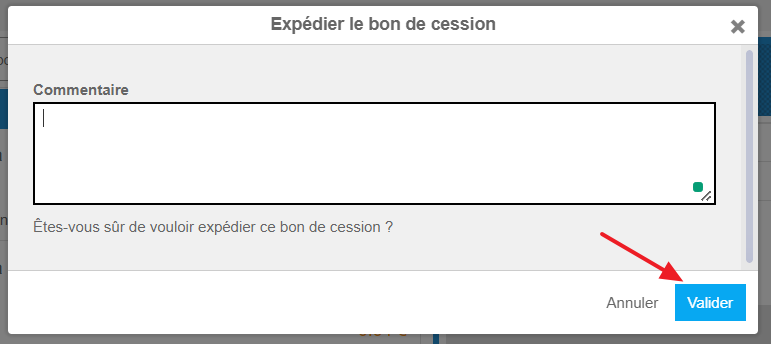
- Sélectionner Dispatch to finalize the stock transfer.
Le Send the transfer order une fenêtre apparaît.

- Ajouter un commentaire si nécessaire.
- Sélectionner Valider.
The products included in the stock transfer note are then removed from the stock of the site transferring them.
UN credit invoice is created on the seller's site. On the destination site, a reception note is created with the status In progress.
- Valider the receipt when you actually receive the products.

Produits go into stock.