Manage storage in the Documentation module
Start from: the Workforce module.
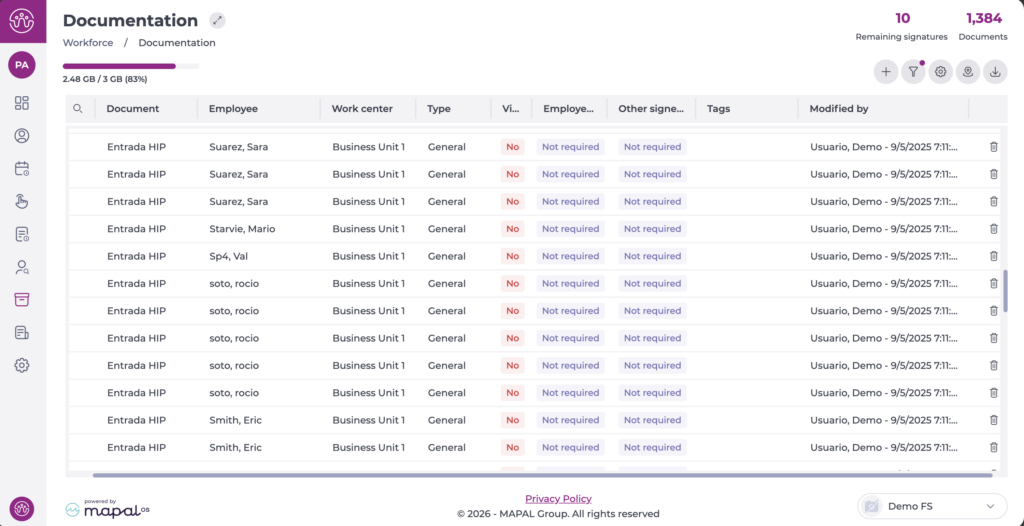
You can review the configured storage, showing both used and available space:
- Navigate to Documentation.
- The storage used is displayed in GB and as a percentage in the top left of the main screen.