Create an ad hoc deviation
Start from: The Compliance local overview.
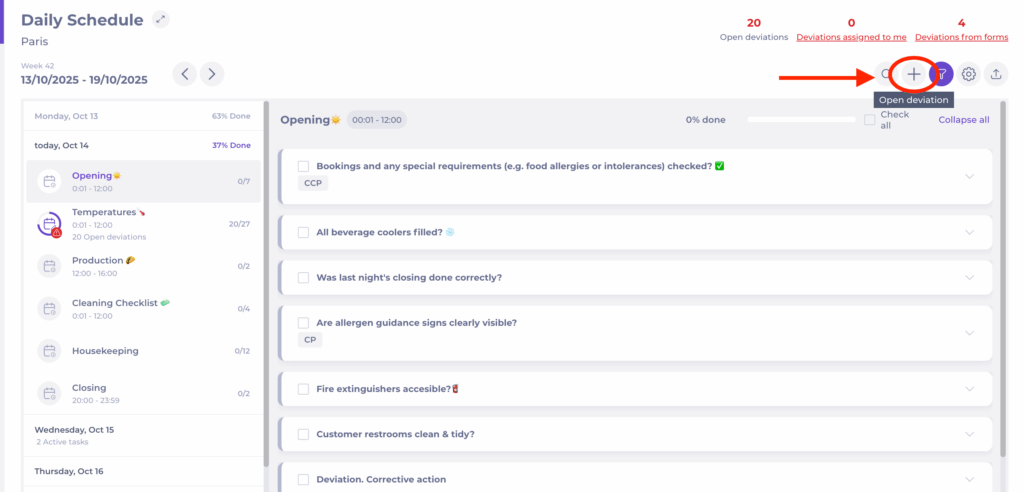
- Navigate to Daily Schedule.
- Select the Checklists view at the top of the screen.
- Select the + Open deviation button.
- On desktop, the button appears at the top of the checklist.
- On mobile, the option is available from the checklist action menu (three dots).

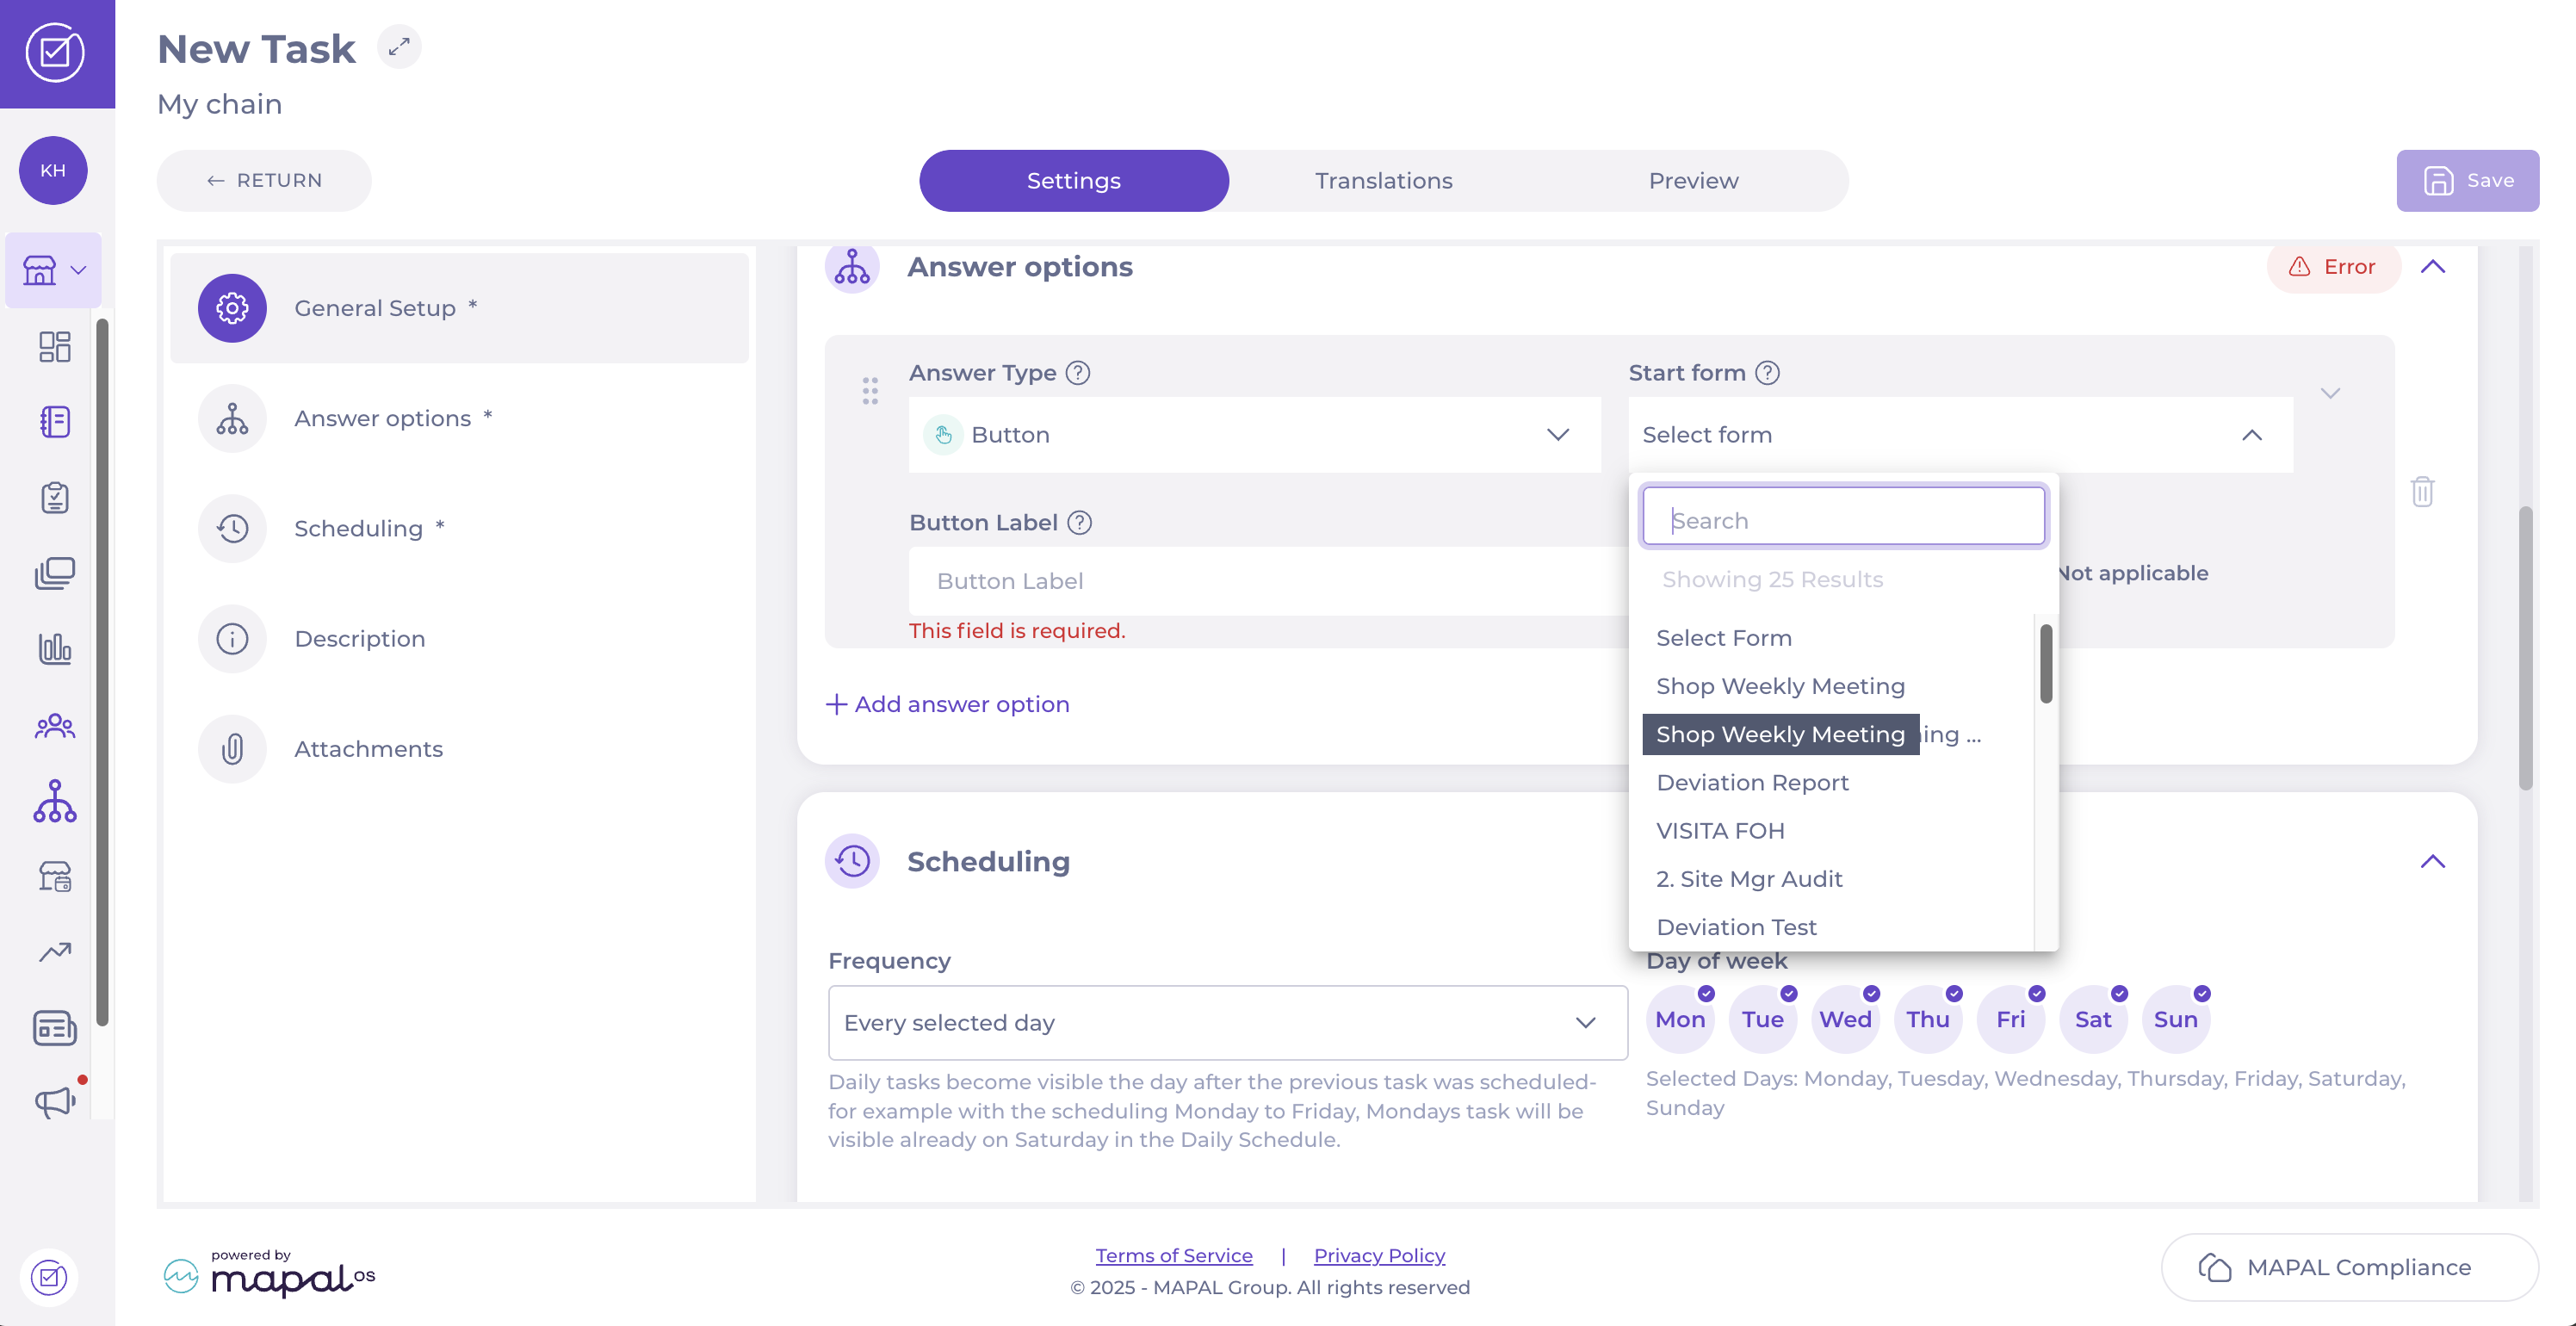
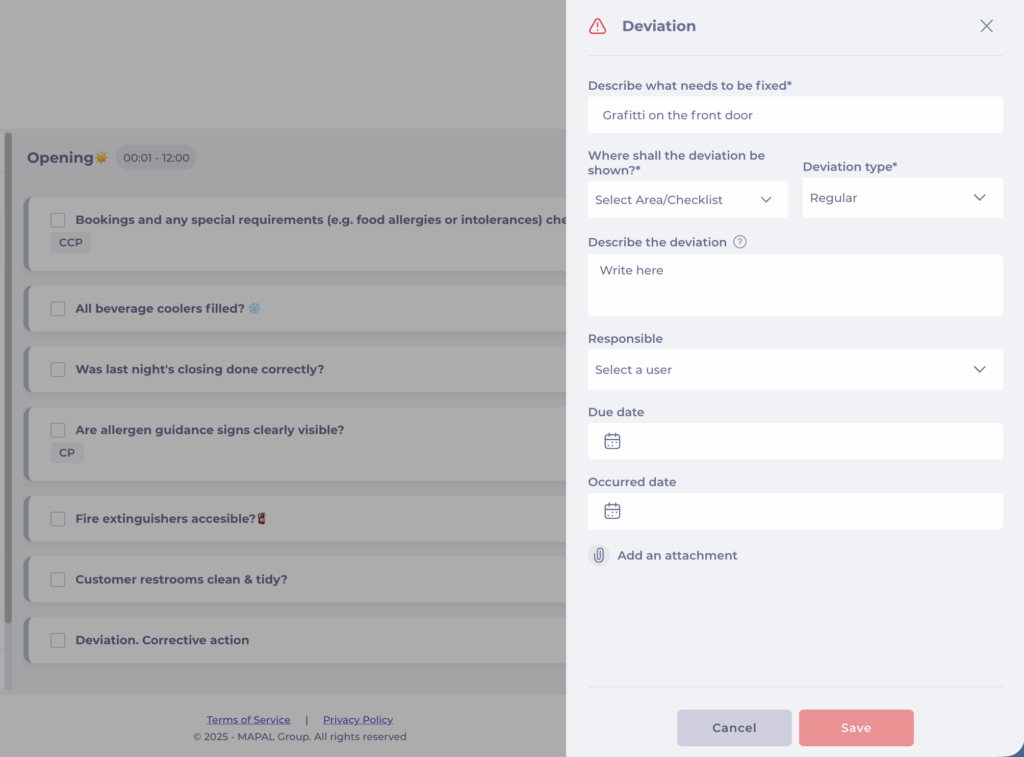
- Complete the required fields to describe the deviation:
- Describe what needs to be fixed*: give a short, clear name for the issue.
- Where shall the deviation be shown?*: Select the Area/Checklist where you want the deviation to appear.
- Deviation type*: Describe what type of deviation is this.
- Describe the deviation: explain what happened and how it was identified.
- Responsible user: assign who will handle the deviation.
- Due date: specify when the corrective action should be completed.
- Occurred date: specify when the deviation happened.
- Add an attachment: upload a file or picture to add more relevant information to the reported deviation.
- Select Save to create and publish the deviation.
The deviation will now appear in the selected checklist and can be managed like any other compliance deviation; tracked, resolved, and closed once the corrective action has been completed. To know more about how to respond to deviations, see Respond to deviation reports.