Manually add finished products to stock
Start from: The Easilys menu.
MANAGE ENTRIES VIA RECEPTIONS
By validating a delivery receipt, you enter into stock all the products it contained, in the quantities specified.
A delivery receipt is automatically generated when you send an order from the "Supplier orders" screen, regardless of the sending method chosen. It contains all the products present on the purchase order.
To learn more, see the article Validate a delivery receipt.
It is also possible to generate a delivery receipt without an order directly from the "Receptions" screen.
This delivery receipt will not be linked to an order and you will need to manually indicate the products that should be found there.
To learn more, see the article Generate a delivery receipt without an order.
MANUALLY MANAGE ENTRIES FROM STOCK
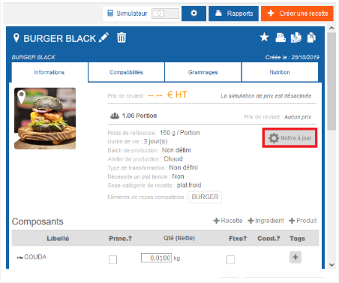
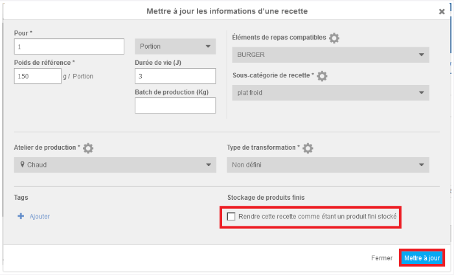
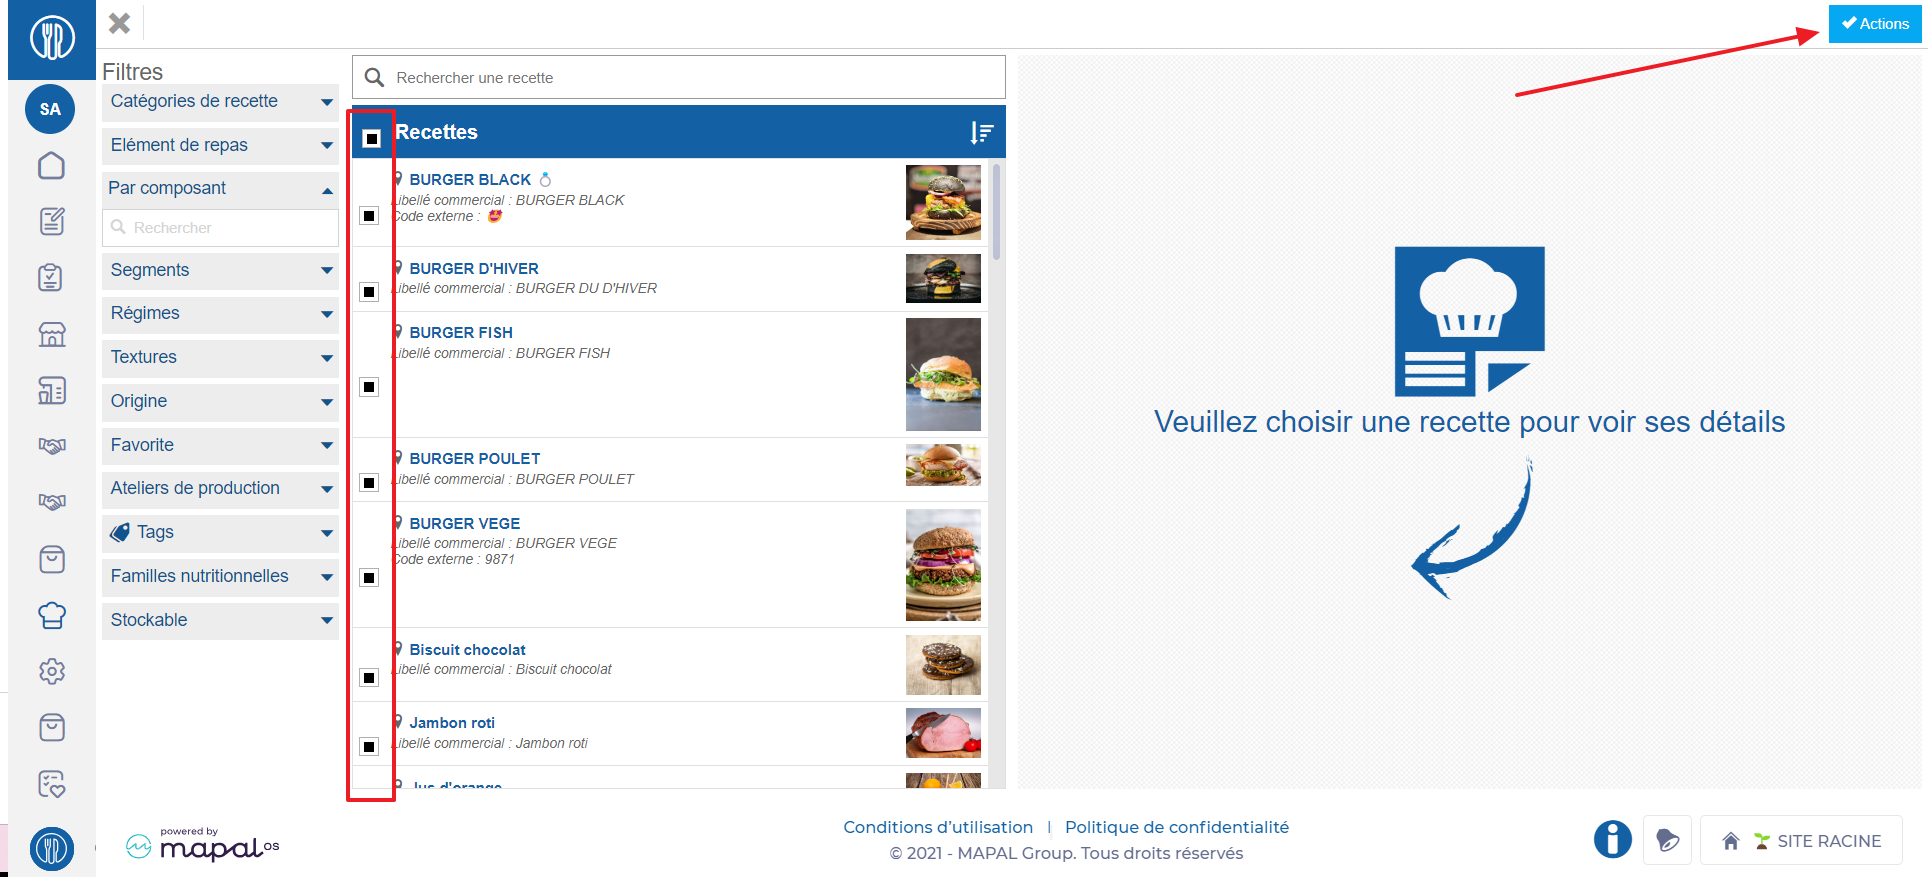
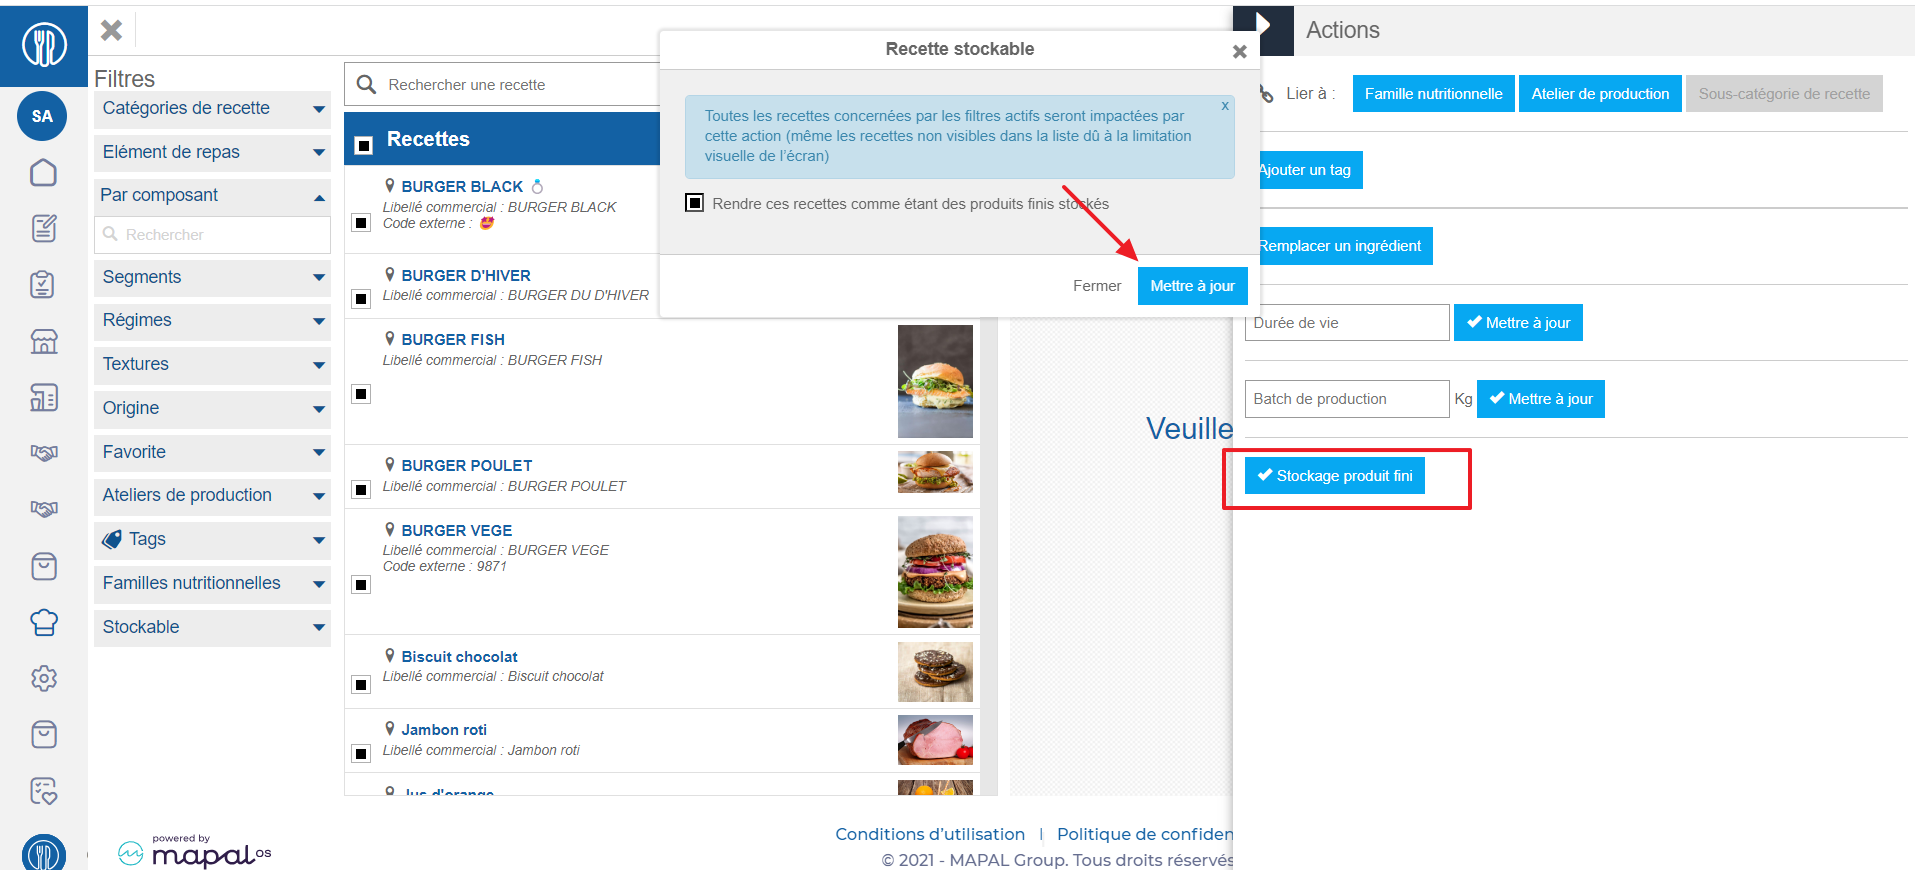
Finished products planned in the menu or ordered by child sites can be added to stock from the production management screen, as indicated in the article Manage finished product stock entries with Easilys assistance. If you want to add to stock a finished product that is not planned in the menus or that is ordered by a child site, then you can do so from the Stock screen, as indicated below.
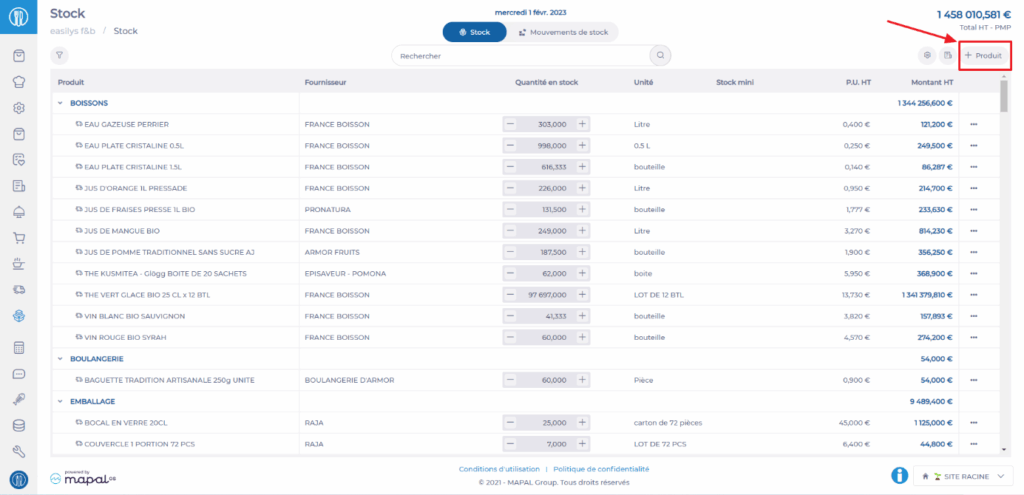
- Select the tabs Stock > Stock V2.
- Select +Product.
- Select Finished product.
The "Add a finished product" screen appears.
- Search for and select the product you want to add to stock.
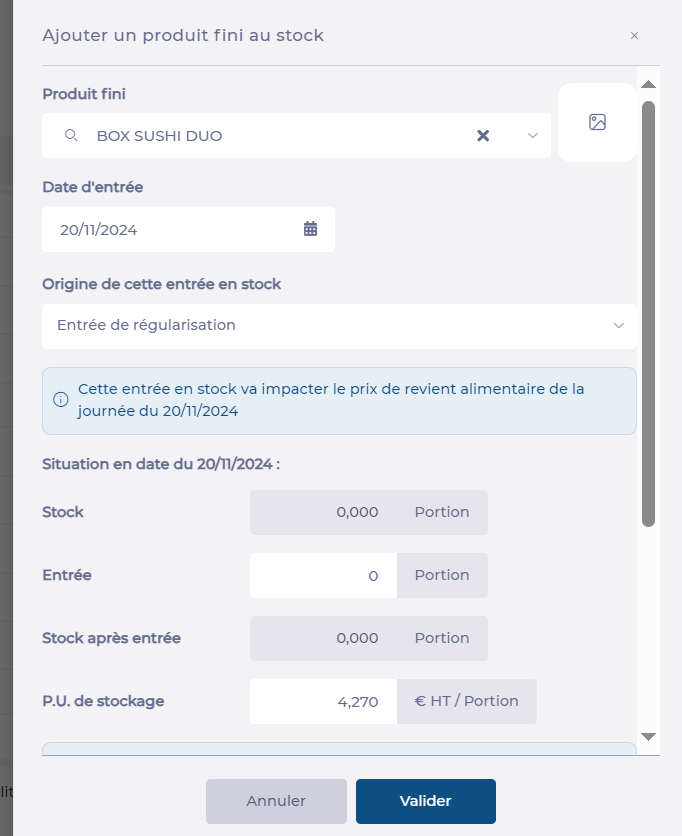
- Enter the stock entry date.
- Enter the movement type.

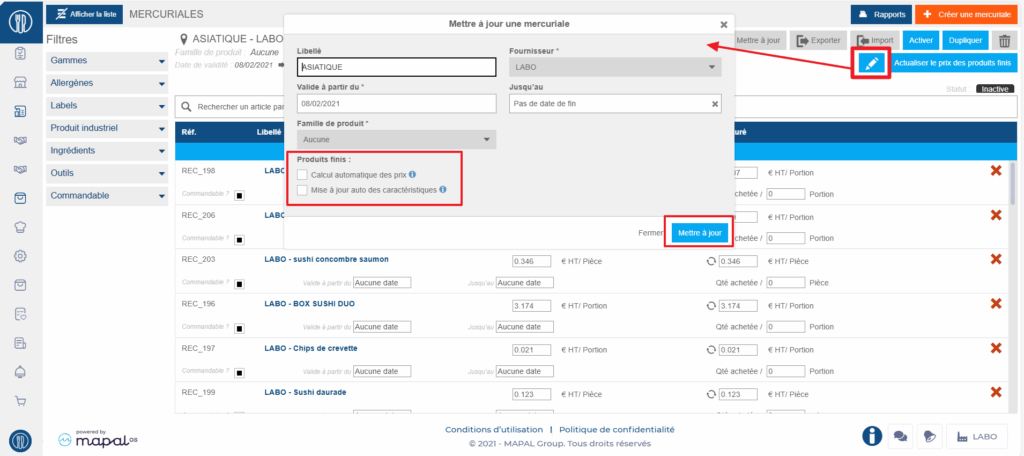
- You can optionally modify the unit price (note that this modification will only have an effect for this stock movement, if you want to permanently modify the unit price, go to the price list where the product is located to modify it).
- Indicate the quantity to enter.
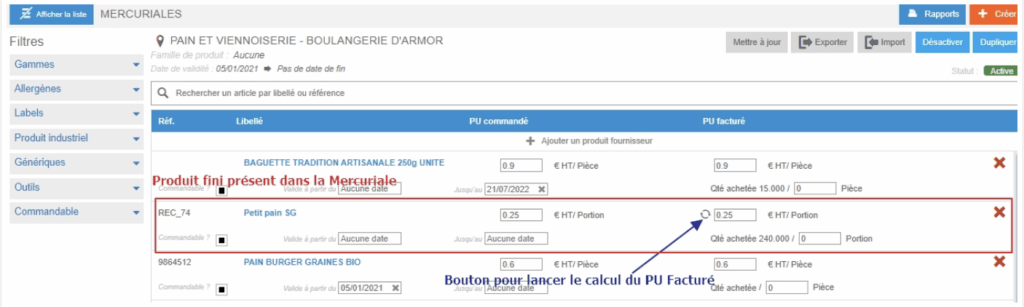
- You can if necessary modify the unit price manually.
- You can also ask Easilys to recalculate the price based on other calculation options. In this case:
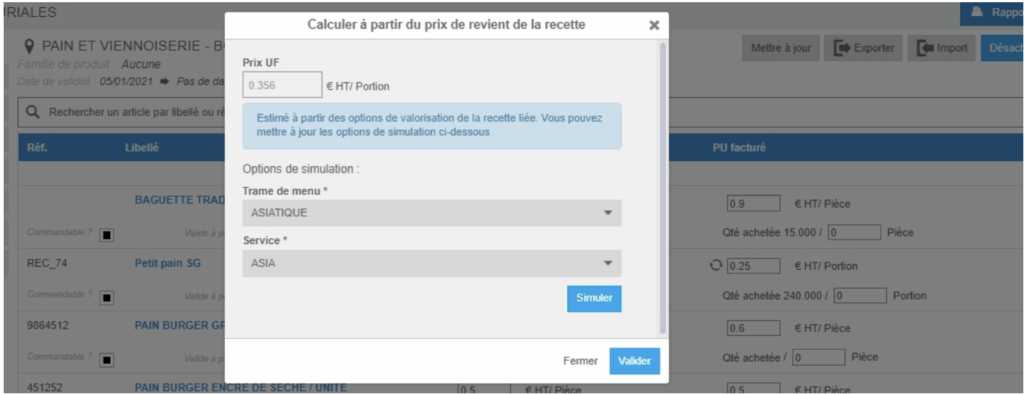
- Click on Calculation options
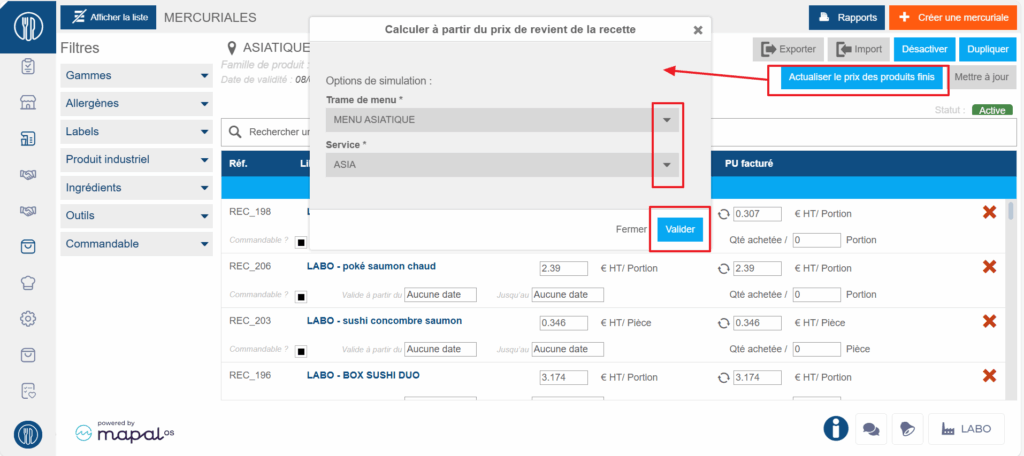
- Select the template and the desired service for the valuation calculation
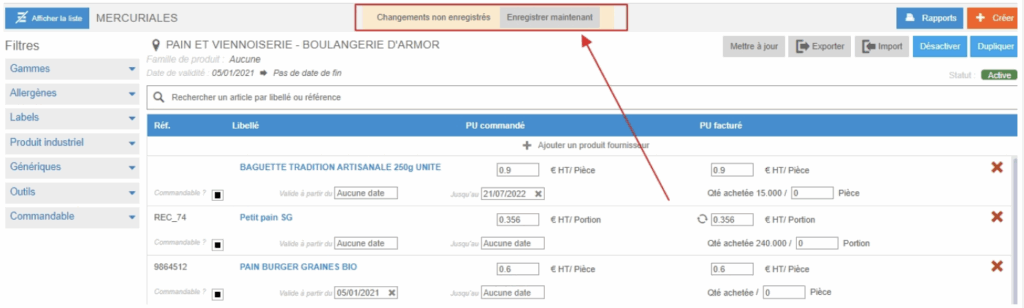
- Click on Calculate. A message indicates that the price has been updated
- You can add a comment if needed.
- Select Validate.
The product quantity is added to stock on the selected date.