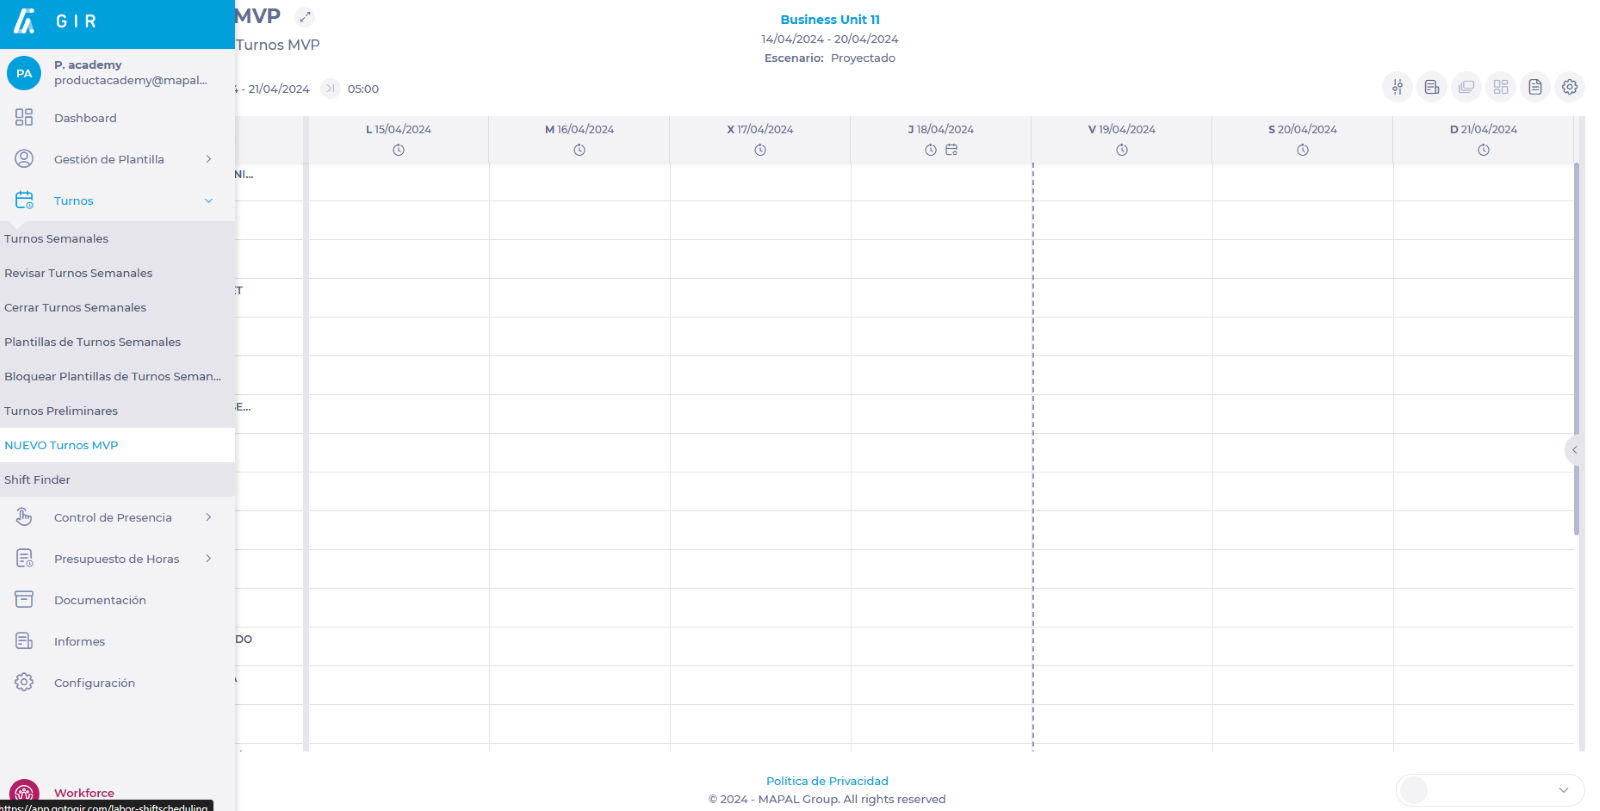
Start from: The Workforce module.
- Select Scheduling > Scheduler 2.0 from the main menu.
- Configure the scheduler to access the main grid.
To configure, see Access the shift scheduler.
View employee information
The scheduler displays key employee information to facilitate decision-making. The following display options can be viewed on each employee card:
- Name: Full name of the employee for quick identification.
- Category: Role or classification within the company.
- Default workstation: The main workstation assigned to the employee.
- Fixed contracted hours: Total fixed hours according to the employee's contract.
- Employee shift requests: Shift preferences requested by the employee.
- Employee alerts: Notifications about schedule restrictions, conflicts, or non-compliance.
- Employee counters/KPIs: Key performance indicators related to working hours and productivity.
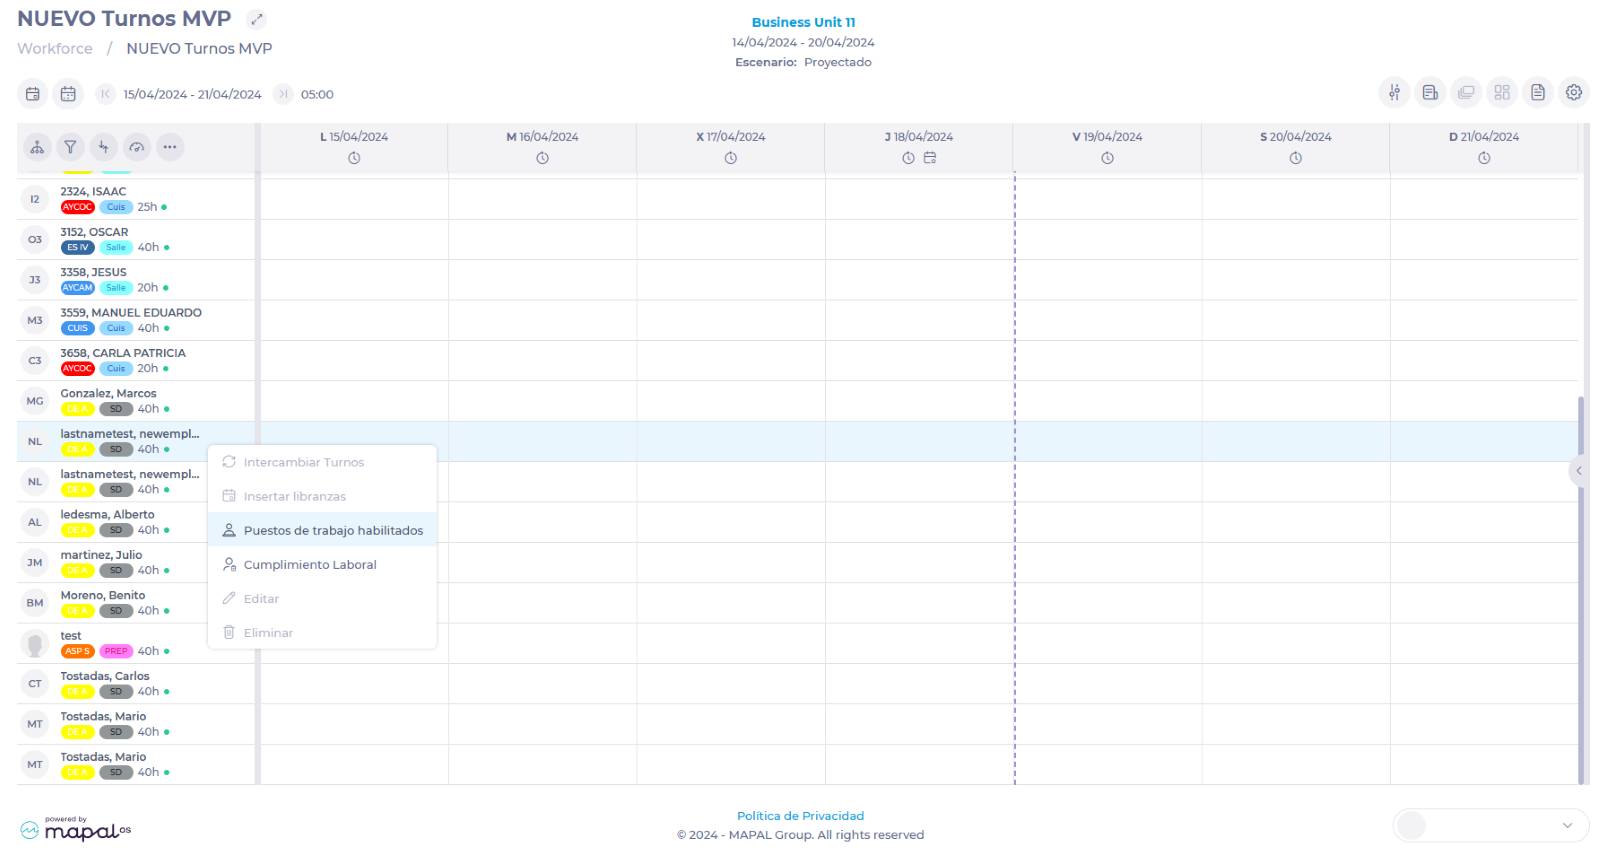
Employee actions
To efficiently manage schedules and shift assignments, Workforce allows managers to perform various actions on employees, such as swapping shifts, assigning days off, enabling workstations, and monitoring labor compliance. These functions ensure better staff distribution and proper control of working hours.
Configure shifts and days off
Workforce allows managers to assign and remove shifts or days off to specific employees without affecting the rest of the staff. They can be inserted on any date without assigned shifts or only on mandatory days off according to the employee's contract, ensuring compliance with labor agreements.
For more information, see Create a shift manually in the shift scheduler.
Swap shifts and days off
Managers can swap shifts and days off between employees to balance the workload, ensure regulatory compliance, and adjust operational planning when necessary. Swaps are subject to permission restrictions and schedule status, ensuring they are only performed during active periods and within assigned business units.
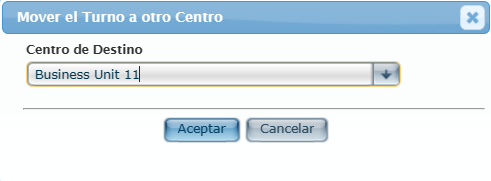
Add or remove employees from a business unit
Managers can manage the assignment of employees in a business unit, allowing them to add new employees or remove those who are no longer part of the operation. This ensures the team accurately reflects the active staff in each business unit.
For more details on this process, see Add or remove employees from a business unit.
Assign favorite shifts or sequences to an employee
To optimize schedule assignment, managers can assign favorite shifts or predefined sequences to employees. This allows standardization of the most used shifts and ensures efficient and equitable scheduling.
See more information at Assign favorite shifts or sequences to an employee.
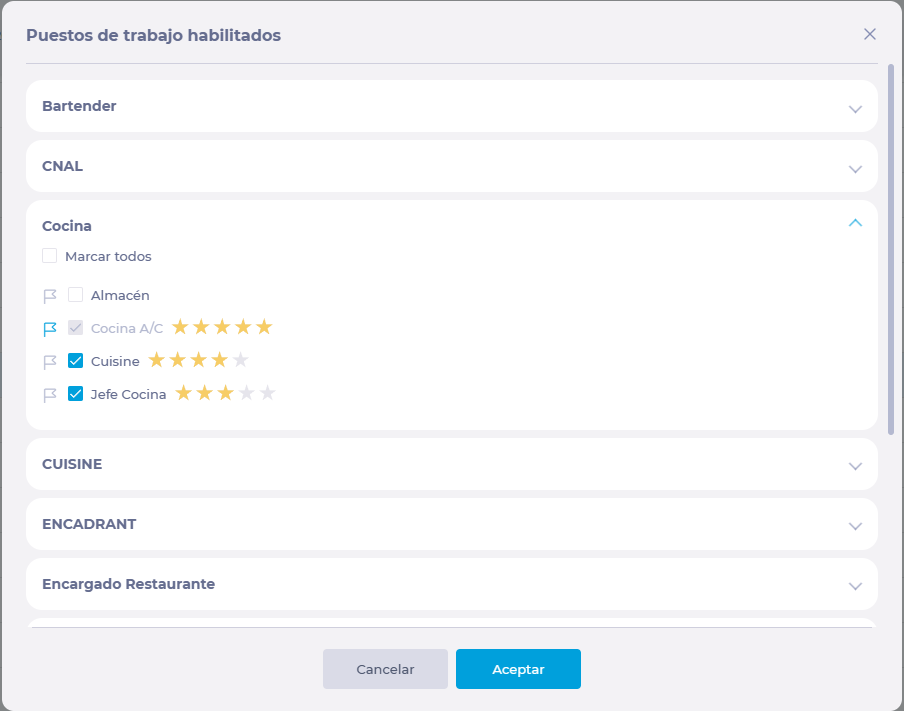
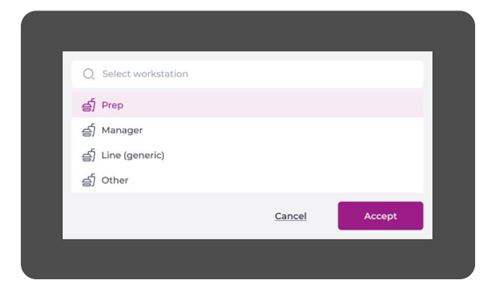
Enabled workstations
Each employee has a default workstation but can perform other functions according to their skill level. Workforce allows assigning additional workstations and classifying them according to the employee's experience, helping to prioritize the most qualified for critical tasks.
Learn more about this feature at Manage workstations.
Employee labor compliance
Managers can review key metrics on each employee's labor compliance, such as paid time, differences between assigned and worked hours, and possible excesses or deficiencies in working hours. This helps ensure that shift planning complies with labor regulations.
See more details at View your team's labor compliance.


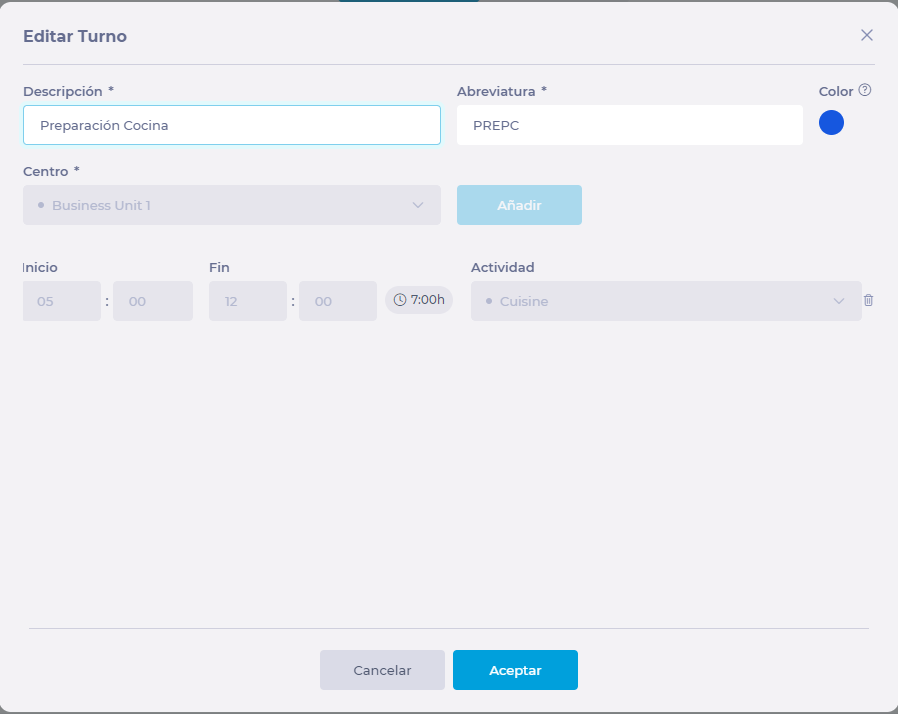 If you wish to delete the sequence, select the trash can icon in the shift's row and then press Delete in the confirmation pop-up window.
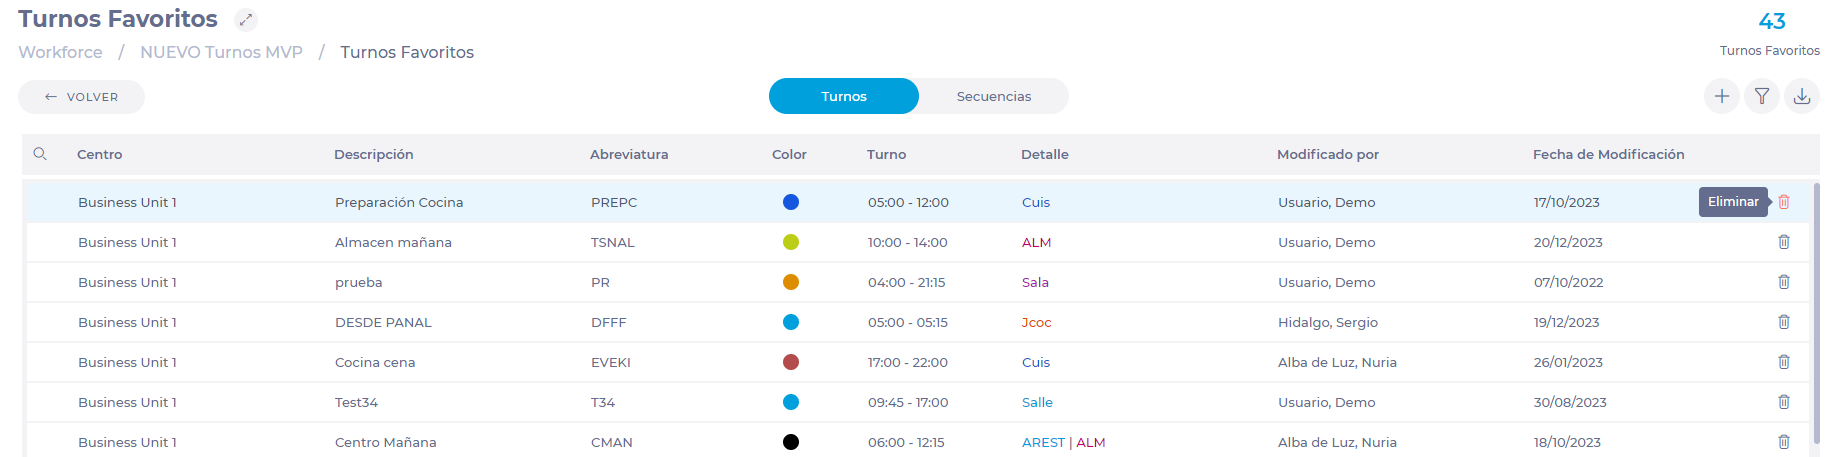
 To assign favourite shifts or sequences to an employee, see