Add days off in the scheduler
Start from: The Workforce module.
- Select Workforce > Scheduler 2.0 from the main menu.
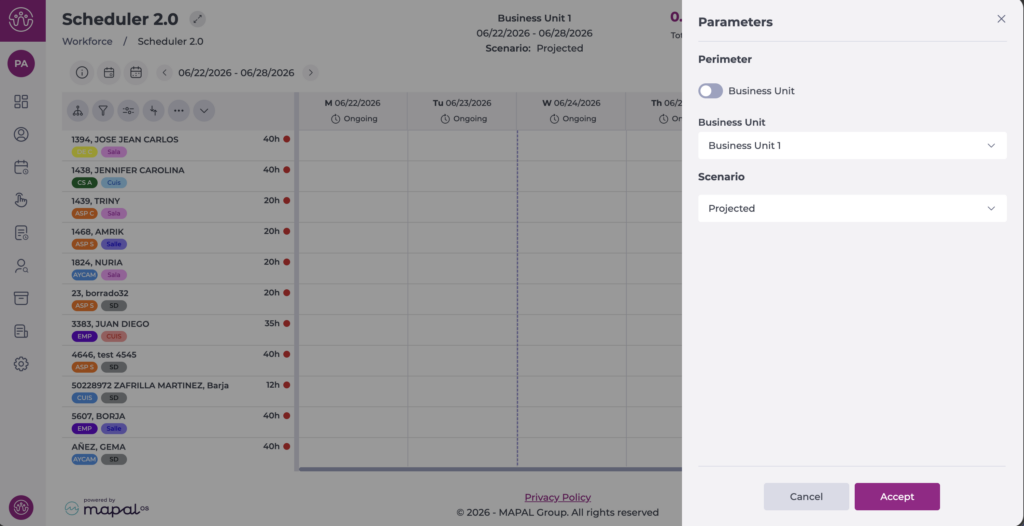
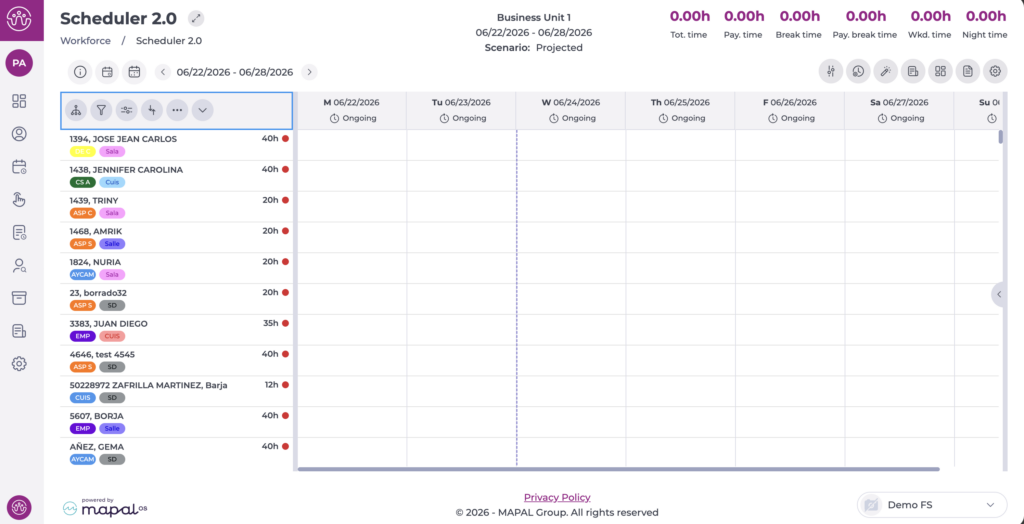
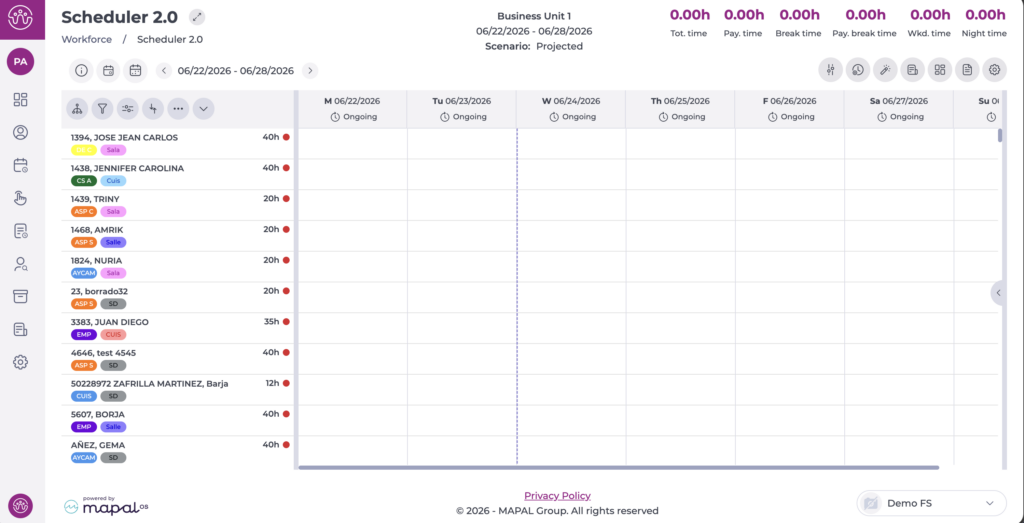
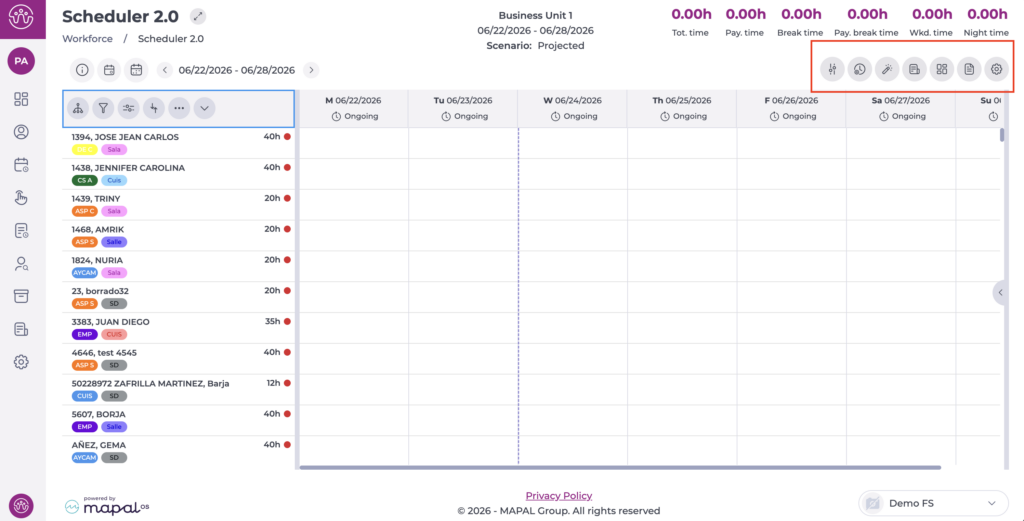
- Set up the scheduler so you can access the main grid. To complete the setup, see Overview: Scheduler 2.0.
- Once in the main grid, you can start scheduling employees' shifts and days off.
To learn more about creating manual shifts, see Create shifts manually in the scheduler.
There are two methods for creating days off manually in the scheduler. Both options are available in all views:
- Individual: lets you assign days off to a single employee by selecting the relevant date in each case.
- Bulk: lets you assign days off to several employees at once across the selected period, speeding up scheduling.
Create an individual day off
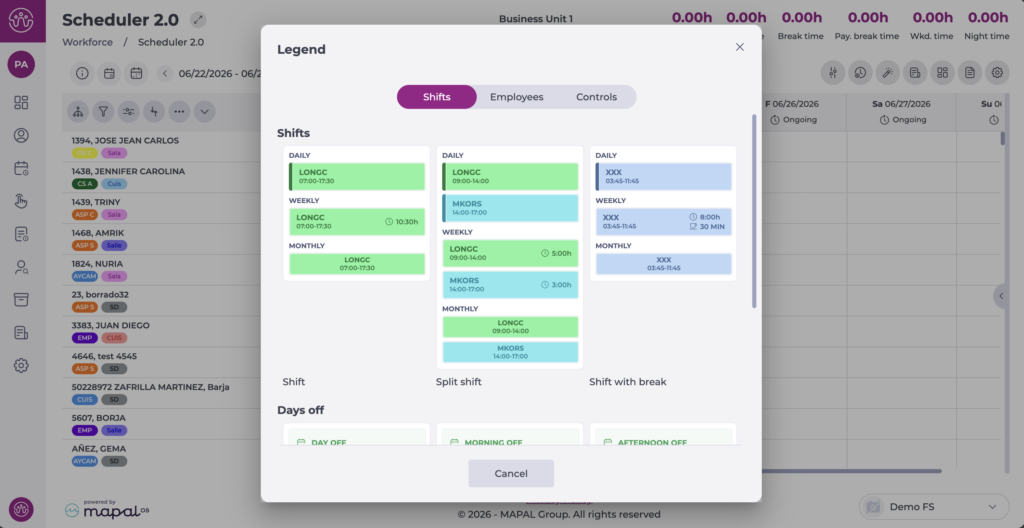
Time off lets you record an employee's planned absence. It can be assigned as a full day or half day, and it is available in all scheduler views.
For half-day absences, the system automatically uses the morning or afternoon hours defined in the opening hours of the employee's default business unit. For more information, see Set opening hours.
To create a day off, follow these steps:
- Locate the employee and the day where you want to assign the time off on the grid.
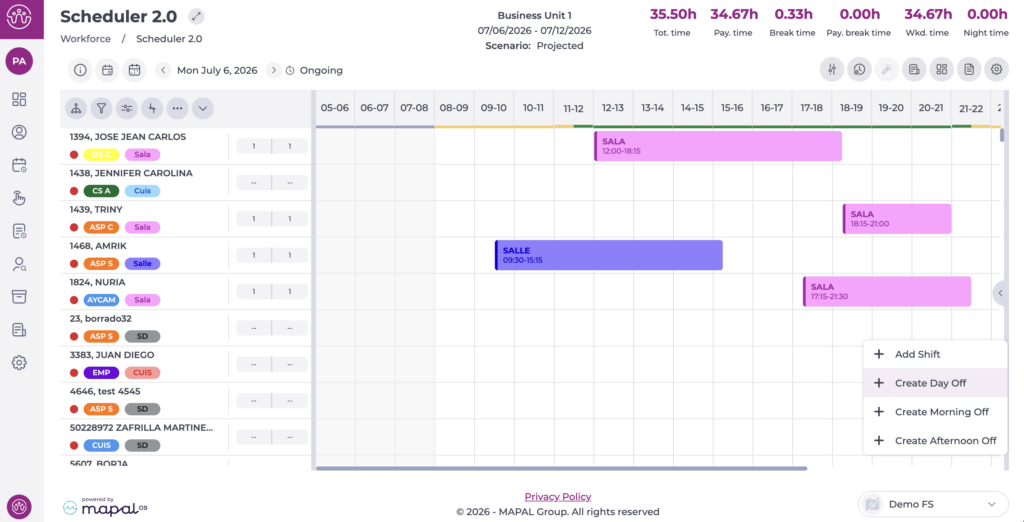
- Right-click the cell for that day and employee to open the menu.
- Select one of the three options as appropriate:
- Create day off
- Create morning off
- Create afternoon off
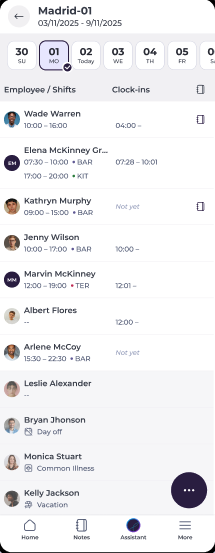
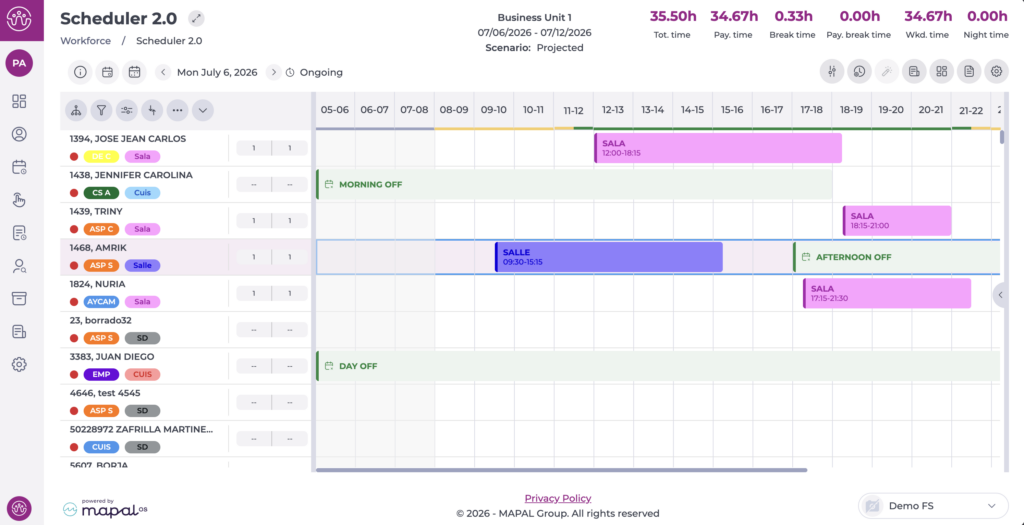
- The assigned time off appears on the grid, in the employee's row for the selected day.
Create bulk days off
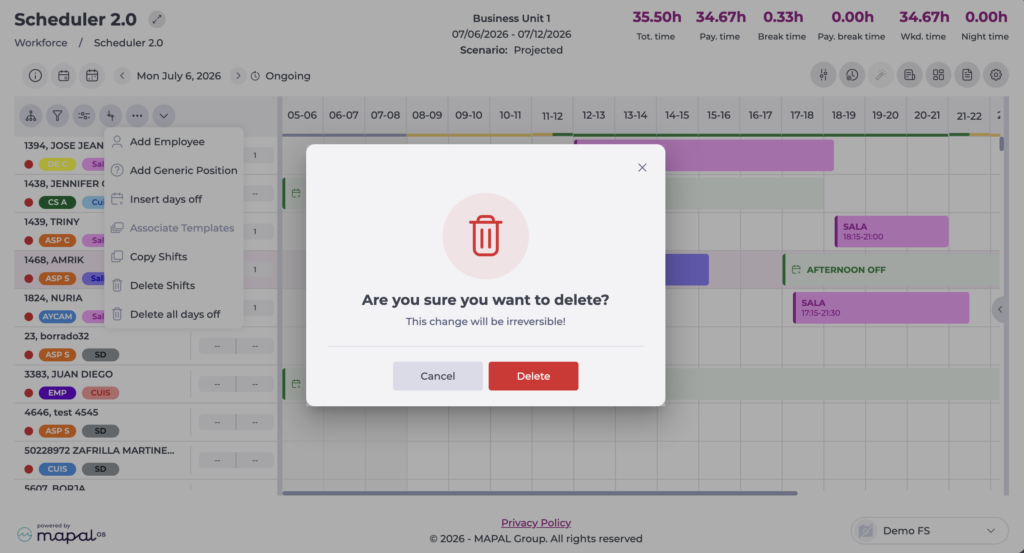
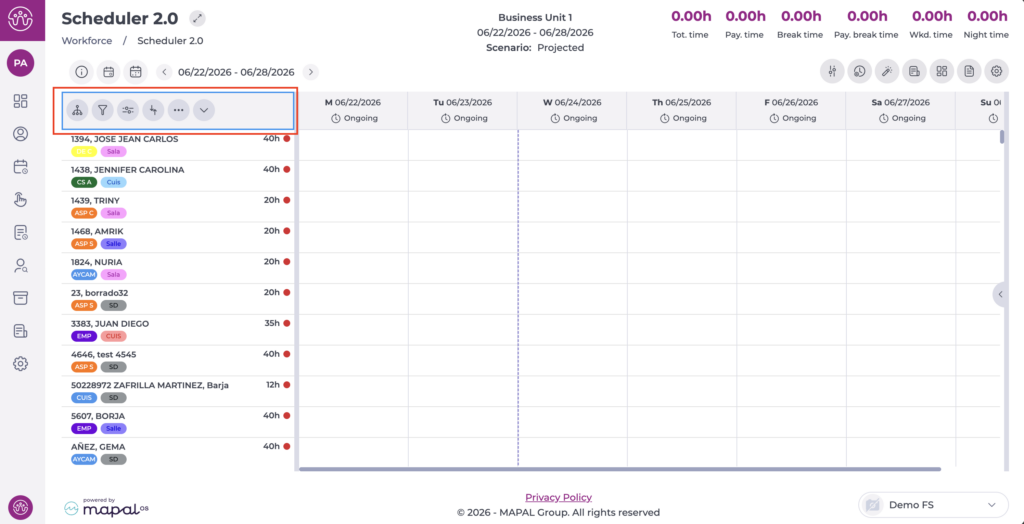
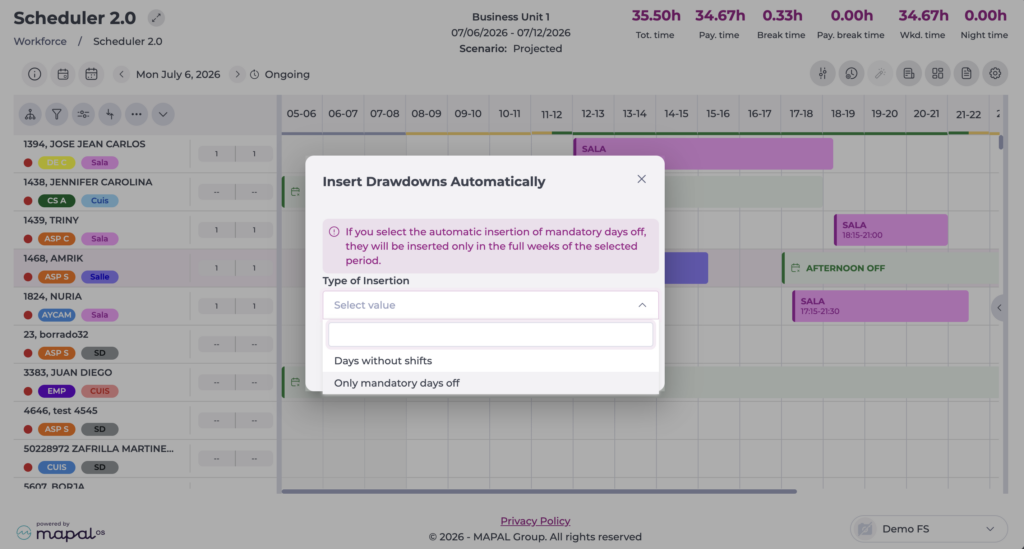
Lets you insert days off for the whole selected workforce across the period chosen beforehand. To do this, select the Insert days off option from the action menu (...).
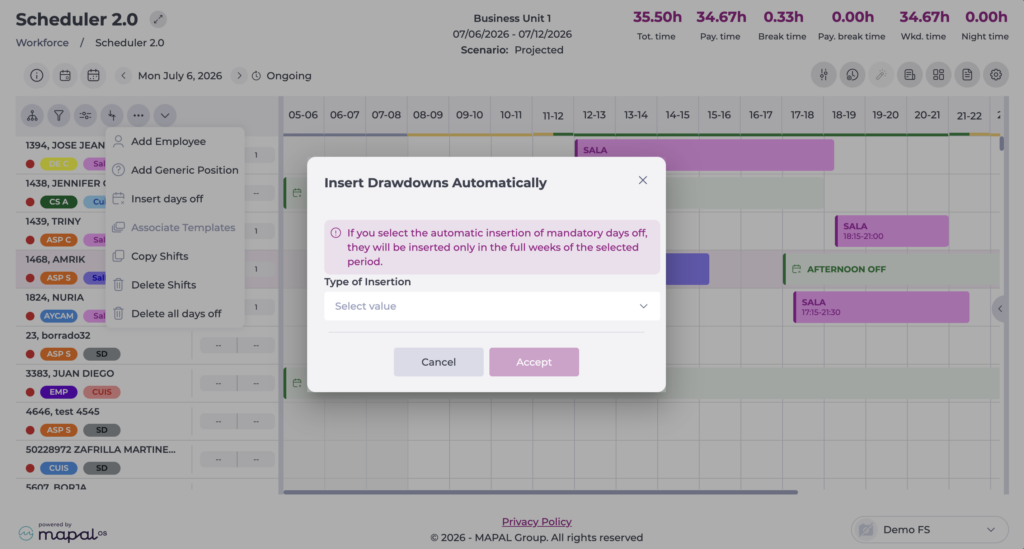
In the tab that opens, select whether you want to:
- Add only the mandatory days off, according to what is configured in the Contract or Collective agreement.
- Add days off on days with no scheduled shifts.
Delete days off
There are two methods for deleting days off, provided the shift status is in progress:
- Individual: lets you delete a specific day off for an employee by right-clicking the day off to delete and selecting Delete day off.
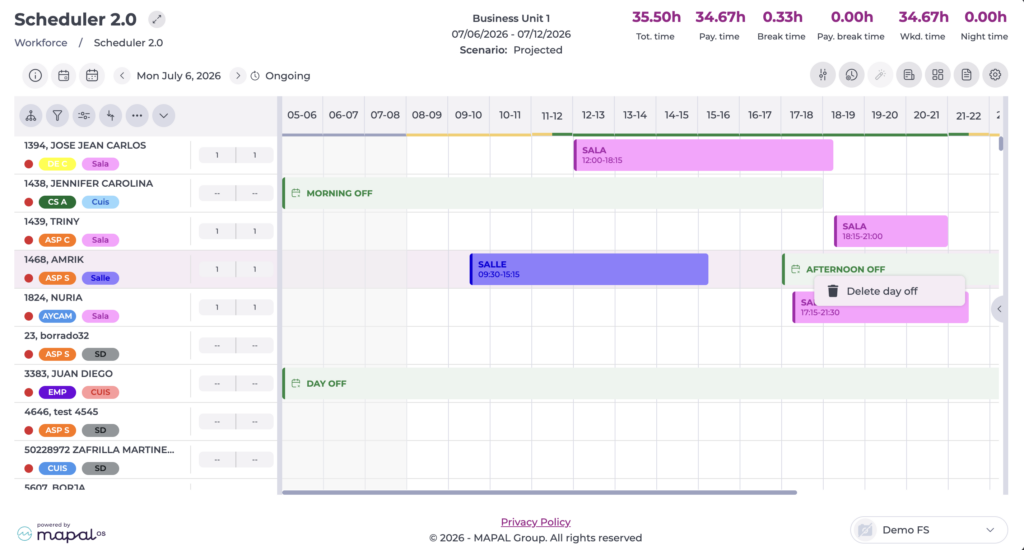
- Bulk: lets you delete days off for several employees at once across the selected period, speeding up management. To do this, select the Delete all days off option from the action menu (...).