


Start from: The Workforce module.
- Select Shifts > Scheduler 2.0 from the main menu.
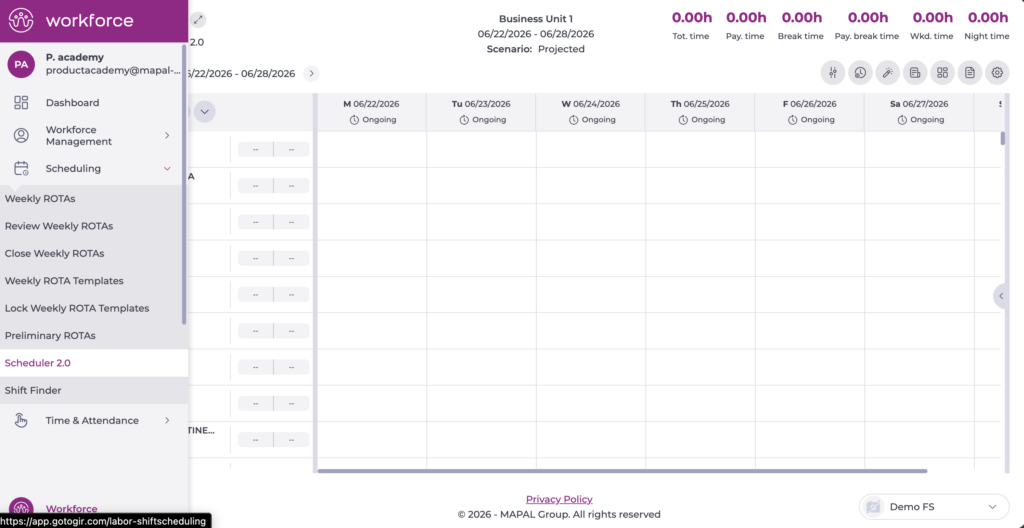
- Configure the planner to access the main grid. For details on how to set it up, see Overview: Scheduler 2.0.
- Once in the main grid, you can organise employees using the different actions available.
Group
Group employees by "type", such as contracts, positions, categories, etc.
- Select the Group button in the header above the employee list.
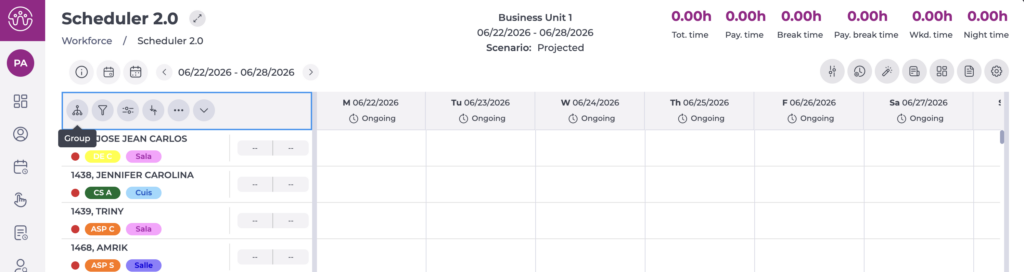
- Select the specific parameter you want to group employees by.
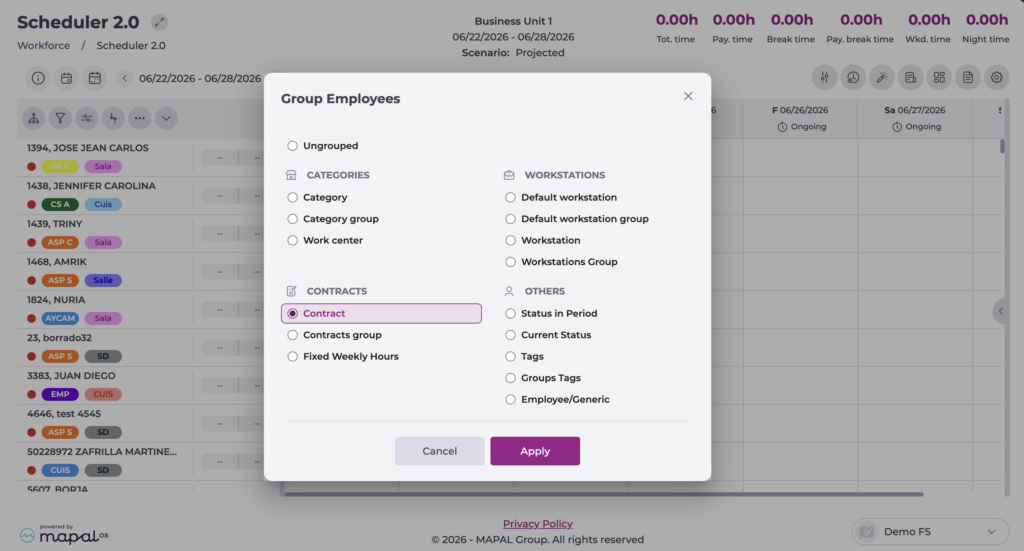
- Select Apply to group the employees OR select Cancel to discard the action.
Filter
The filter lets you see only the employees that meet the applied criteria.
- Select the Filter button in the header above the employee list.
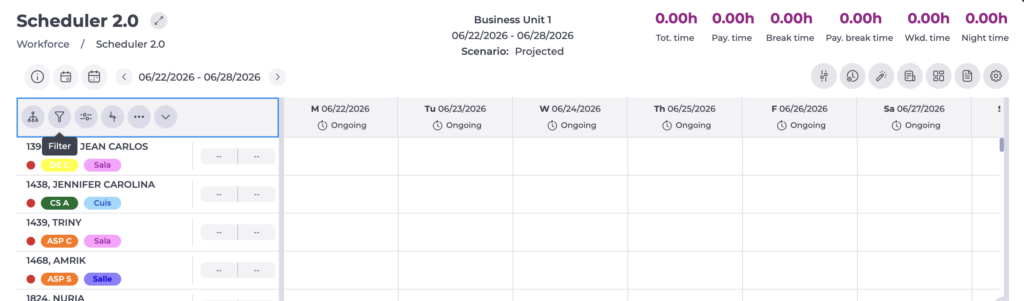
- Use the levels to refine your search. Each level narrows the available options, progressively refining the results for the next filter.
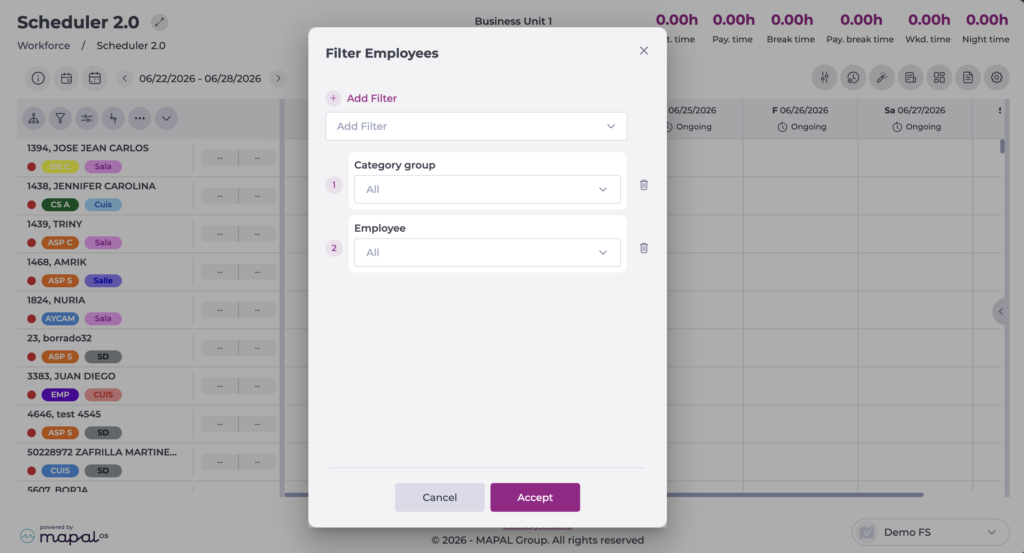
- Select OK to save the filter OR select Cancel to discard the action.
Shift filtering
This filter lets you see only employees who have shifts scheduled for the selected position. For example, if you filter by the Kitchen position, only employees with shifts scheduled in Kitchen will be shown.
- Select the Shift filtering button in the header above the employee list.
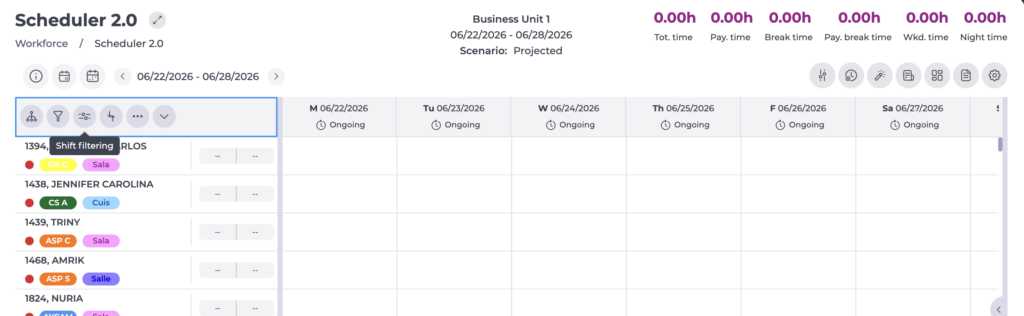
- Select the specific position (or positions) you want to filter employees by.
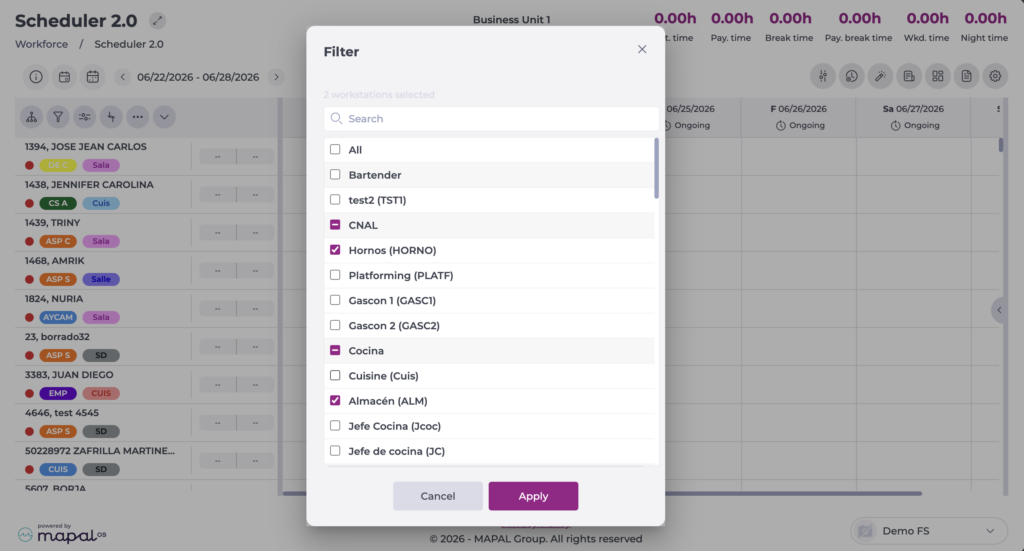
- Select Apply to save the filter OR select Cancel to discard the action.
Note: The ideal staffing calculations will also be affected by the filter.
Order
This option lets you display employees according to the criteria you select.
- Select the Order button in the header above the employee list.
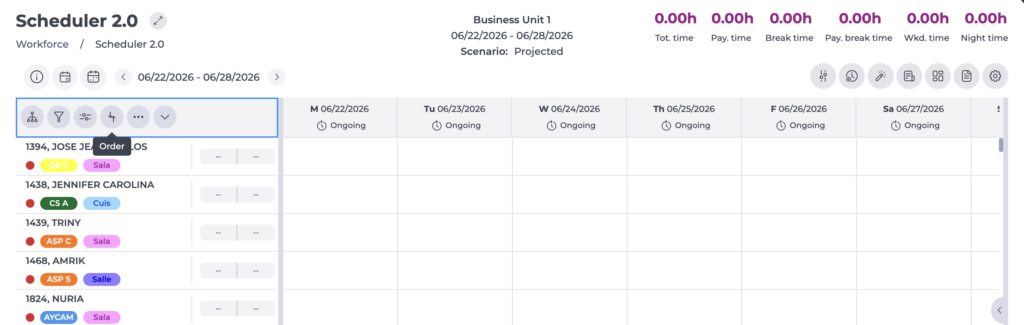
- Configure the levels used to sort the employee list. You can define one or more sorting levels to organise the information more clearly and make planning easier.

- Once the levels are set, use the arrows on each level to choose whether to display employees in ascending or descending order.
- Select OK to save the new order OR select Cancel to discard the action.
