Start from: The Workforce module.
- Select Scheduling > Scheduler 2.0 from the main menu.
To begin planning employee shifts, you must select at least the following the first time you access the planner, from the Parameters tab.
Note: The first time you access the planner, it will open on the current week. On subsequent visits, it will remember and automatically display the last selected week.
You must select:
- Business Unit or Business Units Group: use the dropdown to select the Business Unit you want to work with. To work with a Business Units Group, enable the relevant parameter.
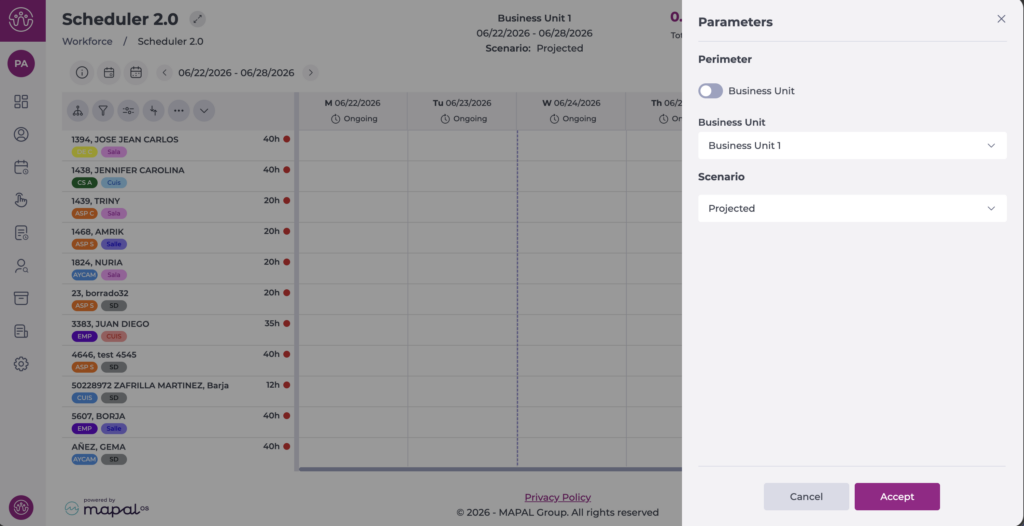
Note: To use site groups, you must configure them in advance in Cluster Settings.
- Display scenario:
- Projected: displays planned shifts, both future and past. All calculations are based on shift projections.
- Current + Projected: displays future planned shifts and uses actual clock-in data for the past. Calculations are based on projected shifts (future) or actual clock-in data (past) up to the day before the query date.
Once configured, the full grid is displayed and you can begin working in the planner.
Below is a summary of the available information and features.
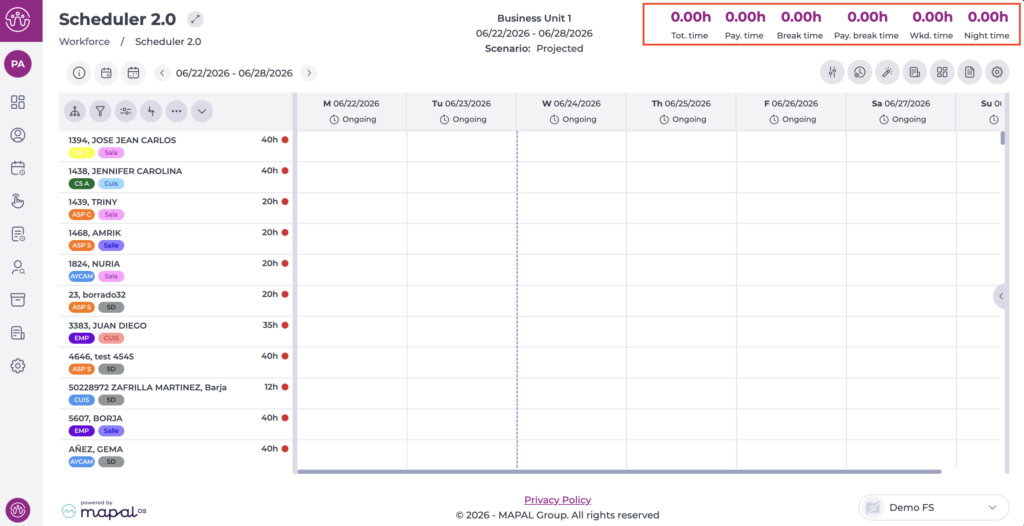
The header displays the selected site or sites, the query date, and the previously chosen scenario.
General screen information
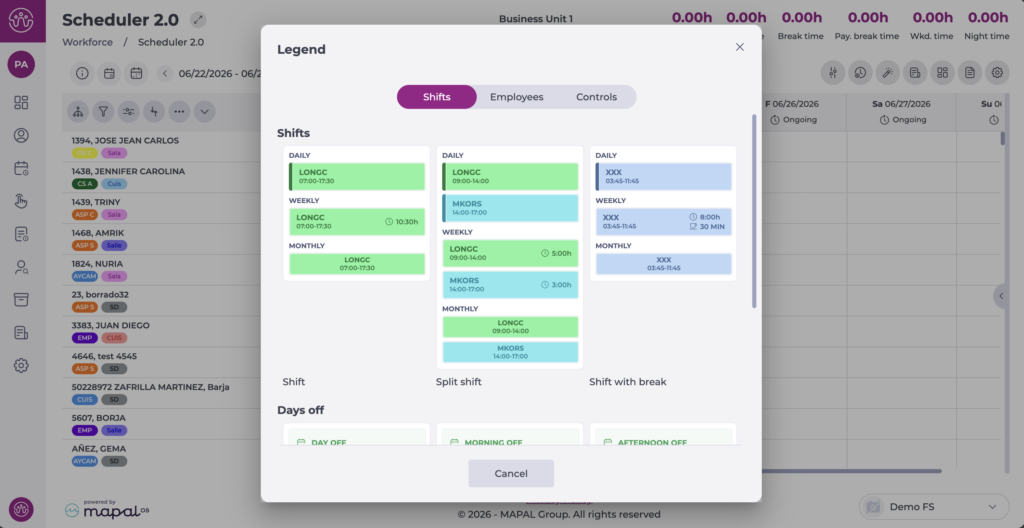
At the top of the screen you will find an information button i. This section contains the references used on the shifts screen. There are three sections: Shifts, Employees, and Controls.
View by date and period
At the top of the screen you will find two buttons and a date indicator. This section allows you to adjust the view by time period or specific date, move between weeks, or use the calendar to select a new date.
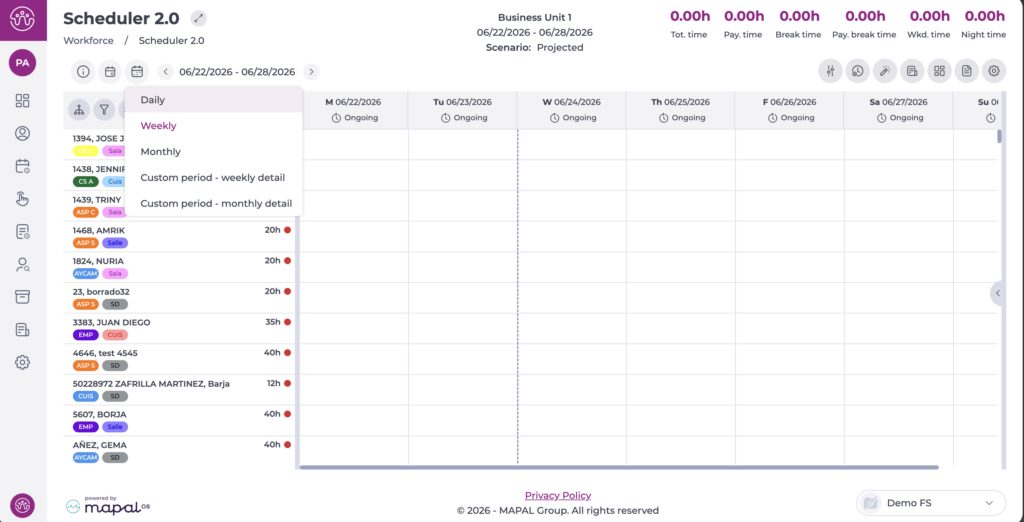
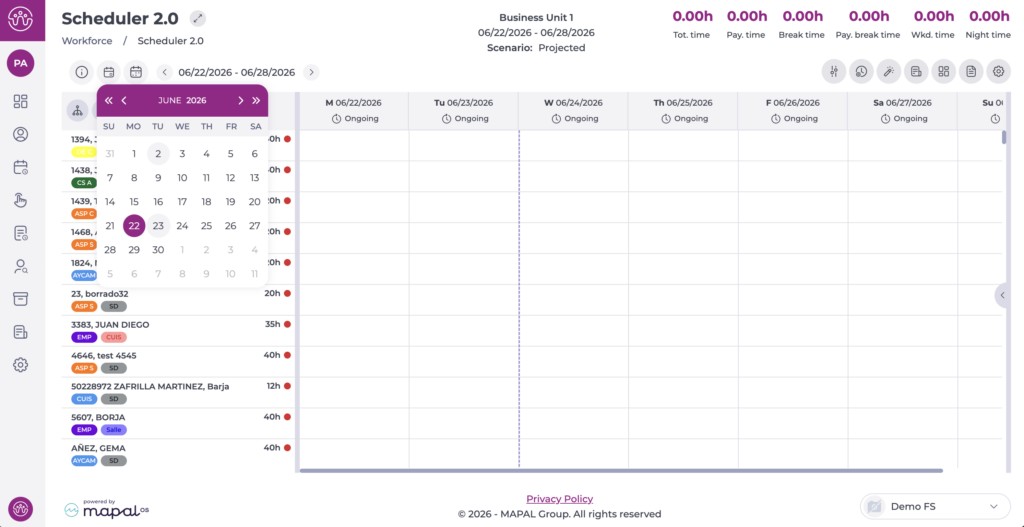
For more information, see Customise the shift scheduler view by date.
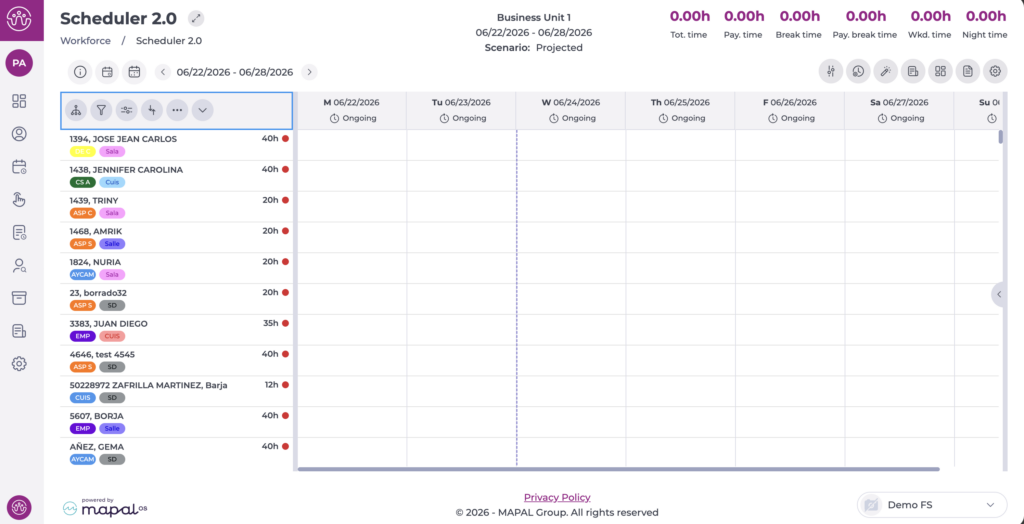
Employee list and organisation options
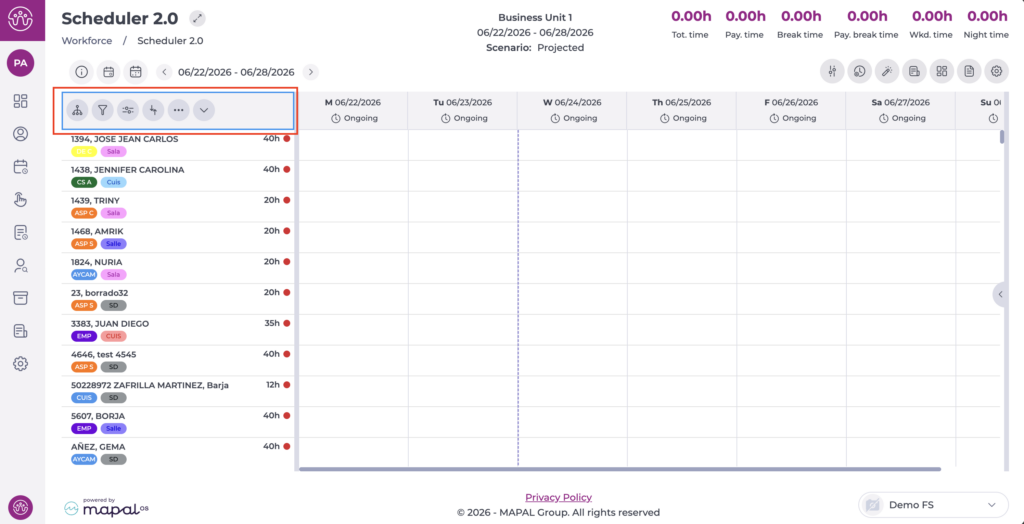
Below the view options, you will find a column with the employee list, showing each employee's name, employee code, job role, and contracted hours.
Above the list, you will find a header with five option buttons that allow you to adjust or filter the employee view as needed.
For more information, see Filter and group employees in the scheduler.
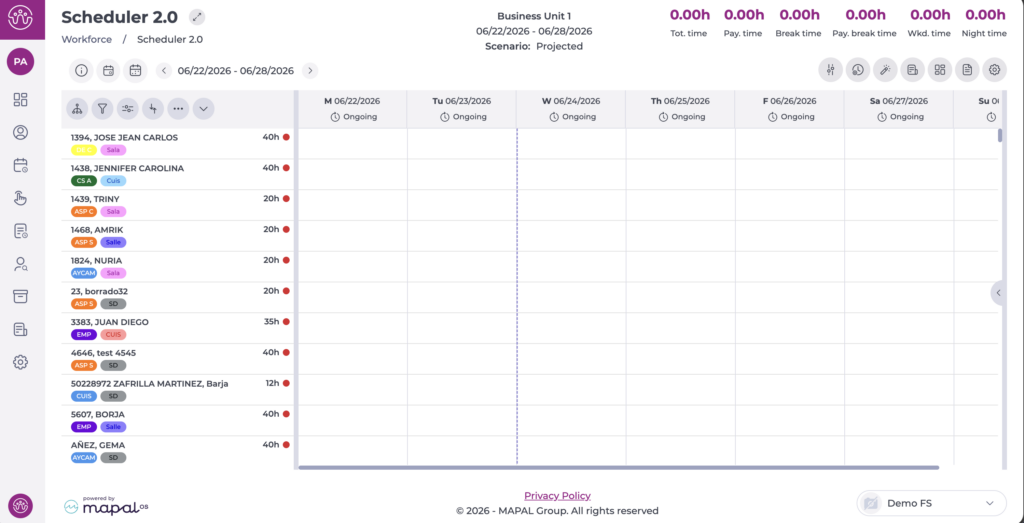
Shift grid
To the right of the employee column, you will find the grid where you assign and view shifts.
Other options
Above the grid you will find a series of buttons with additional options:

- Parameters: opens the panel where you can change the site or display scenario.
- Scheduling Forecast: allows you to manage shift forecasting based on projected sales.
- Auto scheduling (Optimiser): opens the optimisation tool, where you can select different options and run shift optimisation.
- Detailed information: provides access to planning-specific information, including alerts, shift statuses, logs, labour compliance, and staff distribution by time slot.
- Dashboard: allows you to analyse shift data, both projected and actual, through various indicators and metrics.
- Reports: allows you to generate reports related to shift management, such as hours worked per employee.
- Configuration: allows you to configure the planner's general settings and access additional options, such as counter management, favourite shifts, and display preferences.
General counters
At the top of the screen, the general counters configured in advance in the settings section are displayed.