


Start from: The Workforce module.
- Select Workforce Management > Holidays from the main menu.
- Select the Work Center and Year for which you want to plan holidays.
- Choose the worker for whom you will plan the holidays.
- Select the start day of the worker's holidays on the timeline and drag the selection to the end day of the holidays.
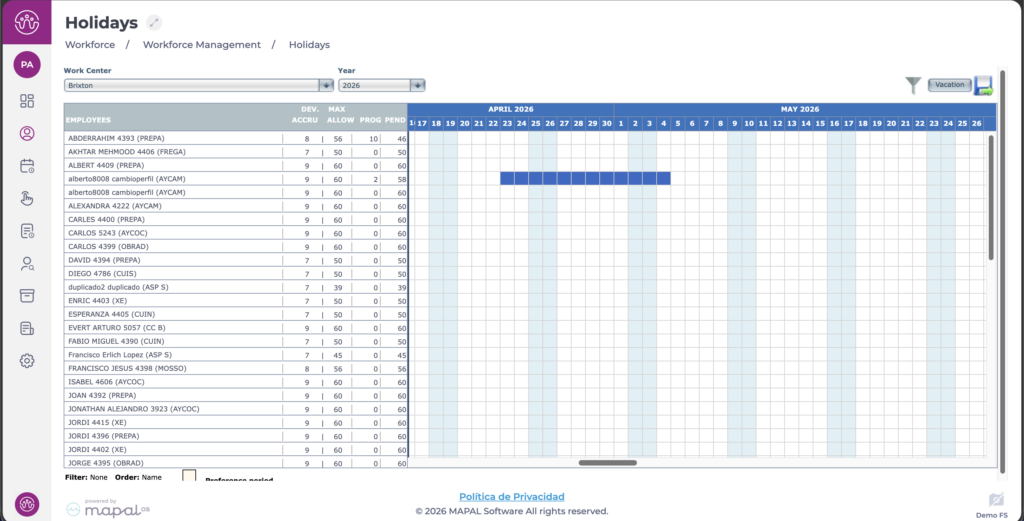
You will automatically see a coloured line showing the start date, end date, and duration in days of the holiday period added. The colour of the line is the one set in the employee's category configuration.
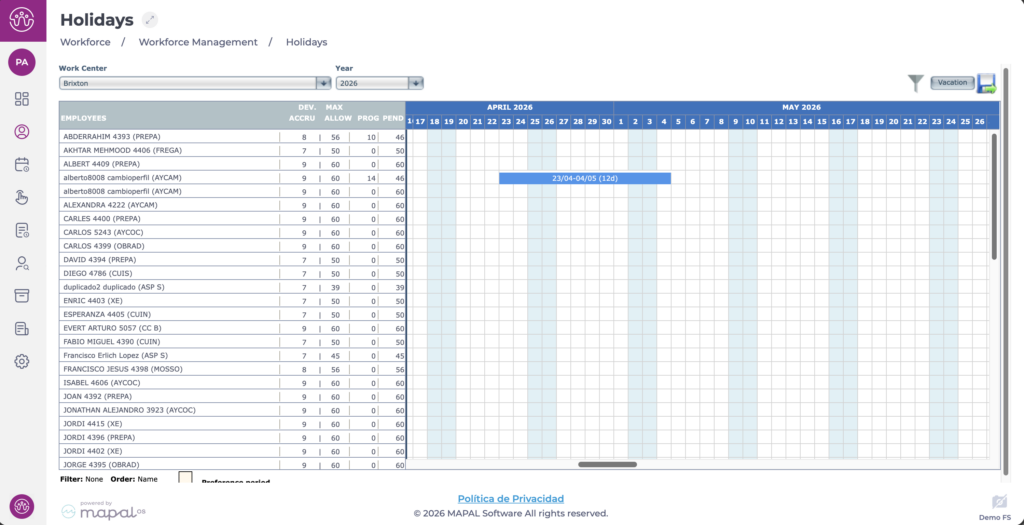
Note: Remember to save the changes so you do not lose the planned holidays.
- Select the disk icon at the top right.
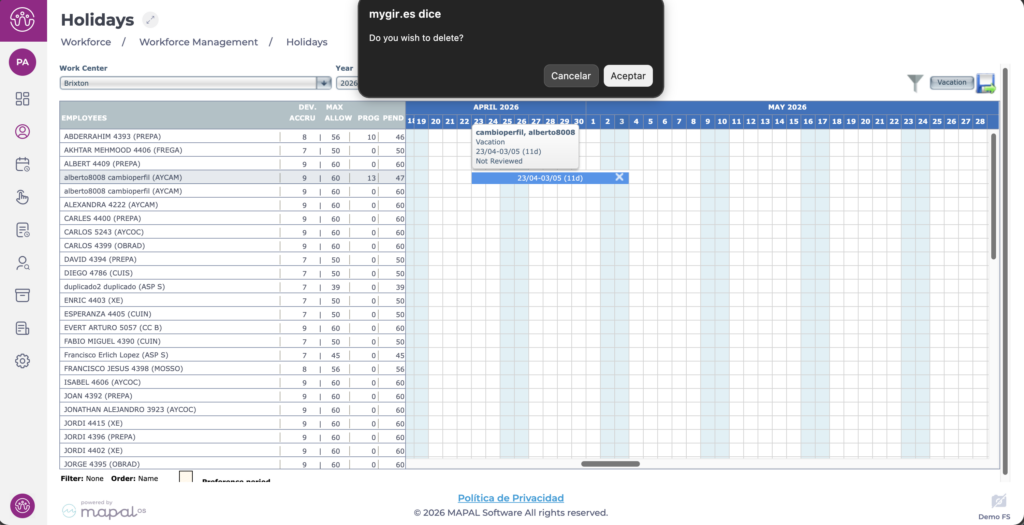
- A confirmation pop-up will appear.
- Select Accept to save the changes or Cancel to discard them.
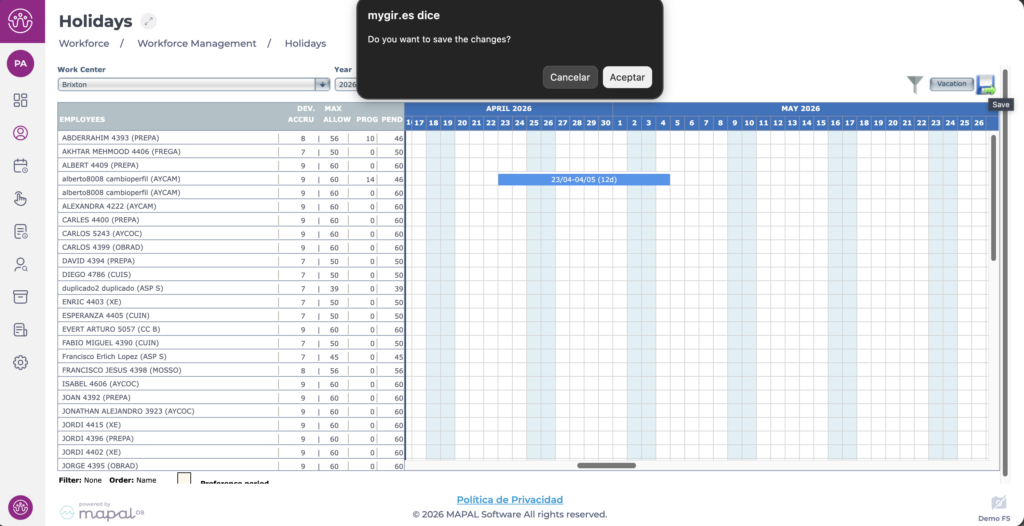
Once the changes are saved, the disk icon at the top will disappear until new changes are made.
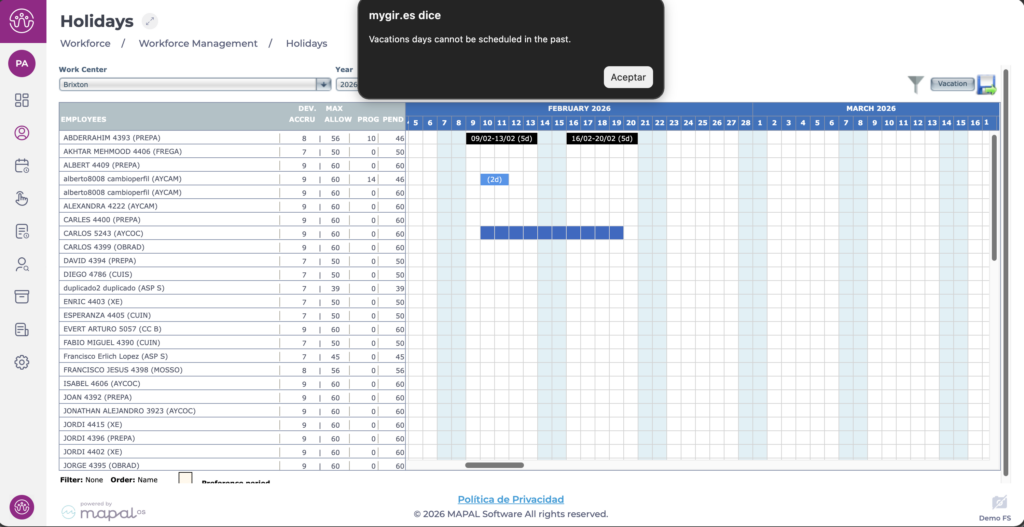
Note: This screen only allows you to add holidays with a future date. If you try to add holidays in the past, a pop-up will appear indicating that this is not possible.
Make changes to the plan
If the holidays have not yet been reviewed, you can make changes.
- Move holidays: you can position the cursor and move them between dates once the double arrow appears.
- Extend or reduce days: placing the mouse cursor at the start or end of the period allows you to extend or reduce the days.
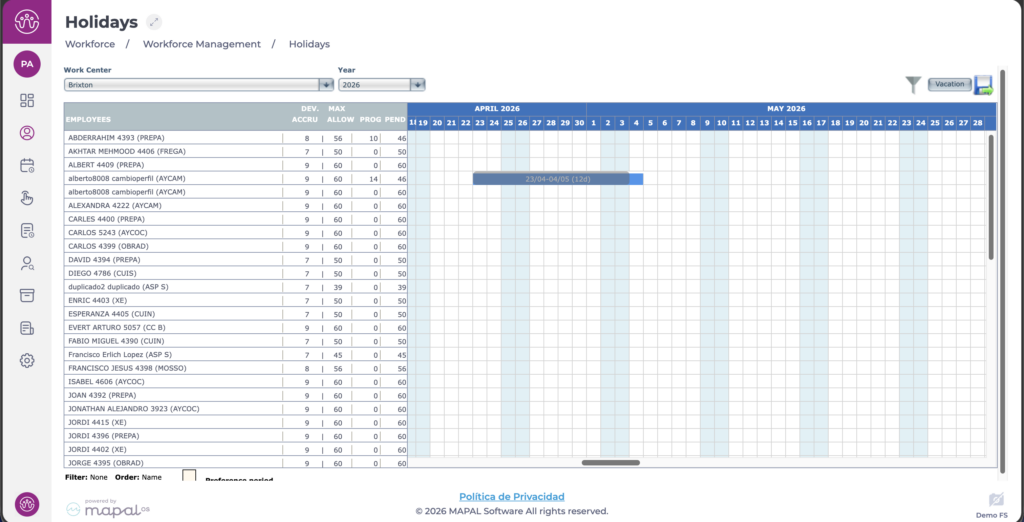
- Delete holidays: select the cross at the end of the period to delete. A confirmation pop-up will appear.
If, on the contrary, the holidays have been reviewed, you must first request an unreview in order to edit or delete them from this screen.
