


Start from: The Workforce module.
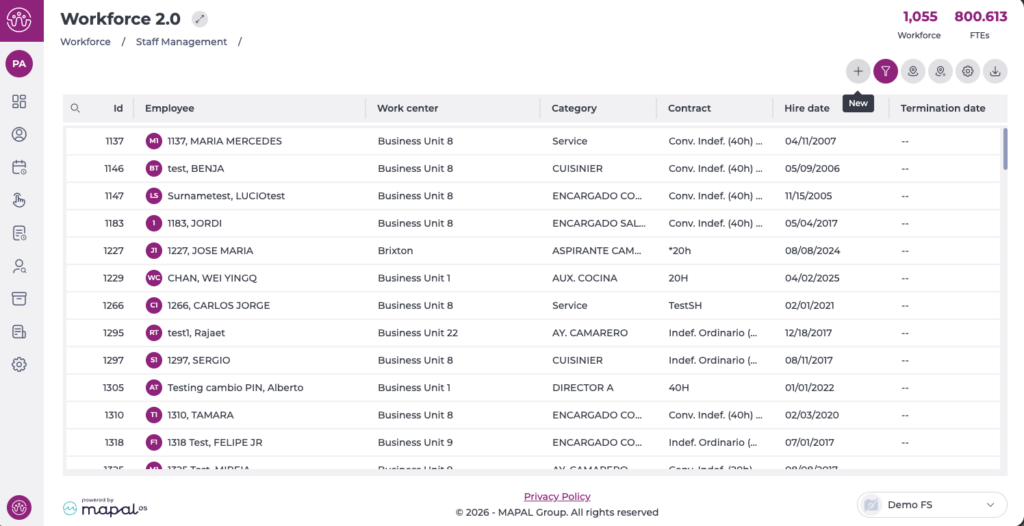
- Select Workforce Management > Workforce 2.0.
- On the Workforce 2.0 screen, select New +.
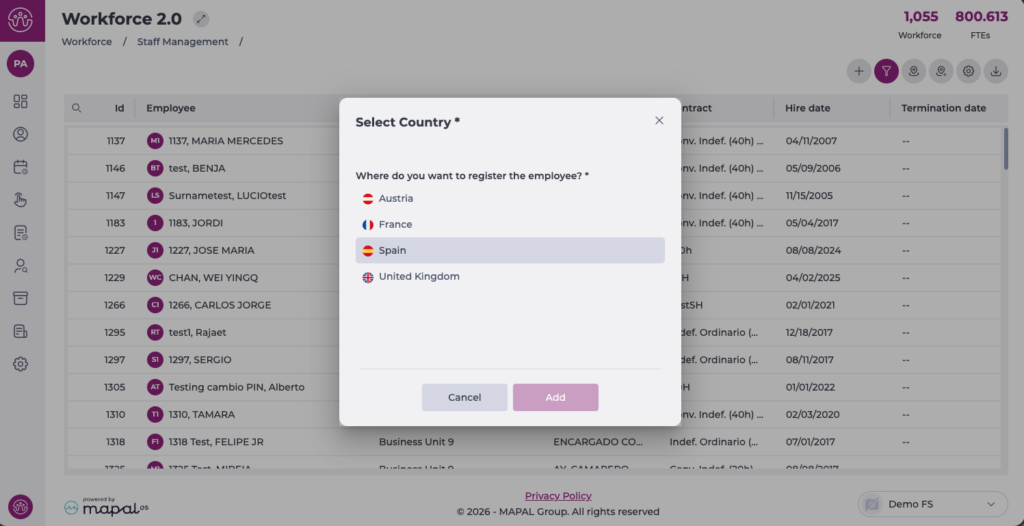
If you have more than one country configured, you will need to select the country for which you want to create the employee first.
In the New Employee panel, you can add information in 3 steps:
Note: Fields marked with an asterisk (*) are mandatory.
Employee data

In this section, you will complete all the personal details of the new employee, taking into account the configuration applied in Workforce > Configuration > Employee record, regarding field requirements and visibility.
You can also activate and assign a specific profile related to the Employee App.
Once the information in this step is complete, select Next to move to the next step.
Employment information
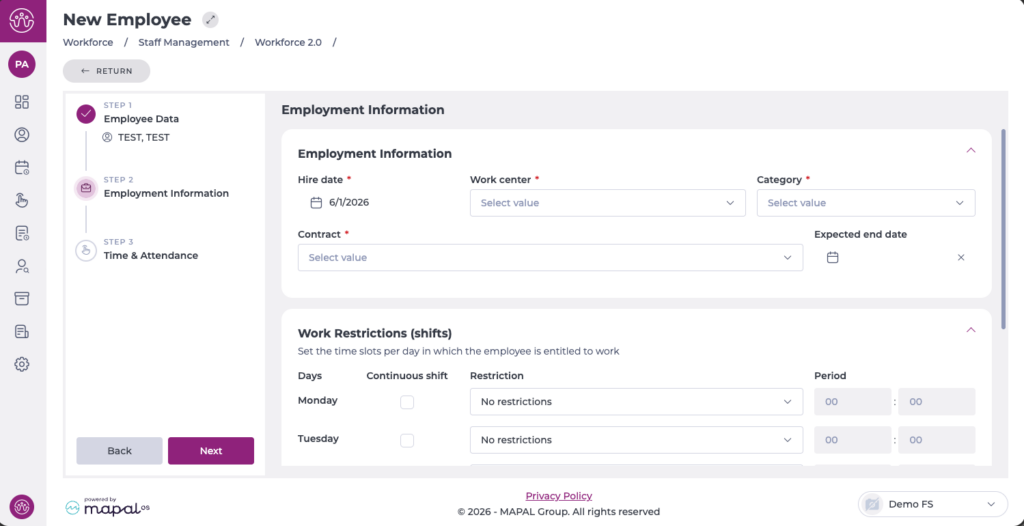
In this step, you will complete the details related to the employee's contract, hire date, business unit, and category.
Additionally, you can configure shift restrictions by day of the week, also taking into account bank holidays and holiday eves.
You can also configure split shifts or shifts with different start times.
Once the information in this step is complete, select Next to move to the next step.
Time & attendance
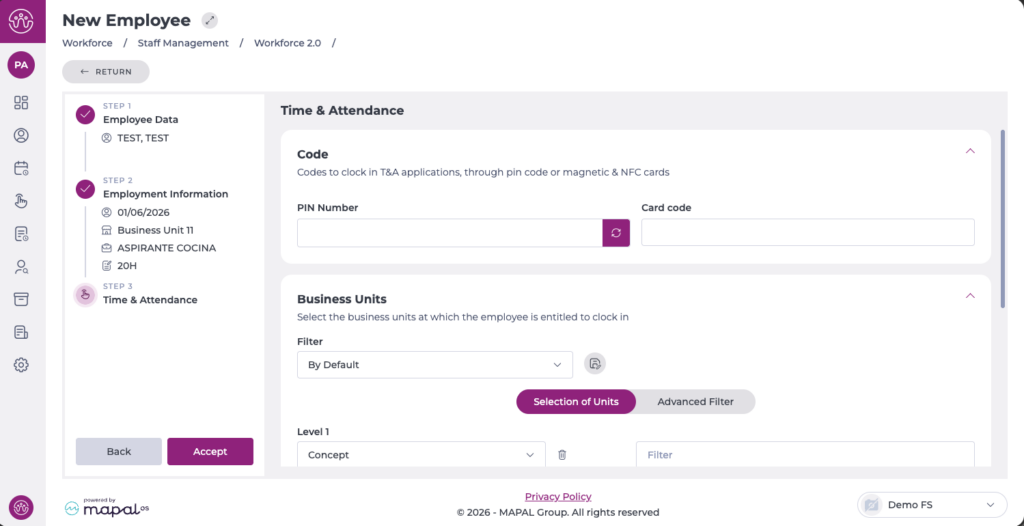
In this section, you can configure the codes for clocking in on the T&A applications, either via PIN code or magnetic and NFC cards. You can also select the centres where the employee is entitled to clock in.
Once the information in this step is complete, select Accept to save the new employee's configuration.
The created employee will appear immediately in the employee grid. Depending on whether the hire date is current or in the future, you will need to adjust the corresponding filter.