


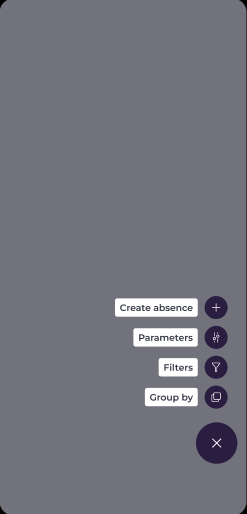
Start from: the Mapal Manager dashboard.
- Select Absences from the menu.
- Select the floating action button (...).

- Select Create absence.
Complete the absence form
The New absence panel opens with three tabs: Data, Documentation, and Comments.
Data
Complete the required fields:
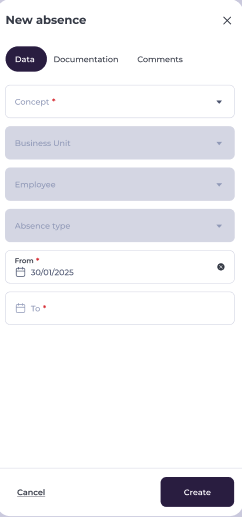
- Concept: select the absence category.
- Business Unit: select the relevant business unit.
- Employee: select the employee the absence applies to.
- Absence type: choose the specific type of absence (for example, Common Illness or Holiday).
- From: select the start date.
- To: select the end date.
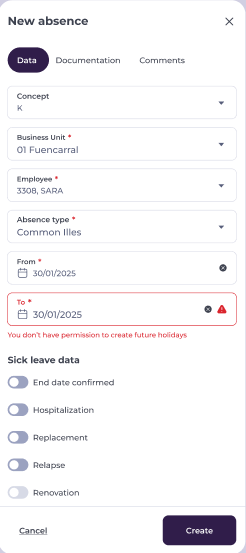
Depending on the absence type selected, additional fields may appear under Sick leave data, including End date confirmed, Hospitalisation, Replacement, Relapse, and Renovation.
Note: Some fields are mandatory before the absence can be submitted. If you do not have permission to create absences for certain dates, a warning will appear on the relevant field.
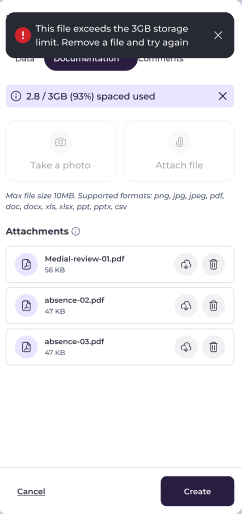
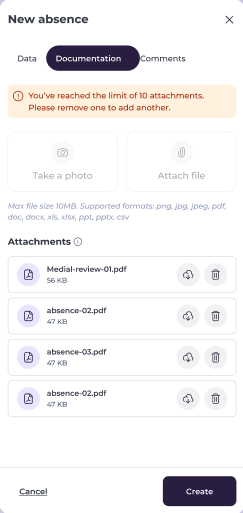
Documentation
- Select Take a photo or Attach file to upload supporting documents such as medical certificates.
- Supported formats are PNG, JPG, JPEG, PDF, DOC, DOCX, XLS, XLSX, PPT, PPTX, and CSV, with a maximum file size of 10 MB per file.
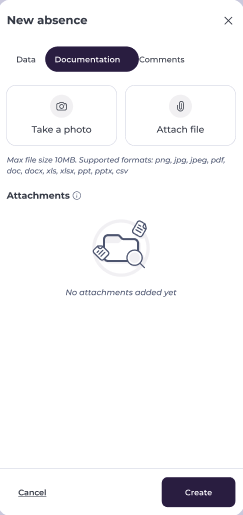
Note: You can attach a maximum of 10 files. If your operator's total storage reaches 3 GB, you will need to remove files before adding new ones.
 |  |
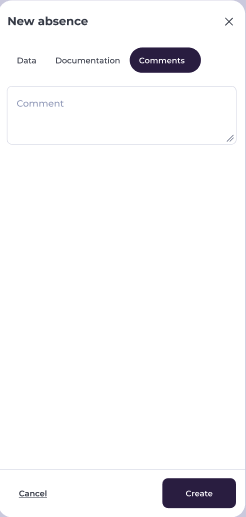
Comments
Add any optional notes or context in the Comment field.
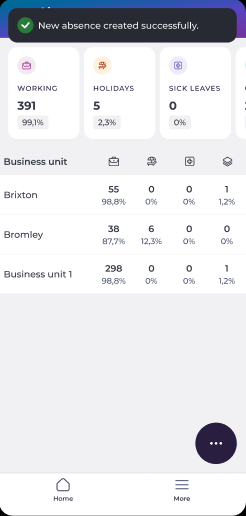
Submit the absence
- Select Create to submit the absence.
If successful, a confirmation message appears and the absence is recorded in the system. The entry will be visible in the Absences list for the selected business unit.
Note: If the absence is created with a Pending status, it can later be approved or declined. If created as Approved, the employee's availability updates immediately. You may then need to adjust staffing plans or create an open shift request if cover is needed.