


Start from: The Engagement dashboard.
- Navigate to Recognition > Post-Reco Survey from the main menu.
- Select + New post-reco survey.
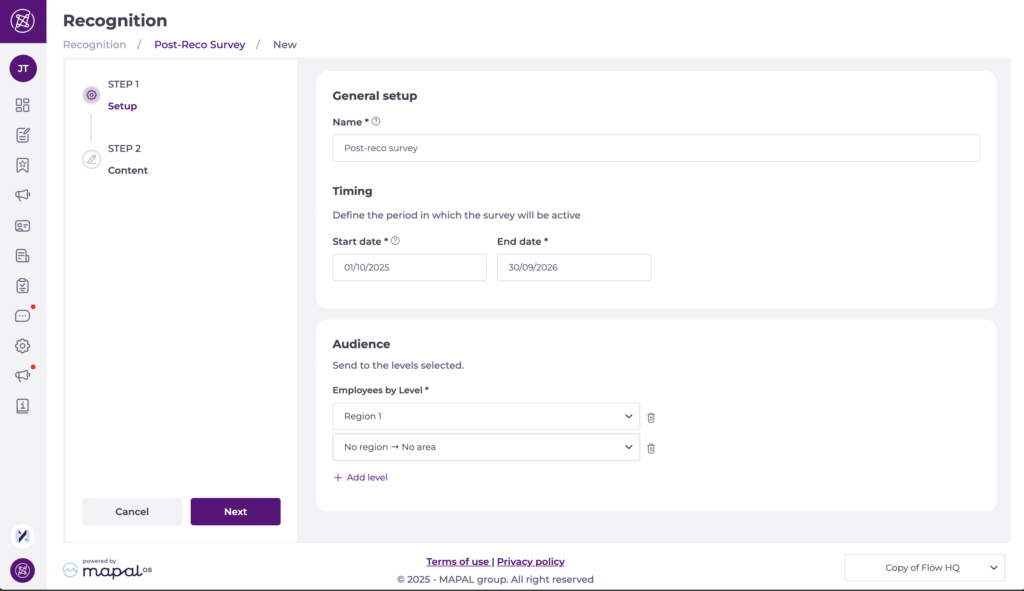
Step 1: Setup
- Complete the setup form:
- Name*: Assign a name to your survey.
- Start and End date*: Define the active period for the survey.
- Audience: Select one or multiple employee levels that will have access to the survey.
- Select Next to save changes and continue.
Step 2: Content
Sections
- Every Post-Reco survey starts with one section by default.
- To add another section, select + New section at the bottom of the page.
- Each section requires a Title* and can include an optional Description.
- Sections can be configured to appear only if a specific recognition reason is chosen. To do this, select the specific reason in Show if chosen.
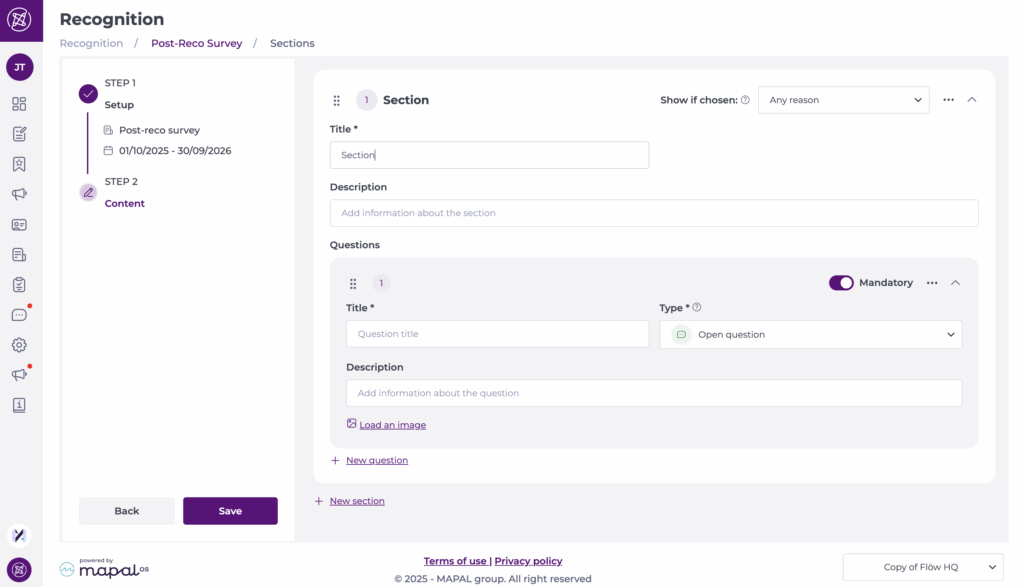
Questions
- Questions are added within sections.
- To add a question, select + New question at the bottom of the section.
- Configure each question with:
- Title*: Assign a label to your question.
- Description: Add an optional description to improve the understanding of the question.
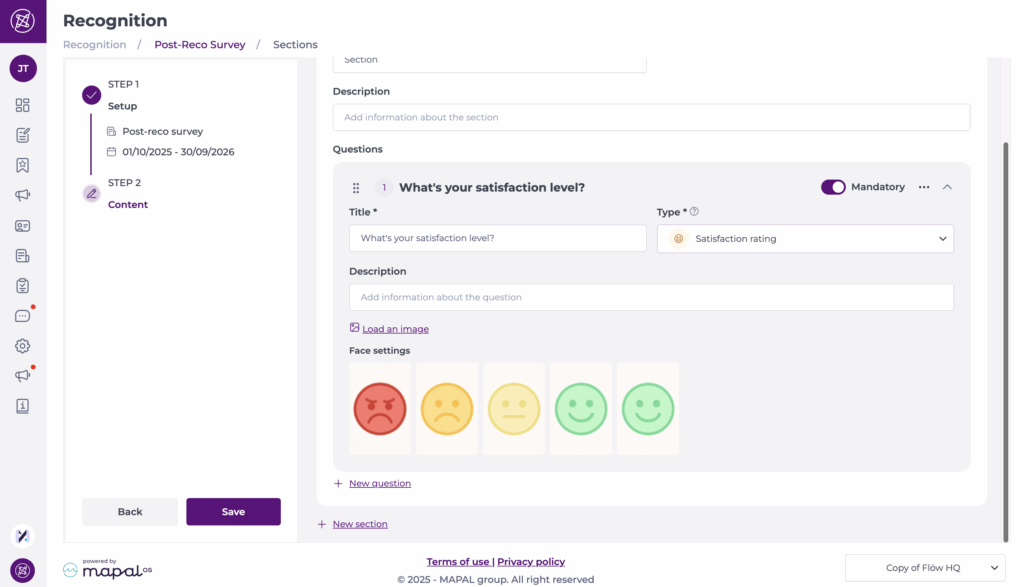
- Type: Open (text box), Satisfaction rating (1–5), or Single/multiple choice.
- Image: Optionally load an image to display with the question.
- Mandatory toggle: Enable if the question must be answered.
Once sections and questions are configured, select Save. The survey will appear in your list.
Activate a post-reco survey
- Back in the post-reco survey screen, locate the specific survey in the list.
- Toggle the button under Status to activate it.
- The survey is now live and ready for use.
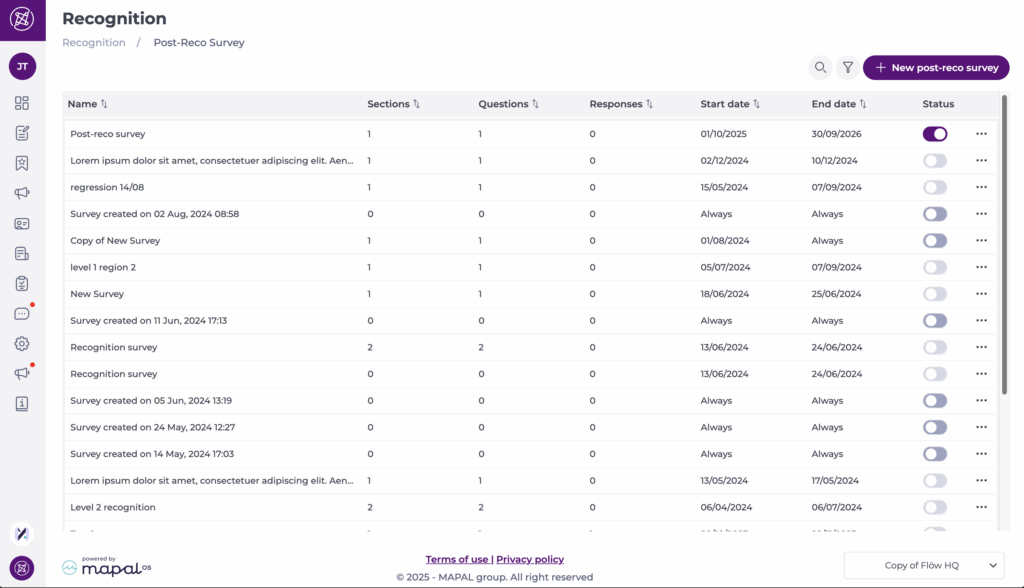
Manage the survey
Open the … menu beside the survey name for additional options:
- Delete
- See answers
- Duplicate
- Edit