


Start from: the Engagement Dashboard.
- Select Push Survey from the main menu.
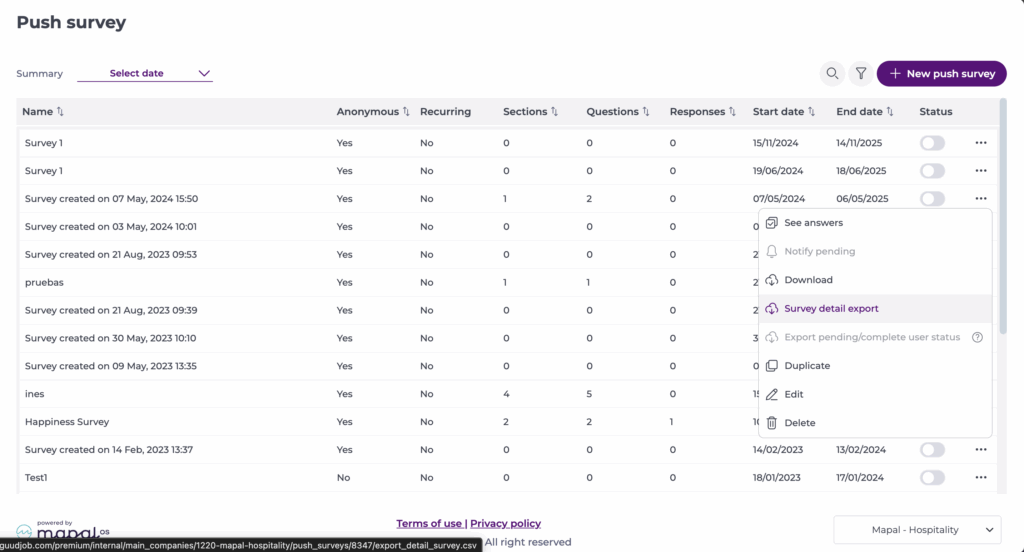
- The Push Survey screen displays a list of all surveys.
Note: To activate a survey and notify employees, ensure the activation toggle is turned on. The appearance of this toggle may vary based on company branding.

Edit a push survey
- Select the action button (three dots) > Edit.
Note: You can only edit surveys that have not received any responses. Once a survey has responses, only Step 1 remains editable:
- Name
- Timing (End Date)
Note: Survey administrators can update the end date of a non-recurring survey even after it has been published and received responses.
- Notifications
- Anonymous toggle and field visibility
- Audience
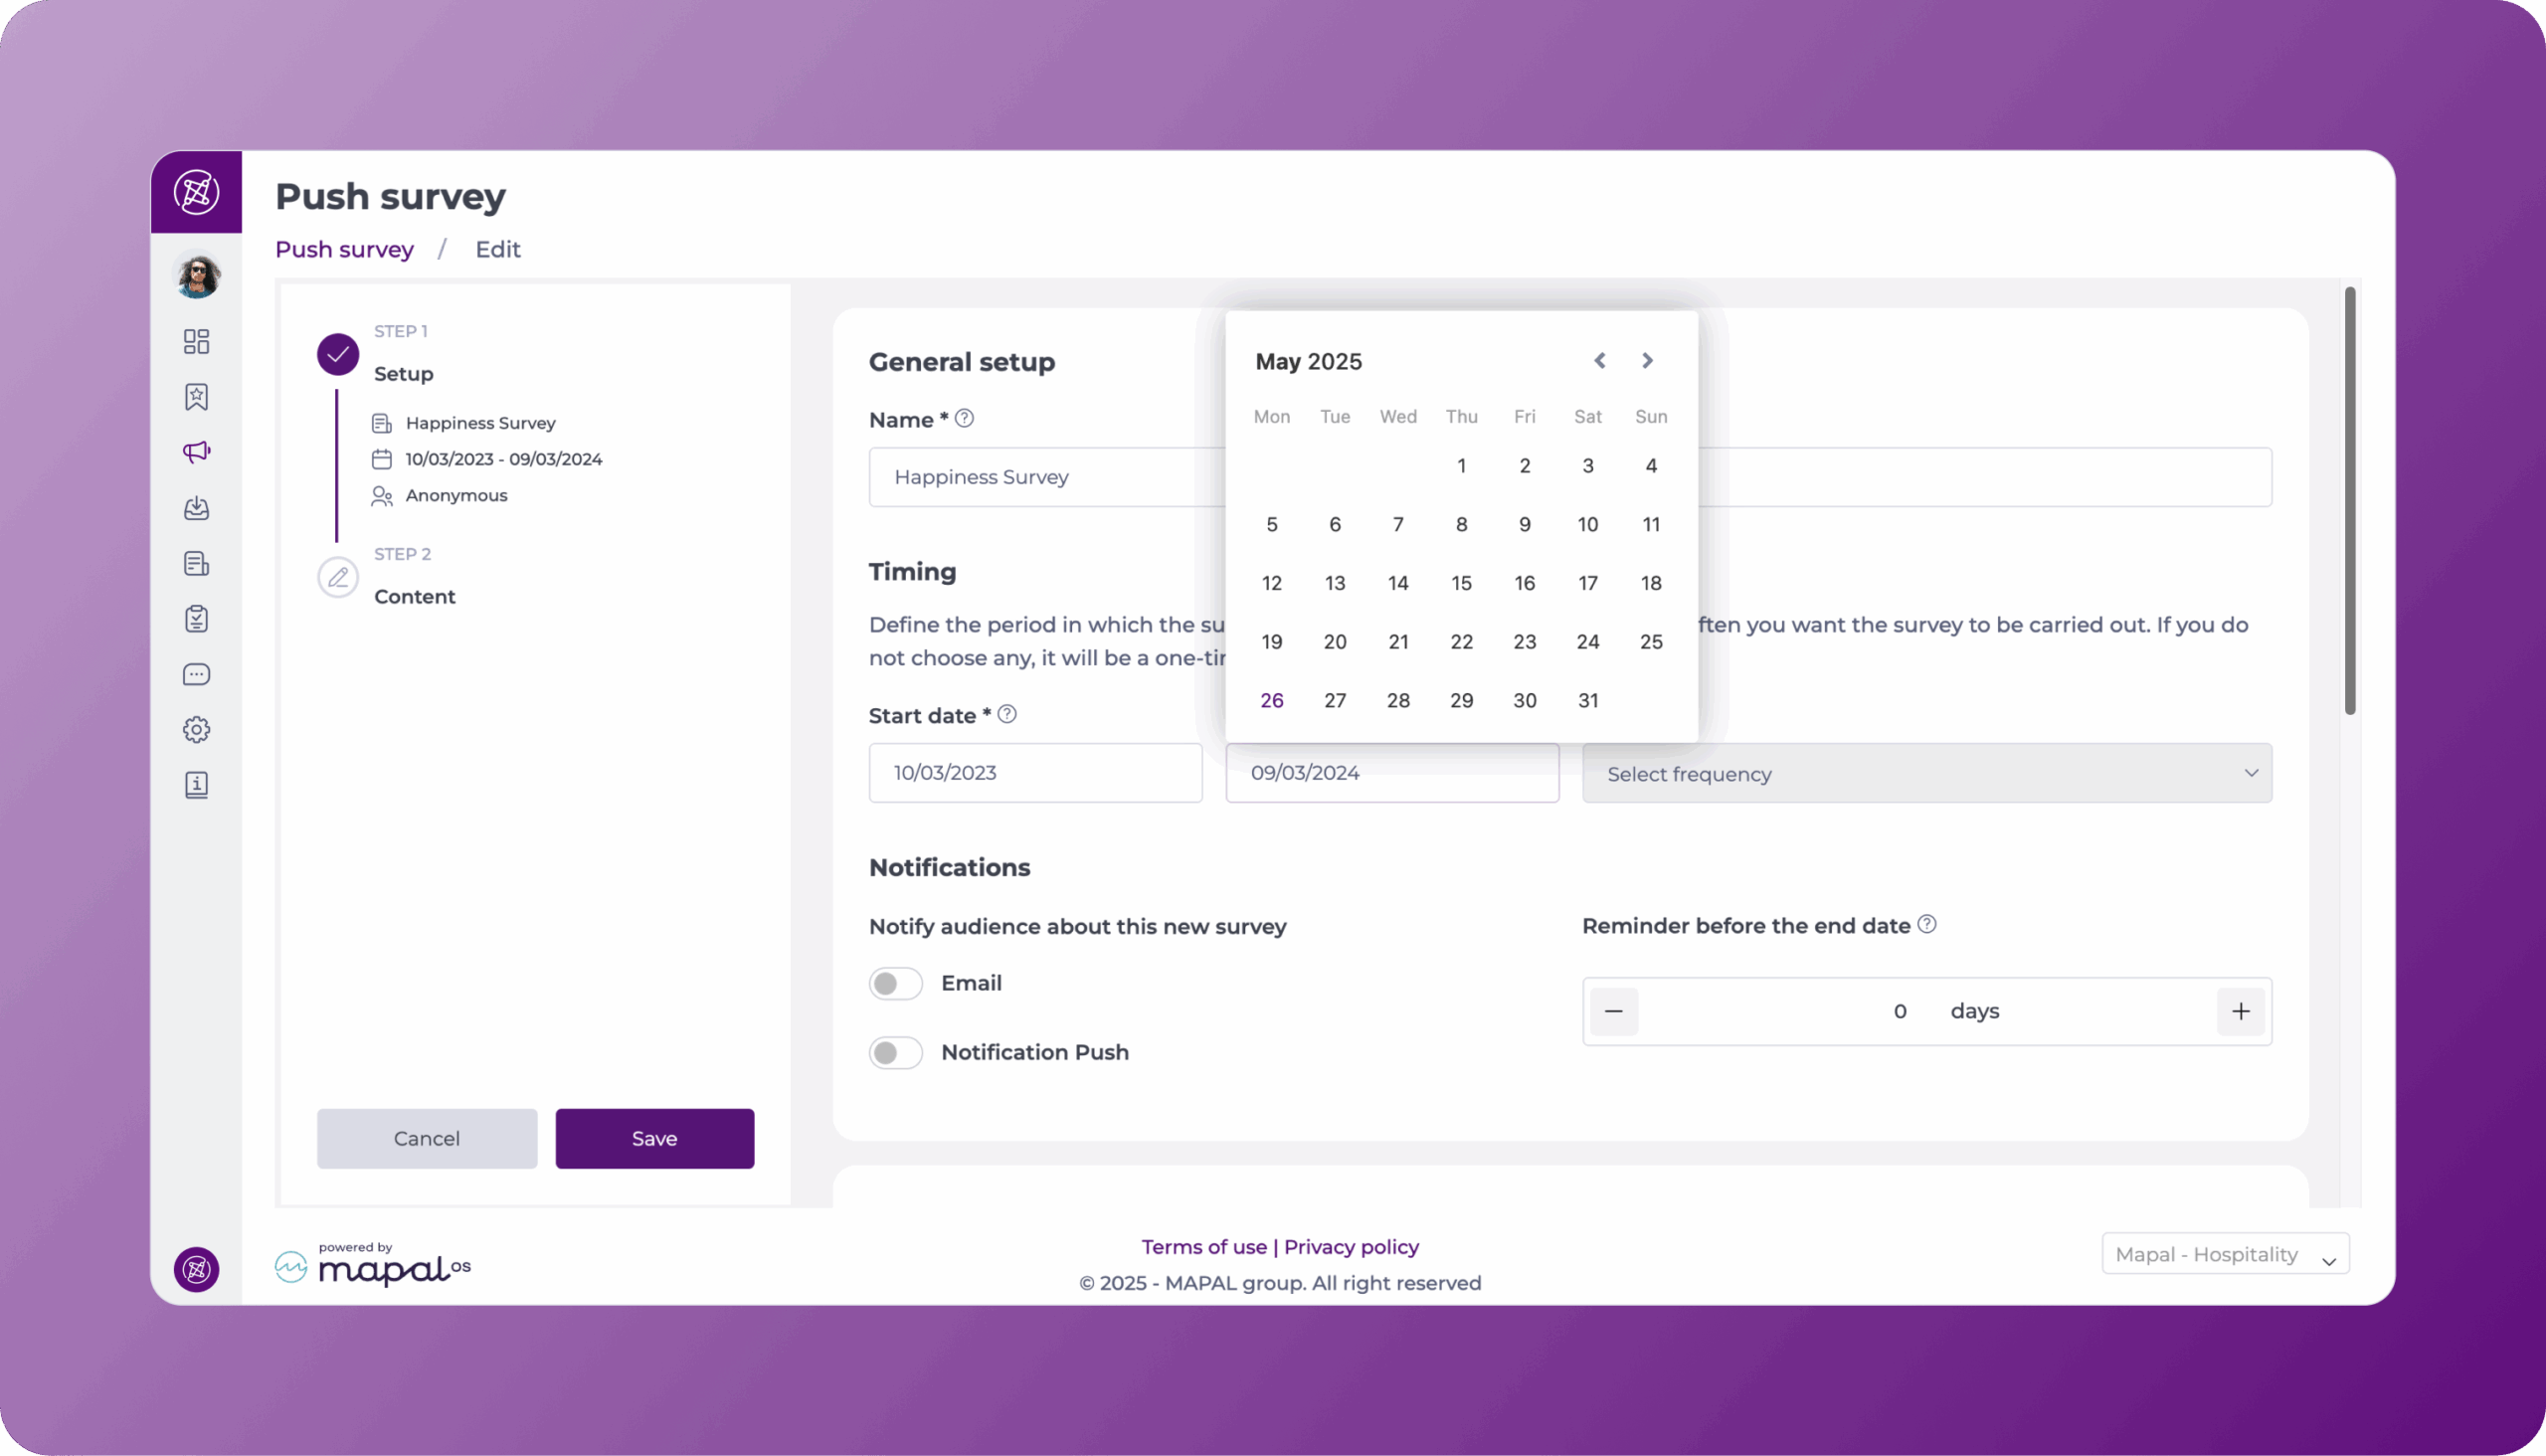
Important: The survey end date can be edited up until this date is reached, however, once the item expires, it cannot be edited or reactivated.
View the answers
- Select the action button (three dots) > View answers.
- Results are organised by section, in the same order as the survey itself. Each section shows its name and question count, and can be collapsed or expanded.

Browse the audience
The audience panel lists every employee in the survey audience with their name and job title.
- For non-anonymous surveys, select an employee to see their individual answers in context.
Read the results
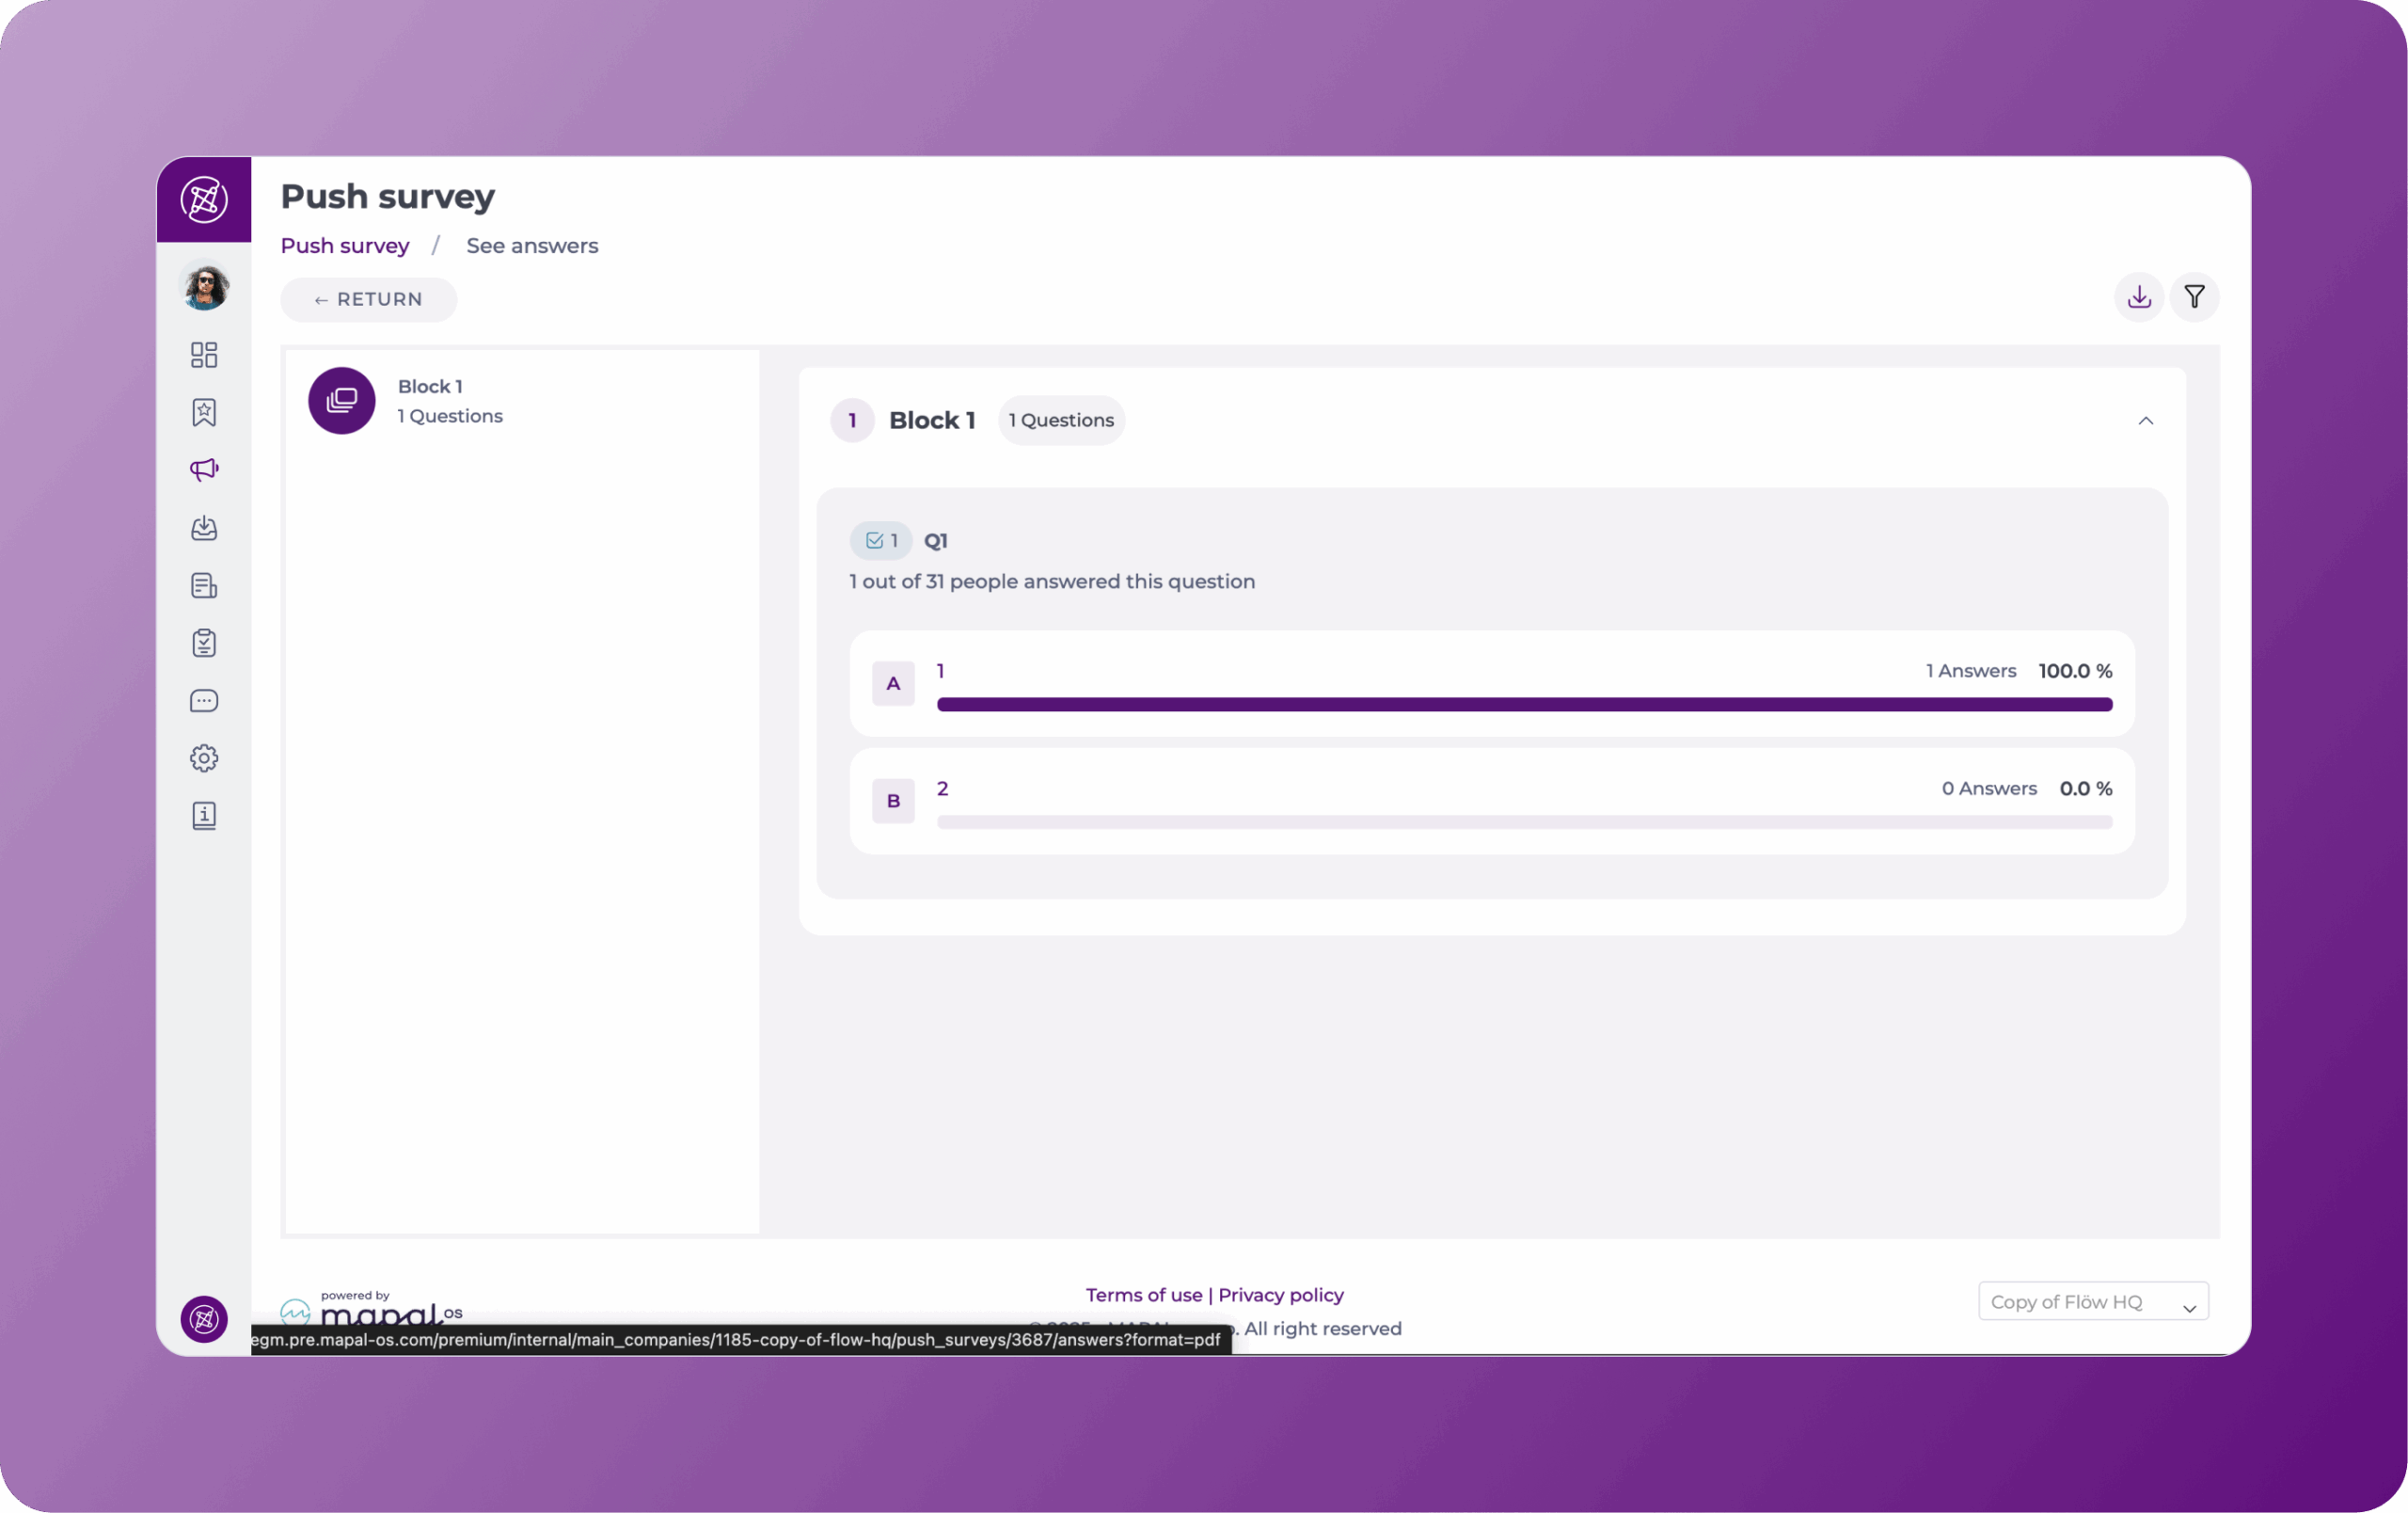
- Each question shows how many people out of the total audience answered it.
- For single choice, multiple choice and scale questions, each answer option is shown with a bar, the number of responses and the percentage.
- For NPS questions, the results show the Net Promoter Score, a chart of individual score distributions, and a breakdown into detractors (0–6), passives (7–8) and promoters (9–10) with percentages and counts.
- Questions that include an image show that image alongside the answer options.
- Questions asking employees to name a colleague or manager show a ranked list of the named employees with response counts and percentages.
- Questions where employees select a workplace area or zone show each option with its label, response count and percentage.
In non-anonymous surveys, select an answer option to open a panel listing the employees who chose it.
Filter the results
- Select the filter icon and segment the results by Levels, Job Title or Department.
- For anonymous surveys, filtering depends on your field visibility settings.
Note: when creating or editing an anonymous survey, you can select which non-identifiable user fields (e.g. Job, Department, Level) will appear in the results. These will then appear as filters in this screen.
Survey response completion metrics
Completion rates for push surveys are calculated dynamically based on the number of currently active employees at the time of viewing. This means that completion metrics may update during the survey window as employees join or leave the organisation.
Notes:
- Response data is retained for historical visibility even if respondents become inactive. Survey responses remain in the system for record-keeping and analysis purposes, even after an employee's status changes.
- Because completion rates reflect the current active employee count rather than a fixed snapshot taken at launch, the percentage shown may fluctuate over the course of the survey.
View respondents
- In the Push Survey screen, locate the Responses column.
- Select the number shown in this column for the survey you want to review.
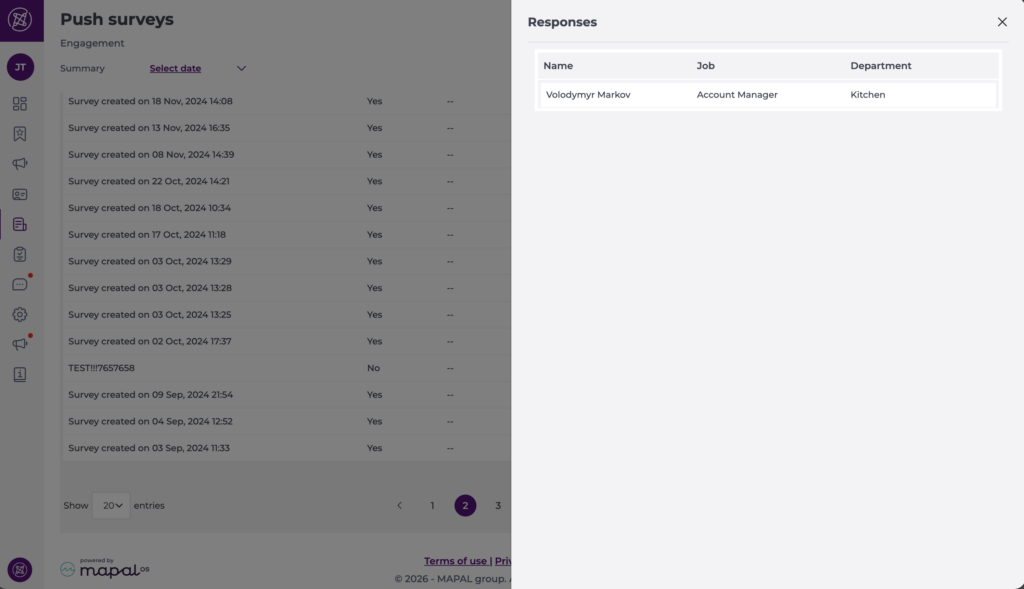
- A Respondents drawer opens, showing a list of survey respondents.
- For non-anonymous surveys, the drawer typically shows:
- Name and email of each respondent
- Completion status (e.g. Completed, Pending)
- For anonymous surveys, only the non-identifiable fields you chose as visible (such as Level, Job Title or Department) are shown. Names and emails are not displayed.
- For non-anonymous surveys, the drawer typically shows:
This drawer lets you quickly review who has responded without downloading any files.
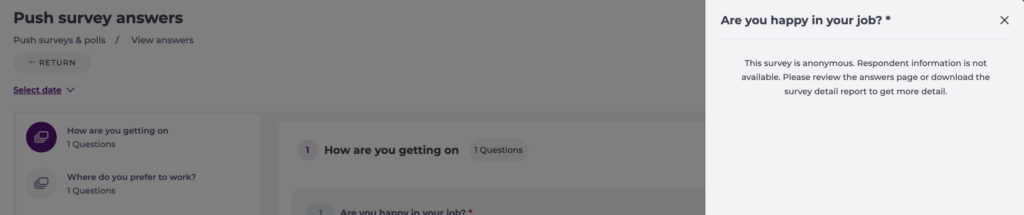
Notes: For anonymous surveys, respondent information is not available. A message directs you to review the answers page or download the survey detail export for more detail.
Export answers
Export to your email
- Select the action button (three dots) > Download.
- You will receive the results via email.

Export in PDF
- Select the action button (three dots) > View answers.
- Select the Export button.
- The results will be downloaded to your device in PDF.
Survey detail export (CSV)
For deeper analysis, you can export a detailed CSV file that provides a structured view of responses.
- Select the action button (three dots) > Survey detail export.
This export includes:
- Question-level data for each response.
- Question text and section information.
- Selected options and corresponding values.
- User-related fields where applicable.
The resulting CSV can be opened in spreadsheet or BI tools to perform more advanced analysis, comparisons, and reporting.
Export survey status per user
- Select the action button (three dots) > Export pending / complete user status
- You will receive a report via email, with the following columns:
- Email address
- Employee name
- Level 1
- Level 2
- Level 3
- Job
- Department
- Completed survey (Y/N)
Filtering and sorting
Use the filtering functionalities to refine your view and export information orderly.
- Sort by: You can sort surveys by most fields, including name, number of sections, questions, responses, start date, and end date. Sort by selecting the field - you should see the icon turn to an "up" arrow.
- Filter by Status (Active, Inactive, or Scheduled): Select the filter icon and choose the status from the dropdown.
- Filter by Time: Click on Select date at the top left of the grid. You can now select a specific timeframe to order your view, such as Today, Yesterday, Last week, Last month, or a custom date range.
Notify employees who haven't responded
- Select the action button (three dots) > Notify pending.
- A reminder is sent only to employees who have not yet completed the survey.
Duplicate a survey
- Select the action button (three dots) > Duplicate to create a copy as a starting point. This is useful for recurring surveys that share the same structure but need updated dates or minor changes.
Delete a survey
- Select the action button (three dots) > Delete.
Note: Surveys that have already received responses should be reviewed carefully before deletion, as this may affect historical data.
