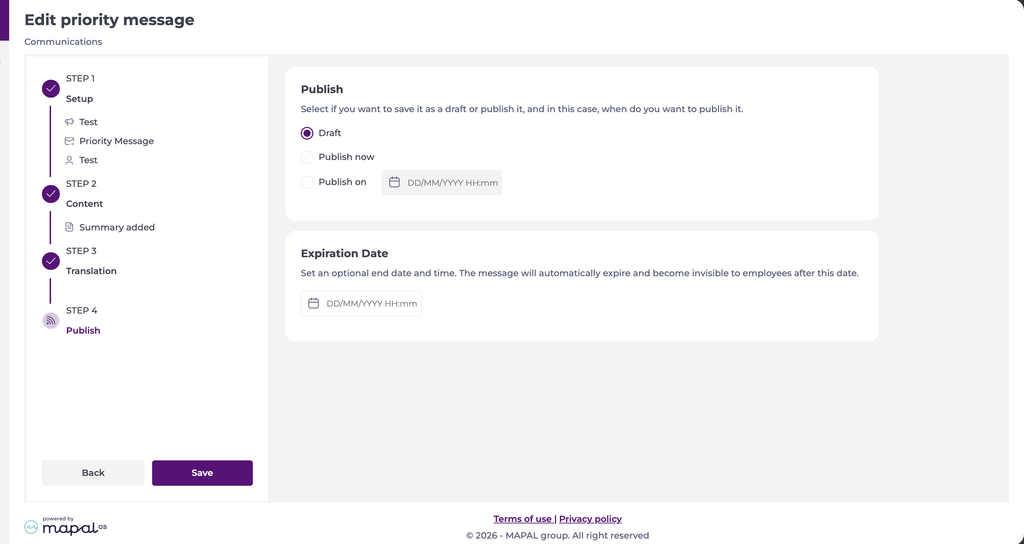
Start from: the Engagement dashboard.
- Select Communications on the main menu.
- Select + New > Priority Message.
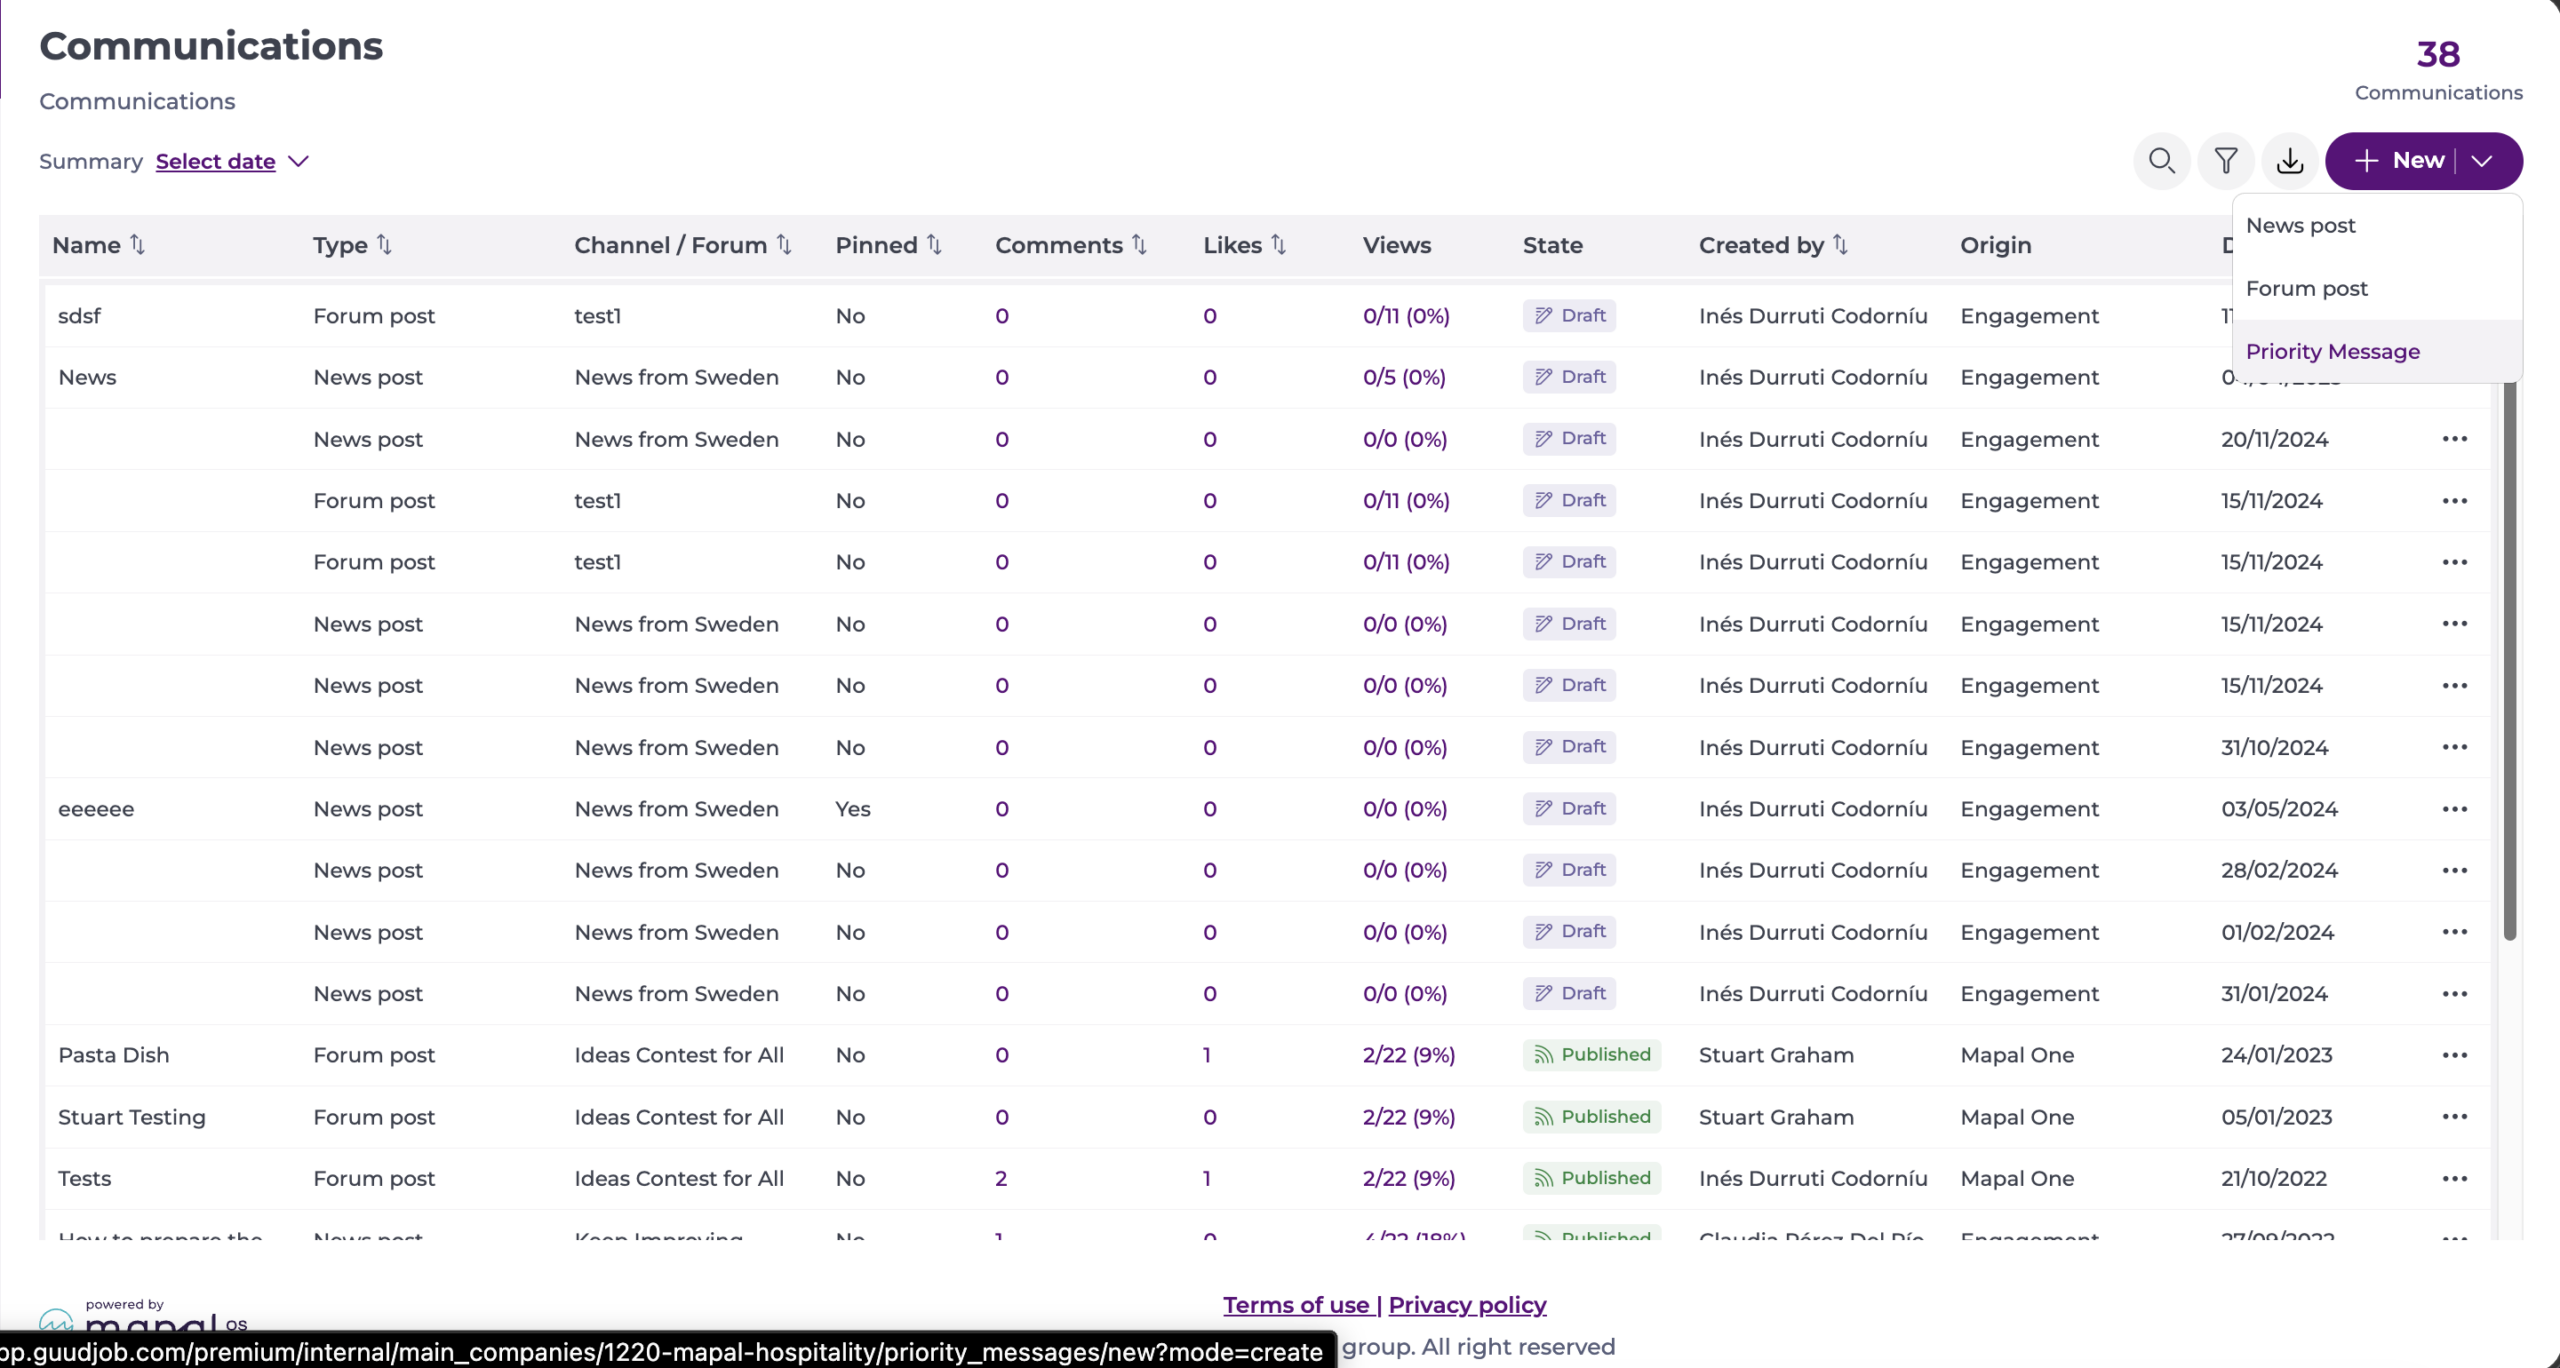
Step 1 - Setup
General setup
- Assign a name to your message in the Message Name* field.
- The Channel* is set to Priority Message and cannot be changed.
- Type the name of the Author*.
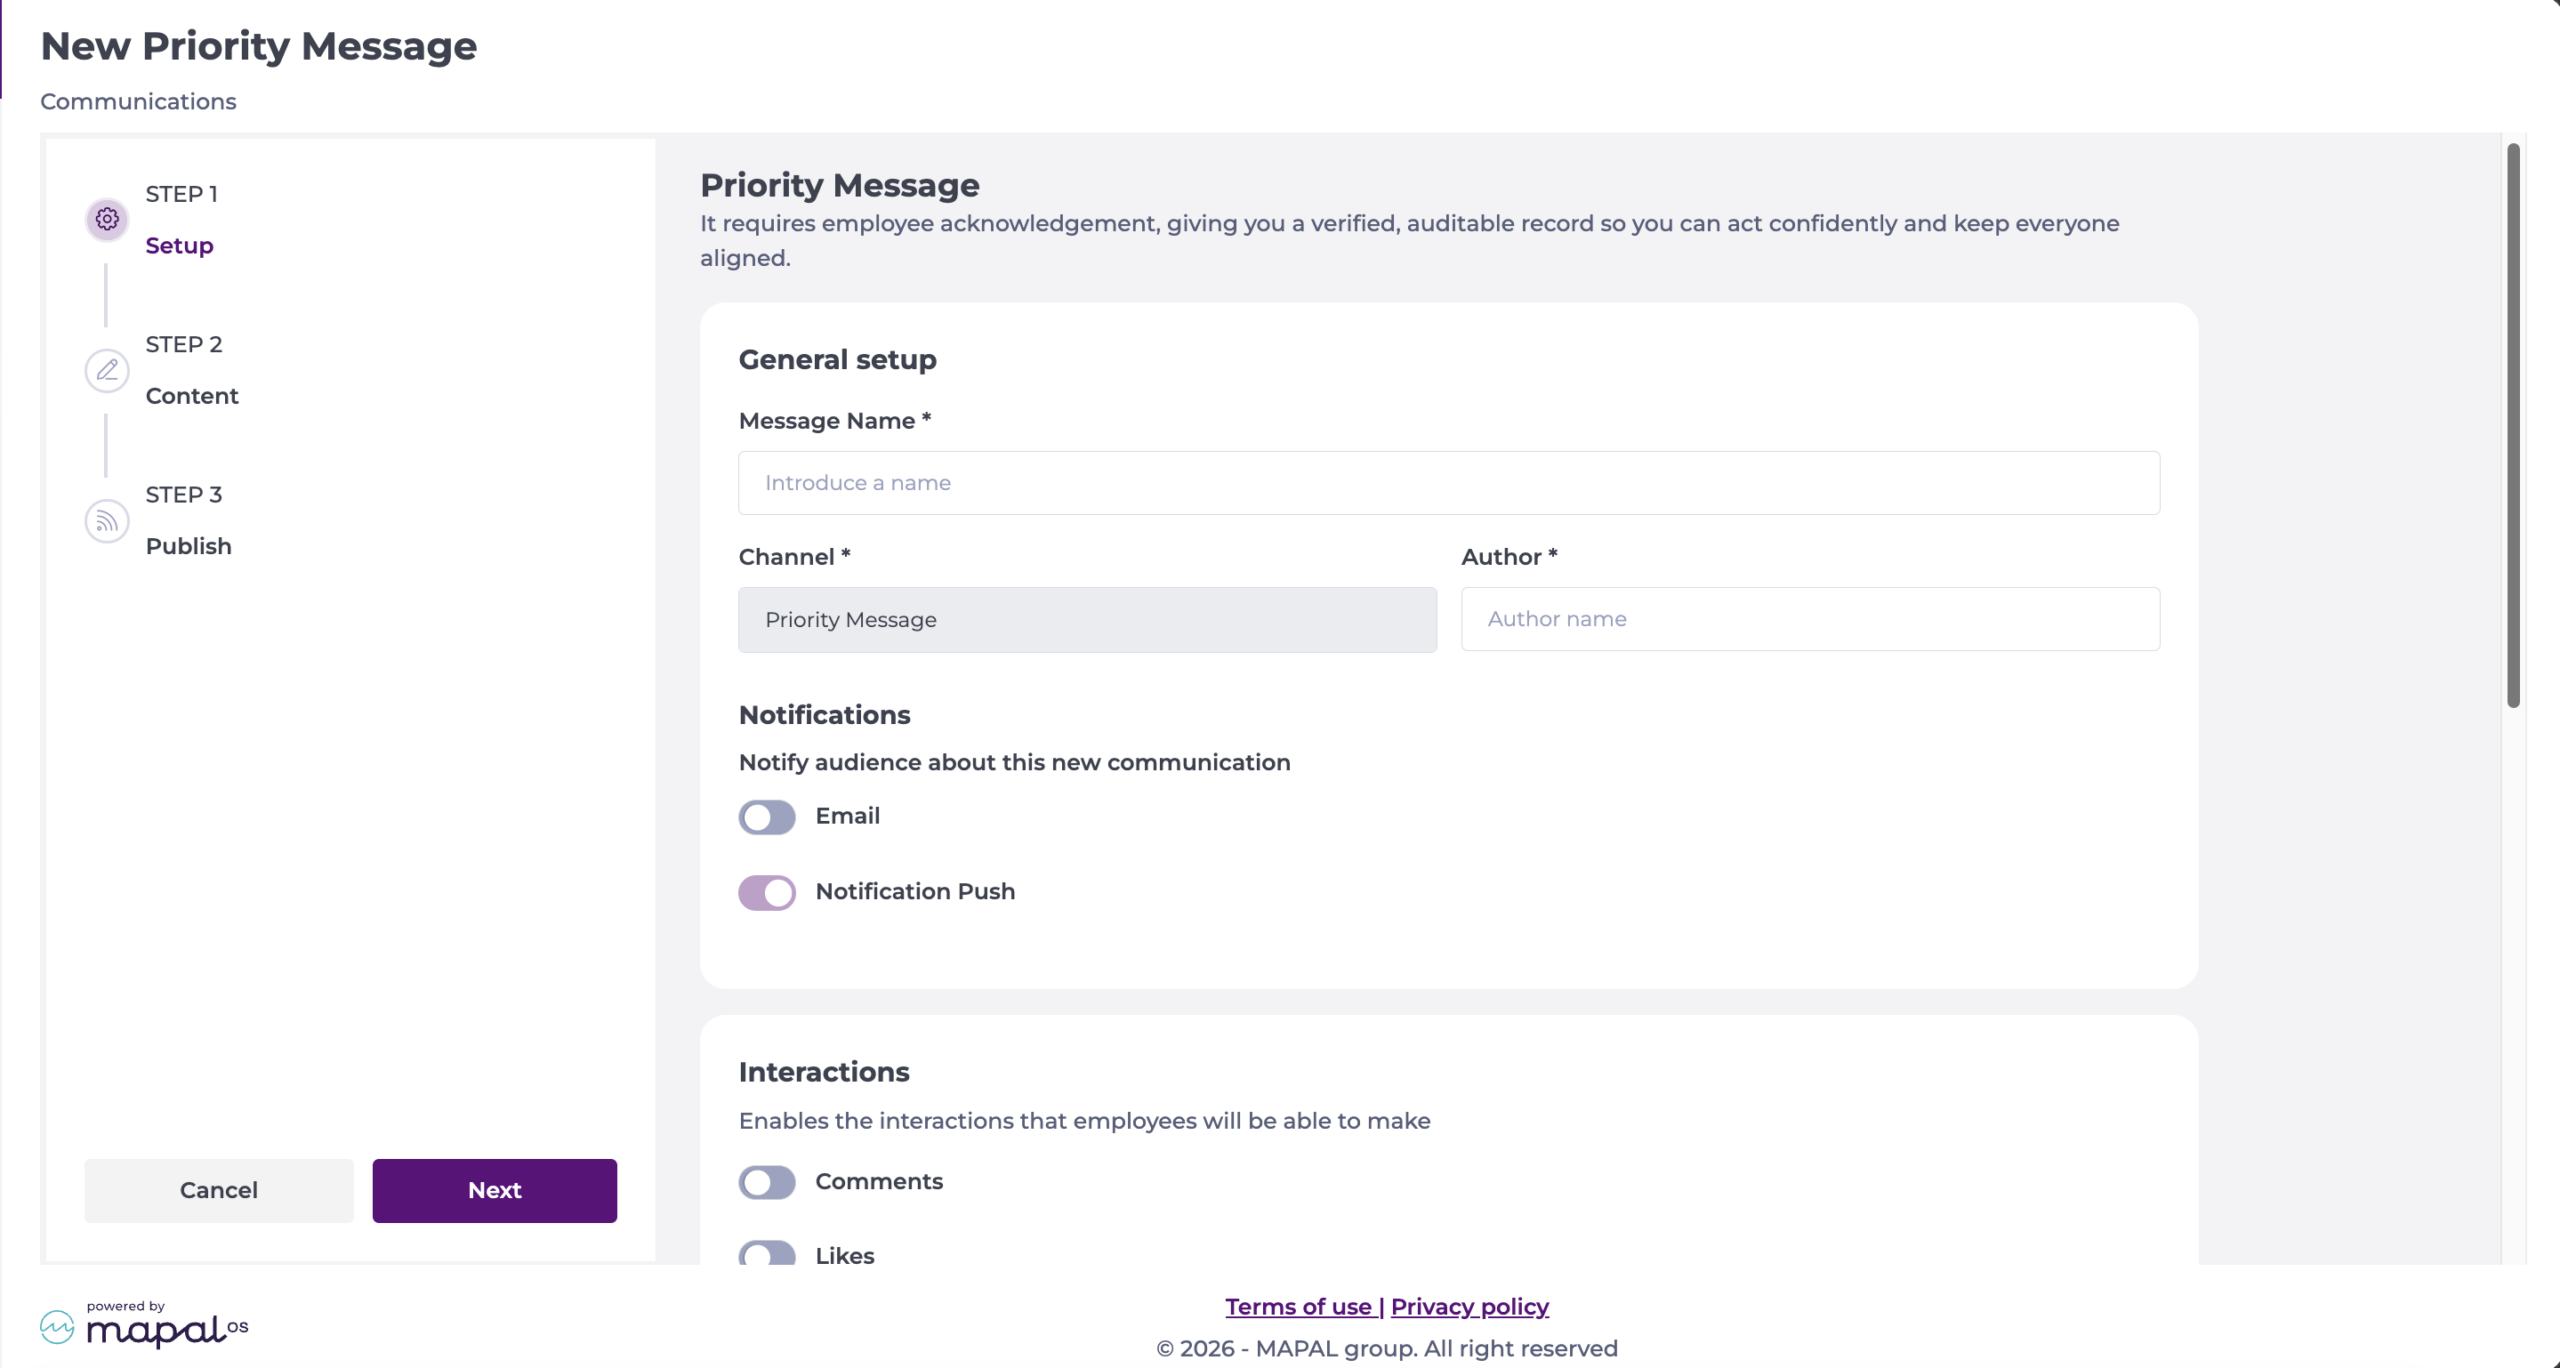
Notifications
- Determine if you want to Notify your audience about this new communication. You can notify through Email and Notification Push.
Interactions
- Decide which interactions employees can make. The available interactions are:
- Comments
- Likes
- Dislikes
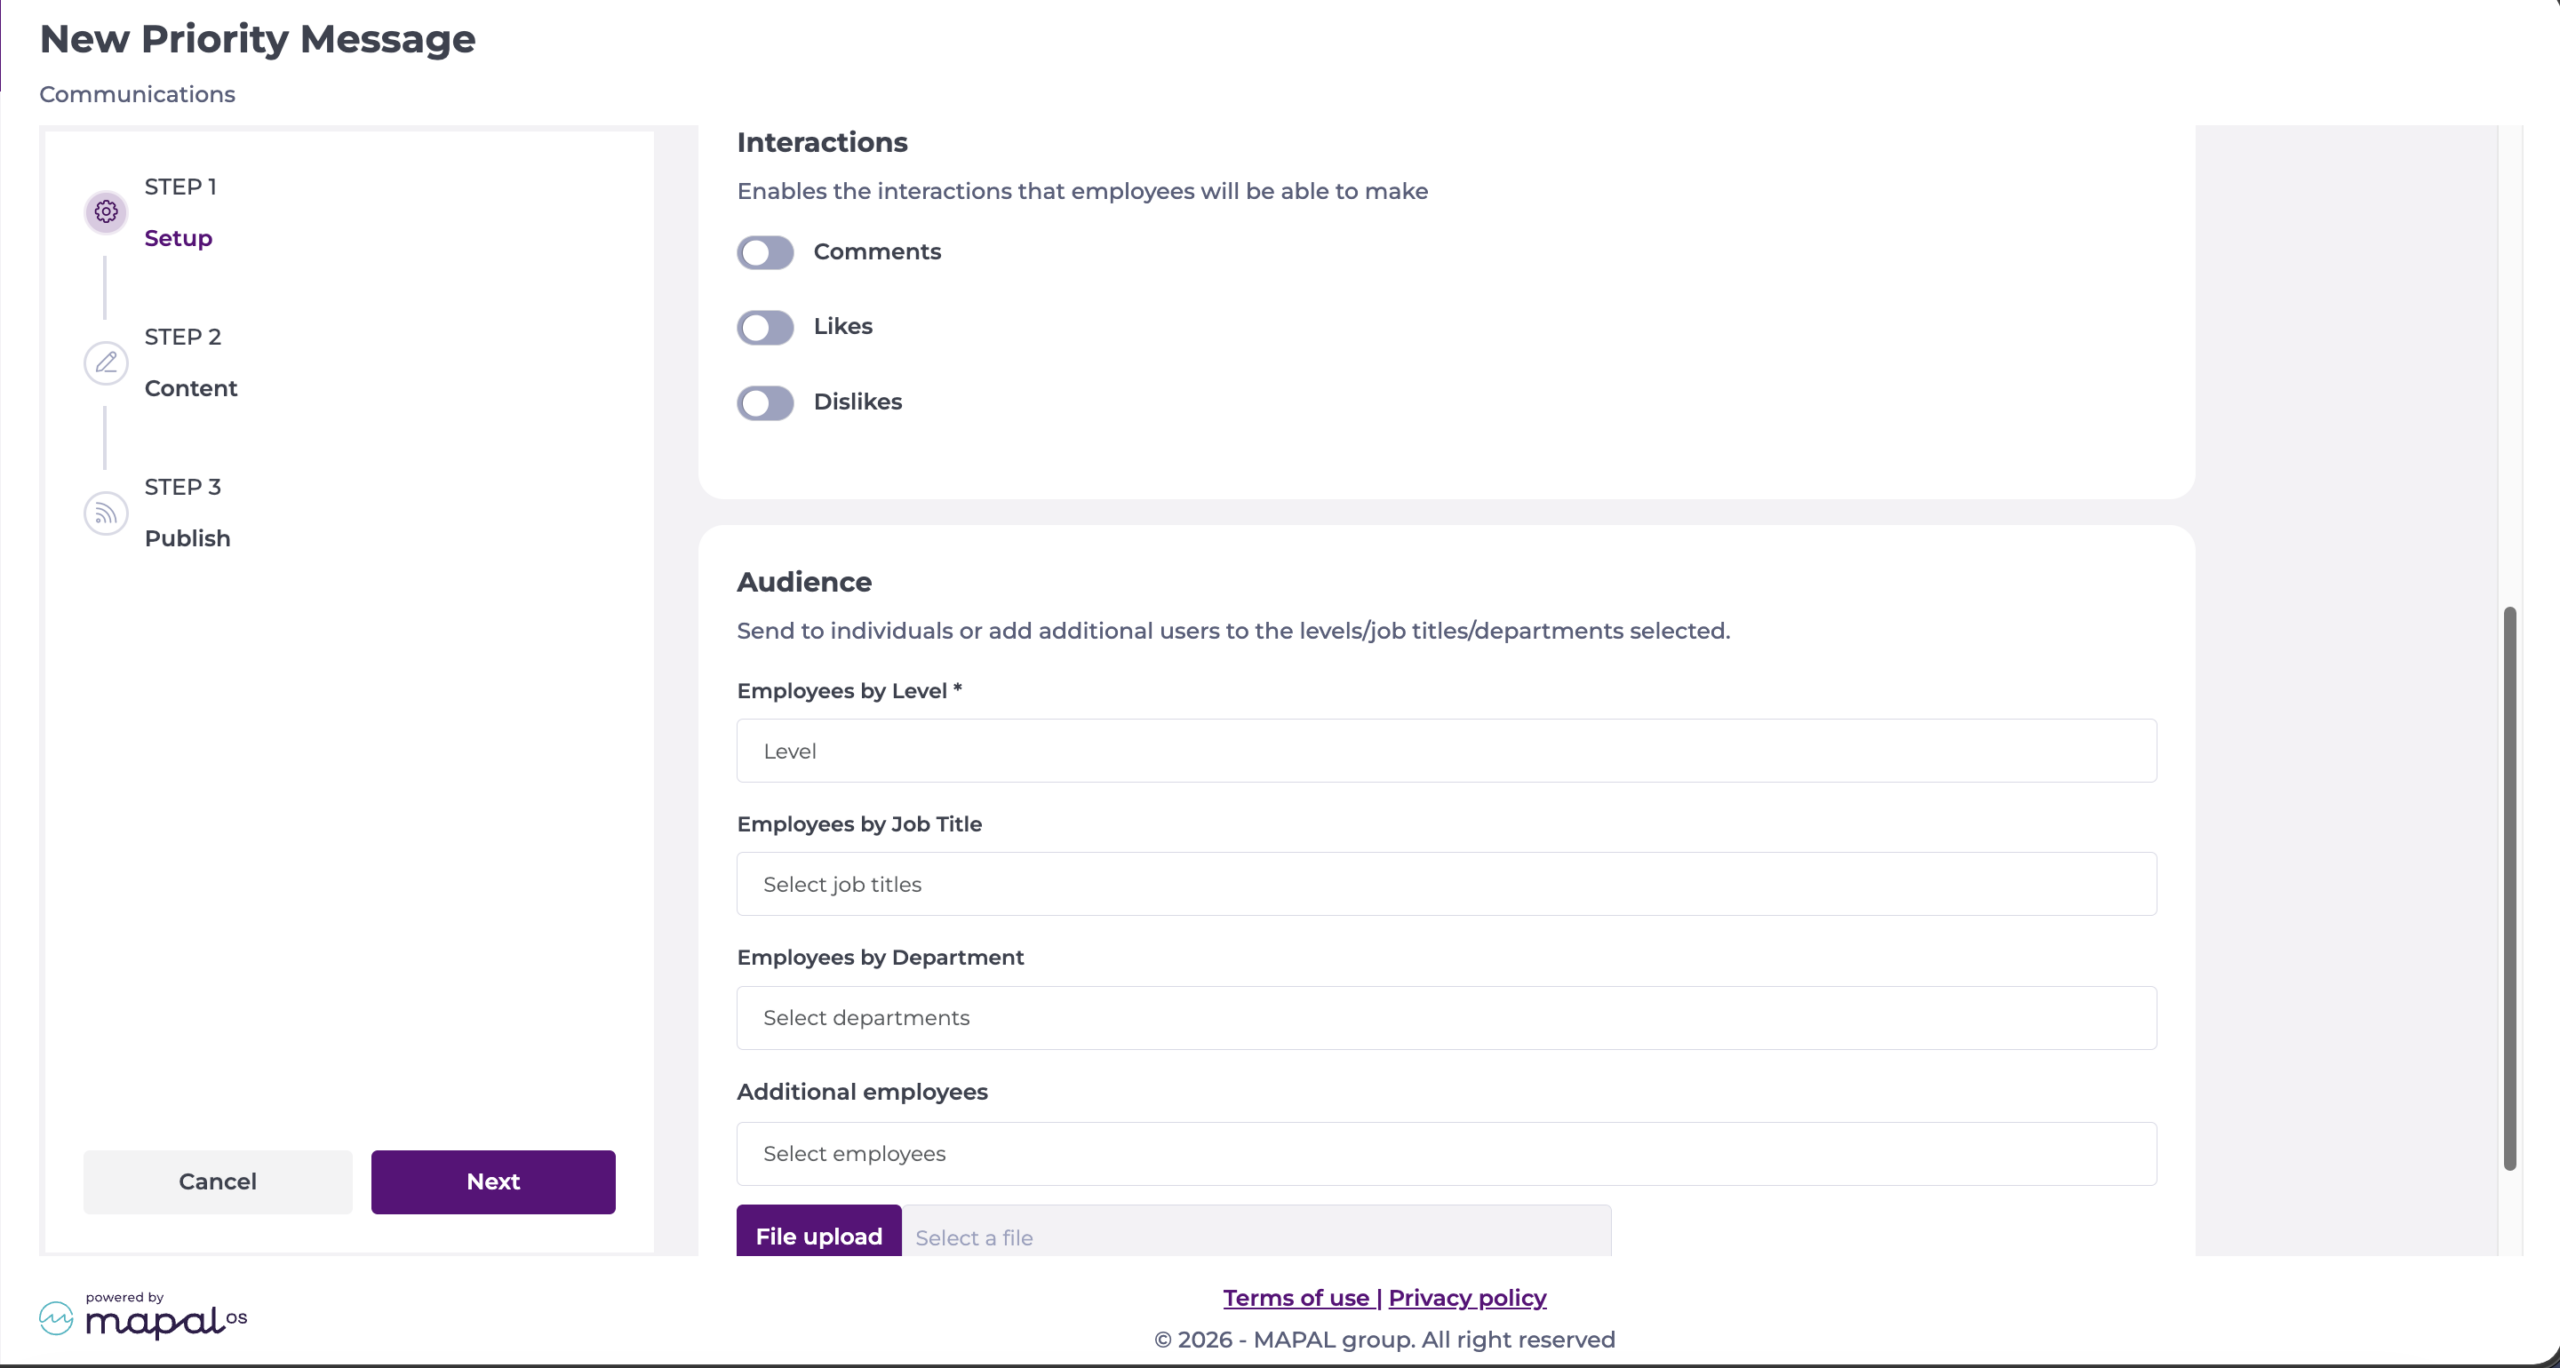
Audience
- Select the employees you want to receive the message. You can provide access to:
- Employees by Level*
- Employees by Job Title
- Employees by Department
- Additional employees
- File upload
Note: Only active category group levels from Mapal OS can be selected. Levels deleted in Mapal OS no longer appear as audience options.
Step 2 - Content
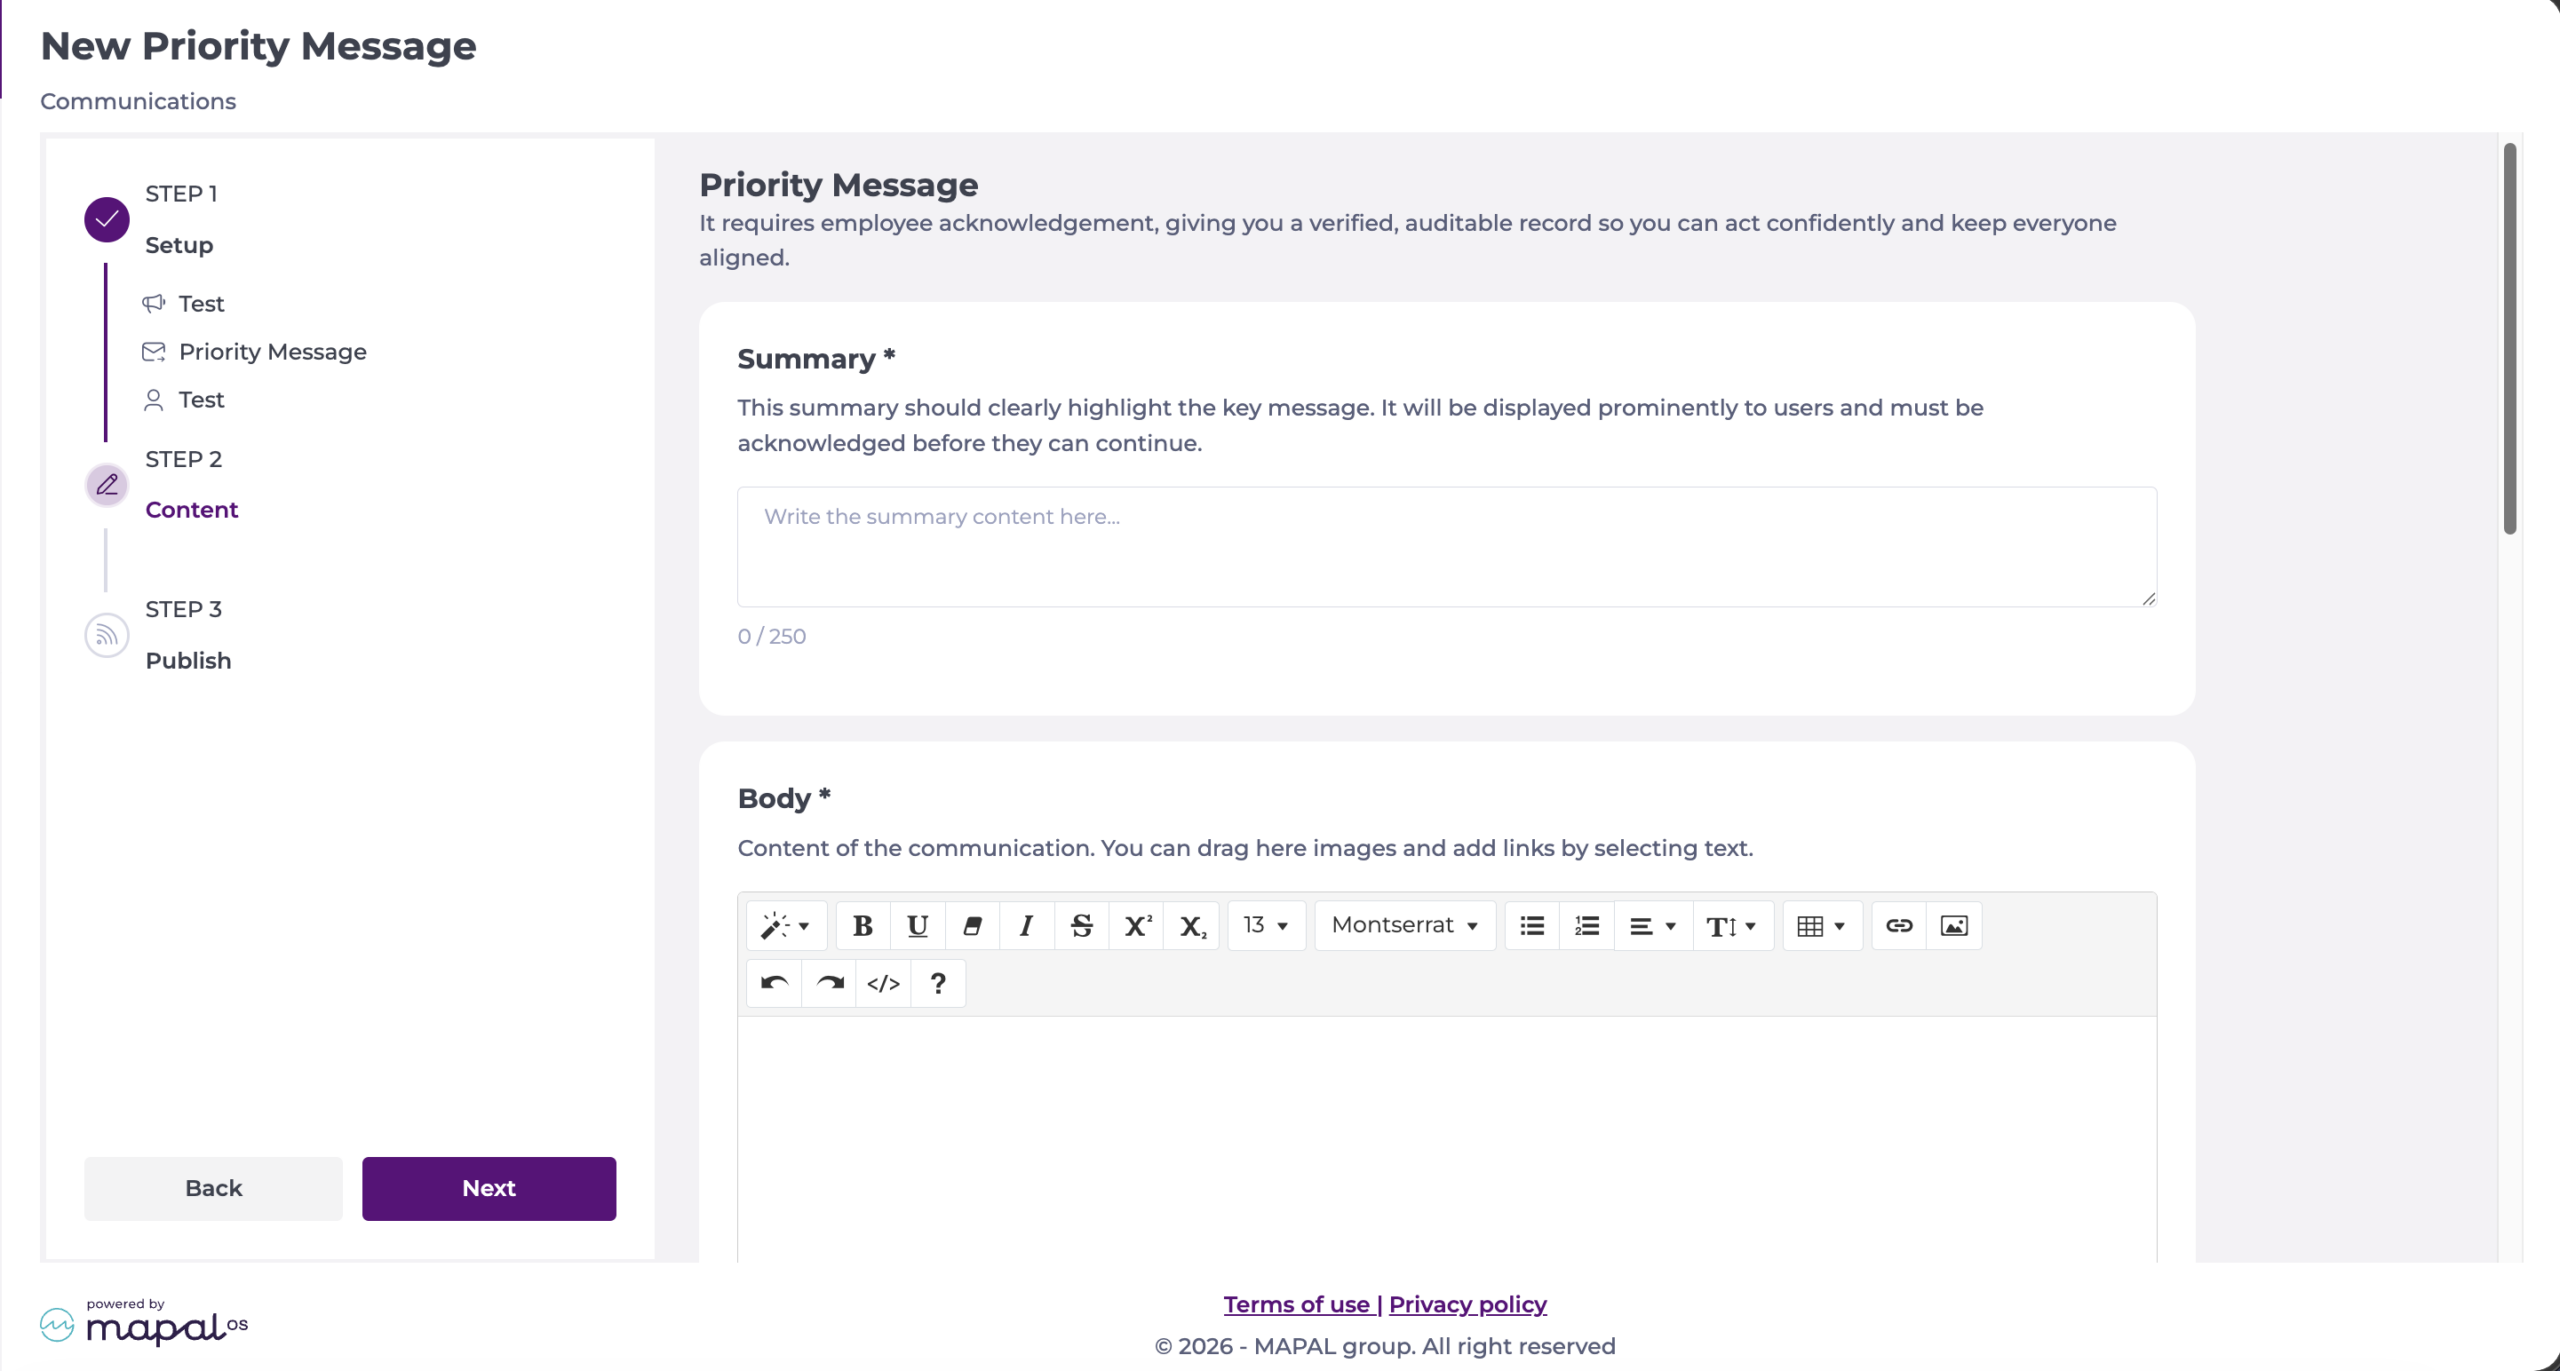
Summary
- Write the Summary*. This is displayed prominently to employees and must be acknowledged before they can continue.
Note: You can write a maximum of 250 characters.
Body
- Write the content of the message in the Body* field. You can drag images into this field and add links by selecting text. This is a rich text field.
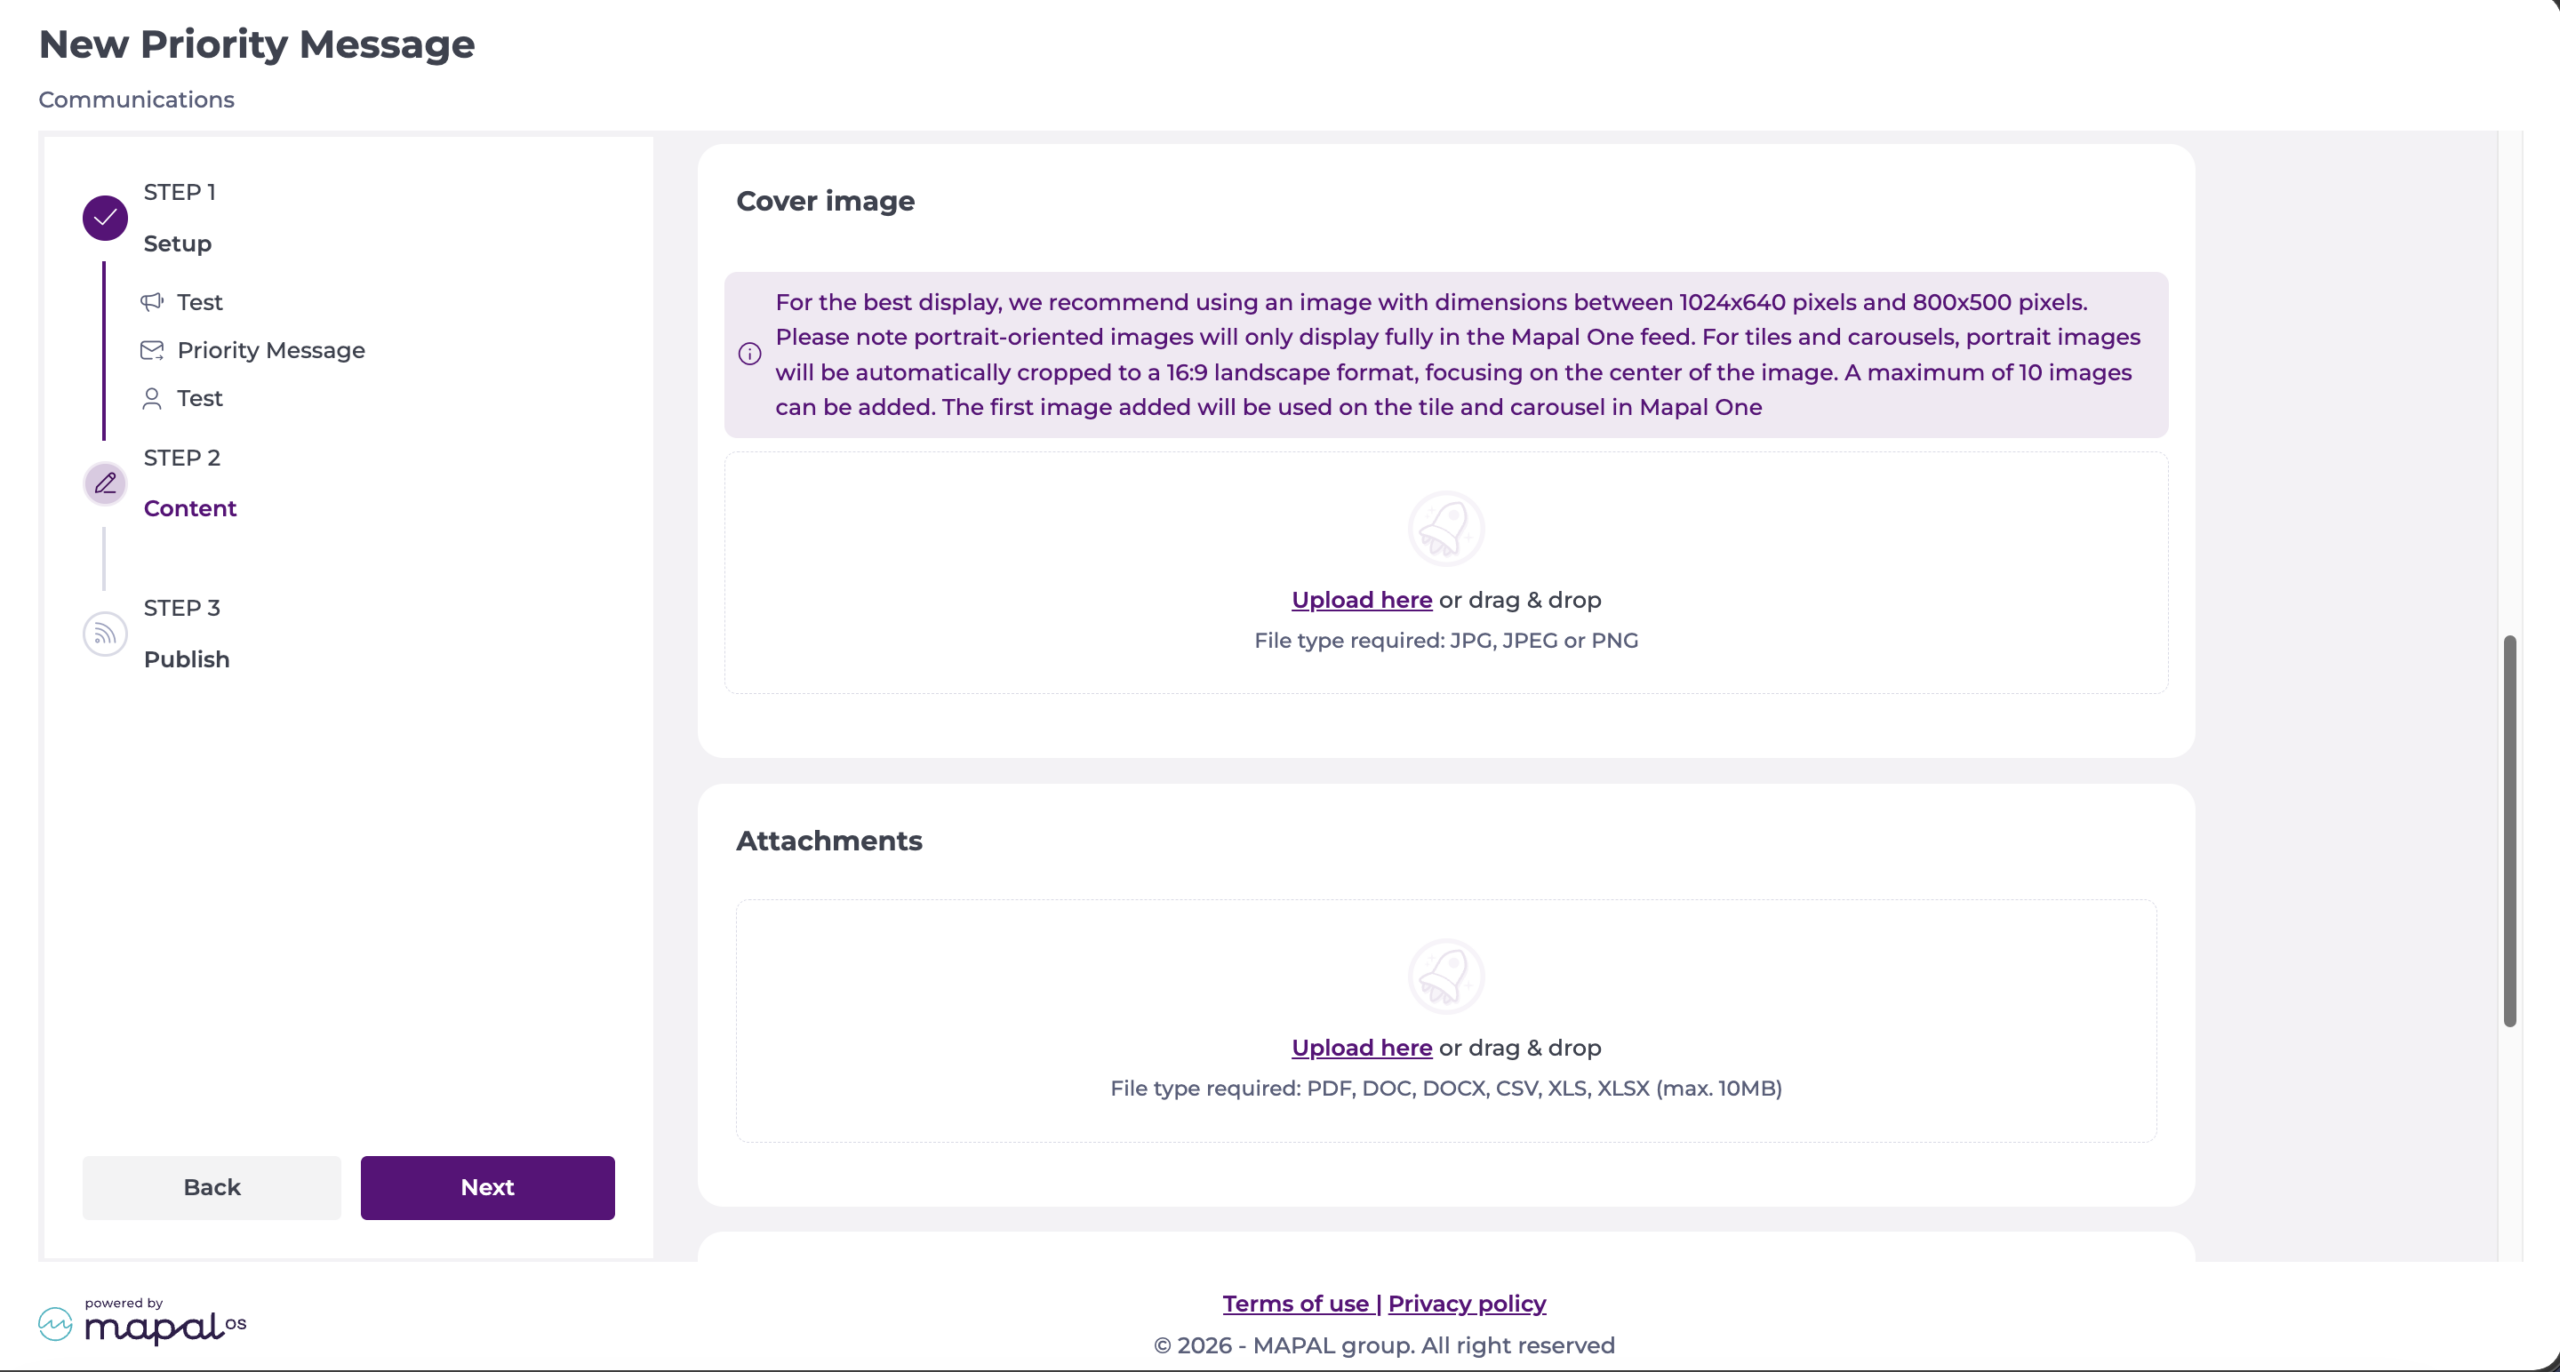
Cover image
- Add a cover image if you wish. Accepted file types are JPG, JPEG, or PNG.
Note: Portrait images display fully in the Mapal One feed. For tiles and carousels, portrait images are automatically cropped to a 16:9 landscape format, focused on the centre of the image. You can add a maximum of 10 images, and the first image added is used on the tile and carousel in Mapal One.
Attachments
- Upload attachments to your message. Accepted file formats are PDF, DOC, DOCX, CSV, XLS, XLSX (max. 10MB).
Video
- Upload a video from your files, or add a Video link from YouTube or Vimeo. For uploads, MP4 is required (max. 100MB).
Note: You can add only one video. Once you add a video one way, the other way is blocked.
Step 3 - Translate
If your organisation has translation languages set up, a Translation step appears. To choose which languages are available, see Set up translation languages.
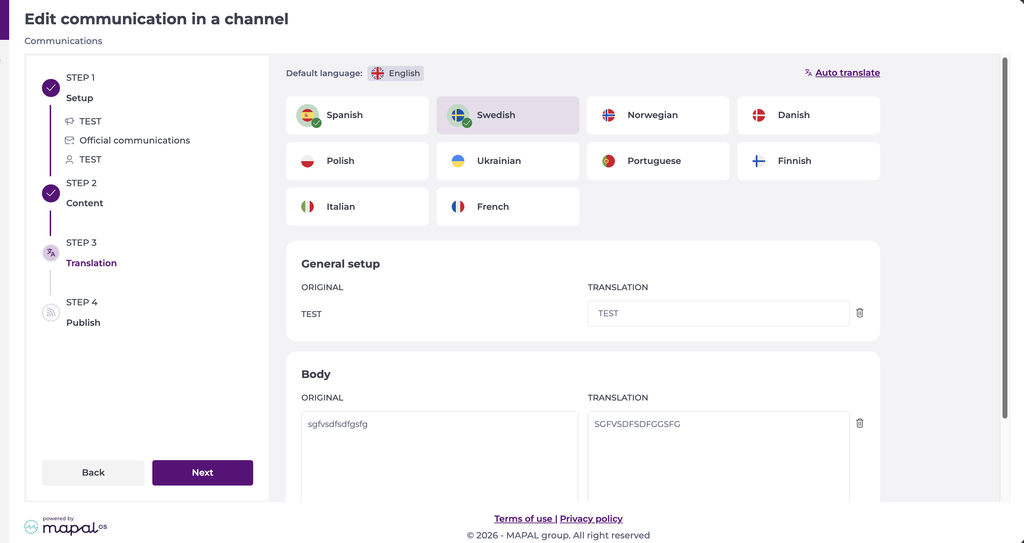
- Select the Translation step.
- Select a language from the list.
- Select Auto translate to generate the translation, or type it manually in the Translation field. You can edit an auto-translated result.
- Repeat for each language you want to provide. A tick appears on each language once it has a translation.
- Select Next.
Employees see the content in their own language in Mapal One, or in the original language if no translation exists for theirs.
Step 4 - Publish
- Choose whether to save the message as a Draft, Publish now, or Publish on a specific date and time.
- Optionally, set an Expiration Date. The message automatically expires and is no longer visible to employees after this date and time.
- Select Save to complete.
Note: All fields marked with an asterisk (*) are mandatory.