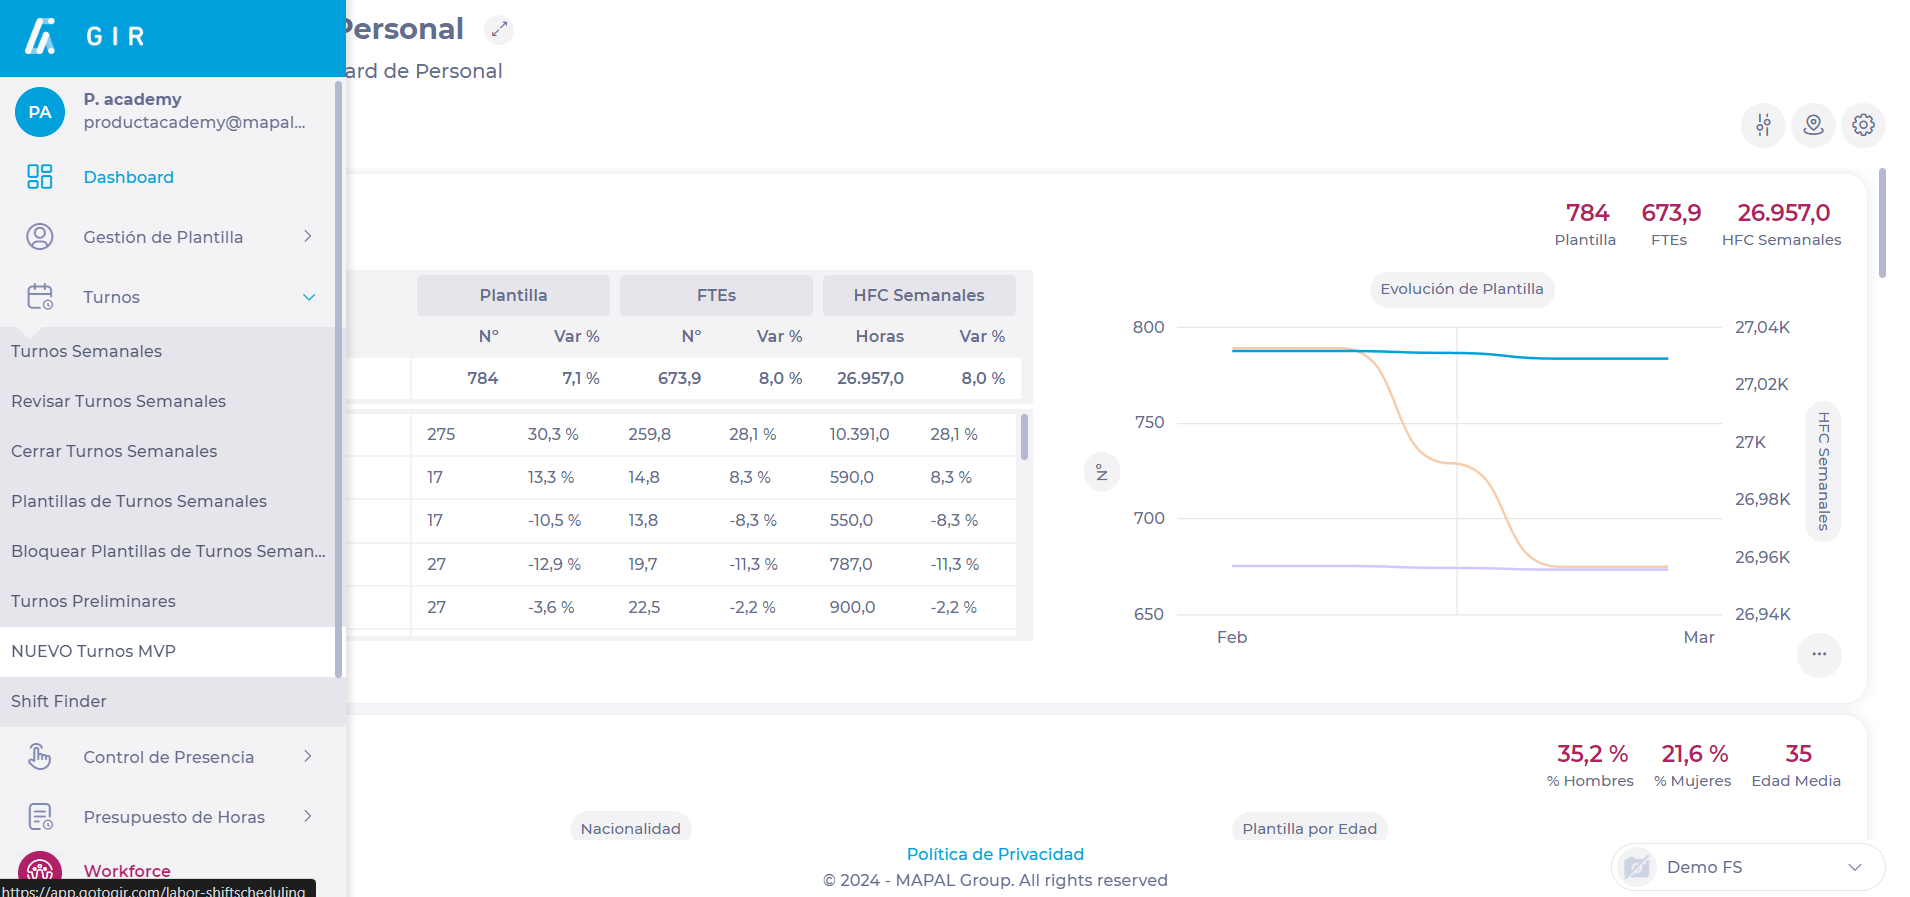
Start from: The Workforce module.
-
Select Scheduling > Scheduler 2.0 from the main menu.
-
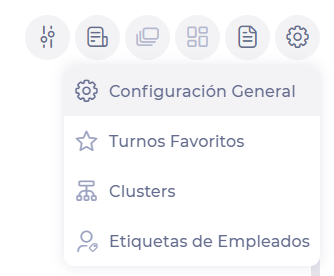
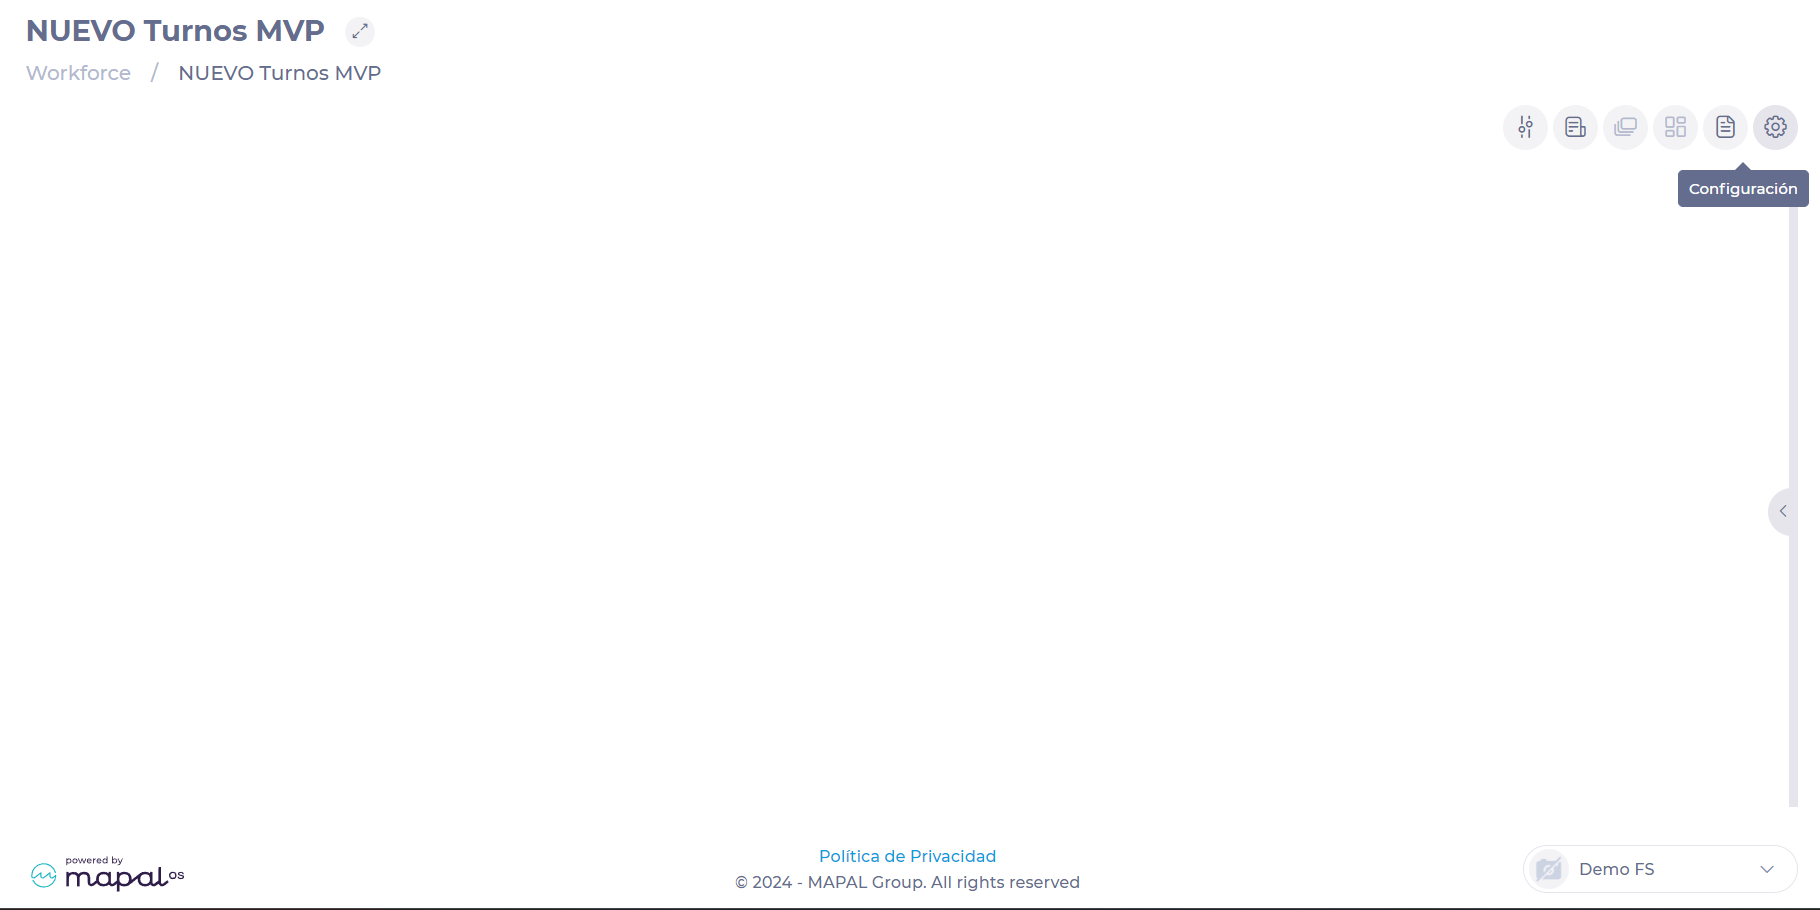
Select the Configuration button on the main shift screen.
-
The drop-down menu will give you four configuration options:
-
General Setup
-
Favorite shifts
-
Clusters
-
Employee Tags
-
General Setup
The general configuration of the new scheduler is divided into three blocks:
-
CountersThe general counters show totalized information of all employees in the schedule and according to the selected view (daily, weekly, monthly, etc.).
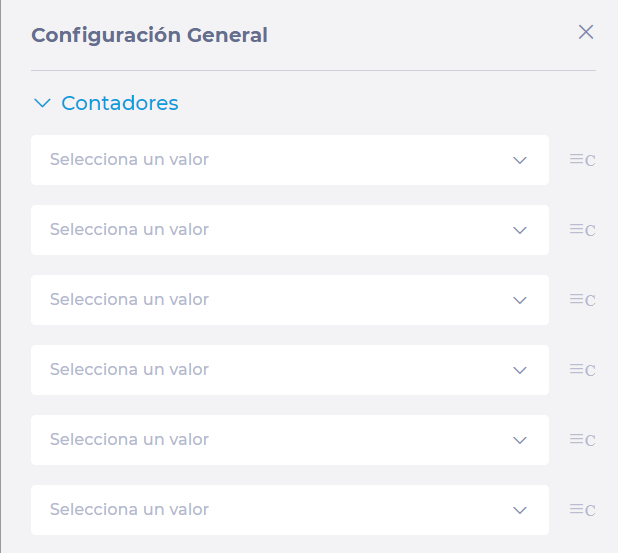
Notes: You can display up to 6 general counters on the screen. These can be dragged and rearranged to adjust the order in which they are displayed on the main screen (from left to right).
-
EmployeesHere you can select the information to display in the employee cell and its format, including:
-
How to display the employee's name
-
Employee category
-
Fixed weekly hours
-
Default workstation
-
Employee requests
-
Alerts
-
Up to two specific counters (KPIs) you want to see in each employee's cell
-
Notes: Many of these counters are similar to the general counters, but these provide you with specific values for each employee according to the selected view.

-
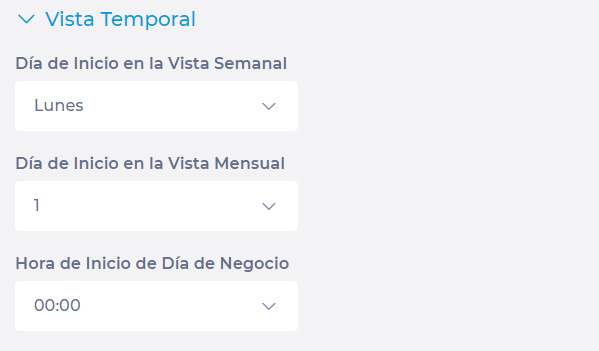
Time view: here you can select on which day of the week or month the schedule should start:
-
Start day in the weekly view (Monday to Sunday)
-
Start day in monthly view (1-28)
-
Start time of the business day or working day
-
-
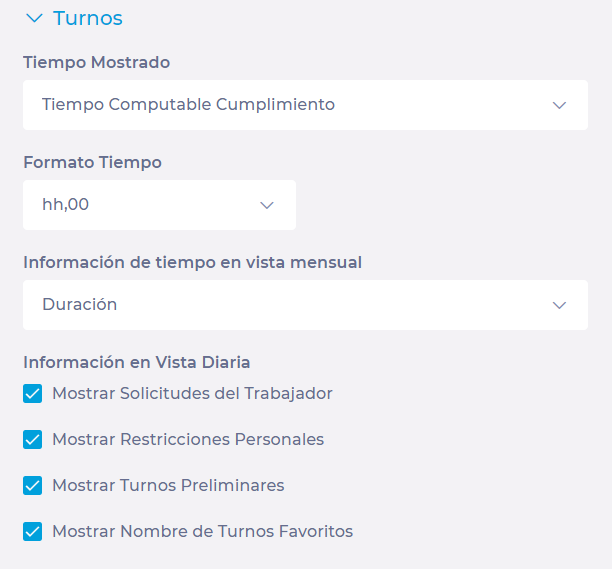
Shifts: here you can select what information should be available in the shift grid, including:
-
Time displayed in the shift table (total time, computable, net time worked, computable compliance)
-
Time format in monthly view (hh,00- hh:mm)
-
Employee requests (to be developed for future versions)
-
Personal restrictions
-
Preliminary shifts (to be developed for future versions)
-
Whether or not to display the description when managing shifts from favorites
-
Favorite shifts
Here you can define your most commonly used shifts and shift sequences for later use, making it easy to assign bulk shifts to employees in the future.

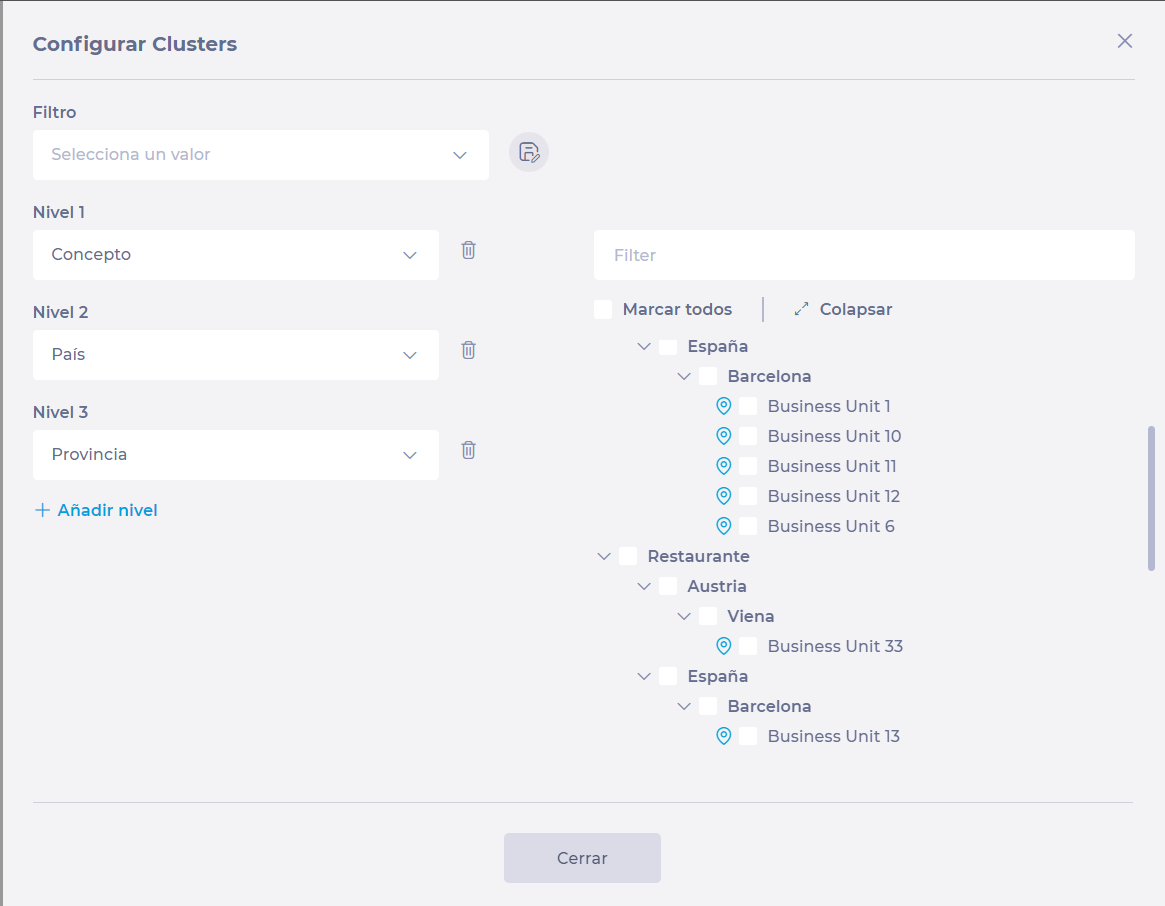
Clusters
A cluster is a customized group of centers. You can configure them here.
Through the levels, you can create different classifications to select relevant sites and create site groups. Once you have made your selection, you can name it and save it. You can select clusters from the Parameters panel and schedule shifts for all employees in the corresponding centers.
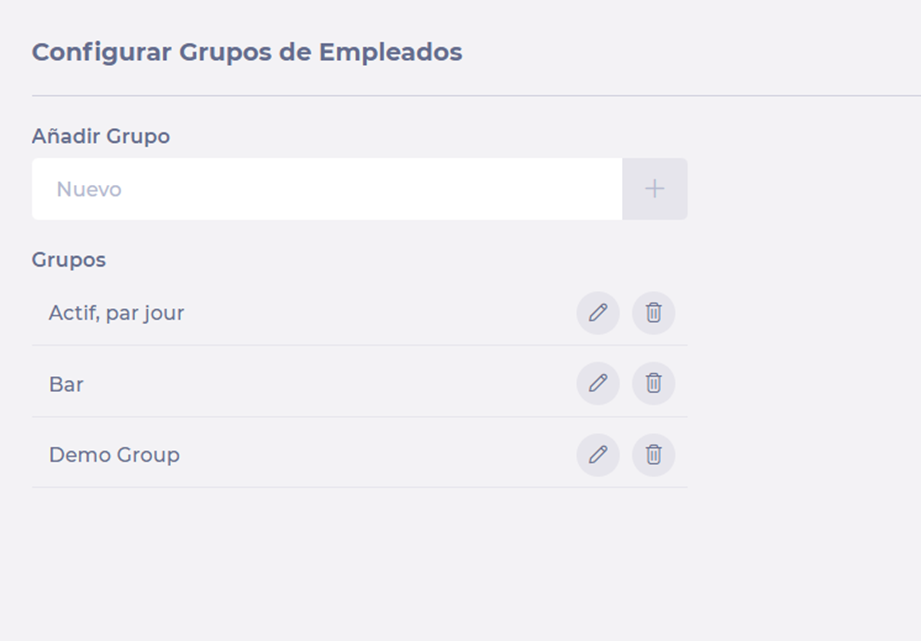
Employee Tags
From here, you can create tags that can then be used to filter your employees.
For example, if you had a chain of restaurants that offered opera performances, you could create a label to classify your employees who are singers.