


Start from: The Daily Schedule.
Before you begin, note that not all roles can create local areas. If in doubt, contact your line manager or Mapal customer support.
- Select My location > Tasks on the main menu.
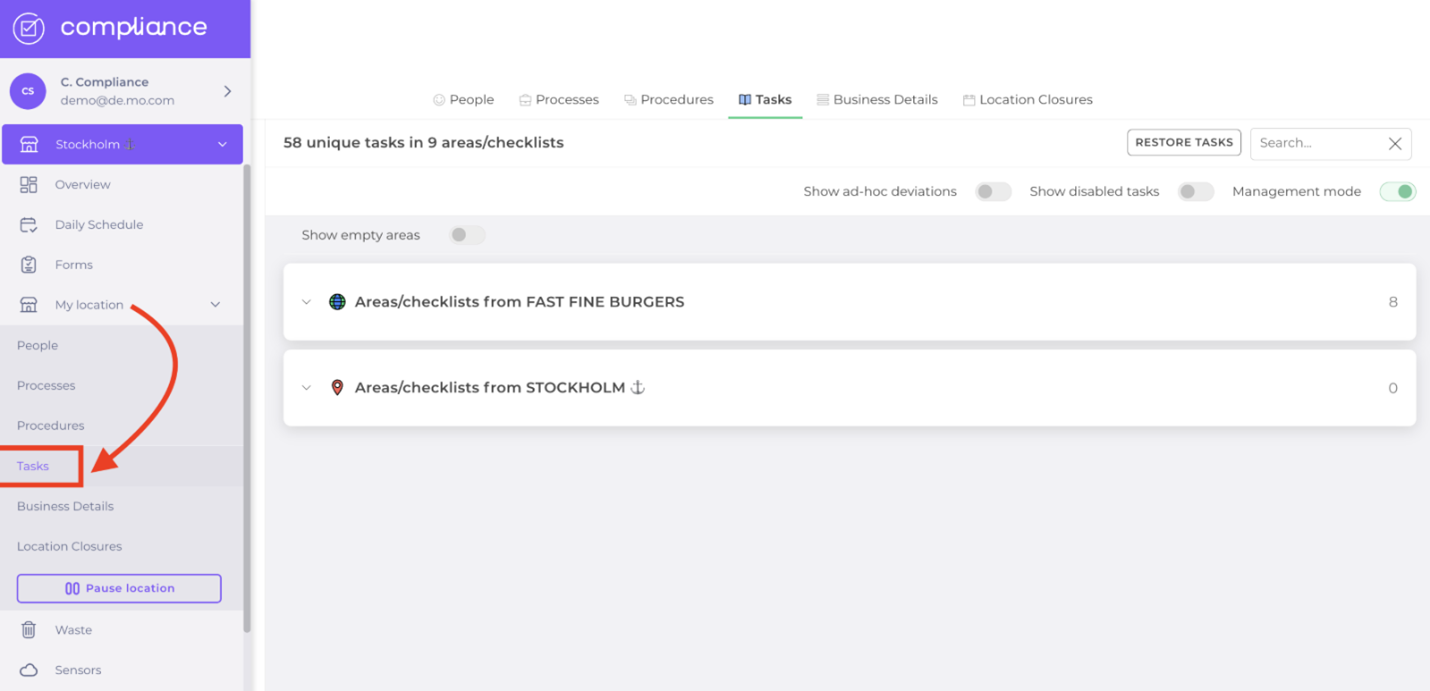
You’ll see two areas, one with a globe icon showing the central areas (containing tasks created by the business for all locations) and one with a red pin (showing only locally created tasks).
- Select the red pin dropdown list.
- Enter the name of the new local area you wish to create.
- Select Create new local area/checklist.
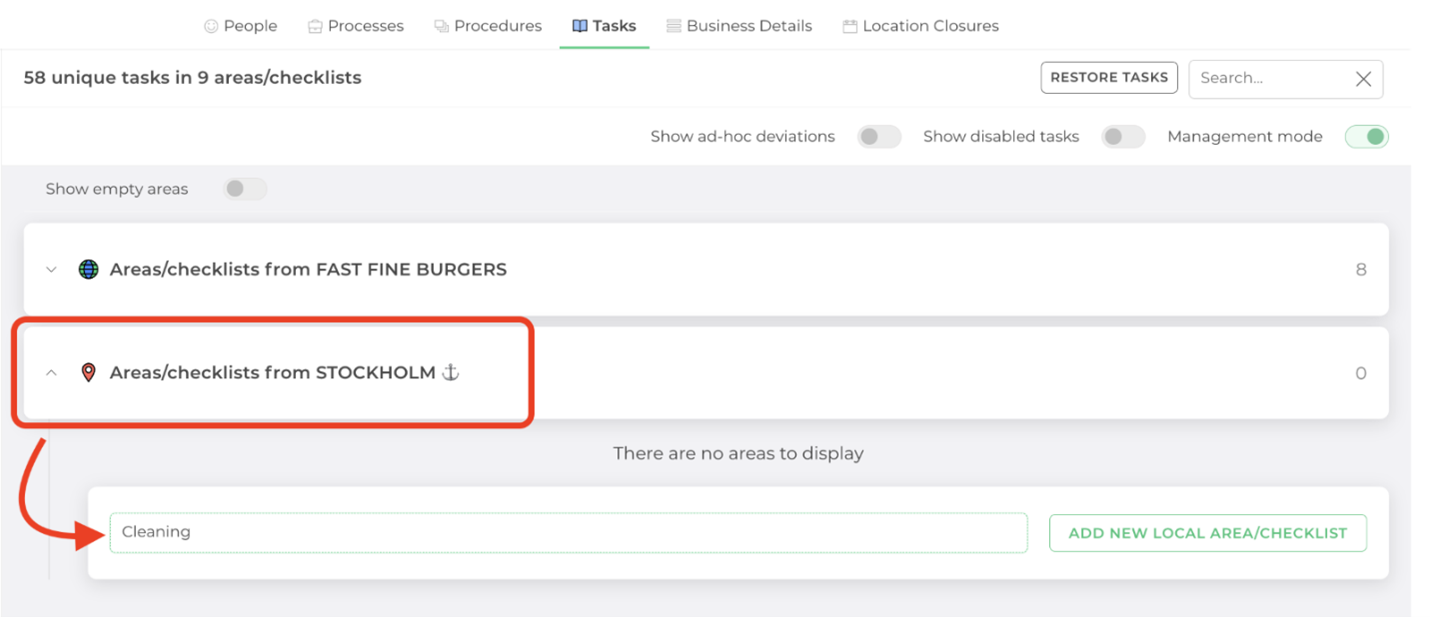
The new local area has been created. Only your location will have access to the area and its contents.
Note: if you don’t add any tasks to your local area at this stage, it will not be shown the next time you access this page. Toggle the Show empty areas button to see this area.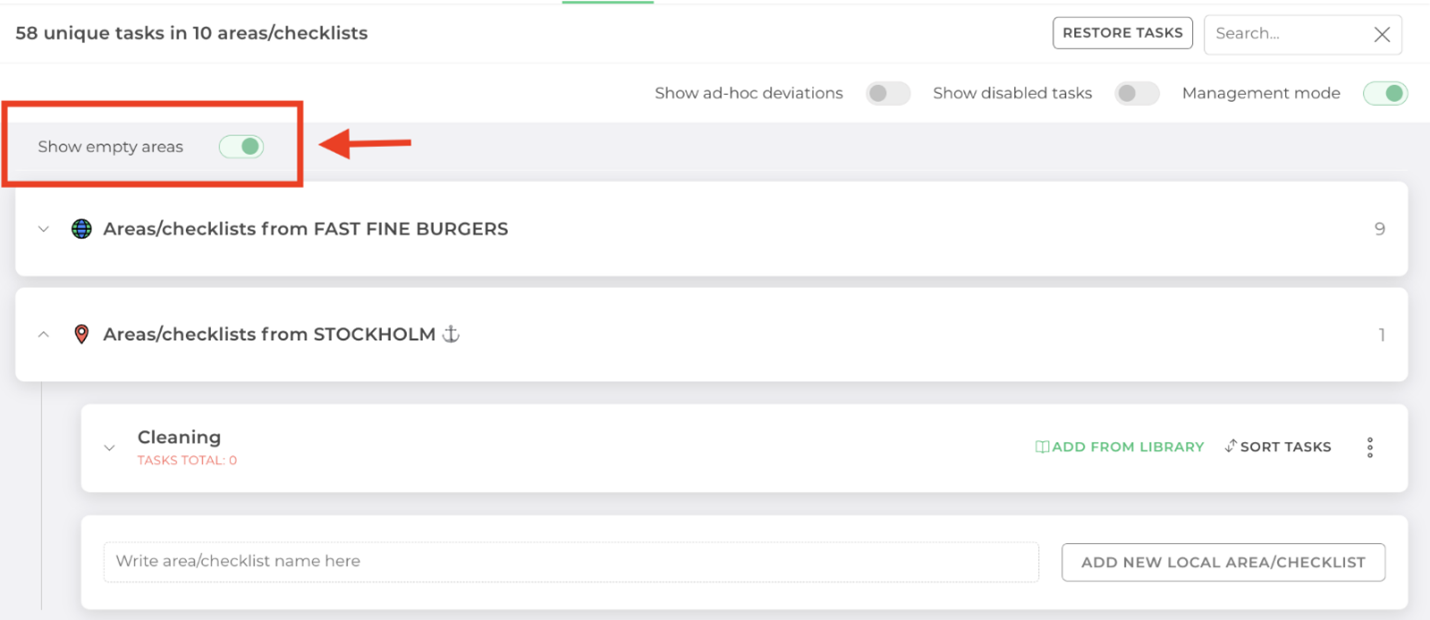
Edit/delete local areas
- Locate the area you wish to edit or delete.
- Select the three vertical dots next to the area.

A drop-down menu will appear with the following options:
Create local task: this option allows you to create a local task from scratch. You can also select the Add from library button on the area to import existing tasks.
Rename: select this option to change the name of the area. If you have more than one language, you can edit all versions at once.
Delete: select this option to permanently delete the area and its tasks/content.