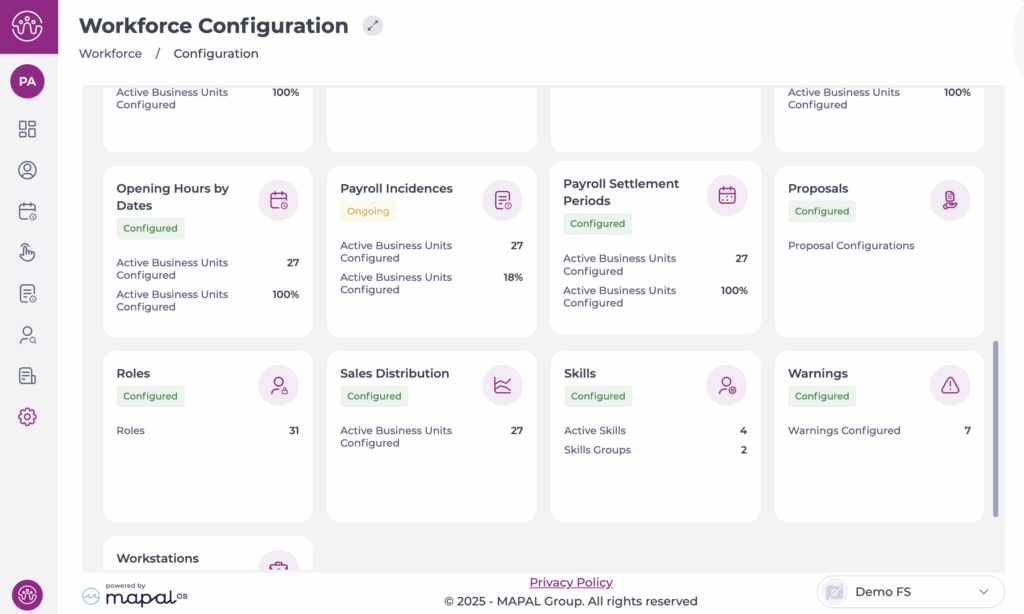
Start from: The Workforce dashboard.
- Navigate to Configuration > Payroll Settlement Periods.
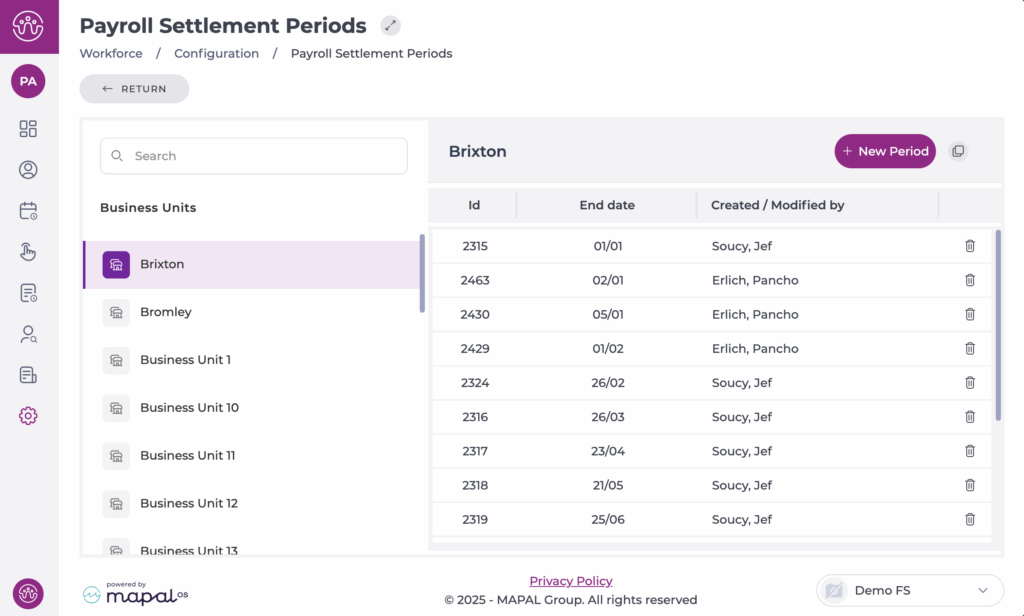
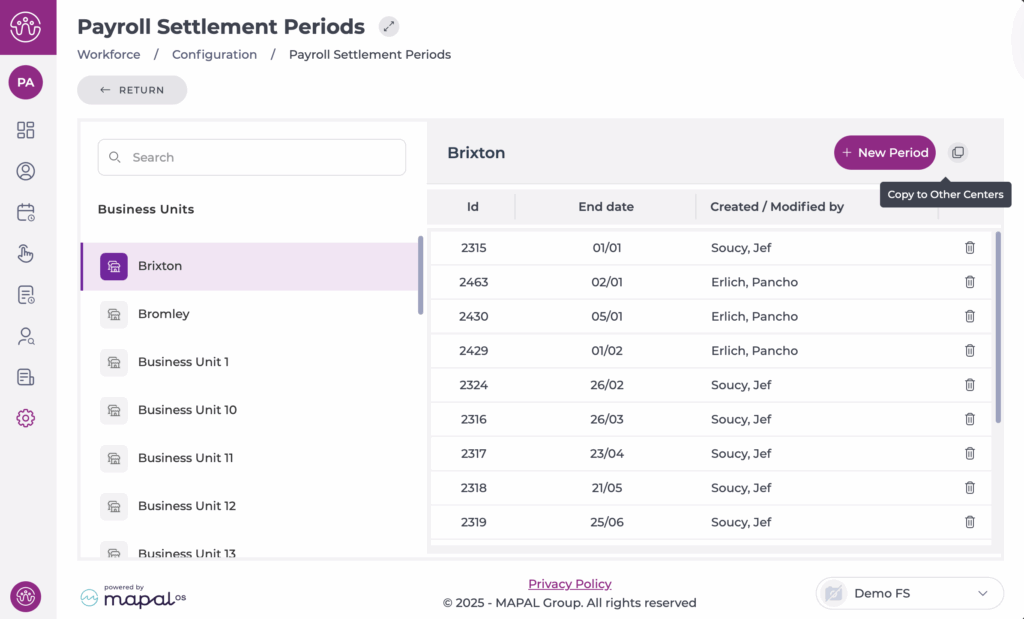
Create a new Payroll Settlement Period
- Select the Business Unit from the list.
- Select the + New Period button in the top-right corner of the table.
- Define the end date of the new period (day and month).
Example: If the previous period ended on 09/02, creating a 7-day period means the next one will start automatically on 10/02.
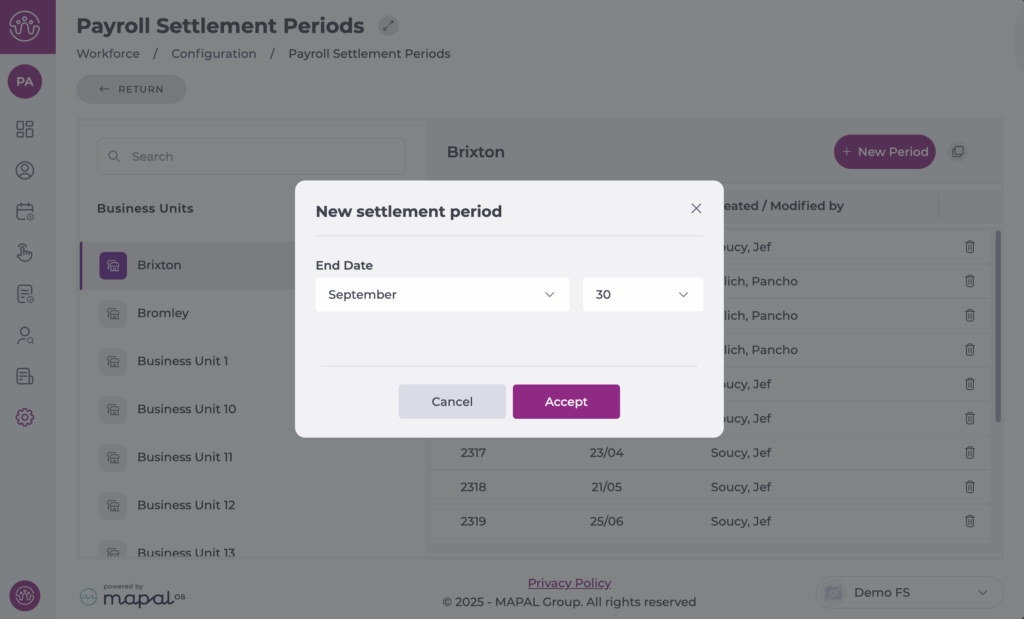
Note: The start date is calculated automatically based on the previous period’s end date. Overlaps are not possible, the system only lets you create valid periods.
Copy Settlement Periods to other sites
You can copy settlement periods from one centre to others using the Copy button in the top-right corner of the table.
- Select the origin Business Unit from the list.
- Select Copy to Other Centers.
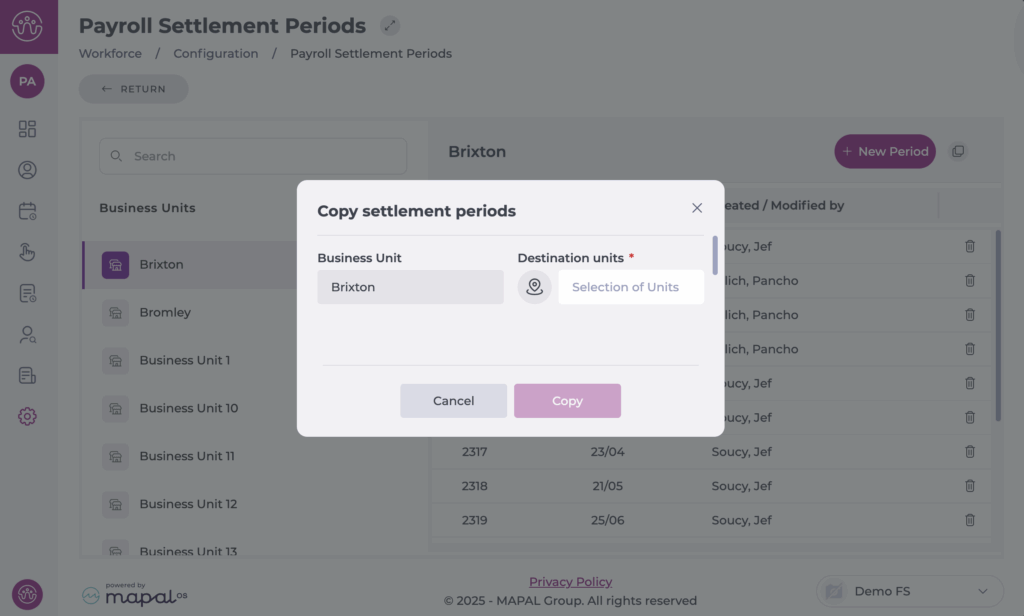
- Choose the Destination Unit(s) and select Accept.
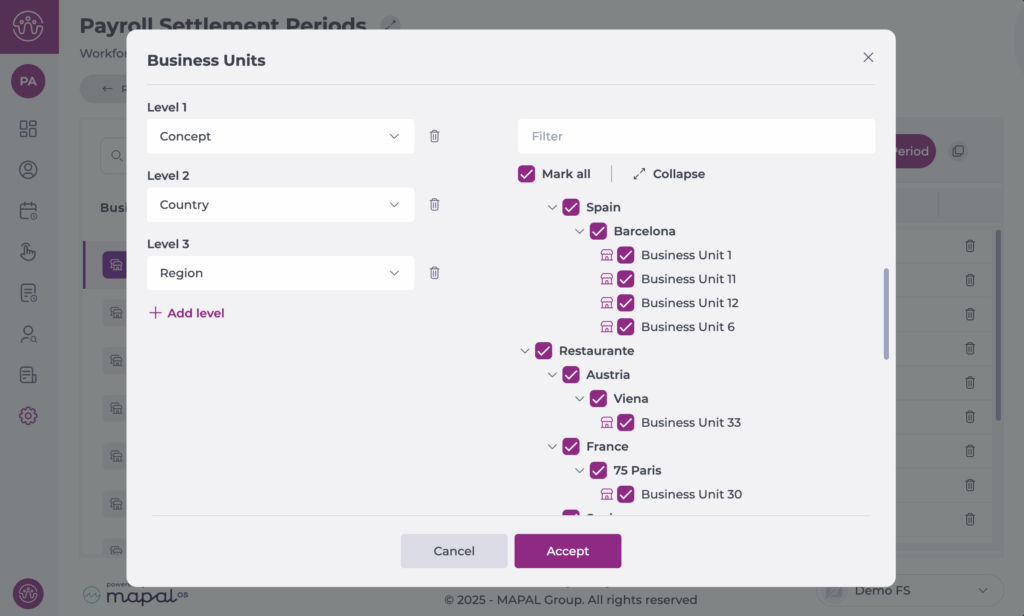
- Once selected, press Copy. Once you confirm the copy, all existing periods at the destination centre are overwritten with the new ones.
Note: this action deletes all previously created settlement periods at the destination centre.
Edit or delete a period
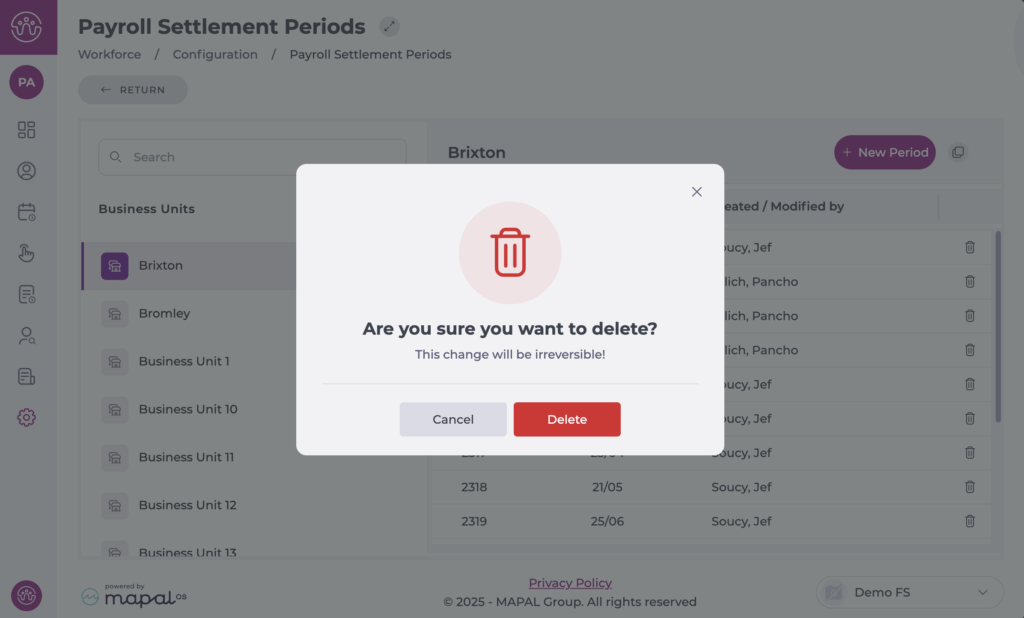
Delete
- Locate the settlement period you want to remove.
- Select the delete icon next to the period.
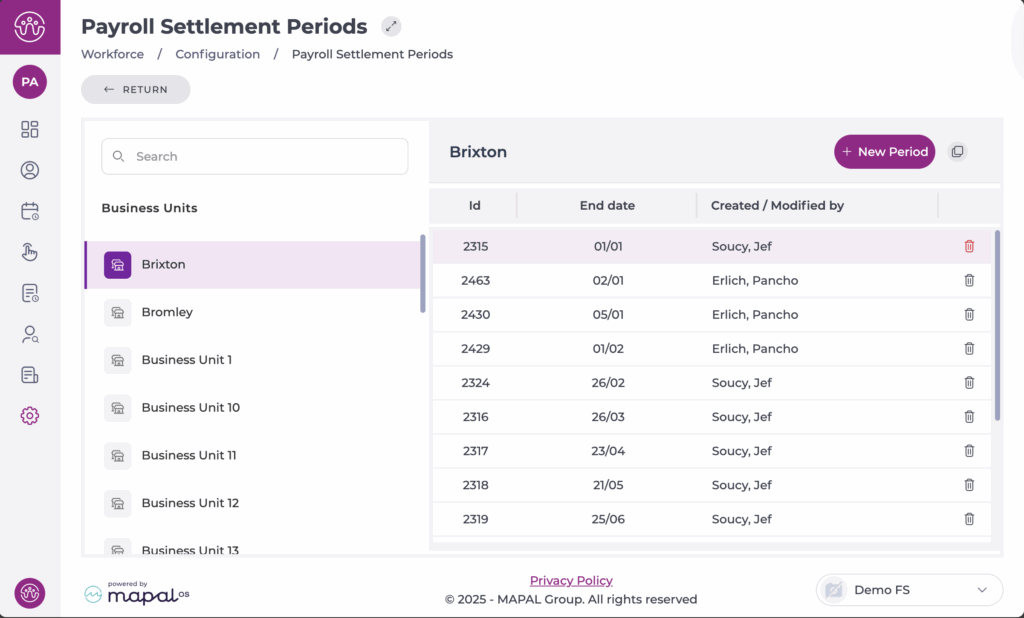
- Confirm to remove it permanently.
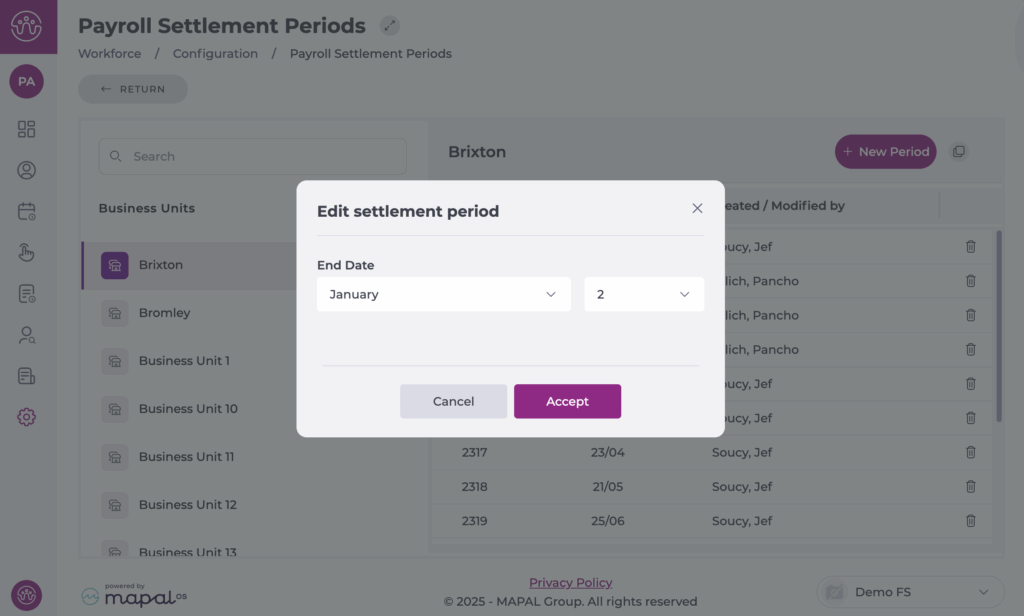
Edit
- Select the specific period you want to modify.
- The Edit settlement period window appears.
- Modify the End Date as needed.
- Select Accept.