


Start from: The Workforce module.
- Select Scheduling > Scheduler 2.0 from the main menu.
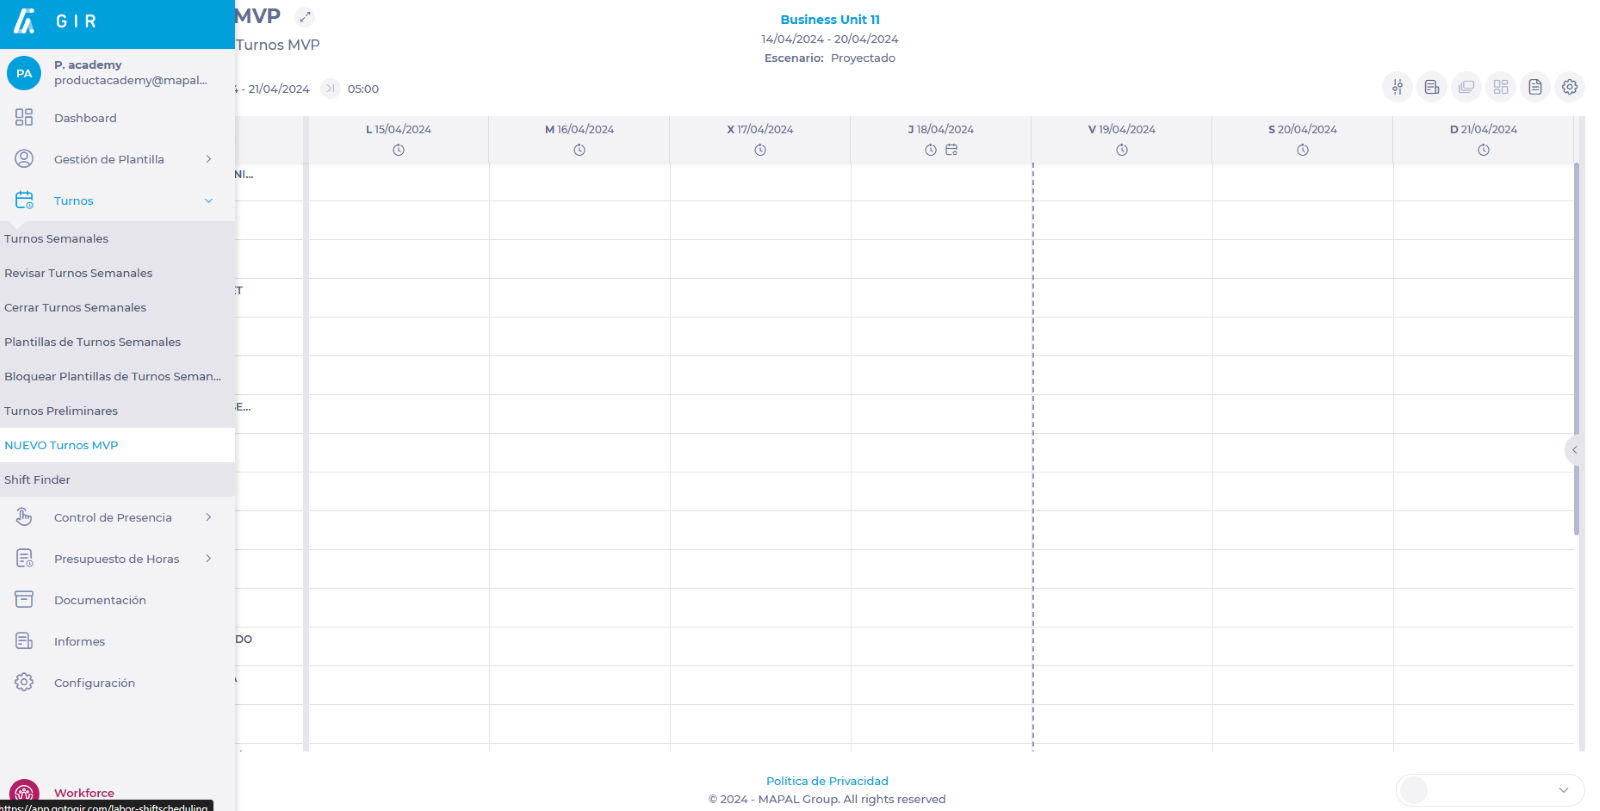
- Parameterize the planner to be able to access the main grid.
To make the parameterization, see Access the scheduler.
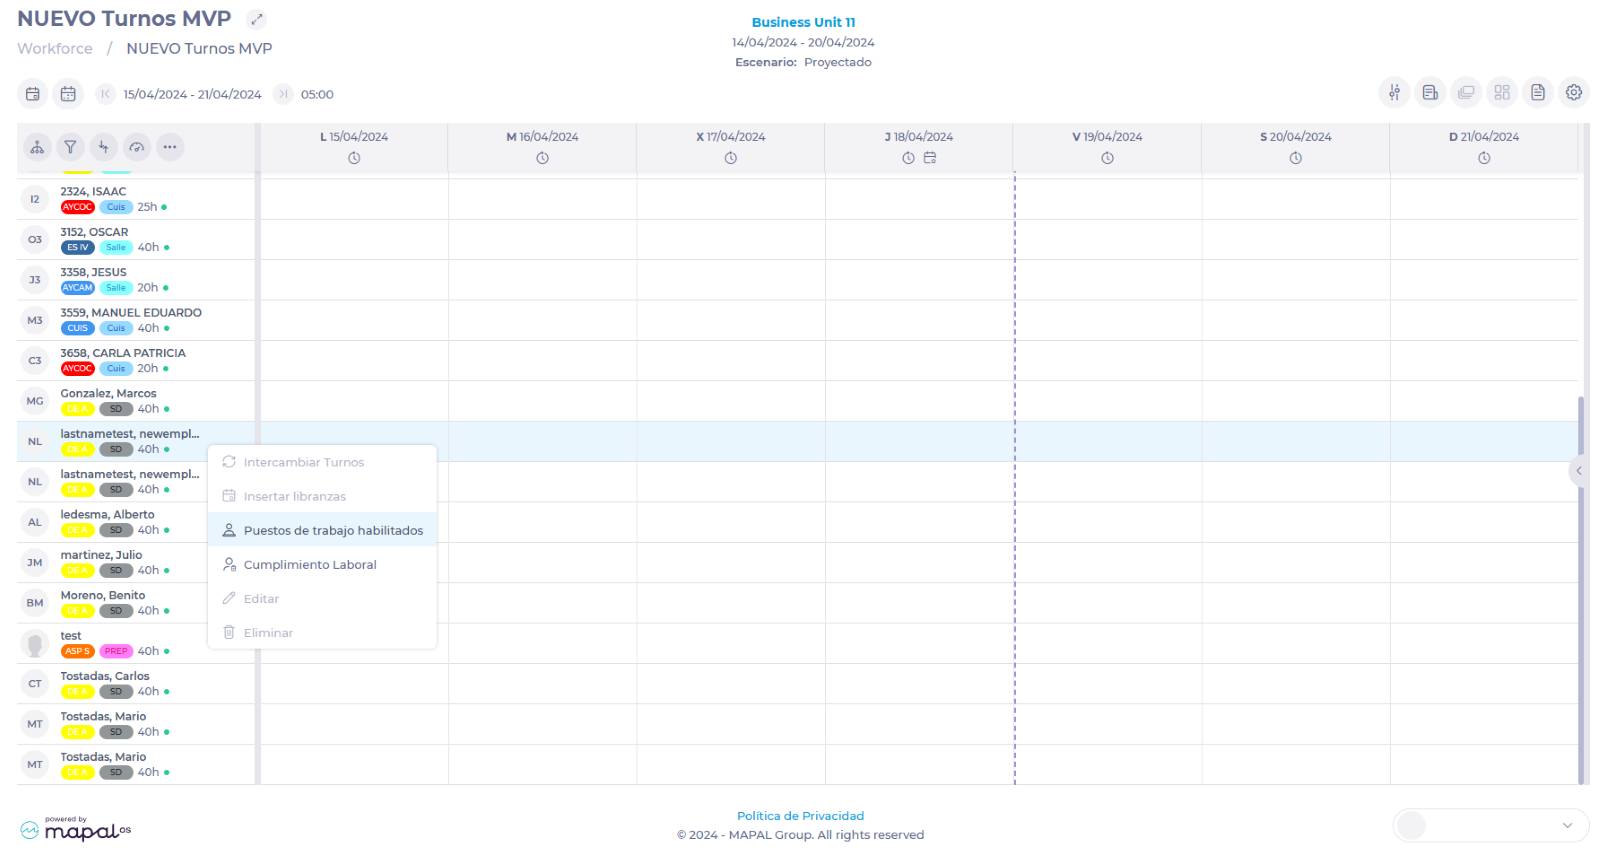
- In the employee list, locate the employee for whom you want to enable a workstation and right-click to display a menu.
- Select Enabled Workstations from the drop-down menu.
- In the Enabled Workstations window, find the drop-down with the category and select the specific workstations to be enabled.
- Once the workstations have been selected, assign a rating to the employee's performance in each position. The rating is assigned in the form of stars, on a scale from 0.5 (lowest rating) to 5 (highest rating).
- Even if multiple positions are selected, the worker must always have a single Default Workstation. This is determined by selecting the gray flag icon next to the workstation's name. The selected default workstations will be displayed then with a blue flag.
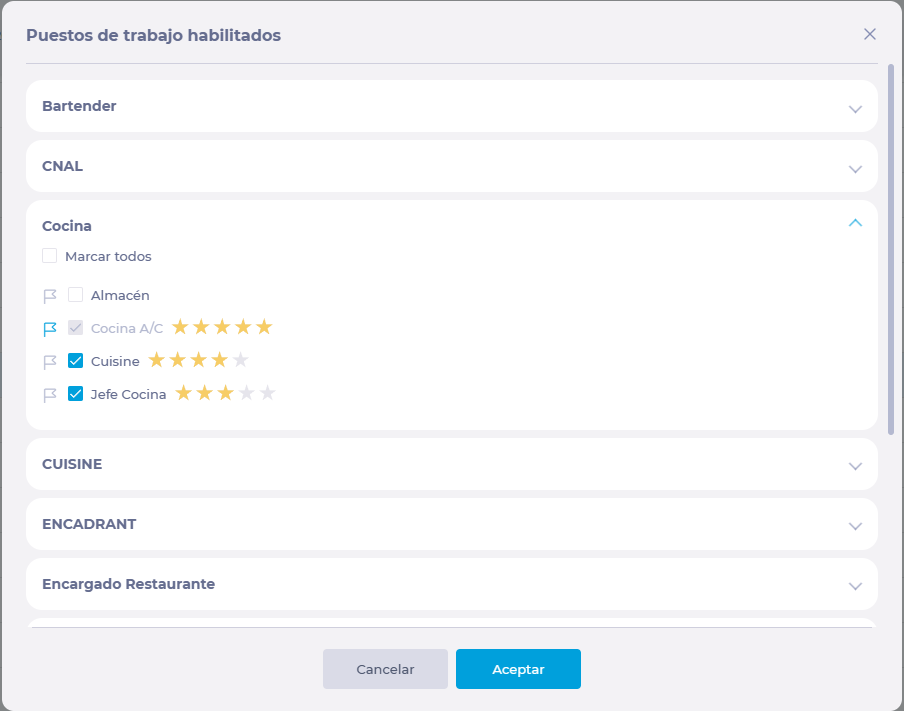
- Select Accept to save the workstation configuration OR Cancel to discard it.