


Start from: The Workforce module.
- Select Workforce Management > Workforce 2.0.
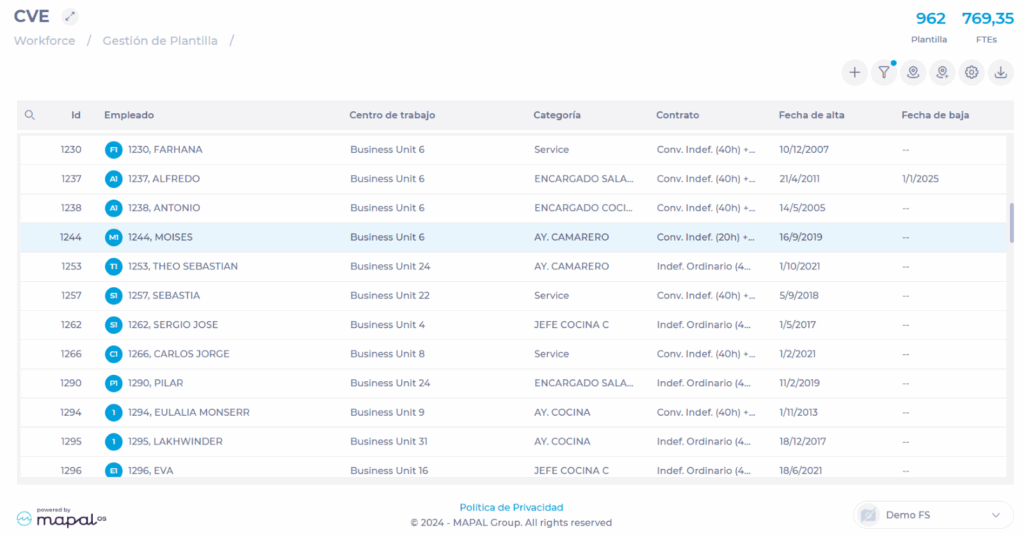
In the Workforce 2.0 (CVE) screen, select from the list the employee whose information you wish to manage.
The screen will open in the Employee Record tab. This tab has four sections:
Employee details
In this section, you can change any data related to the employee's record, such as personal data, attach a photo, add emergency contacts, medical checks, among others.
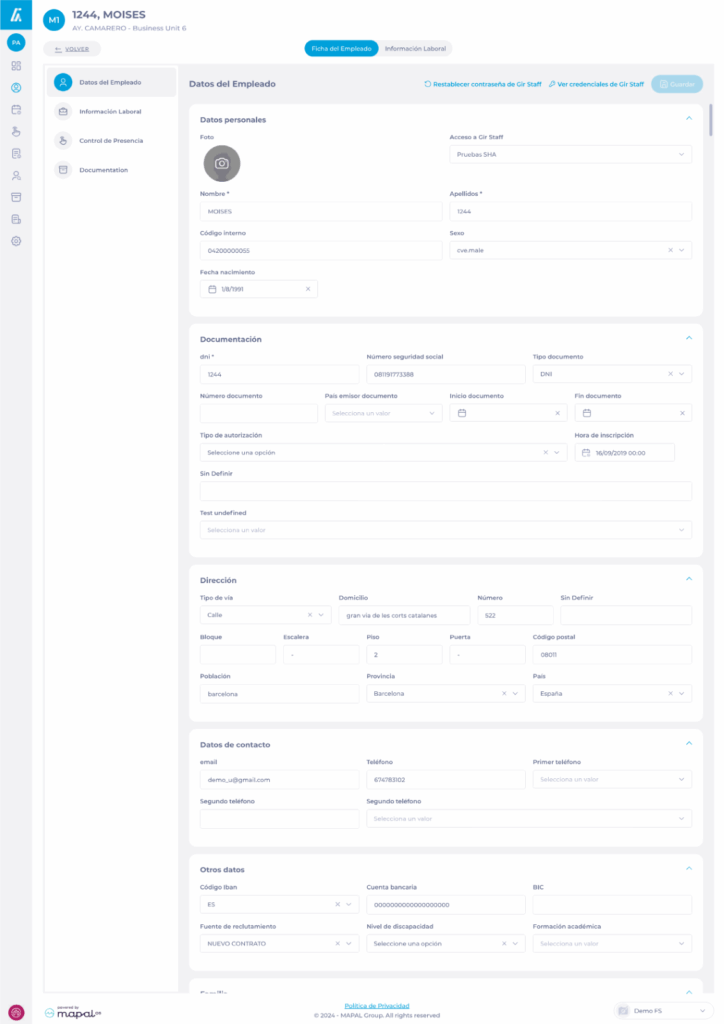
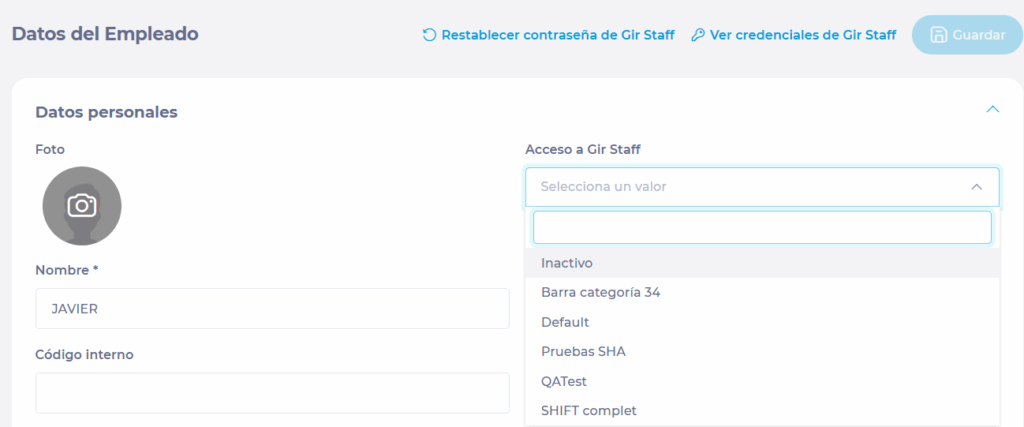
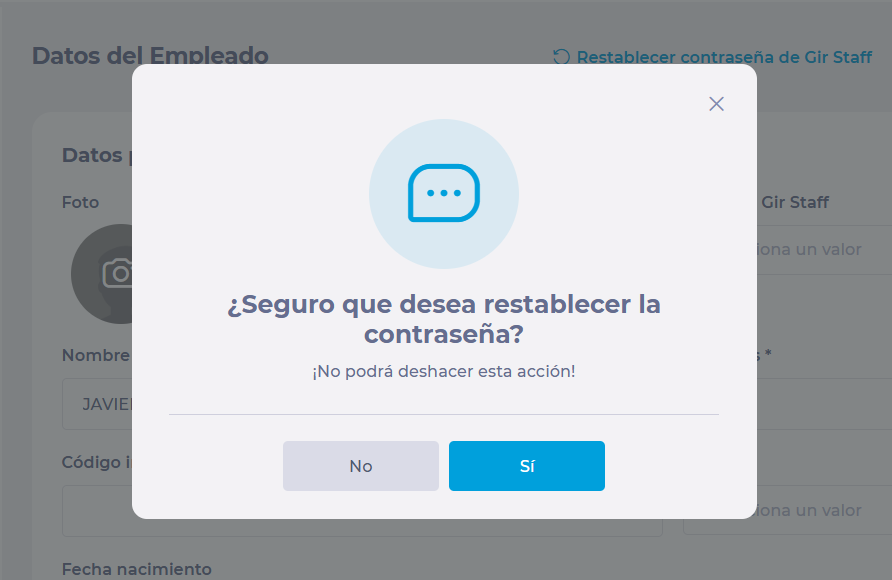
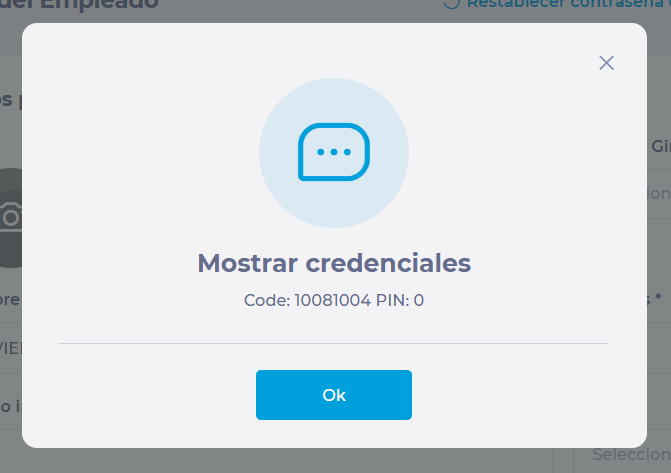
Here you can also activate or deactivate the GIR Staff profile, view their credentials, change their profile, and reset the password.
Employment information
In this section, you can manage the different work periods of the employee and, within them, the work situations. These correspond to changes in the type of contract, different shift restrictions, or transfers to other work centers.
To know more about employee information management, see Manage employee "employment conditions".
Time & Attendance
In this section, you can configure the codes to clock in the T&A applications, either by PIN code or magnetic and NFC cards, and you can also select the business units where the employee is entitled to clock in using the center selector tree.
Learn more about how to manage Time & Attendance codes in Assign or change punch-in code.
Documentation
In the documentation section, for now, you can only see the documents assigned to the employee you are consulting, as long as you have the necessary permissions to view them.
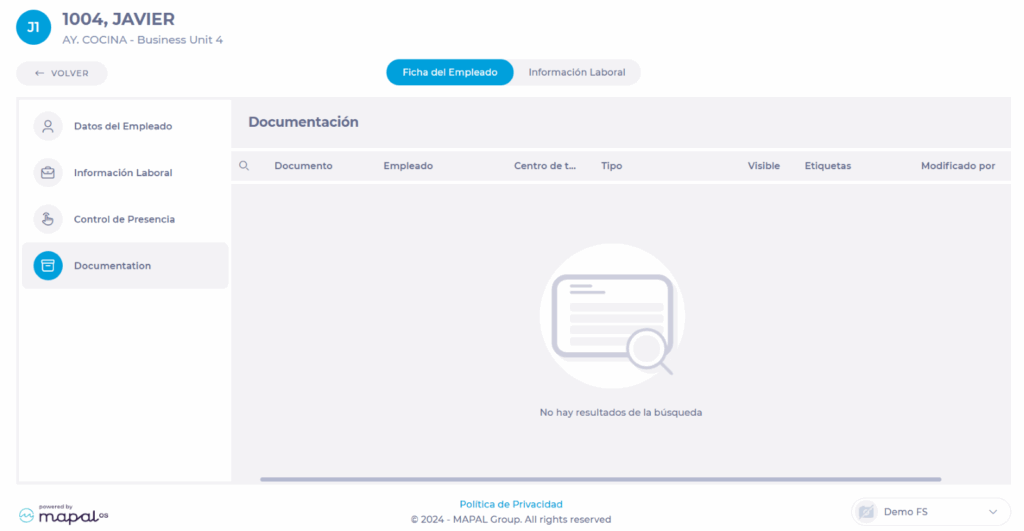
If you want to add more documentation and send it, you can only do it from the Documentation section of Workforce.
To learn more about documentation management in Workforce, see the articles in the Documentation category.