


Start from: The Workforce module.
- Select Workforce Management > Workforce 2.0 from the main menu.

- Use the filters at the top of the screen to refine the employee list. For full filtering guidance, see Filter the employee grid.
- Select the specific employee from the grid.
- Choose Employment Information from the left-hand menu. This screen shows:
- The employee’s current labour situation
- A list of labour periods, each representing a defined period of employment details (contract, category, work center, hours, etc.)
Change dates or terminate a period
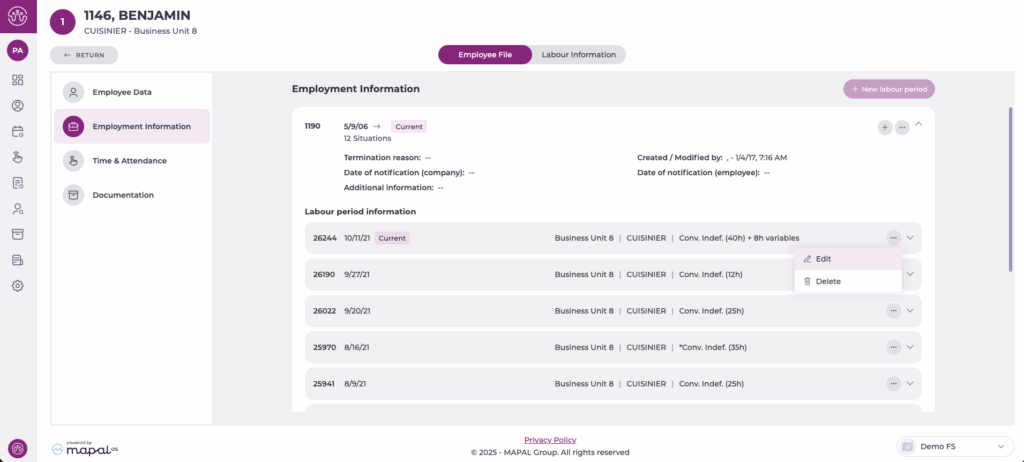
- Locate the current labor period.
- Select the three-dot menu (…) next to the labour period.
- Choose Edit.

- Here, you can update:
- Hire date
- Termination date
- Termination reason
- Notification dates
- Additional information
- Select Accept to save.

Note: If you modify labour periods, remember that all reports and calculations rely exclusively on the dates within these periods. The system will warn you of this when editing.
Create or edit a labour situation (employment change)
Use this when employment conditions change, such as contract modifications, workplace transfer, job category update, or working-hours adjustments.
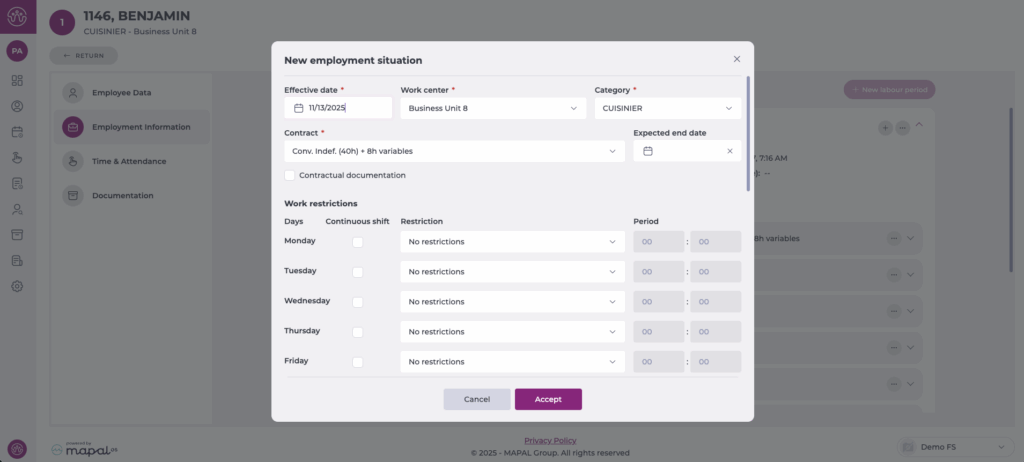
- Select + New employment situation.

- Complete the fields in the New employment situation window:
- Effective date*: the date the change takes effect.
- Work center*: new workplace if changing location.
- Category*: the updated job category or role.
- Contract: contract type, if changed.
- Expected end date: used for temporary contracts.
- Working hours: define weekly hours or distribution.
- Work restrictions: set rules such as continuous shift, day restrictions, or holiday restrictions.
- Add any contractual documentation if needed.
- Select Accept to save. A new labour situation will be added to the list and marked as Current from the effective date.
You can also edit the current employment status, but in this case only work restrictions can be modified. If you need to update any other details, you should create a New labour period instead. This ensures that historical records remain accurate and that reports and calculations reflect the correct employment timeline.

Delete a labour period or employment situation(only when appropriate)
- Open the (…) menu on the labour period or employment situation.
- Select Delete.
- A confirmation window appears. Select Delete to complete the removal.

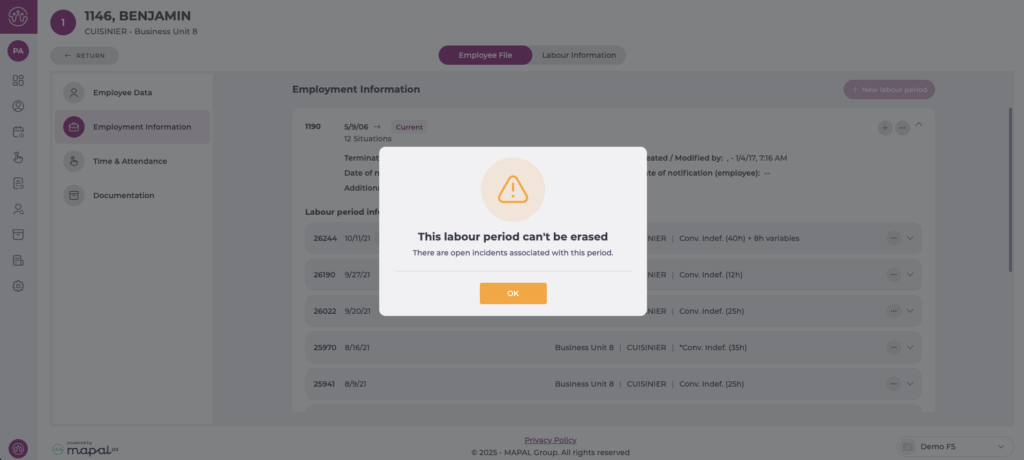
Keep in mind that labour periods cannot be deleted if there are open incidents linked to that period. If you try to delete it, the system will display the message: “This labour period can't be erased. There are open incidents associated with this period.”
To proceed, ensure that all incidents for that period are resolved or reassigned before attempting deletion again.
Note: Deletion should only be used to correct mistaken entries, as removing periods affects reporting and historical accuracy.