Start from: The Flow Learning dashboard.
- Navigate to Learning & Development > Studio.
- Select your specific lesson.
Create a theme
- Once inside your lesson editor, select Theme.
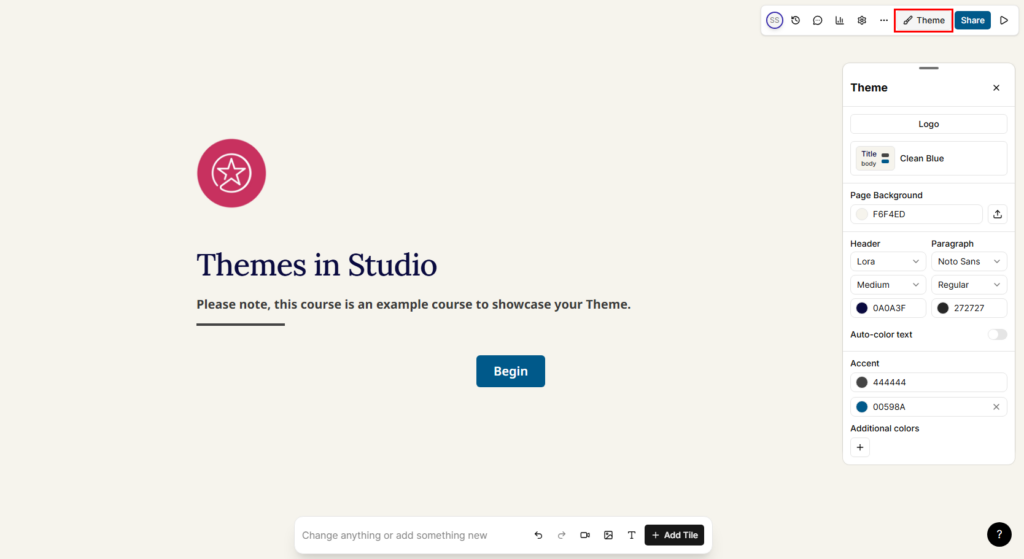
- The Theme panel opens. If you have not created a theme yet, Studio applies a default theme, such as Clean Blue.
Note: We recommend starting from any default Studio theme.
To create a new theme, change any element of a default theme, which then lets you save it as a new theme:
- Choose one of your brand colours. Studio works in hex codes.
- Change any of the existing colour options.
- Select Save new at the bottom of the Theme panel.
For example, when you change the second accent colour to #c7305e, the theme becomes a new draft because a change has been made to an existing theme.
- Select Save new.
- Enter a name for your theme and select Save.
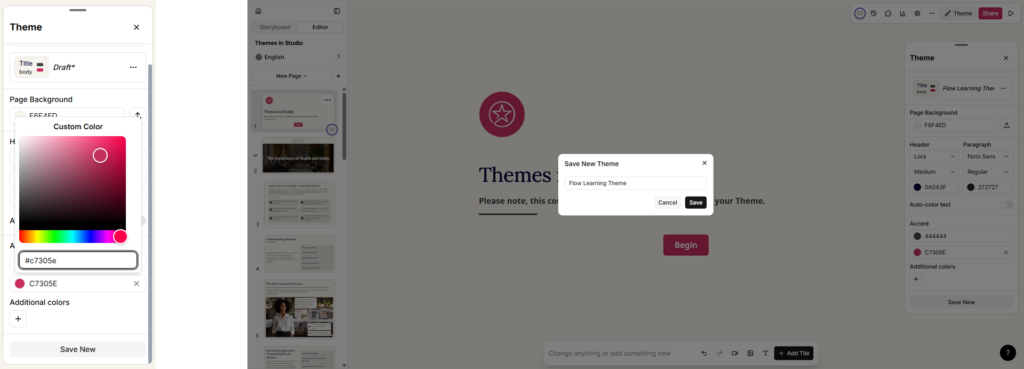
This creates a duplicate of the Clean Blue theme with the colour change applied. You can now change the other elements.
Note: Save your changes each time you make one.
Set your colours
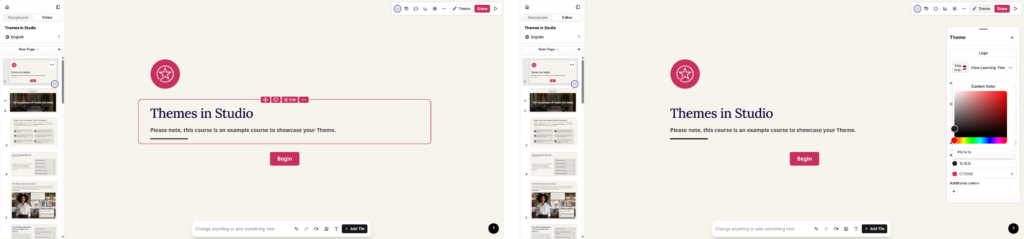
- The second accent colour changes all buttons, icons, and the selection outlines shown when you edit the lesson.
- The first accent colour changes all components, which take a tint of that colour, as well as the line strikes under titles.
Set your font colours
Choose the colour you want for your Header font, which covers all titles and subtitles, and your Paragraph font.
Note: If you choose a colour with low contrast against your Page Background Colour, Page Background Image, or your components, Studio flags it. Make sure your text meets the minimum contrast ratio requirement.
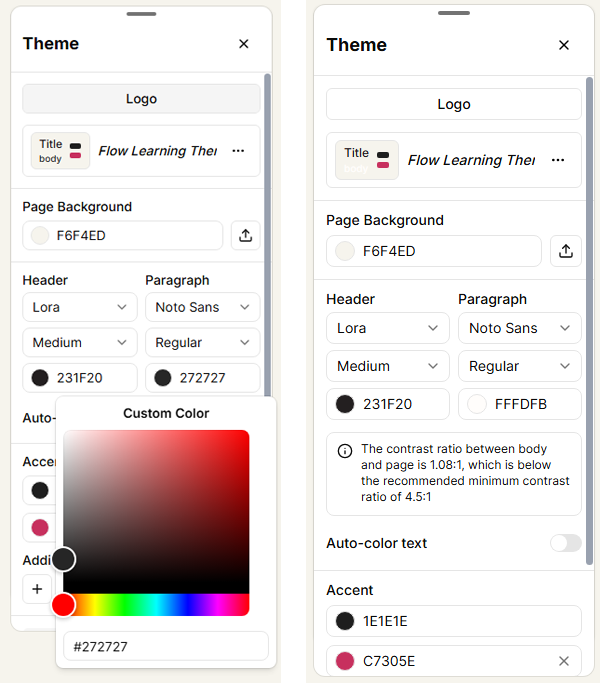
Set your page background
Your Page Background Colour should provide enough contrast with your text colour.
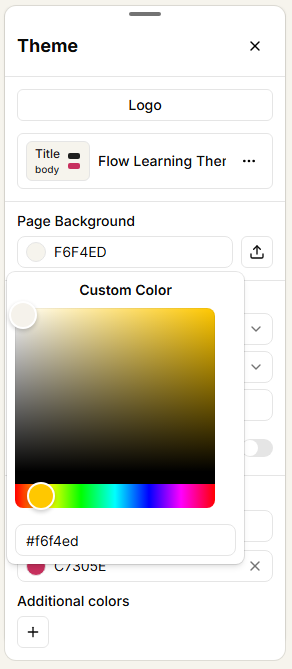
- Go to Page Background.
- Copy and paste your chosen colour hex code.
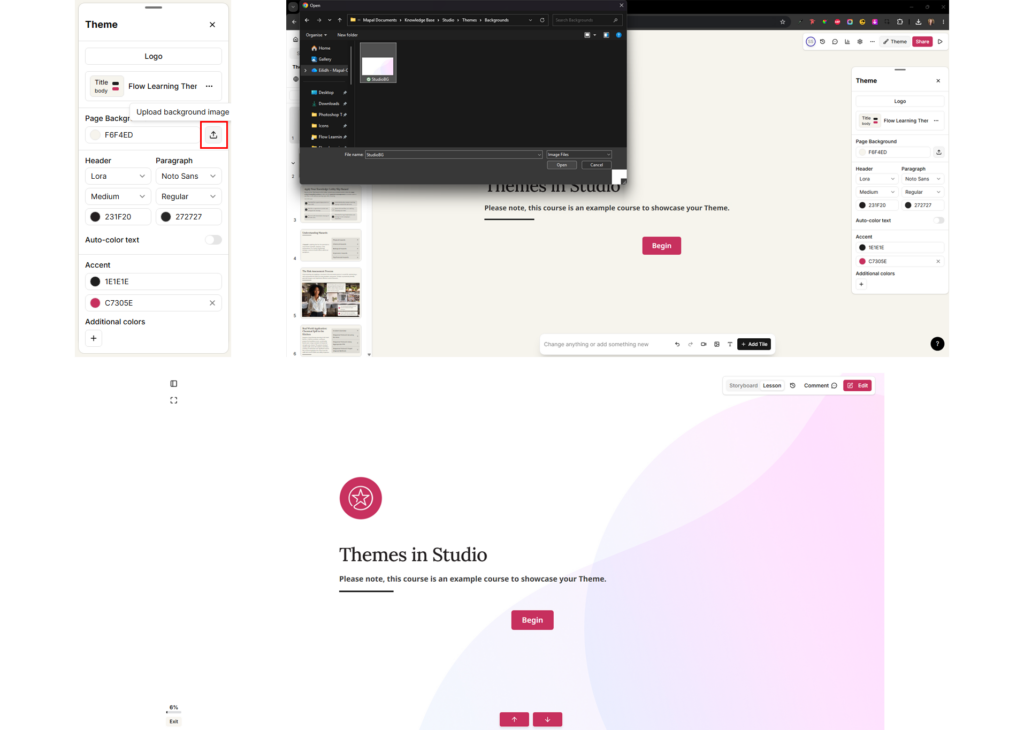
You can also upload a page background image. This applies to every page, so we recommend a background image that is not too distracting or busy, keeping your content visible and legible.
- Select the upload icon.
- Locate and select your image.
- Select Open. The image is applied to your lesson.
Overlay titles and content
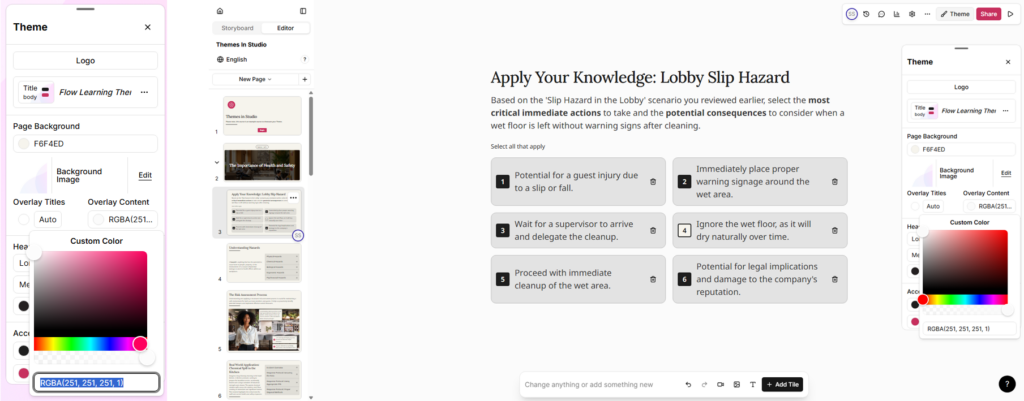
Below Page Background, you can set the Overlay Titles colour to change the background colour of the introduction pages and section dividers only.
- Enter your hex code and press Enter. The colour updates to RGBA format, for example
RGBA 255, 255, 255, 1. - To keep your background image visible on these pages, set the final number in the brackets to 0. This sets the colour's opacity to zero, for example
RGBA 255, 255, 255, 0.
You can also set the Overlay Content colour to match your Page Background colour in the same way, with the opacity set to 100%.
Set your fonts
Studio has two font options: one for Headers (all titles and subtitles) and one for body copy (your main content). Studio includes built-in fonts to choose from, such as Montserrat. You can also select the font weight, for example regular, bold, or italic.
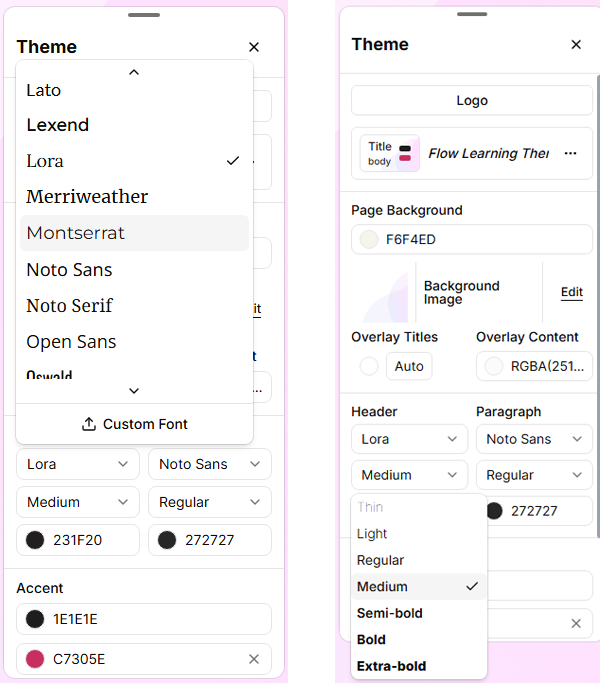
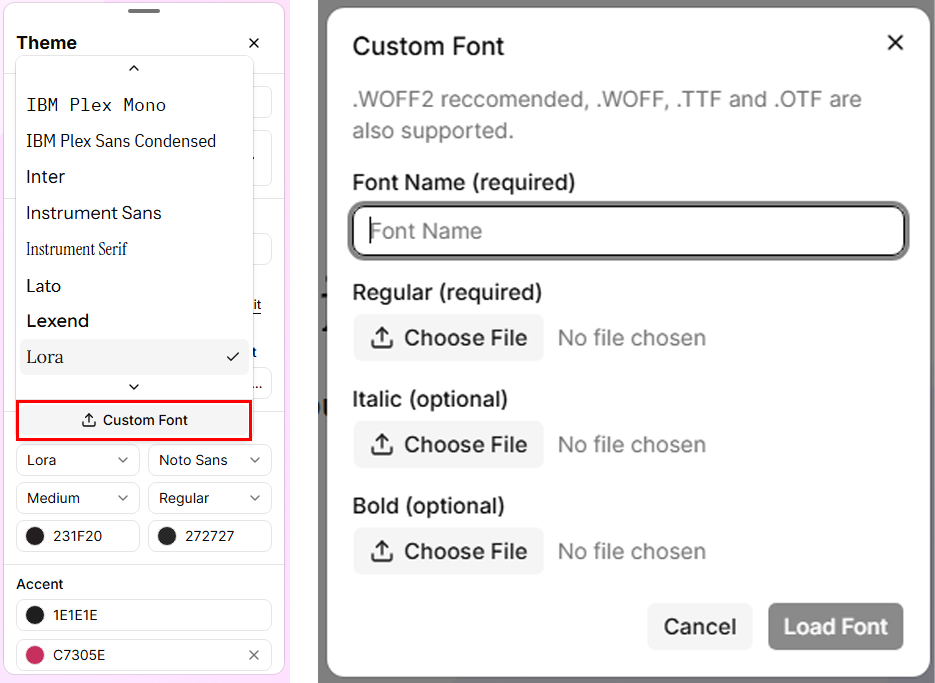
Upload a custom font
If your brand font is not in the list, you can upload it:
- Select the font dropdown, then select Custom Font.
- Upload the Regular font file. This is required.
- Select Load Font.
You do not need to upload the bold or italic versions, as Studio generates these for you.
Note: We do not recommend uploading a font that you do not have a commercial licence for. Lesson and course pages do not request fonts from Google's servers. If your organisation needs this confirmed as part of a data protection assessment, contact your Customer Success Manager.
Upload your logo
- Select Theme > Logo > Upload Logo.
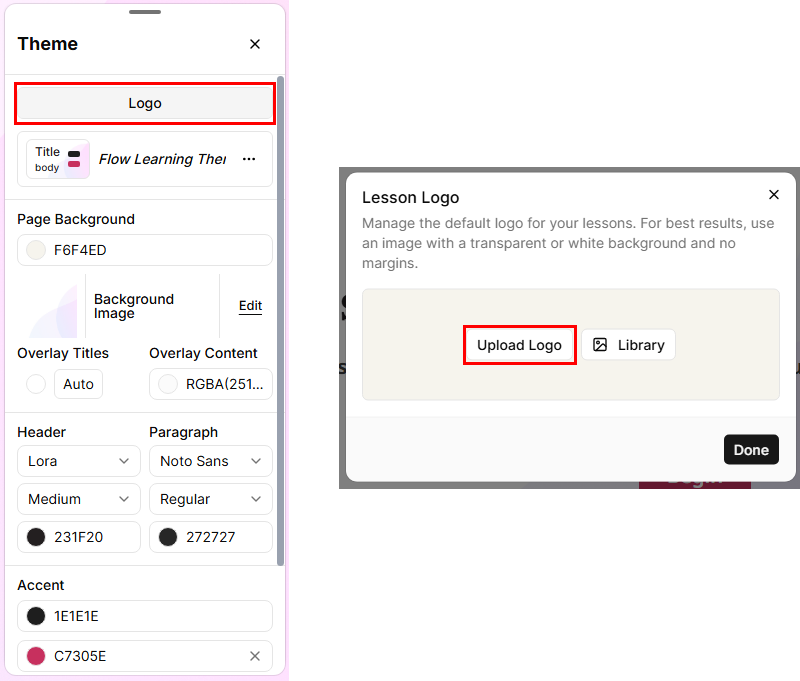
Note: In Studio, logos are uploaded per lesson. They are not attached to the theme.
Once uploaded, your logo can appear in three ways:
- White background: adds a white background to your logo. This only works if you upload your logo in PNG format with a transparent background.
- Rounded: adds rounded edges to your logo in the preview.
- None: no background is applied to your logo in the preview.
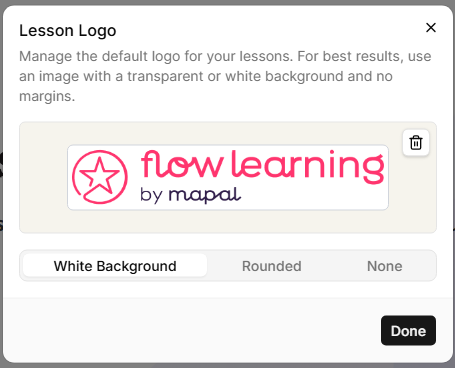
Note: If you set the visual style to None, your logo may lie on top of your content depending on your layout, which can make it or your content difficult to see. We recommend giving your logo a background colour, or using the White background option.
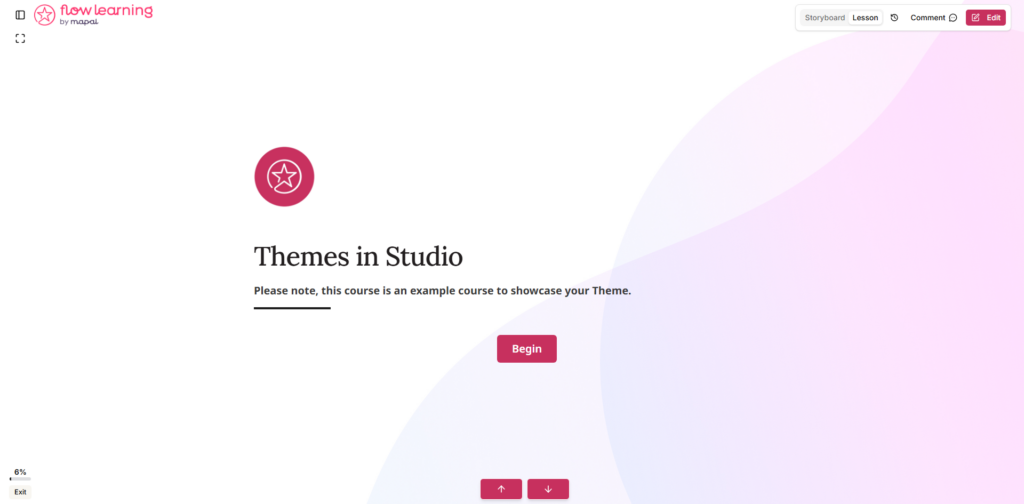
You can also add your logo as an image on your lesson landing page to introduce your course and reinforce your branding.
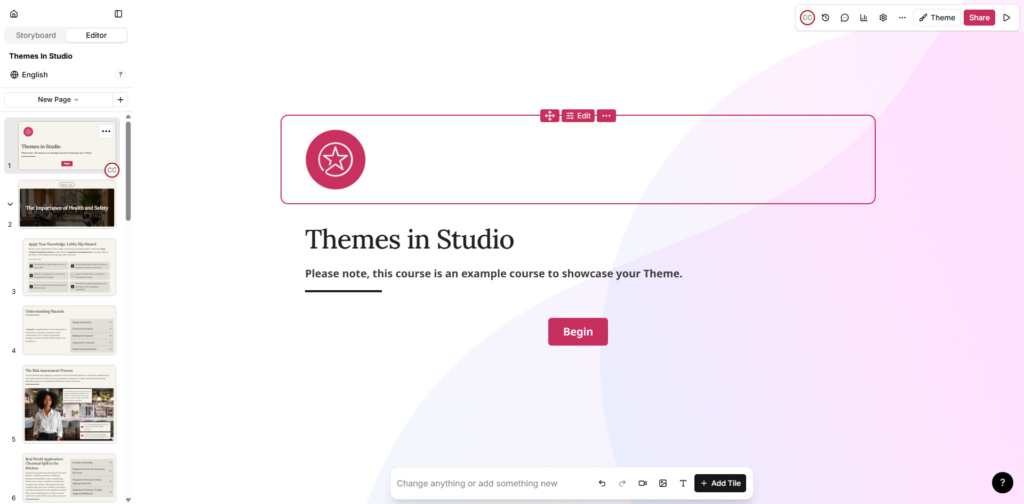
Apply and set a default theme
Your theme is now complete. When you create a lesson, you can select this theme to apply it.
To apply the theme automatically to any lesson you create, set it as the default:
- Go to your Studio dashboard and select Settings.

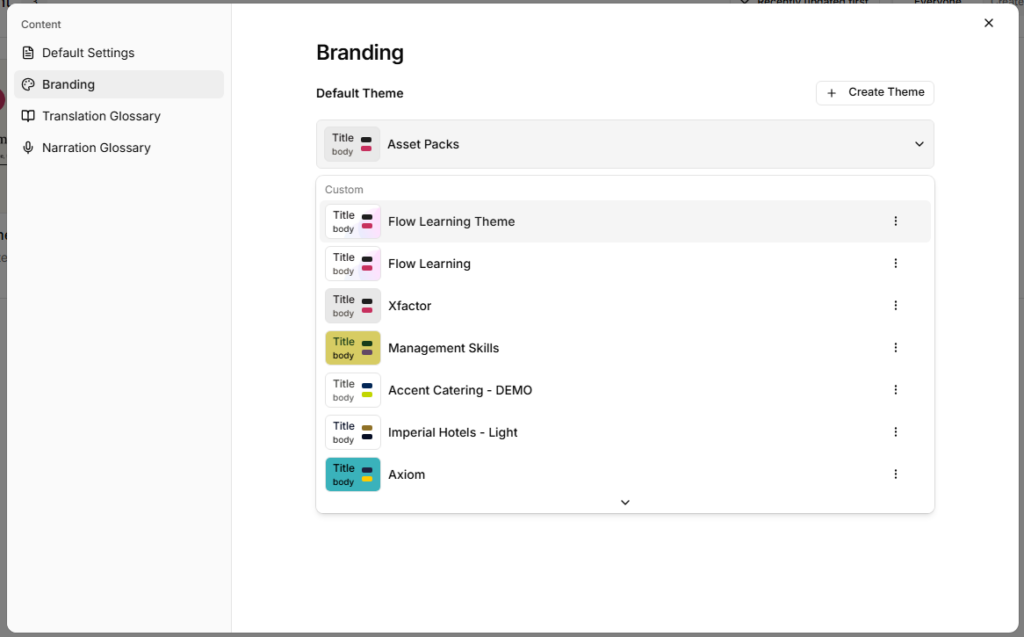
- In the pop-up, select Branding.
- Under Default Theme, select the dropdown and choose your new theme.