


Start from: The Flow Learning dashboard.
- Navigate to Learning & Development > Studio.
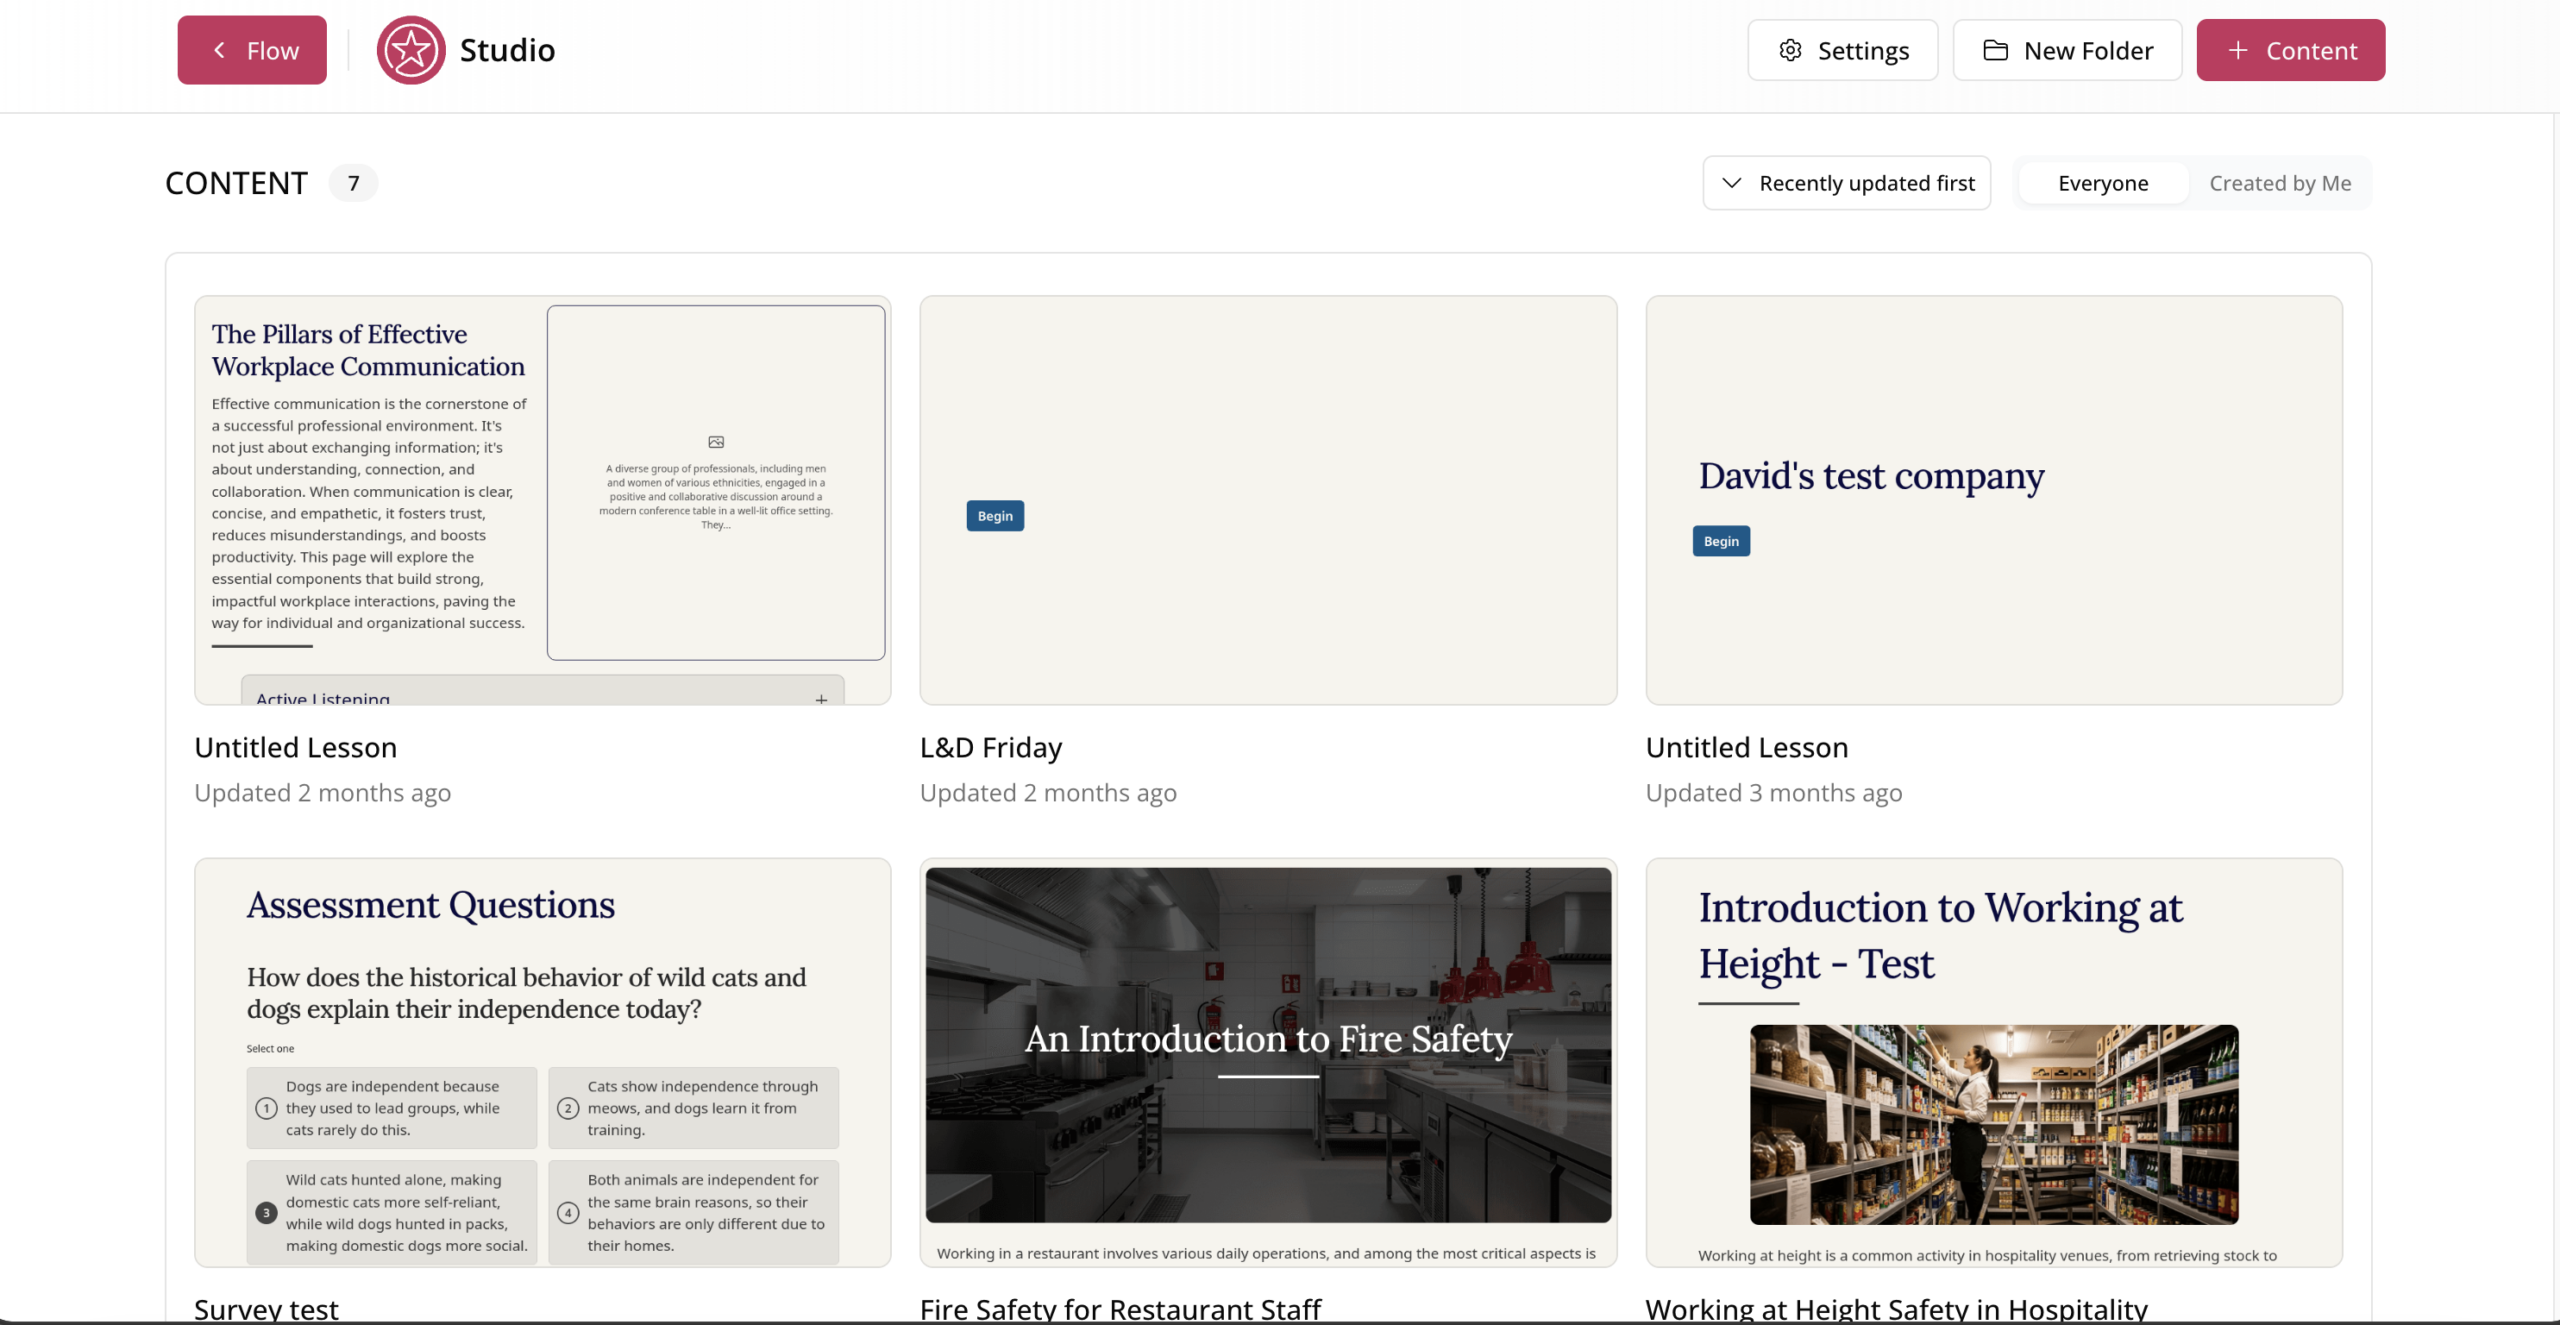
- Select + Content. The Build a Lesson screen opens.
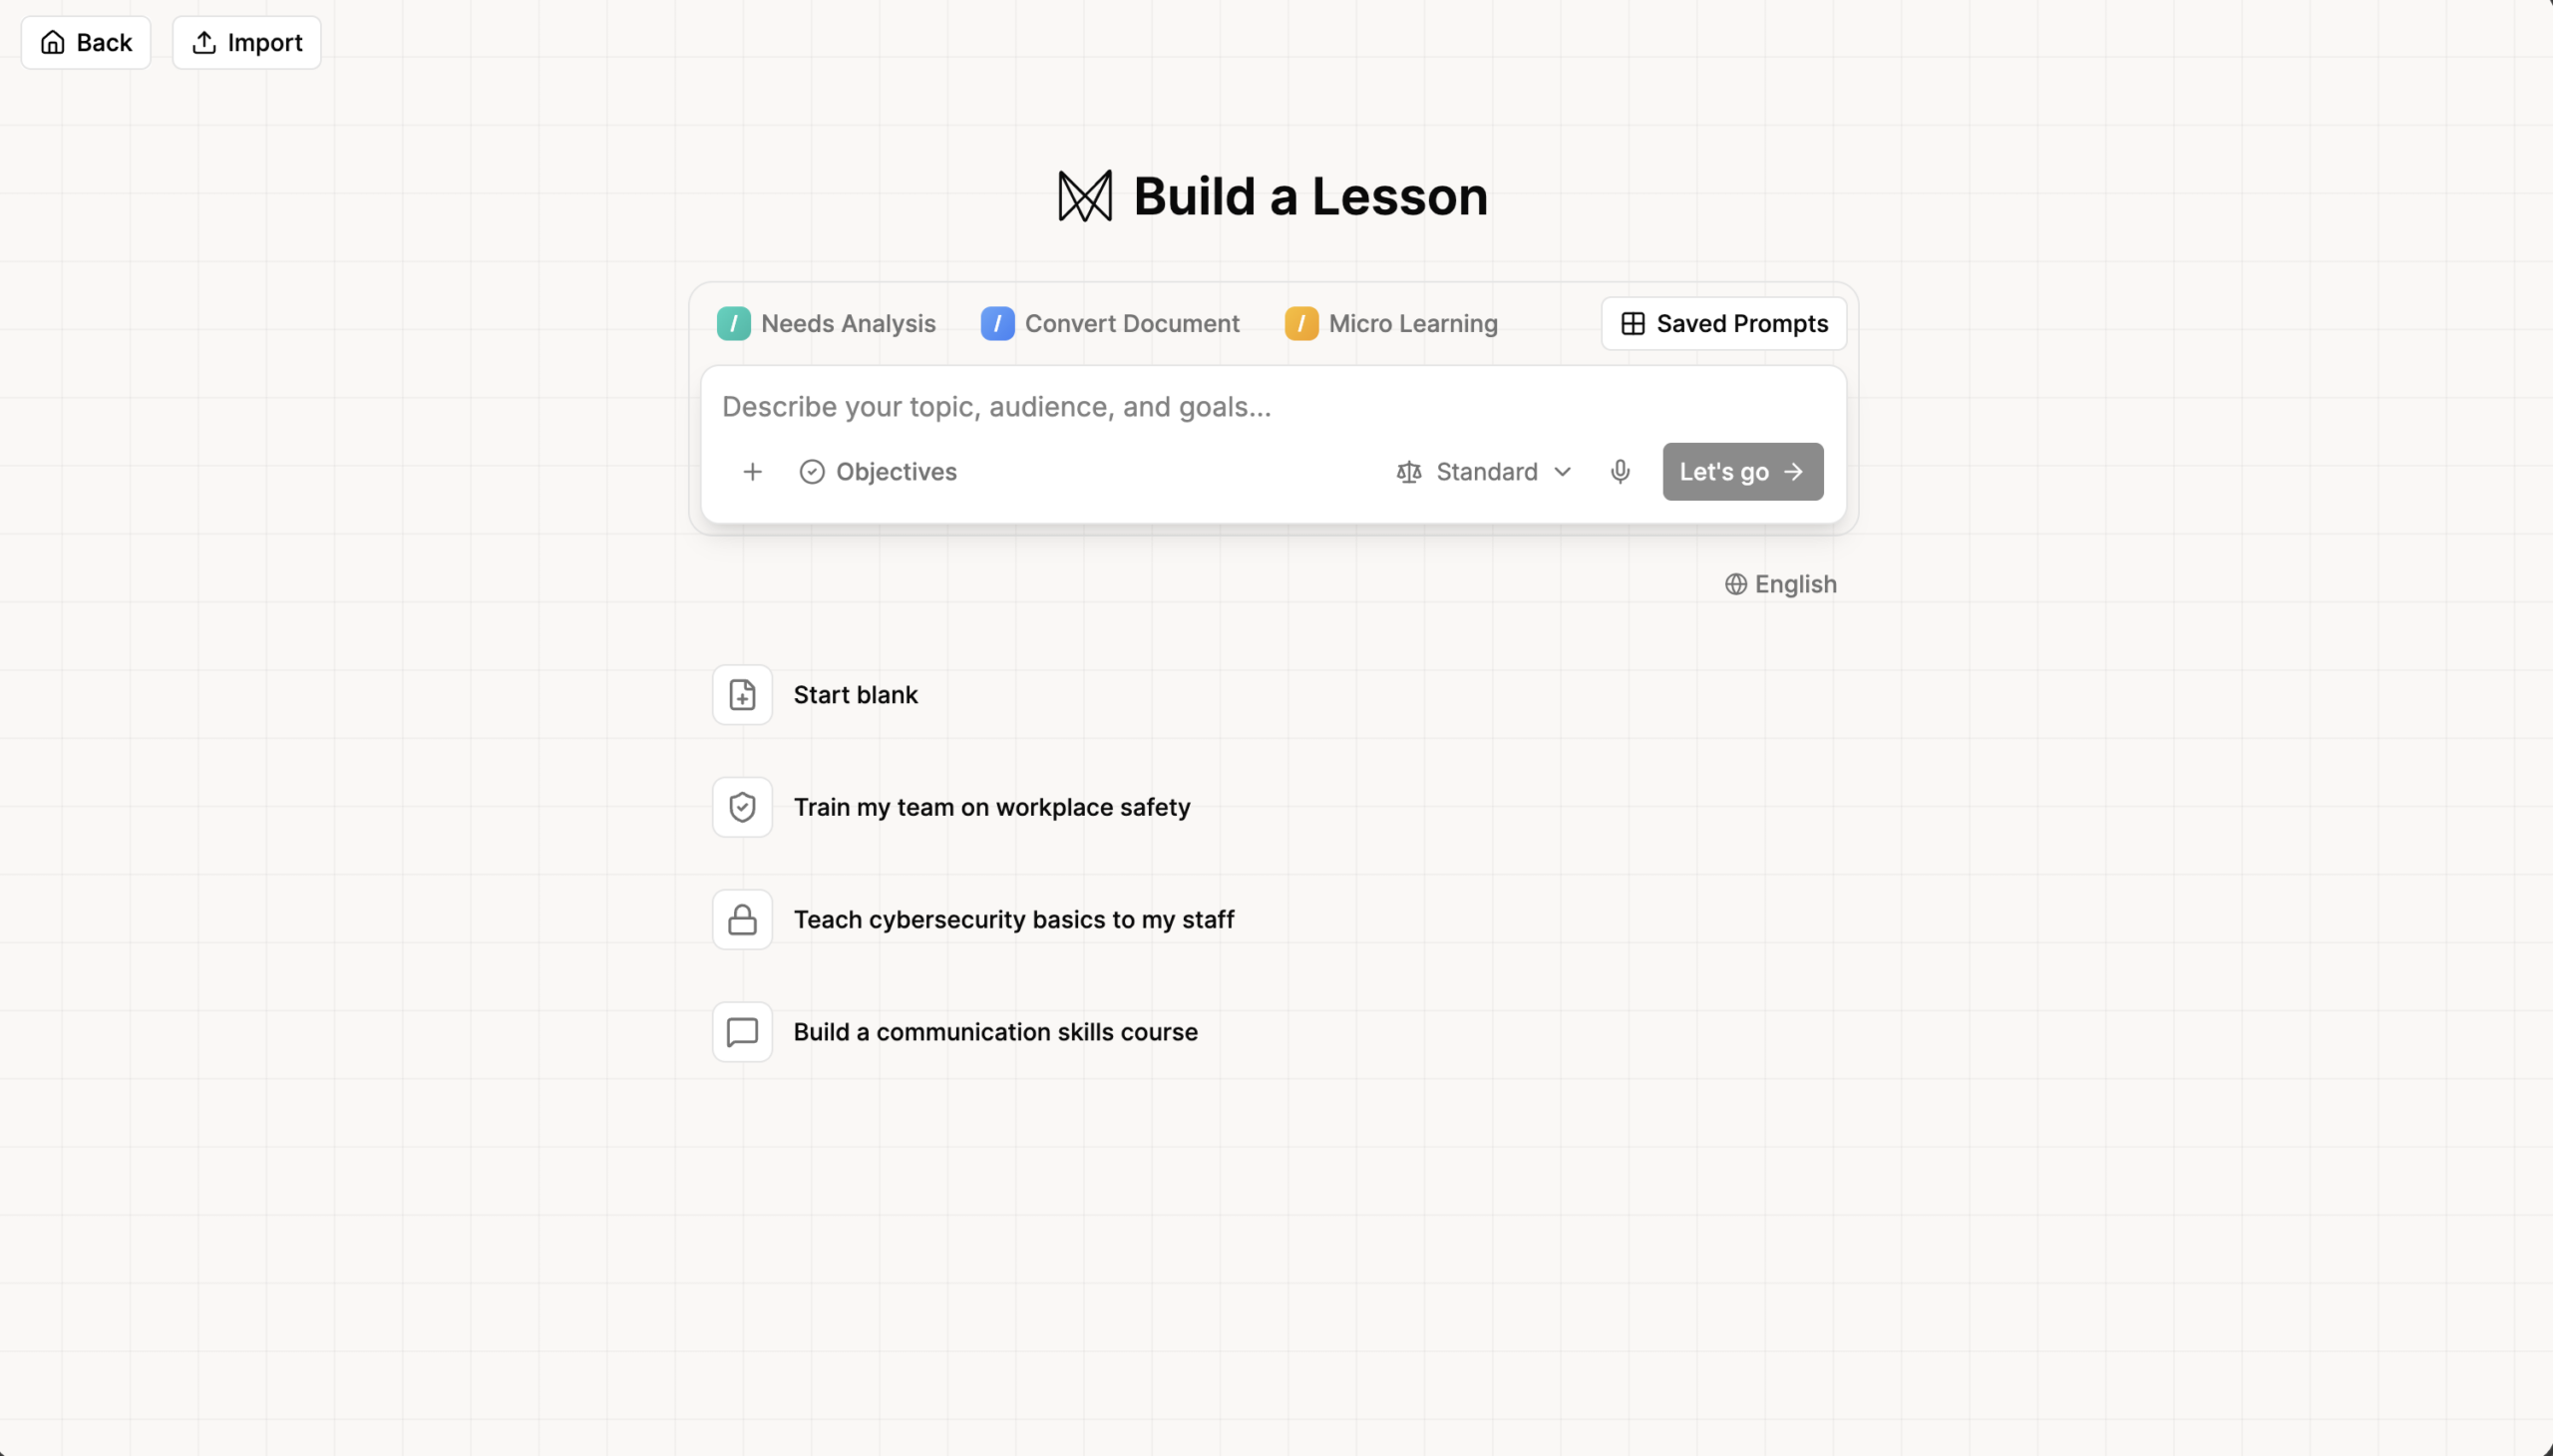
Write your prompt
- In the prompt box, describe your topic, audience, goals, and any other relevant details.
Example: Create a workplace safety training lesson covering hazard identification, emergency procedures, and proper use of personal protective equipment. Include interactive scenarios and a knowledge check.
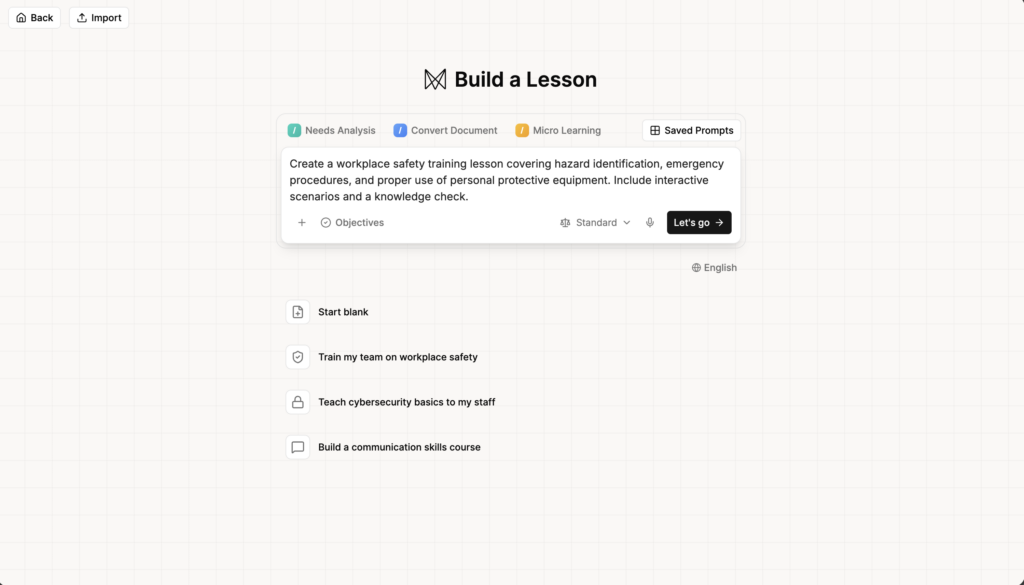
- You can also select one of the quick-start suggestions below the prompt box, such as "Train my team on workplace safety" or "Build a communication skills course", to get started quickly.
- Select Start blank to open the editor without generating AI content.
- Before submitting, you can optionally configure the following:
- Attach files: Select the attachment icon to open the attachment menu. You can Attach file from your device, Reference Lesson to use an existing Studio lesson as a guide, or Attach from library to use a file already uploaded to Studio. Documents you attach stay available to the AI assistant while you edit the lesson, so you can ask it to draw on them as you work.
- Objectives: Select Objectives to open a dialogue where you can define numbered learning objectives. Enter what the learner will be able to do after completing the lesson, then select Done. If you skip this step, objectives will be generated by AI.
- Saved Prompts: Select Saved Prompts to apply a ready-made prompt that shapes how the AI builds your lesson. Each one appears with a short description of what it does:
- Needs Analysis: the agent asks you questions before making changes.
- Clear & Focused: one idea per tile, with visuals that support the text.
- Narrative-Driven: the lesson is wrapped in a story with a recurring character.
- Scaffolded Practice: a worked example, then guided practice, then independent practice.
- Accessible & Inclusive: WCAG-friendly output covering alt text, captions, contrast and structure.
- Assessment Architect: objective-linked, Bloom-tagged questions with quality distractors.
- Voice input: Select the microphone icon to dictate your prompt.
- Language: Use the language selector below the prompt box to set the lesson language.
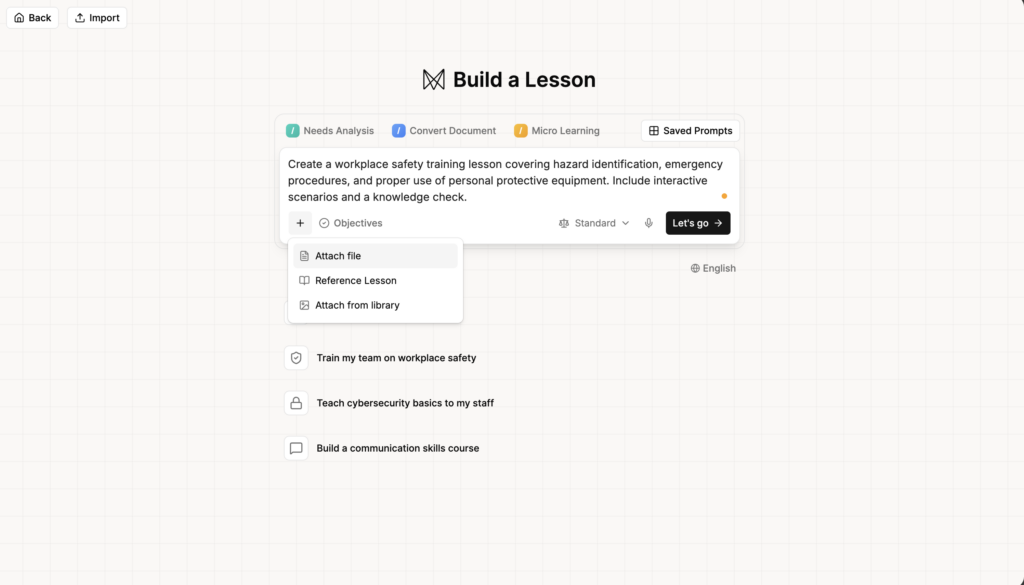
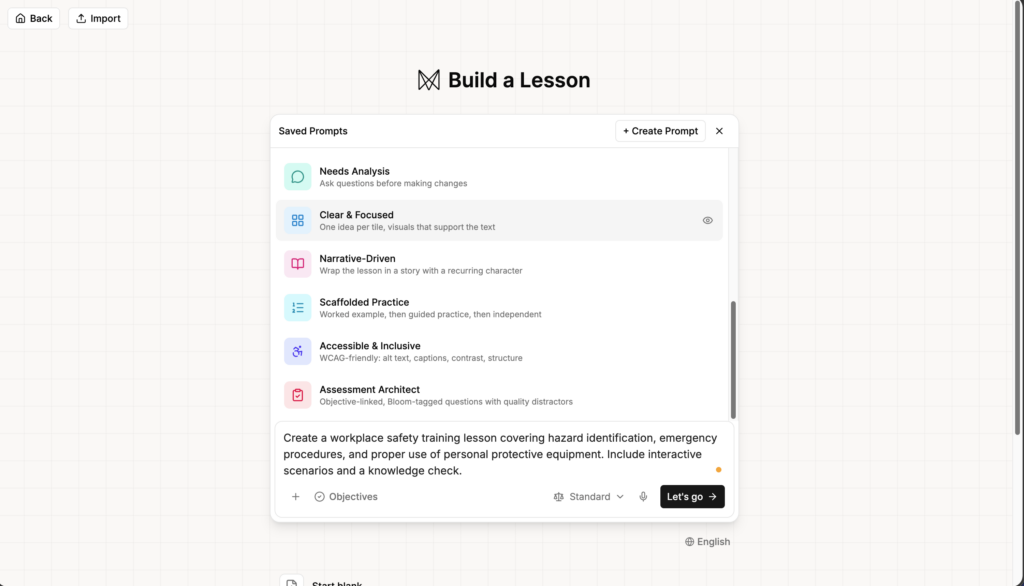
- Select Let's go to submit your prompt.
Note: Once you submit your first prompt, Studio will consume credits for one lesson.
Answer clarifying questions
After reviewing your prompt, the AI agent may ask clarifying questions to refine the lesson before building the storyboard. Questions appear as numbered options in a card format with a question counter.
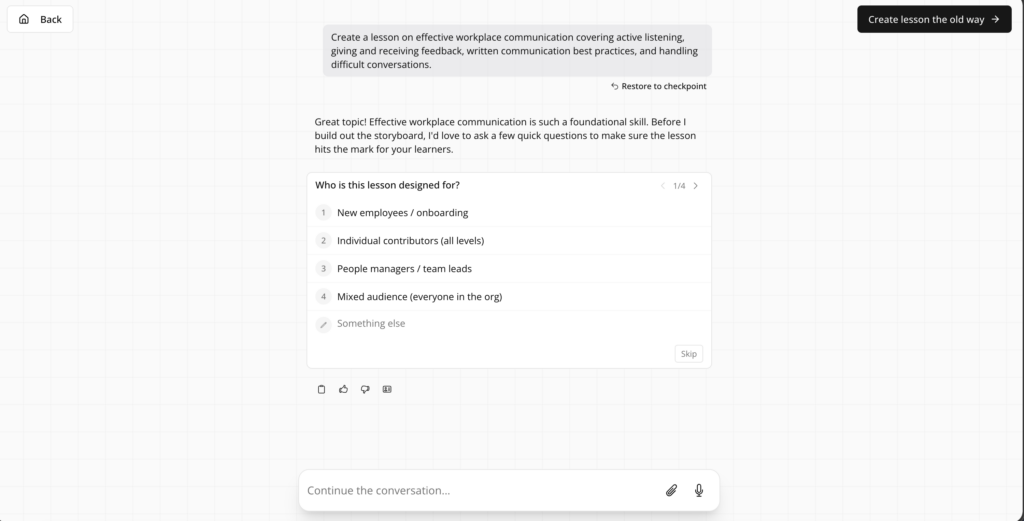
- Select one of the suggested answers, or select Something else to type your own response.
- Select Skip to let the agent proceed using its best judgement. This is not recommended, as the lesson may not align with your expectations.
Once all questions are answered, a summary of your responses is displayed. The agent then proceeds to generate the storyboard.
Review the storyboard
Before generating the full lesson pages, the agent creates an editable storyboard. The storyboard view shows:
- Resources: Any materials linked to the lesson. Select + Add resource or From Library to attach additional files.
- Pages: A numbered list of lesson pages, each showing a title and content outline. Pages may include objective tags (for example, @objective1) linking content to your defined learning objectives.
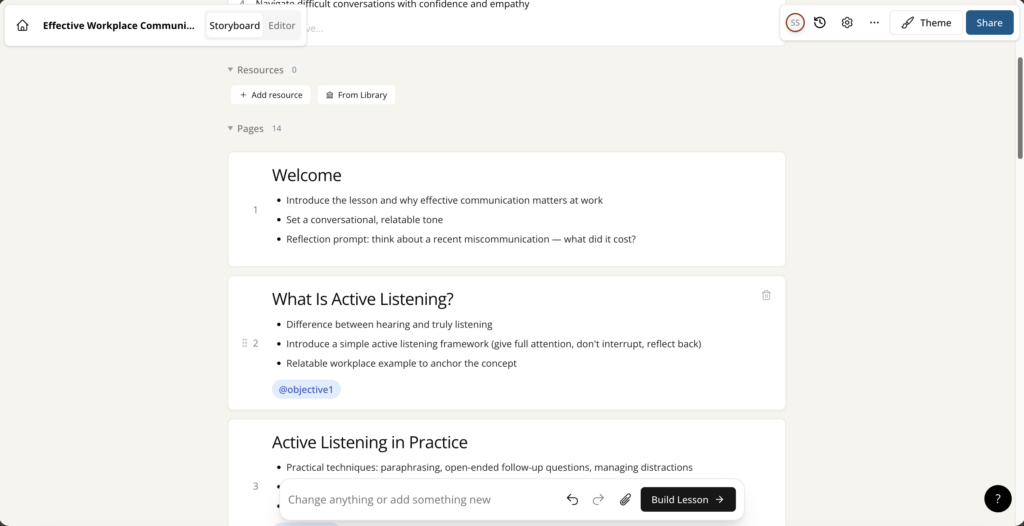
- You can modify the storyboard by typing instructions in the text input at the bottom of the screen ("Change anything or add something new"). The agent will adjust the storyboard based on your feedback. You can also reorder, add, or remove pages.
- The agent chat panel displays the full page list and prompts you to confirm: you can request changes or give the go-ahead to build.
- Once you are satisfied, select Build Lesson to generate the full lesson in the editor.
Import a document or SCORM package
You can also create a lesson from a file you already have. Studio brings the content in as it is, without using AI.
- On the Build a Lesson screen, select Import.
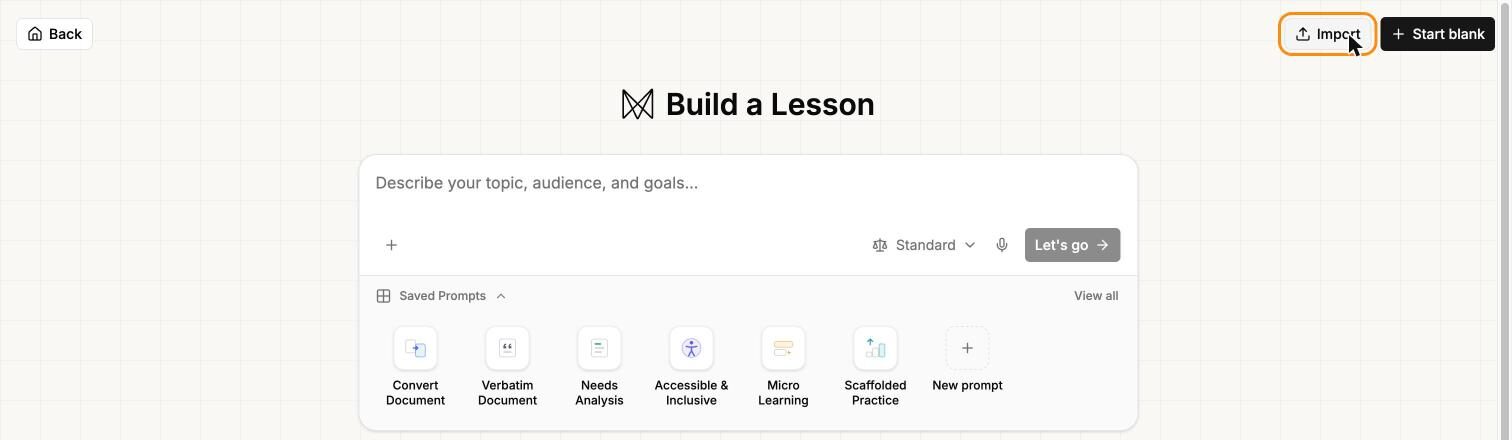
- In the Import content window, drag your file into the drop area.
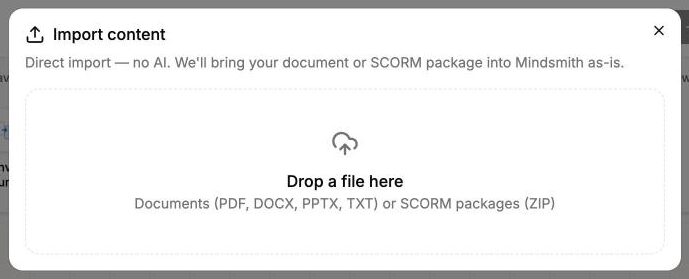
Supported files are documents (PDF, DOCX, PPTX or TXT) and SCORM packages (ZIP).
You can also import Articulate Storyline course archives and courses exported in the latest Rise format. All Studio authors can import Storyline courses, with no extra account setting.
To learn how to edit the lesson after it has been built, see Edit and customise your lesson in Studio.
