Start from: The Workforce module.
- Select Scheduling > Scheduler 2.0 from the main menu.
- To begin planning employee shifts, you must select at least the following the first time you access the planner:
- Site or group of sites
- Display scenario
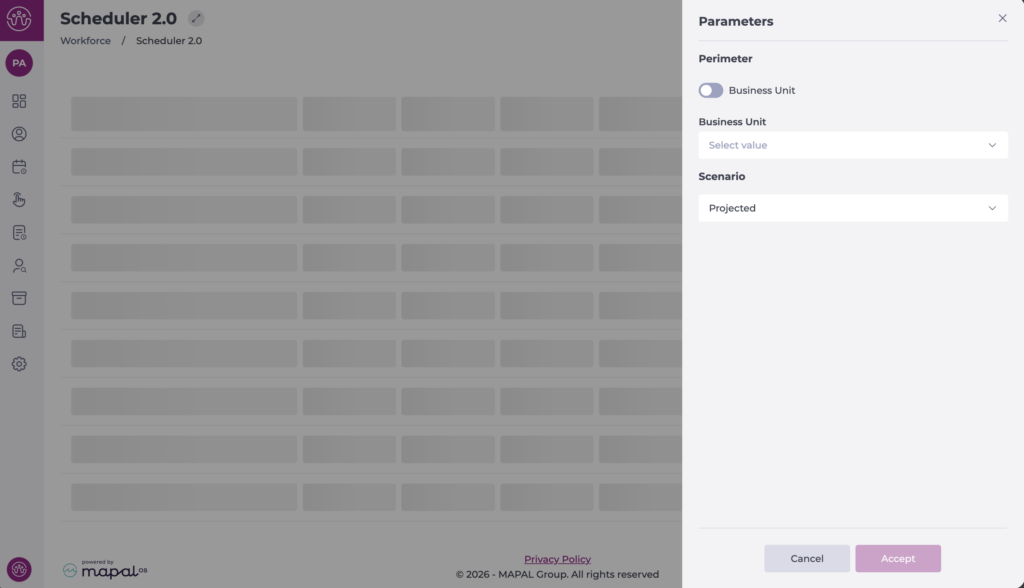
Once configured, the full grid is displayed and you can begin working in the planner. The next time you access it, the planner will remember your last selection.
To change the range or a specific date:
View by specific time range
- Select View.
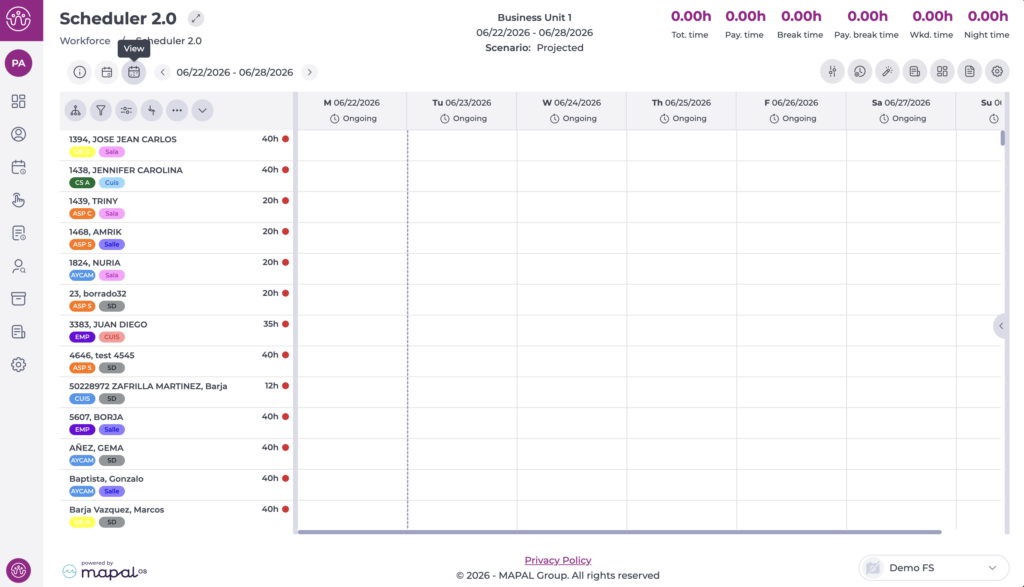
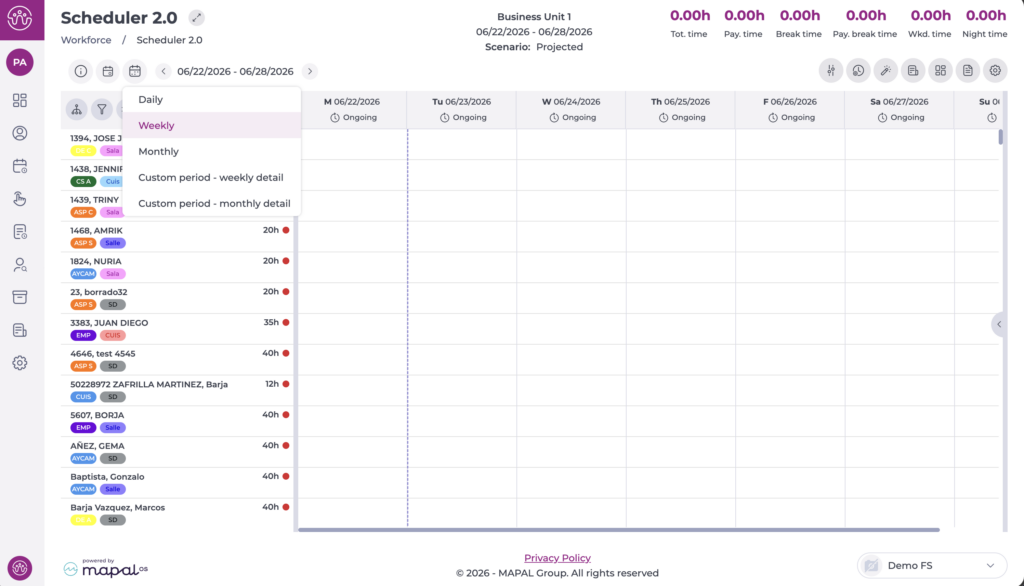
- Choose the format you want to display in the planner. The available options are:
- Daily: Grid view for the selected day.
- Weekly: Grid view for the entire selected week.
- Monthly: Grid view for the entire selected month.
- Custom period – weekly detail: Displays the entire selected period in a single block, using the weekly view format.
- Custom period – monthly detail: Displays the entire selected period in a single block, using the monthly view format.
In the daily, weekly, and monthly views, use the arrows to move backwards or forwards whilst keeping the selected view.
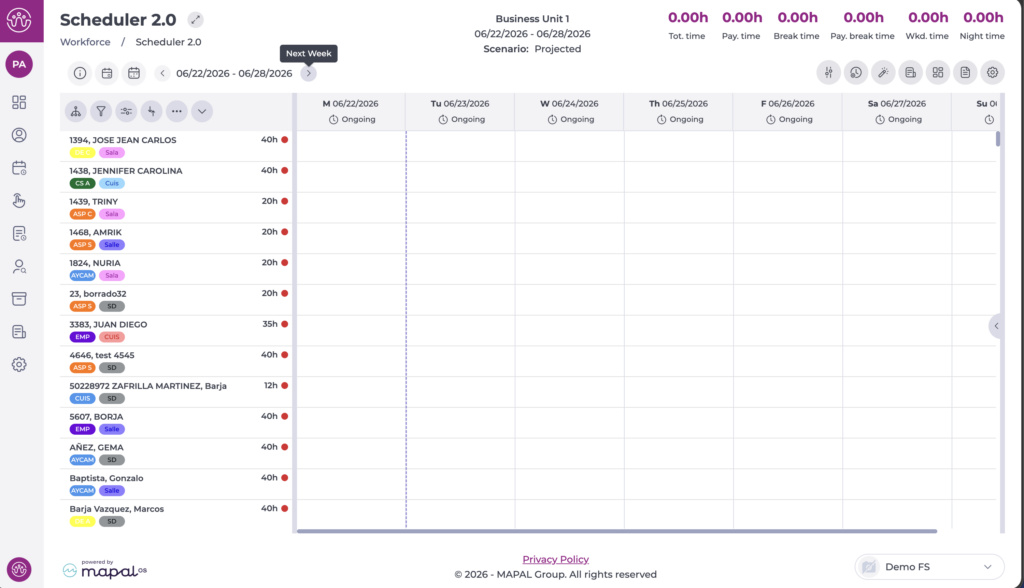
View by specific date
- Select the Go to button.
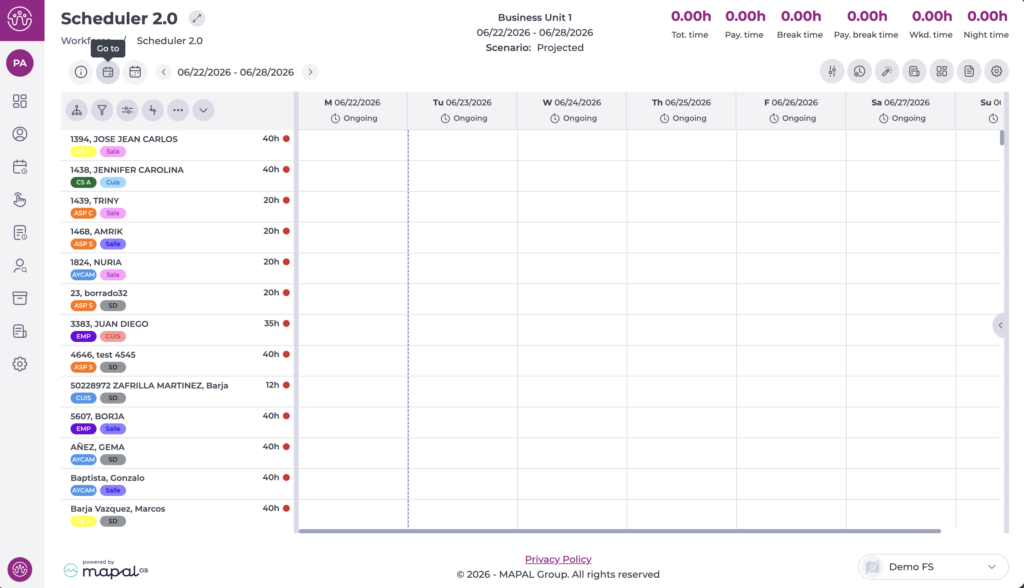
- A calendar opens so you can choose the specific date you want to display.
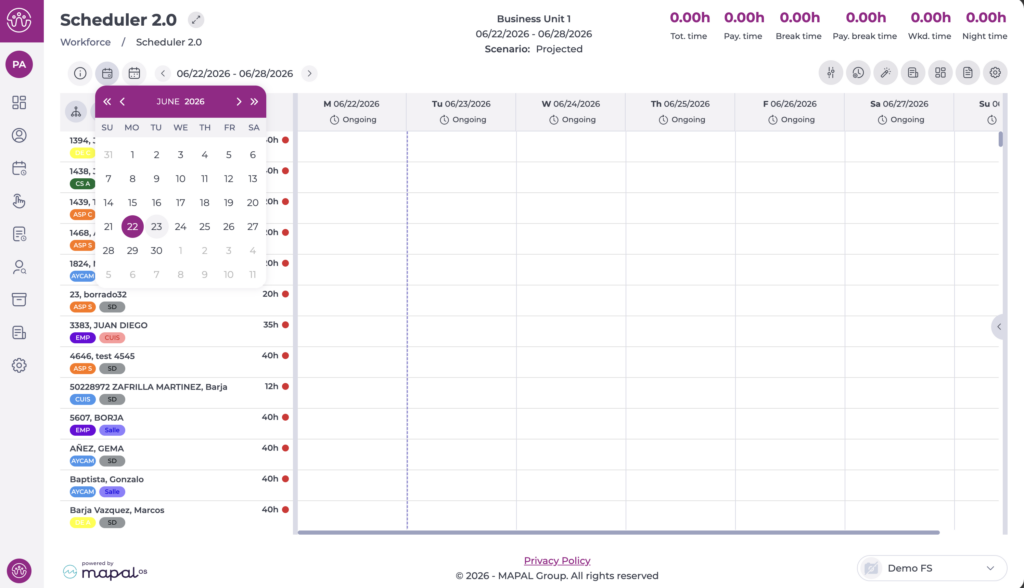
- The grid now shows the specific date you have set, using the previously selected view. You can also adjust the start day of the weekly and monthly views.
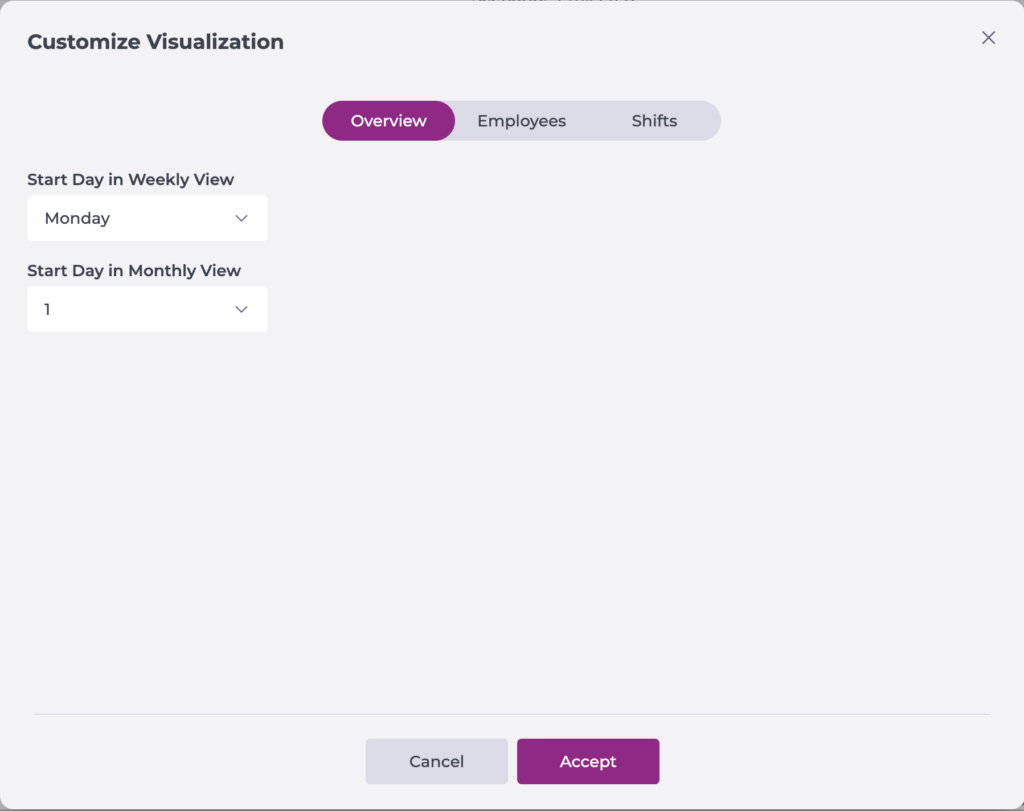
- From the Settings cog, select Customise Display to choose which day each view starts on.
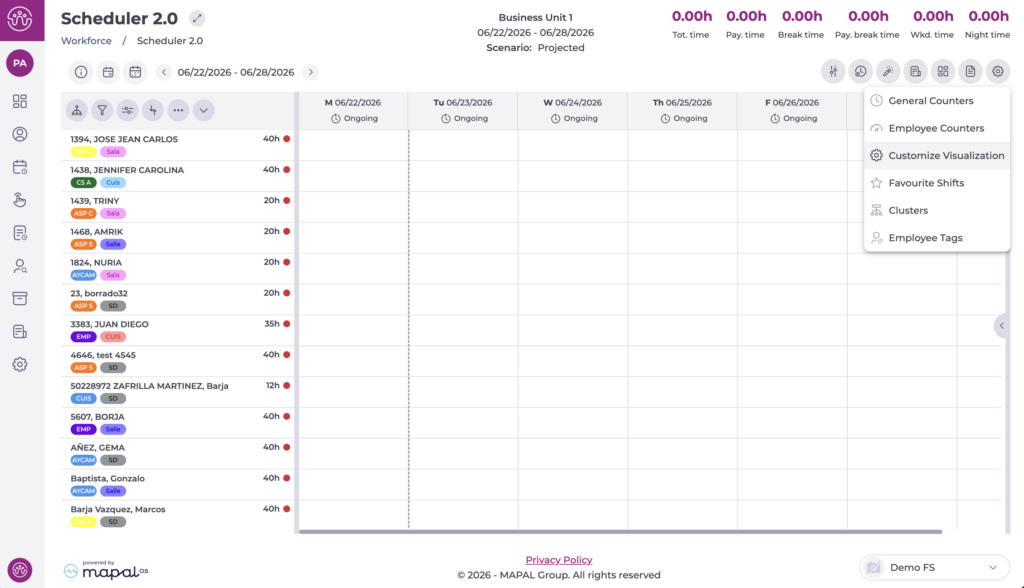
Select your preferred value from Overview, then select Accept to save your changes or Cancel to discard them.